Installing and managing plugins
Find a plugin on the Plugins page, check its permissions and price, install it, then open, deactivate or uninstall it from My Plugins.
Plugins add features to your store, such as live chat, loyalty points and product feeds. You find, install and manage them on the Plugins page in your Orbit dashboard.
Considerations
- Installing a plugin grants every permission listed on its details page. You cannot grant some and leave others out.
- Paid plugins start with a free trial where one is offered. You are not charged until the trial ends.
- Plugin subscriptions are billed through your Orbit account, so they appear on your Orbit invoice.
- Uninstalling a plugin can lose the data it stored. Deactivate it instead if you might want it back.
The Plugins page
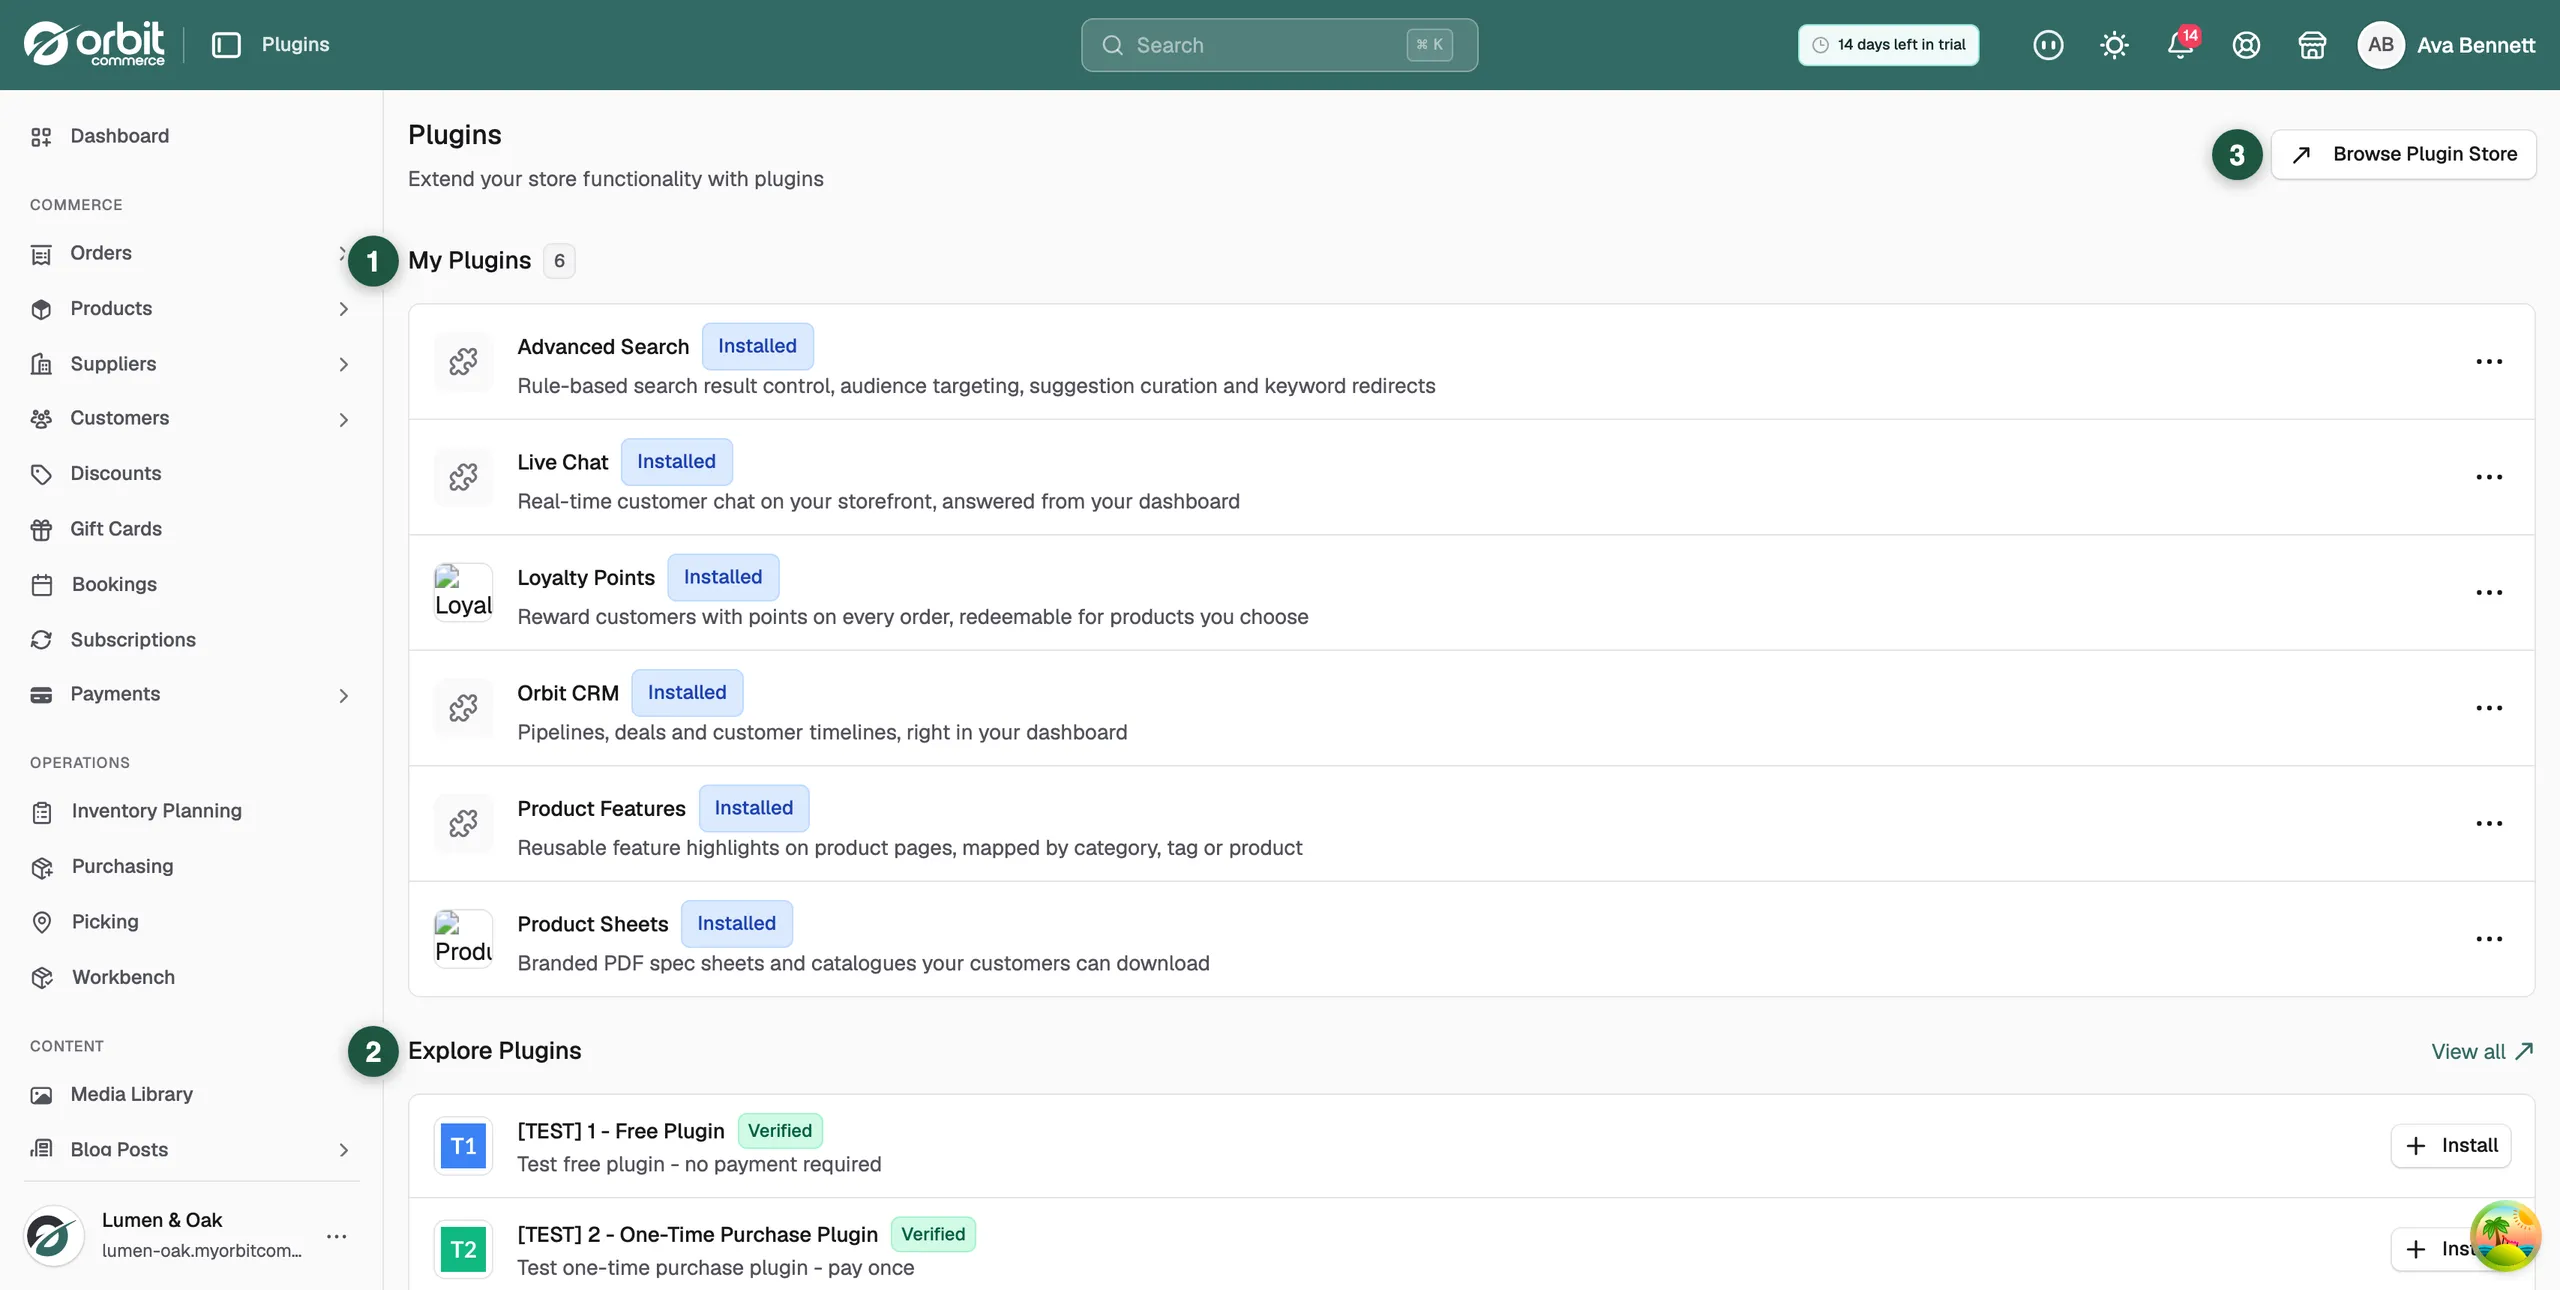
From your Orbit dashboard, go to Plugins. The page has three parts.
- My Plugins: every plugin you have installed, with a status badge on each row. The number next to the heading is how many you have. If you have none yet, the message You haven't installed any plugins yet. appears instead.
- Explore Plugins: the first six plugins you have not installed, in alphabetical order. Verified on a row means Orbit has vetted that plugin. Click View all to open the Plugin Store in a new tab.
- Browse Plugin Store: opens the Plugin Store in a new tab. There you can browse the full collection by category, read reviews and compare pricing plans.
Install a plugin
- From your Orbit dashboard, go to Plugins.
- Under Explore Plugins, find the plugin you want and click Install. Nothing is installed yet. The plugin details page opens so you can check it over first.
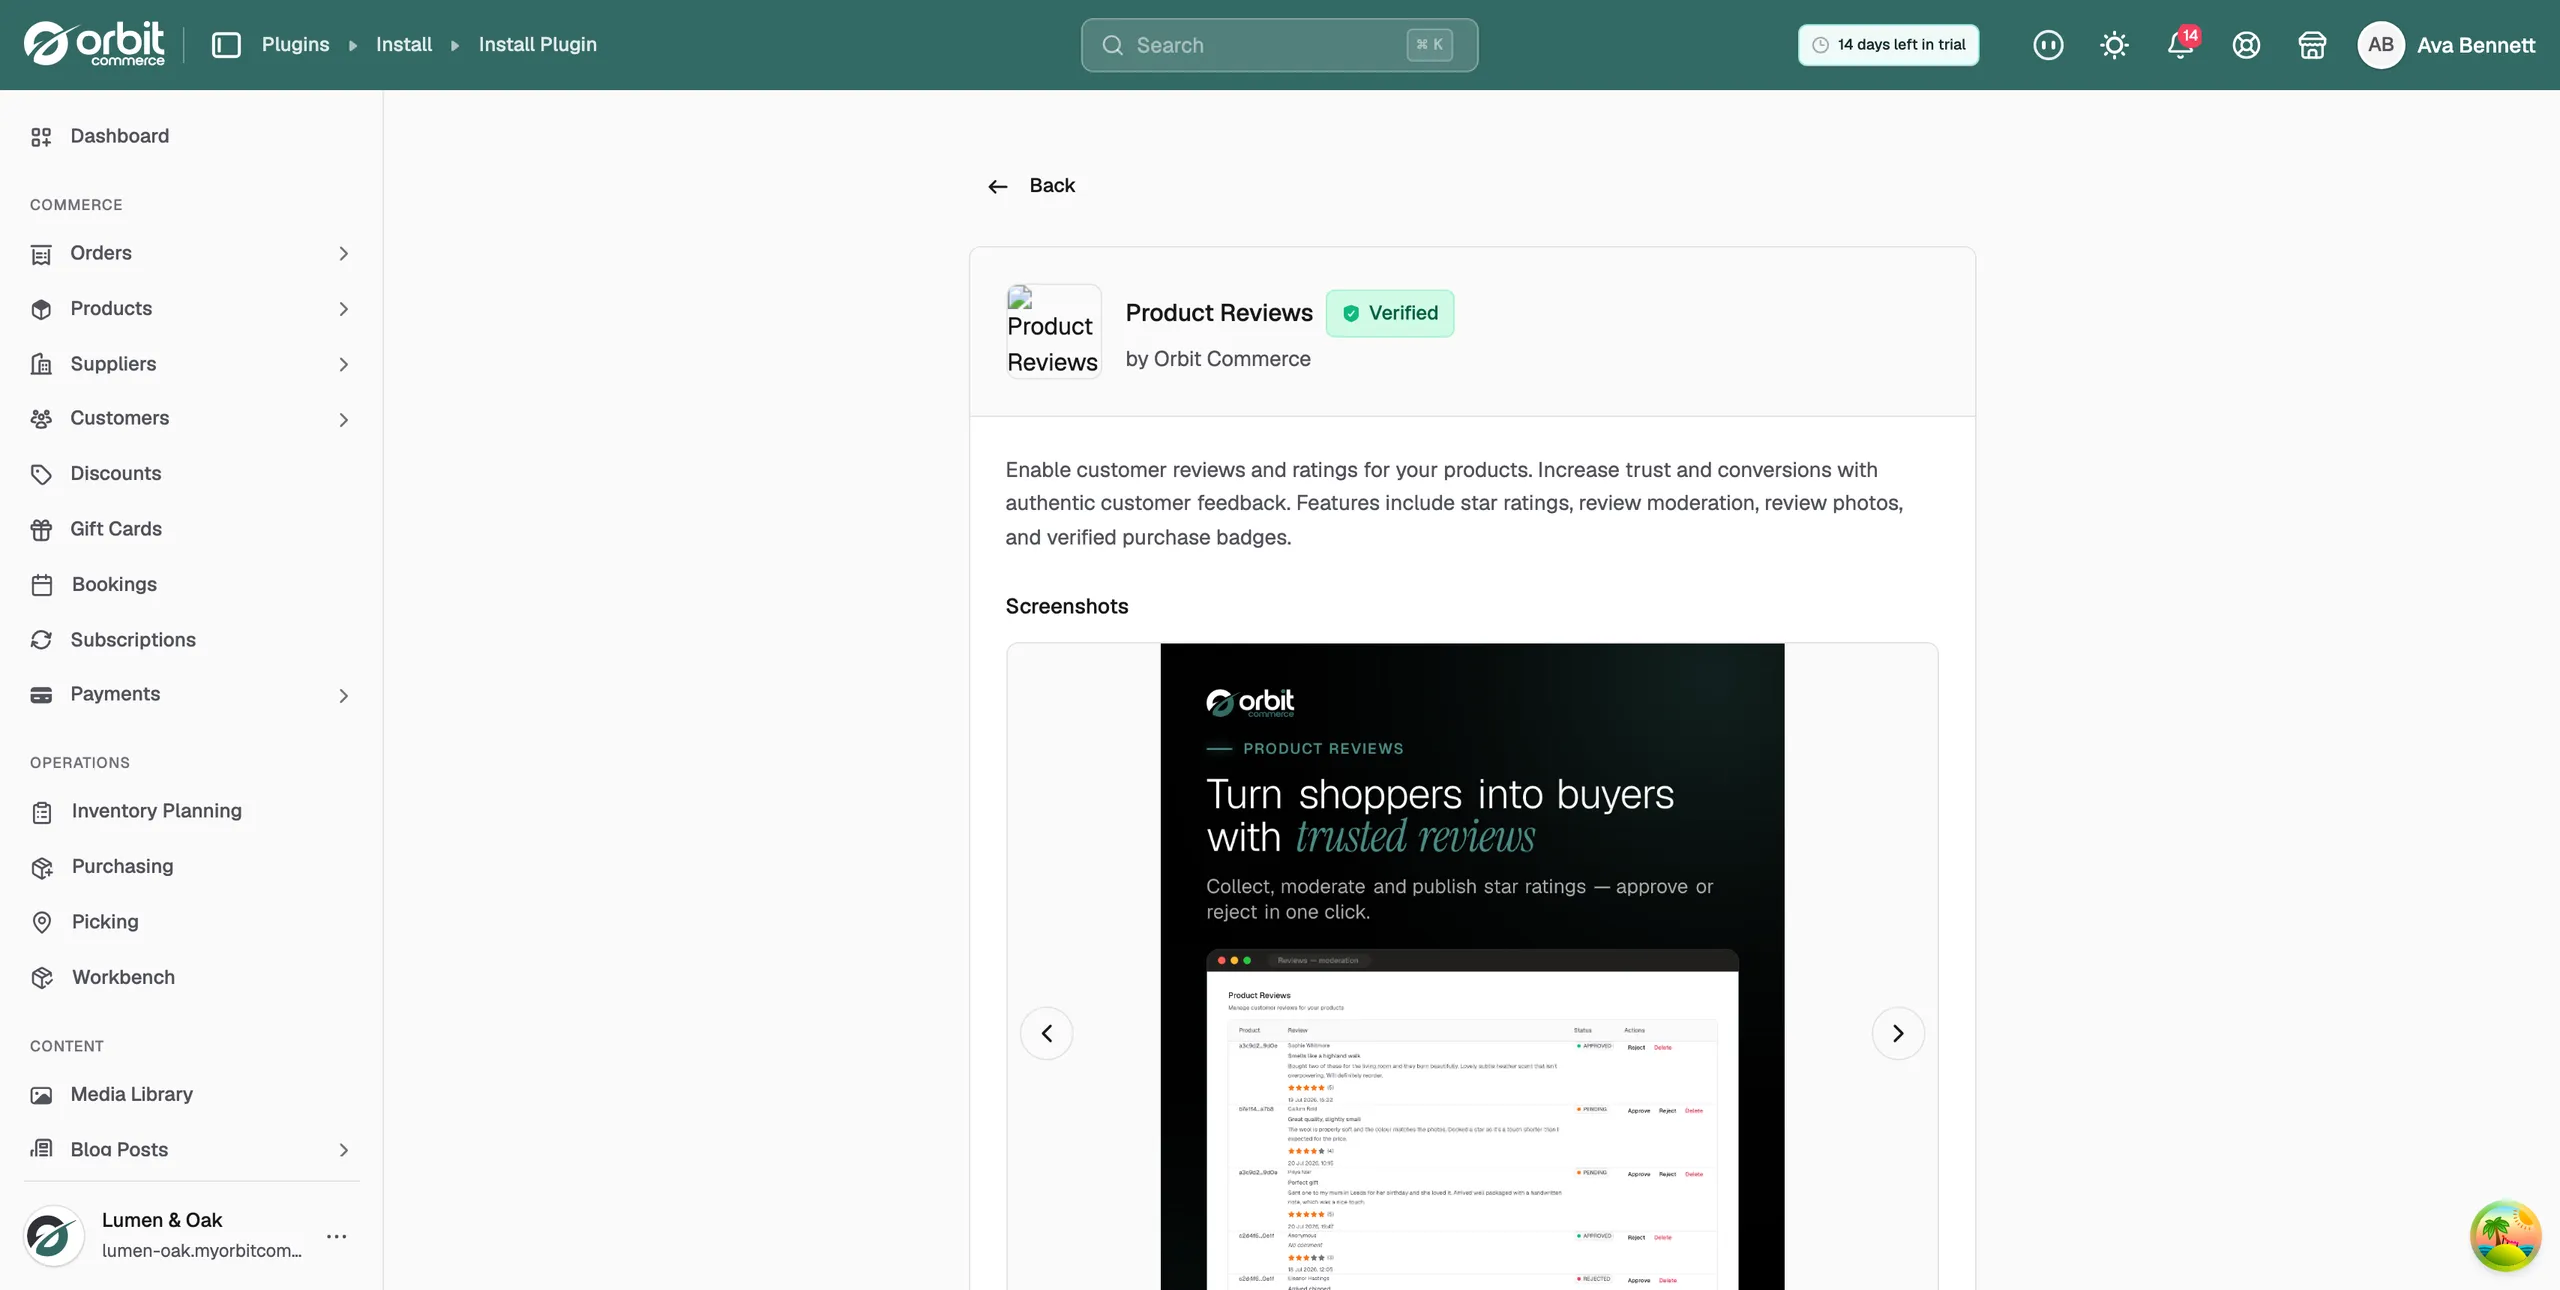
- Check who made the plugin. The maker's name sits under the plugin name, for example by Orbit Commerce.
- Read the description and look through the screenshots.
- Under This plugin will have access to:, read each permission. Installing grants all of them.
- Under Pricing, check what the plugin costs. A free plugin shows Free. A paid plugin shows its plans and any free trial.
- Click the button at the bottom of the page. It reads Install & Authorize for a free plugin, Install free plan for a plugin with a free plan, or Start 14-Day Free Trial for a paid plugin with a trial. The number of days depends on the plugin. To go back without installing, click Cancel.
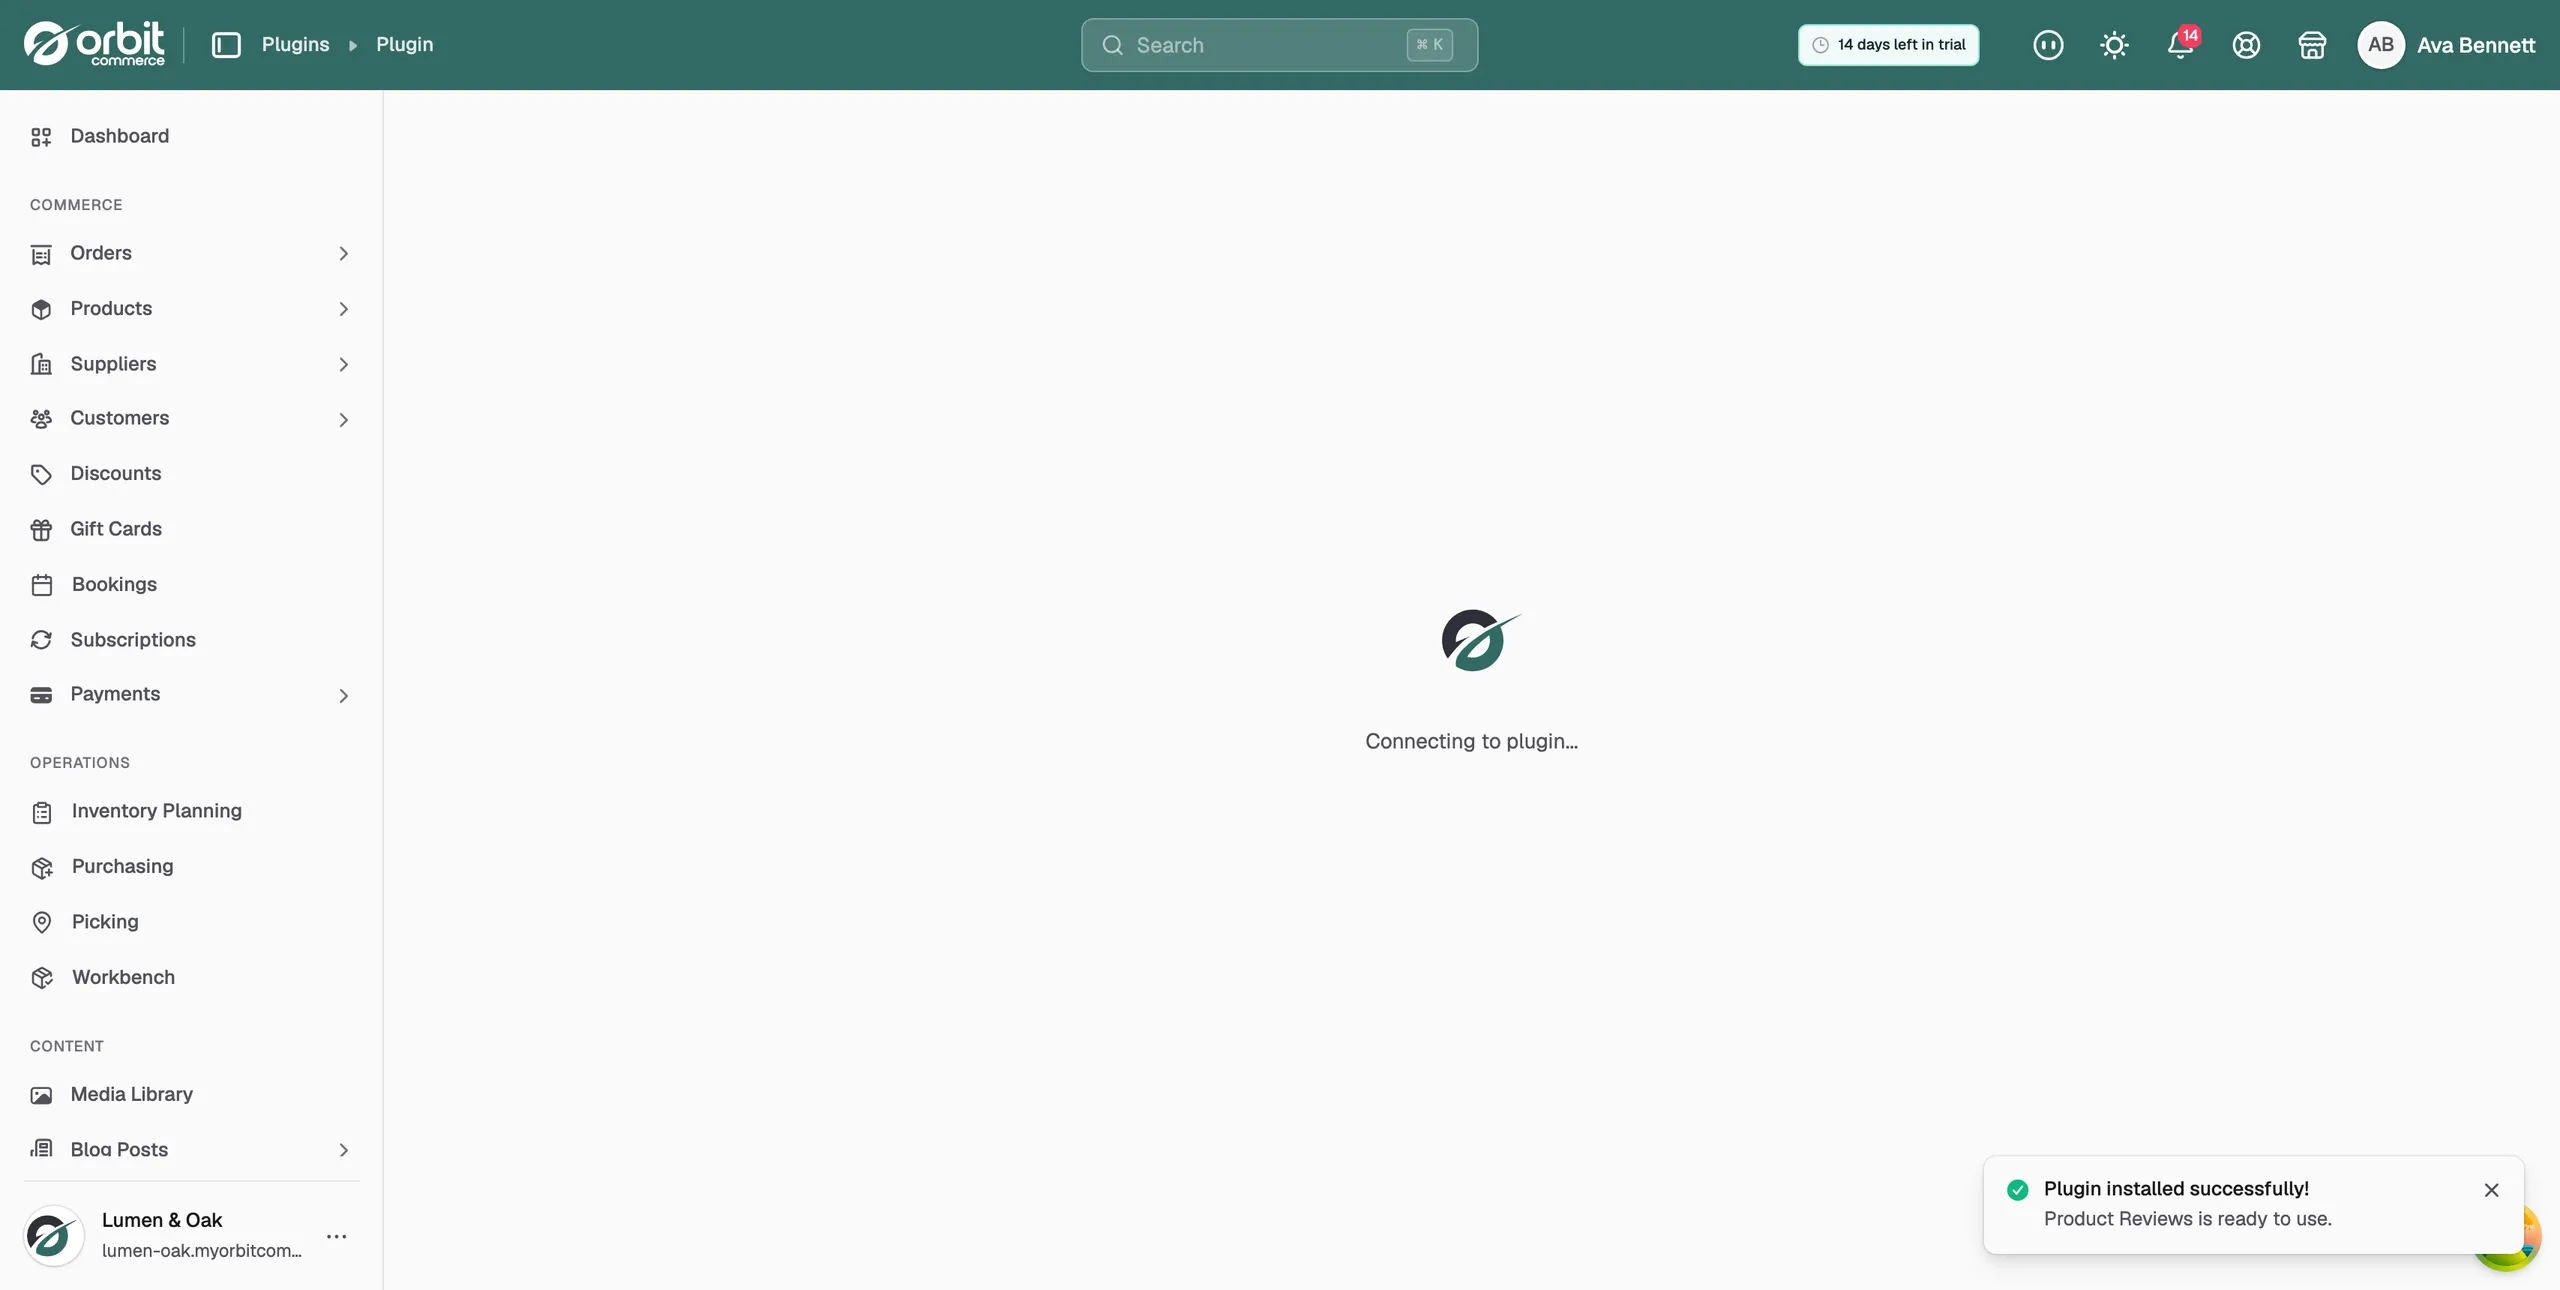
- The message Plugin installed successfully! appears at the bottom right. For a trial it reads Your 14-day free trial has started! instead. The plugin is installed, switched on, and its own page opens.
Note: Above the button, a short notice reminds you that installing shares the listed data with the plugin's maker. Read their privacy policy and terms of service before you install.
Open a plugin
- From your Orbit dashboard, go to Plugins.
- Under My Plugins, click Open on the plugin's row. The plugin's own page opens.
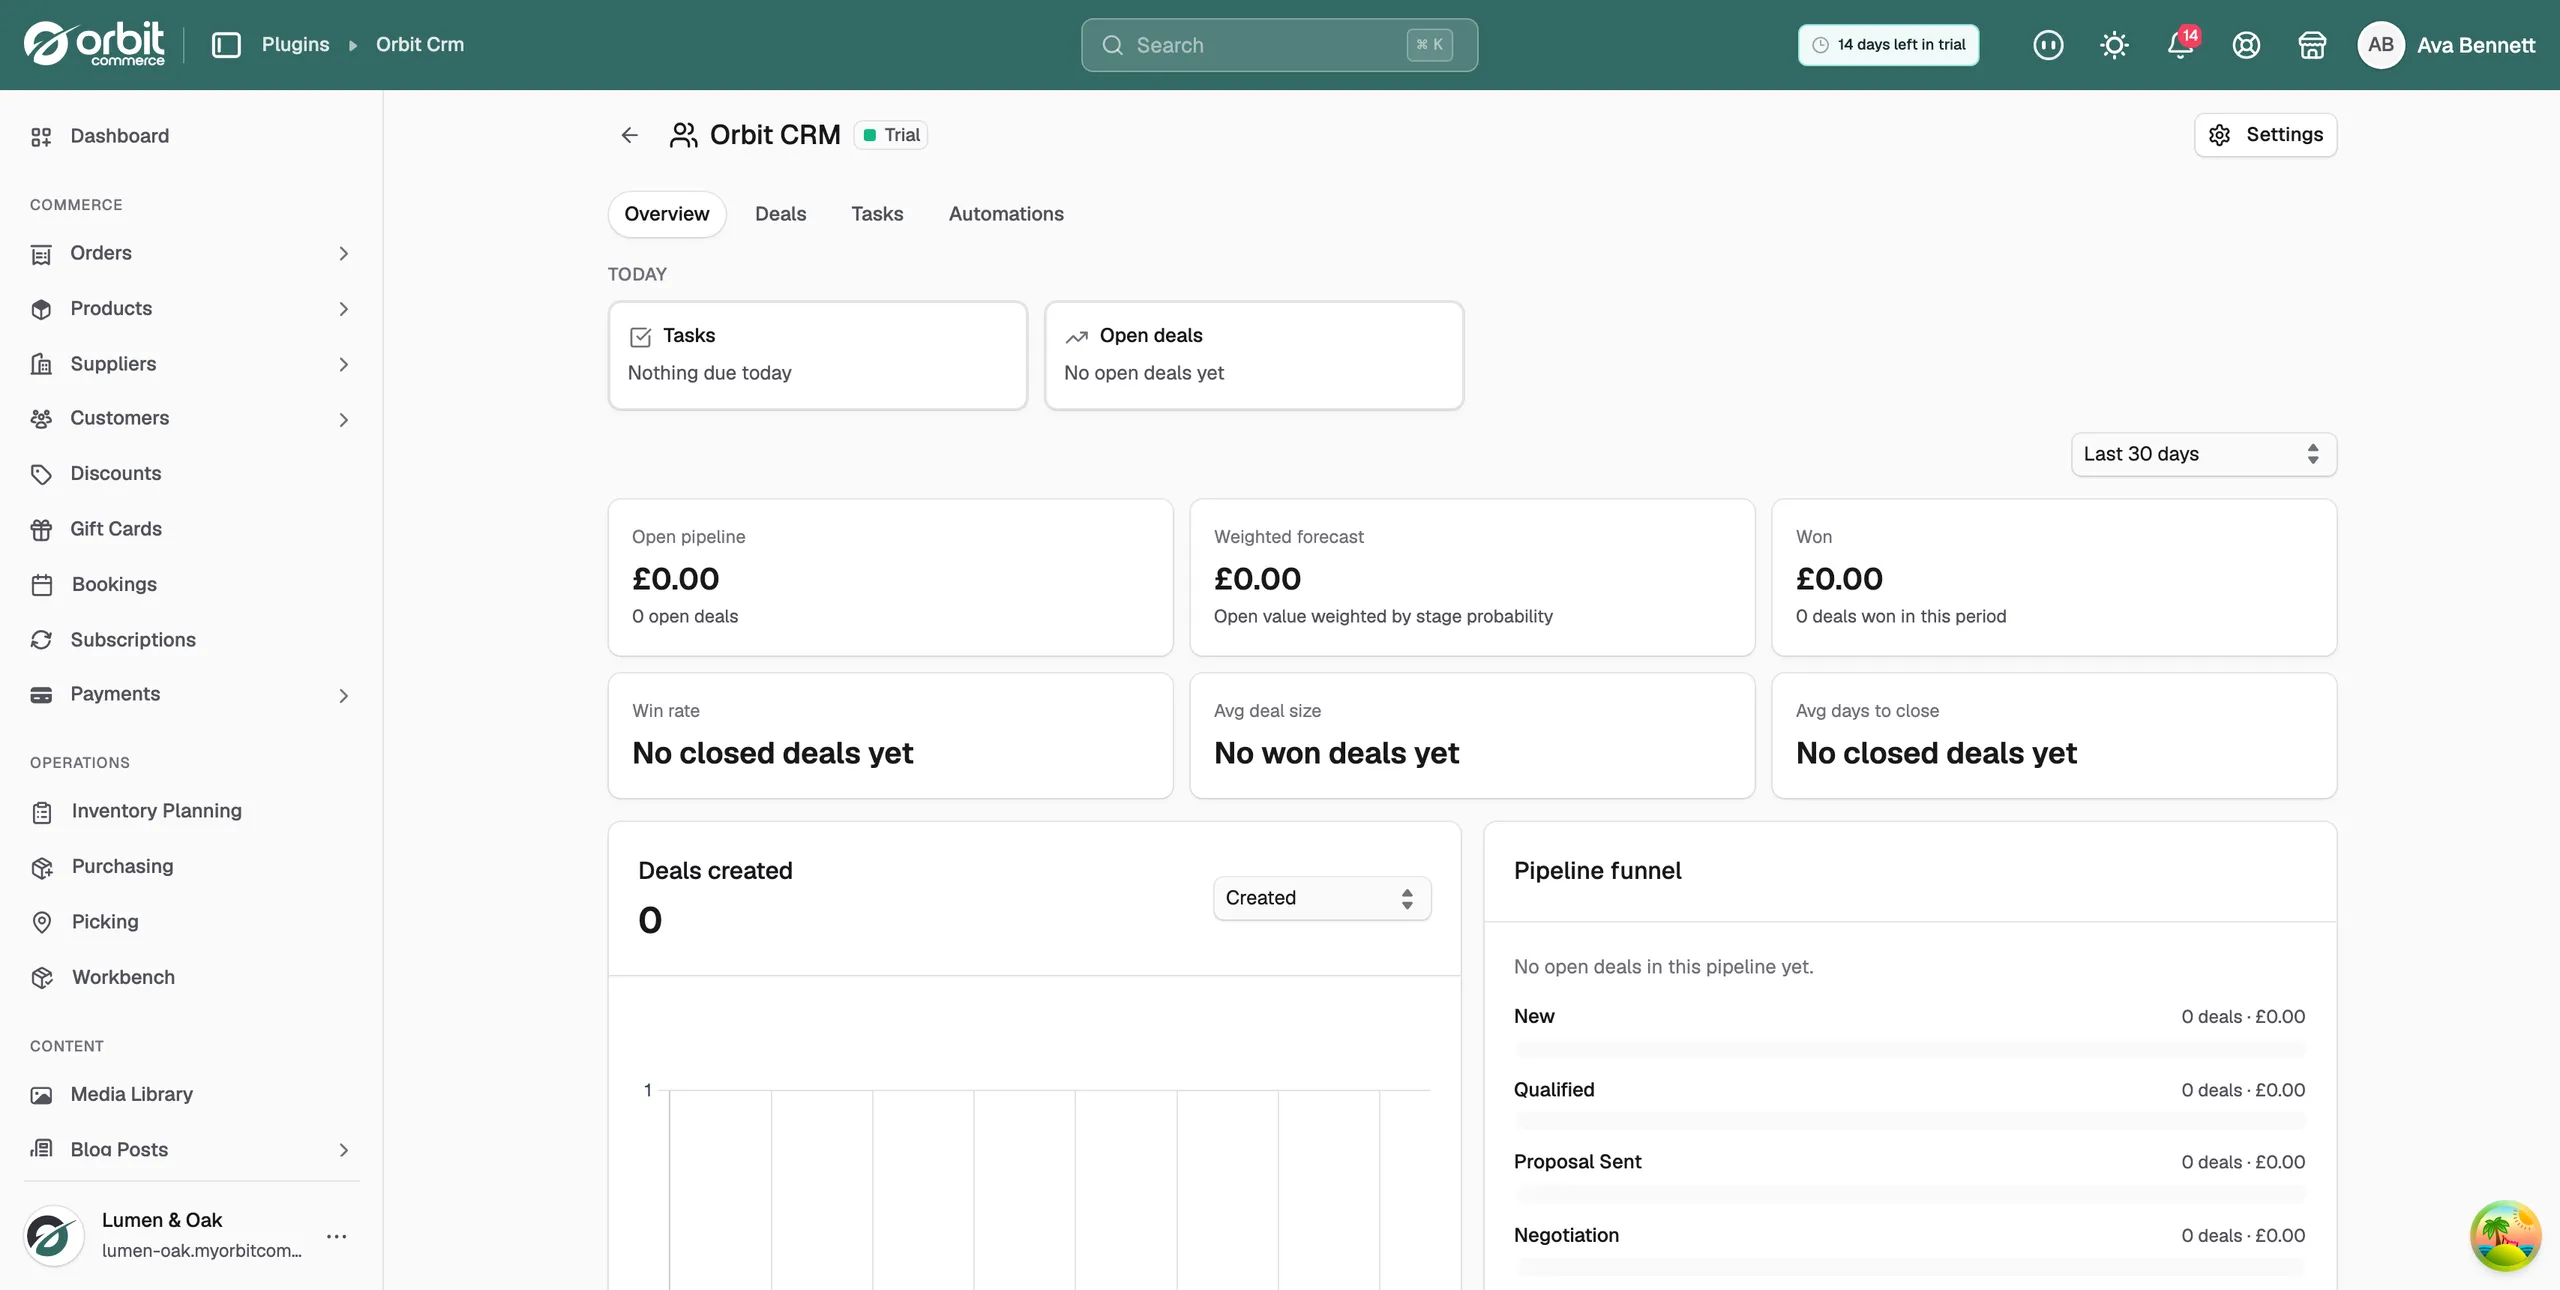
Every active plugin also gets a row in the left menu, under Installed Plugins. The row can use a shorter name than the plugin's store name. For example, Calculator Builder appears as Calculators.
Manage an installed plugin
Each row under My Plugins has a dots menu at its right-hand end. What it holds depends on the plugin.
- View Details: opens the plugin details page.
- Write a review: leave a review of the plugin.
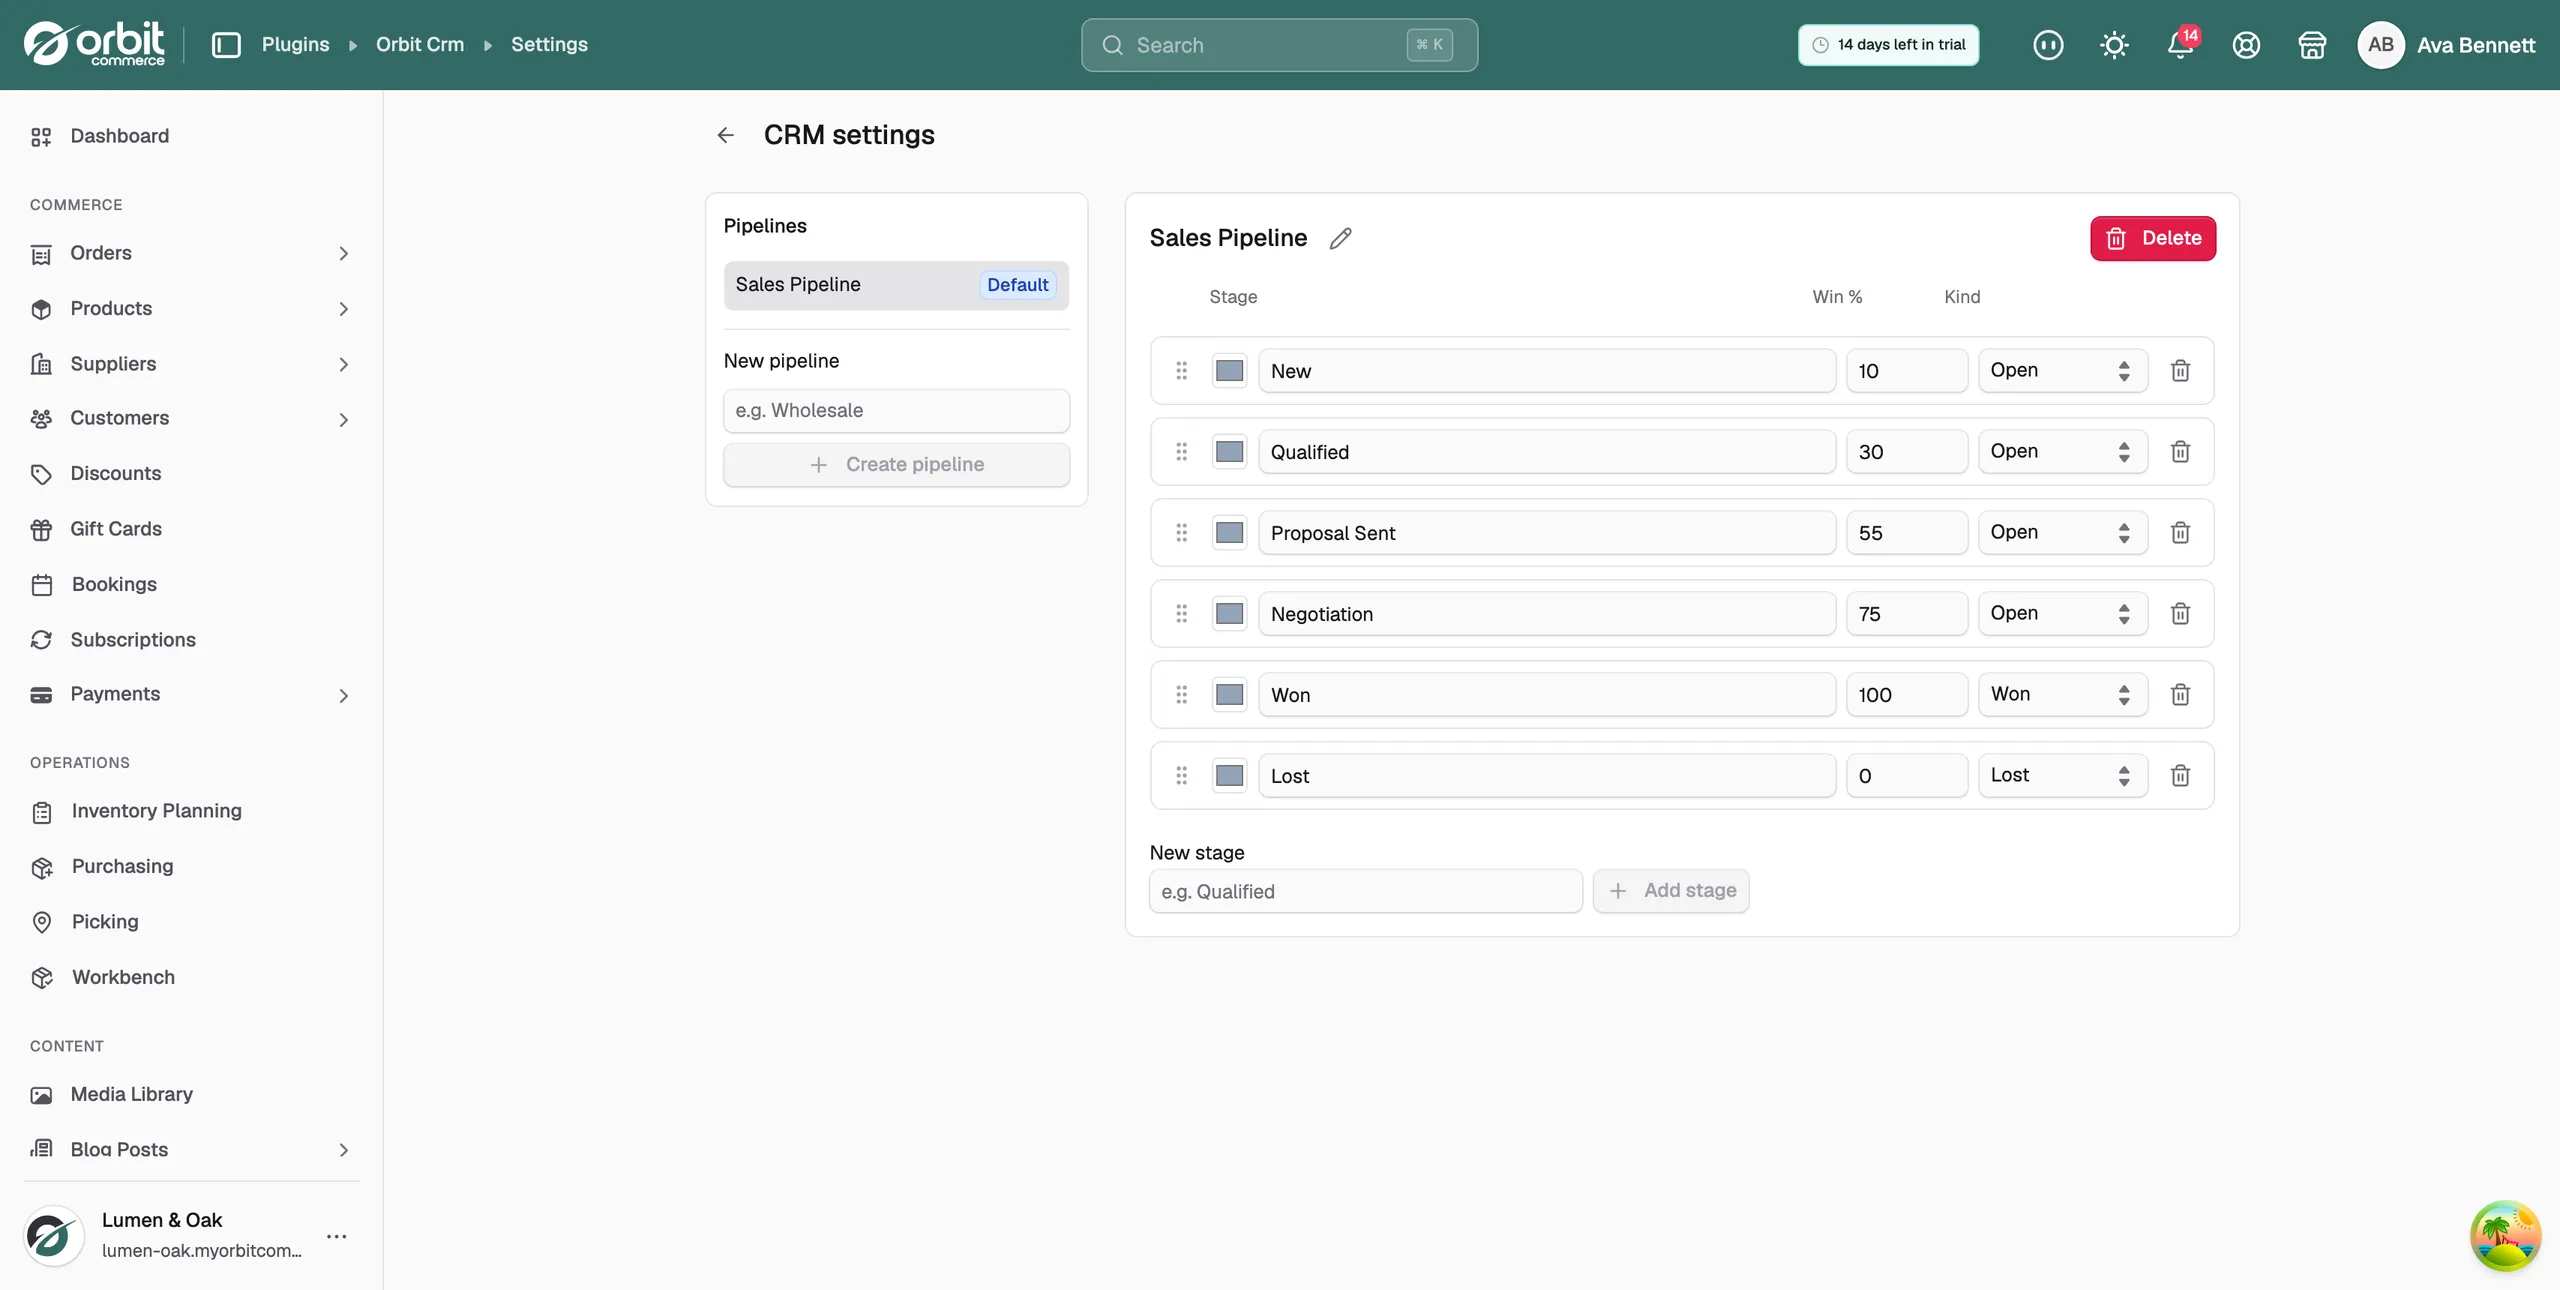
- Settings: opens the plugin's settings. Only plugins with their own settings show this item. Each one is different, for example the sales pipeline stages in Orbit CRM.
- Cancel subscription or Resume subscription: shown for a paid plugin, depending on its billing state.
- Deactivate or Activate: switches the plugin off or on. You see one or the other.
- Uninstall: removes the plugin from your store.
Deactivate or activate a plugin
- From your Orbit dashboard, go to Plugins.
- Under My Plugins, open the dots menu on the plugin's row.
- Click Deactivate. The message Plugin deactivated appears. The badge on the row changes from Active to Installed, the Open button goes, and the plugin leaves the left menu. Its settings are kept.
- To switch it back on, open the same menu and click Activate. The message Plugin activated appears.
Uninstall a plugin
- From your Orbit dashboard, go to Plugins.
- Under My Plugins, open the dots menu on the plugin's row.
- Click Uninstall. A dialog titled Uninstall [plugin name]? opens. It warns that any data the plugin stored may be lost. For a paid plugin it also gives the date your subscription ends. You are not charged again after that date, and if you reinstall before it you keep using the plugin at no extra cost.
- Click Uninstall to confirm, or Cancel to keep it. The message Plugin uninstalled appears and the row is removed.
Warning: Uninstalling can lose the data a plugin stored. If you only want it out of the way for now, use Deactivate instead.
Related guides
Was this helpful?
0 people found this helpful