Setting up Google Shopping
Install the Google Shopping plugin, connect your Google account, choose a Merchant Center account, finish Google's setup checks, sync your products and keep them approved.
The Google Shopping plugin sends your products to Google Merchant Center, so they can appear in Google Shopping results and free listings. You connect your Google account once, choose the Merchant Center account to sell from, then push your catalogue from your Orbit dashboard. There is no feed file to host and no feed URL to paste anywhere.
Considerations
- The plugin's Free plan covers up to 500 products with a daily refresh. Pro costs £3.99 a month after a 14-day free trial, and adds unlimited products plus hourly and 30-minute refresh. See Managing plugin plans and billing.
- You need a Google account that already has access to a Merchant Center account. The plugin does not create one for you.
- Google will not show your products until your website is claimed and the account has shipping and a returns policy. The plugin sets up all three for you.
- Products with no barcode, image or brand are the ones Google usually rejects. Fix them in your product editor first. See Adding SKUs and barcodes.
- Product links use your store's primary domain, and that domain has to match the website claimed in Merchant Center.
Install the plugin
- From your Orbit dashboard, go to Plugins.
- Under Explore Plugins, find Google Shopping and click Install.
- Check the details page, then click Install & Authorize. The plugin appears under My Plugins.
- Click Open. The plugin has five tabs: Sync, Products, Rules, Ads and Legacy feeds.

The full steps, including how to change plan later, are in Installing and managing plugins.
Connect your Google account
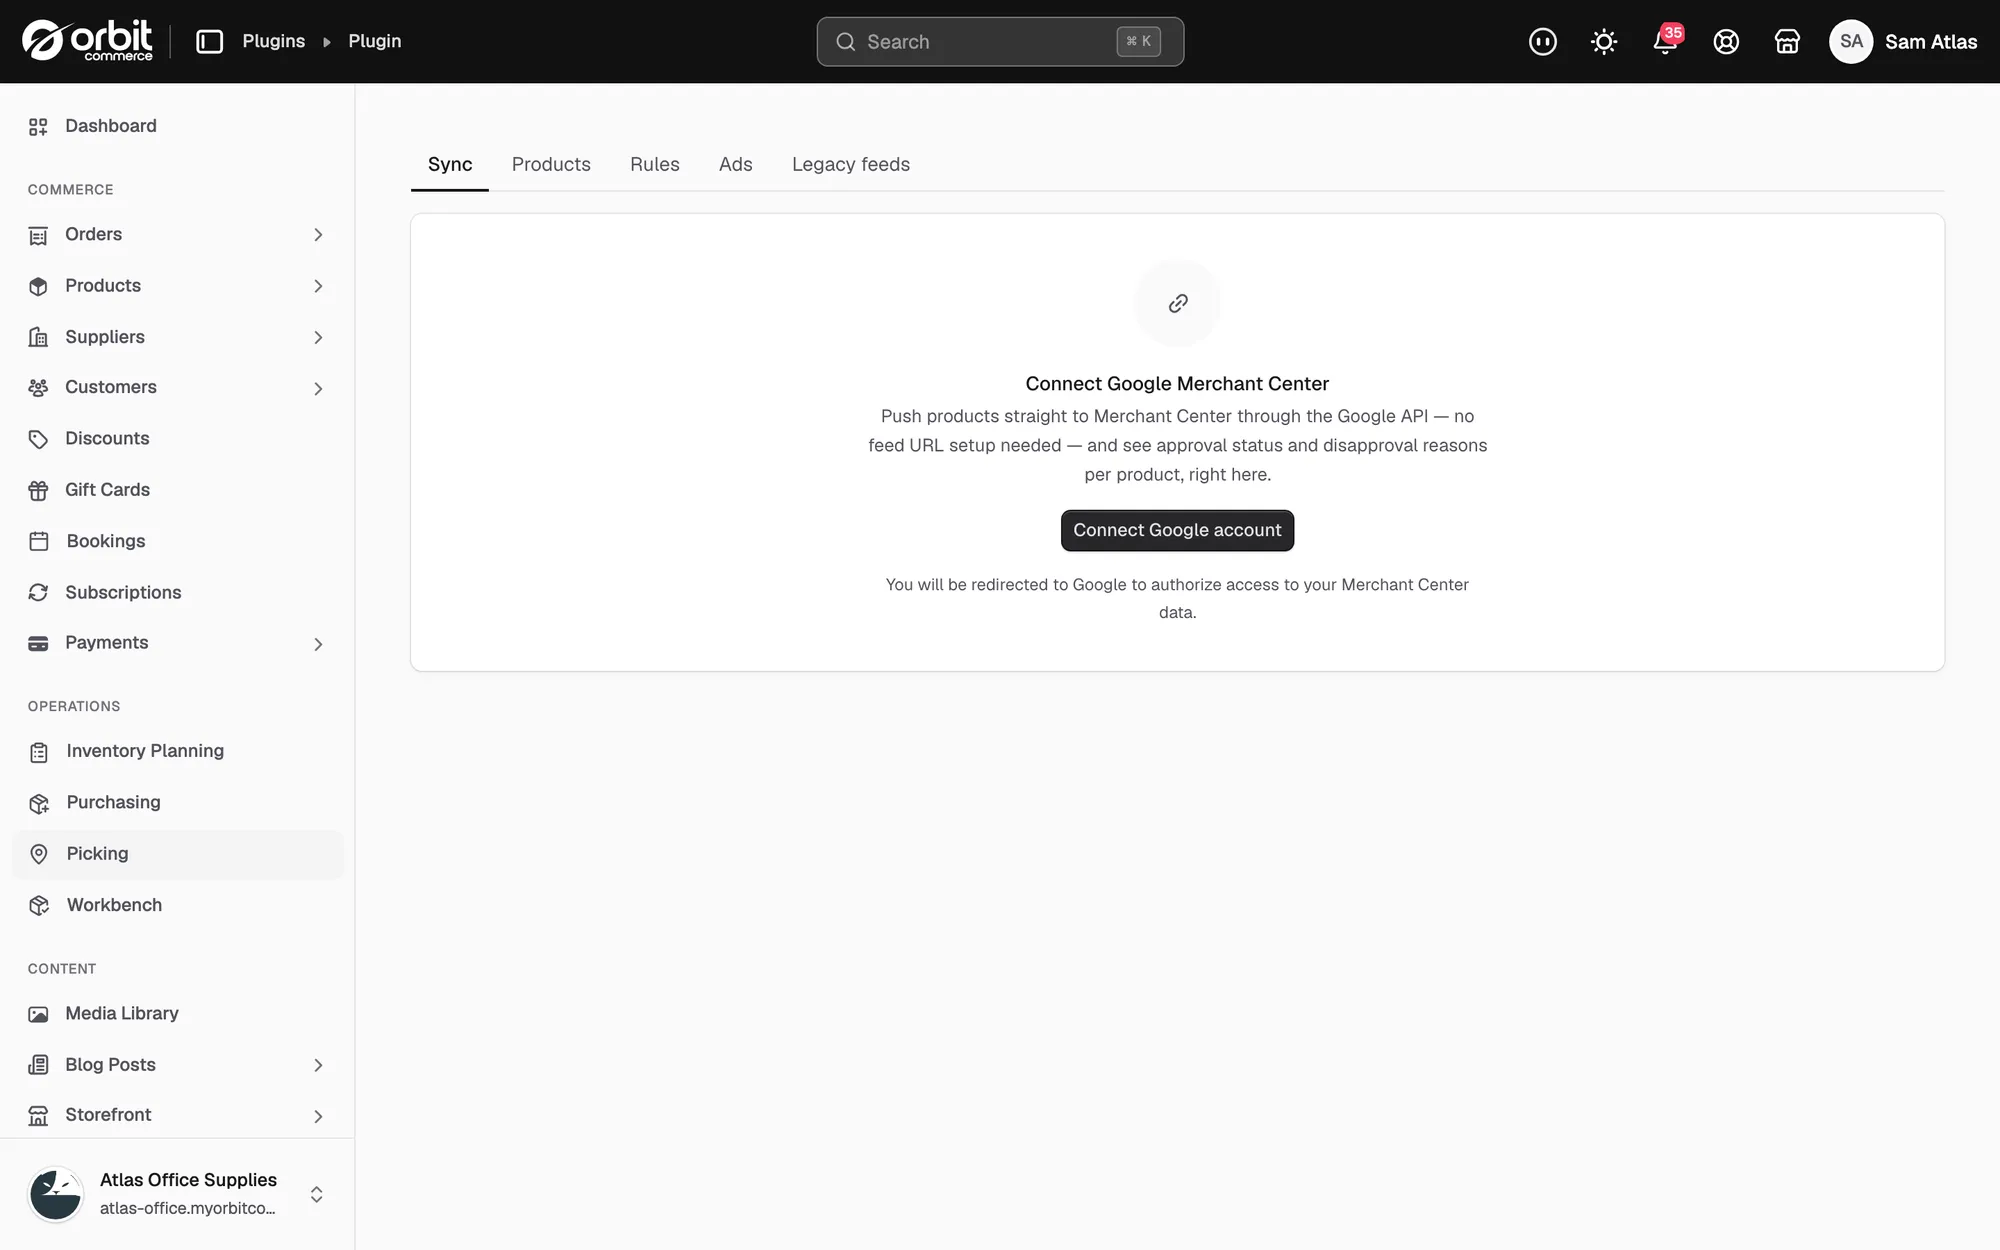
- Open the Sync tab.
- Click Connect Google account.
- Sign in to Google and allow access to your Merchant Center data.
- You come back to the Sync tab, which now shows Google connected.
Choose your Merchant Center account
- Under Merchant Center account, click Load available accounts.
- Choose the account you sell from, then click Use this account.
- To move to a different account later, click Change account.
Note: If the plugin says your store domain does not match the account's website, fix that before you sync. In Merchant Center, set the account's website to your store domain under Business info, then Website, and claim it. Google removes product links that do not match the claimed website.
Finish the Merchant Center setup
The Merchant Center setup card lists what Google still needs. Each row is fixed in place, so you never have to open Merchant Center.
- Website: click Use store domain, then Claim website.
- Shipping: check the Delivery rate, Free over (optional), Handling days and Transit days, which are filled in from your store's shipping settings, then click Push shipping settings.
- Returns policy: enter the Returns policy page URL and a Return window (days), then click Create returns policy.
- Programmes: each programme shows its state. Click Enable next to any that is eligible, such as Free listings or Shopping ads.
Click Refresh to check the account again. Once all three rows are green, the card shrinks to Merchant Center setup complete.
Start the product sync
- Under Sync products to Google, click Set up product sync. This creates your sync settings with sensible defaults.
- Click Sync settings to check the target country, language, currency, product filters and variant submission.
- Click Add country if you sell in more than one country. Each country gets its own settings.
- Click Sync now.
- Check how many items are about to go to Google, then click Start sync.
- Follow the run under Recent pushes. Each row shows how many items were pushed and how many failed, with the reason for each failure.
Note: The first sync builds a copy of your catalogue, which can take a minute on a large store. The line above the button shows how many products are in the copy and when it last changed.
Turn on Auto-sync to keep Google up to date on its own. It pushes once a day, pushes again whenever a product changes, and removes deleted or excluded items from Google.
Check your product status
- Under Product status, click Check status.
- Read the counts: Products, Approved, Pending and Disapproved.
- Click an issue to see what Google objects to, which products it affects and a link to Google documentation.
- Fix the product in your store, or on the Products tab, then click Sync now.
The Products tab shows the same status per product, and per variant inside a product. See Customising your Google Shopping feed.
Show your discount codes on Google
- Under Promotions, click Check promotions.
- Read the codes listed. Order-wide percentage, amount-off and free-shipping codes that everyone can use are the ones that qualify.
- Click Push promotions (the button also shows how many codes qualify). Approved codes show as Live on Google once Google has reviewed them.
Turn the promotions programme on once in Merchant Center, under Marketing, then Promotions. Without it Google rejects the codes.
Advertise your products
The Ads tab builds Performance Max campaigns from the same product data. Click Enable Google Ads, choose your Google Ads account, then click Link Merchant Center. New campaign asks for a Campaign name, a Daily budget and an optional Target ROAS, and lets you limit the campaign to a brand, product category or custom label. Leave Start paused (recommended) ticked until you have checked the campaign. Click Set up conversion tracking so purchases report back to Google Ads.
Legacy feeds
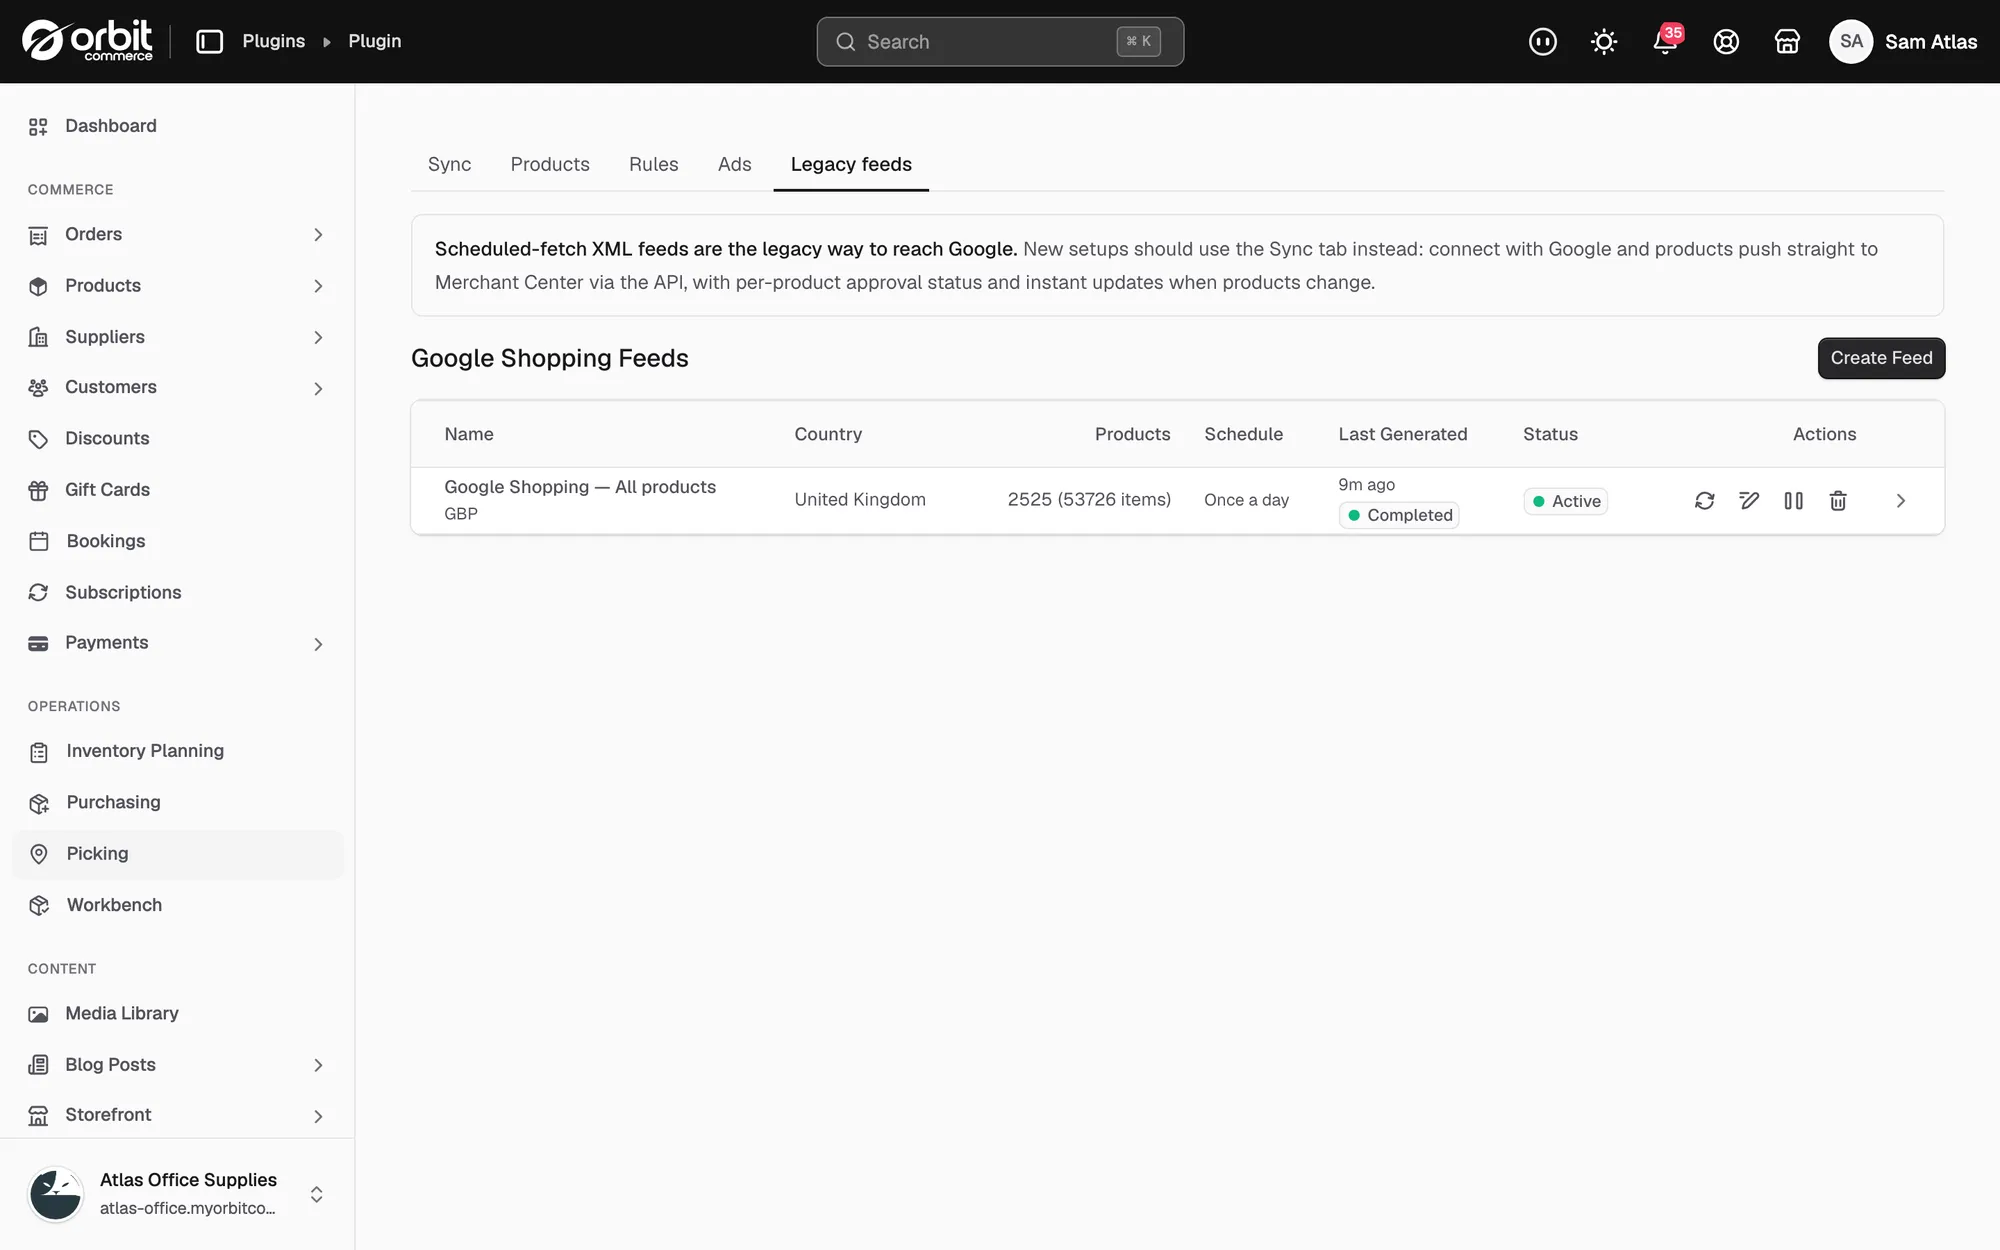
Scheduled-fetch XML feeds are the older way to reach Google. Keep yours if Merchant Center already fetches a feed URL from your store. Anything new should go through the Sync tab instead.
- Open the Legacy feeds tab. Each feed shows its country, product count, schedule, last run and status.
- Click the feed to open it.
- Click Generate Now to rebuild the XML file, and Validate Feed to check it against what Google requires.
- Under Feed URL, click Copy. That address is what Merchant Center fetches on a schedule.
Related guides
Was this helpful?
0 people found this helpful