Adding a plugin widget
Put a widget from an installed plugin, such as reviews or loyalty, on any page. Pick the plugin and the target, then style it like any other element.
2 min read2viewsUpdated 16 September 2026Orbit Support Team
The Plugin Widget element puts content from an installed plugin on a page, such as a reviews widget or a loyalty panel. You choose the plugin and where its widget should show. No code is needed.
Considerations
- The plugin must be installed first. Only installed plugins that provide a widget appear in the list.
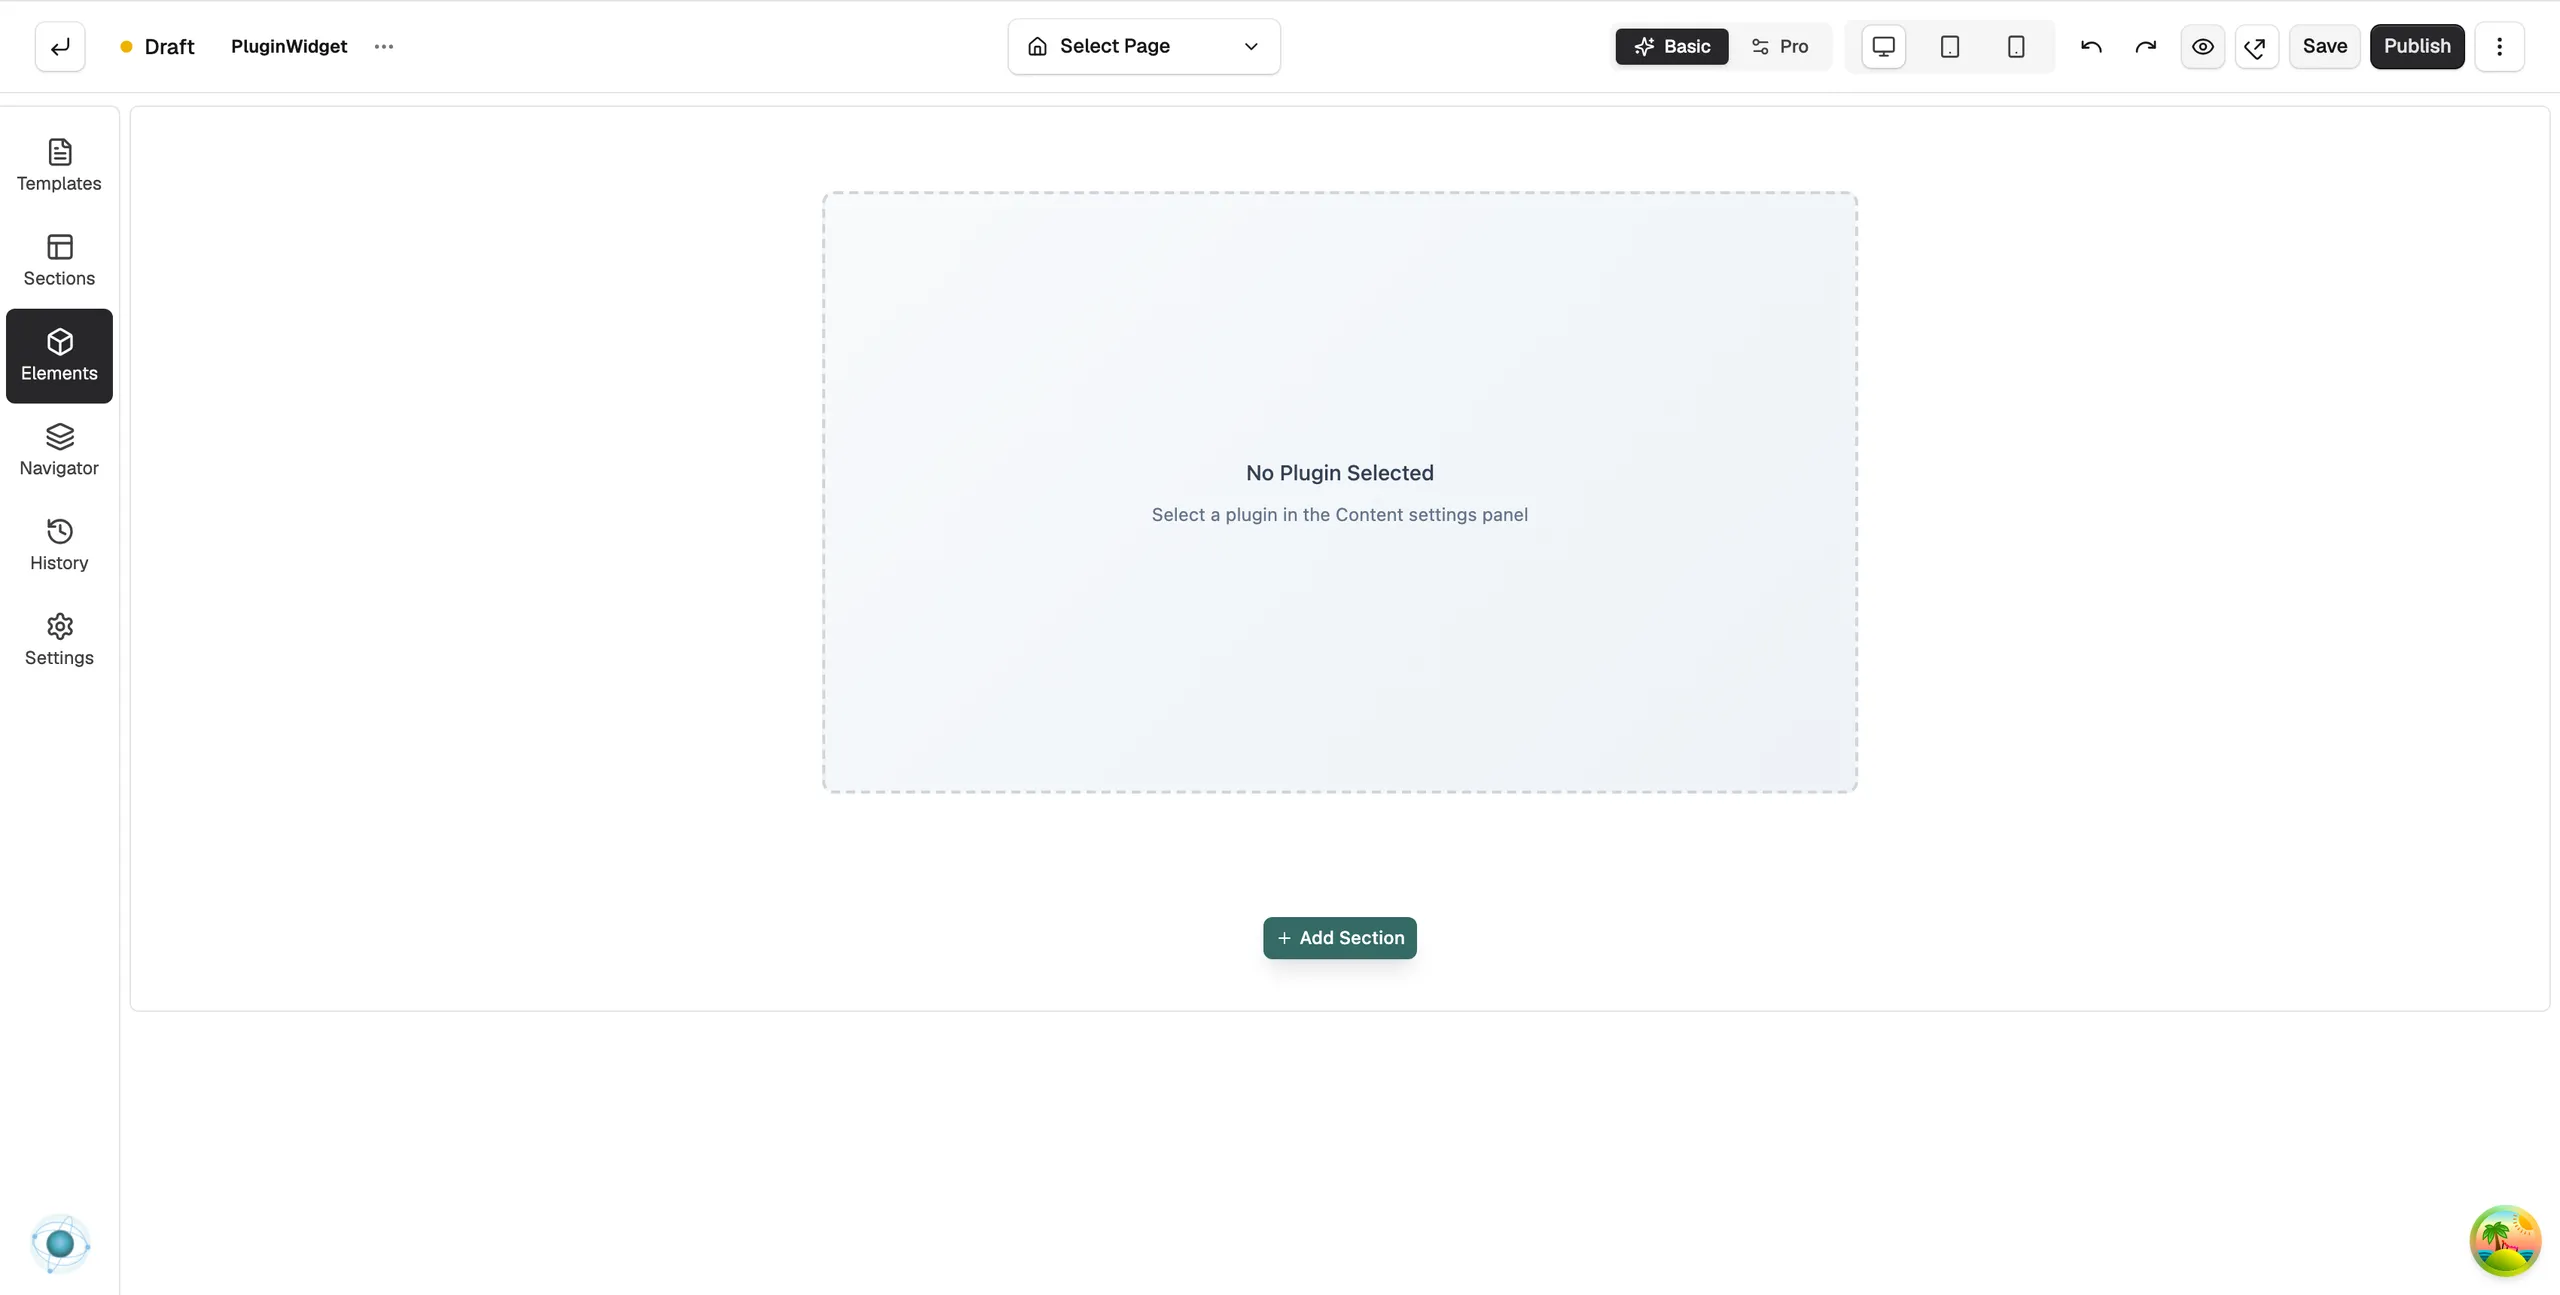
- Until you pick a plugin, the canvas shows Select a plugin in the Content settings panel.
Add the element
- Open the page in the page builder. For your homepage, go to Storefront, then Themes, and click Customize.
- In the toolbox on the left, click Elements.
- Open the Ecommerce group and find Plugin Widget, or search for it.
- Drag it onto the canvas and drop it where you want it.
- Click the element to open its settings. Under Plugin, choose the plugin from the list. The widget loads on the canvas.
Content settings
The Content tab has two groups.
- Target: where this widget is meant to show. Choose Product Widget, Cart Widget or Page Block. Match it to the kind of page you are editing.
- Plugin: the installed plugin to show content from.
Design and Advance settings
Use the Design tab to set spacing and alignment so the widget sits neatly in your layout. The Advance tab, shown in Pro mode, has a Container group with Min Height, the least height the widget area takes up while its content loads. For both tabs in full, see Using the element settings panel.
Related guides
Was this helpful?
0 people found this helpful