Adding your logo with the Logo element
Show your store logo on a page or header. The image comes from Settings, Store Details, and the element shows your store name until you upload one.
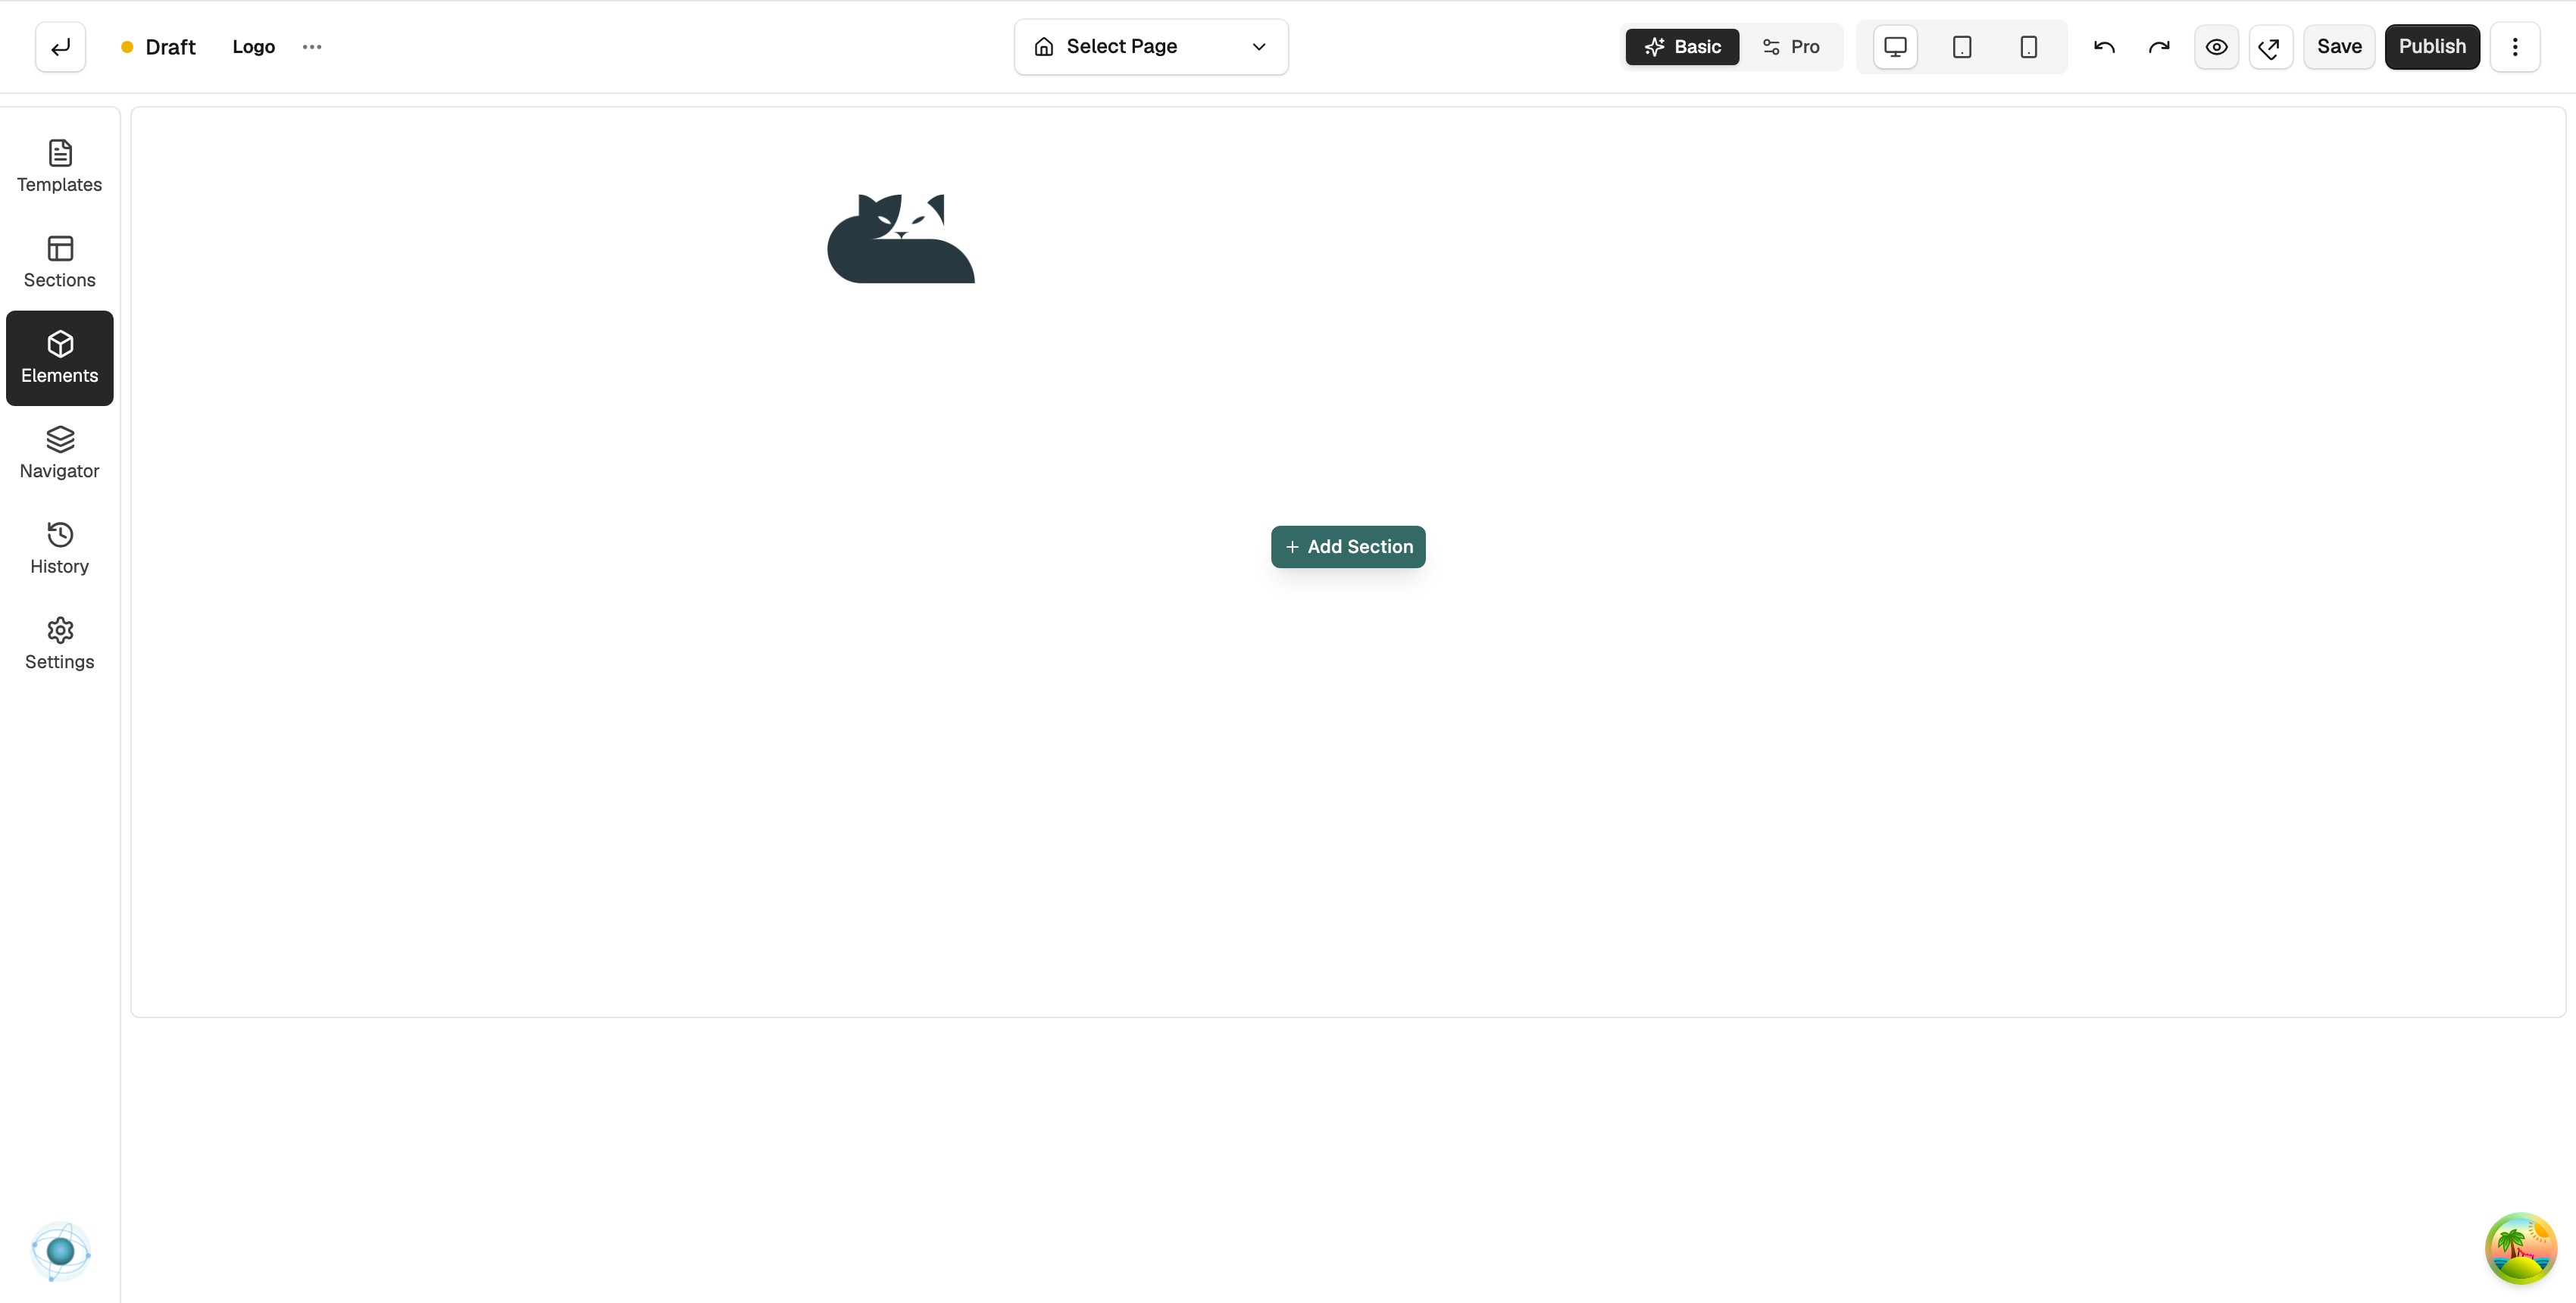
The Logo element shows your store logo on a page or in a header. It picks up the logo from your store settings, so you do not upload it again here. If you have not added a logo yet, the element shows your store name as text instead. Customers can click it to go back to your home page.
Add the element
- In the page builder, click Elements in the toolbox on the left.
- Click the Ecommerce group, or type the name in Search elements....
- Drag Logo onto the canvas and drop it where you want it. The panel closes on its own.
- Click the element on the canvas. Its settings open on the right, with a Content tab and a Design tab.
Content settings
- Alt Text: a short description of the logo for screen readers and search engines, for example Your Store Name logo.
- Link: where the logo goes when clicked. The default is your home page. Click the field to open Edit Logo Link, then search for a page or enter a custom URL. You can also set the link to open in a new tab.
- Remove link: makes the logo plain, with no link.
Change the logo image
The Logo element always shows the logo saved in your store settings. To change it:
- From your Orbit dashboard, go to Settings, then Store Details.
- Under Store Logo, upload your logo. The recommended size is 512 x 512 px, as a PNG, JPG or SVG.
- Save. Every Logo element on your store shows the new image.
Tip: Until a logo is uploaded, the element shows your store name in text. That is expected, not a fault.
Design settings
Open the Design tab to set the maximum width and height of the logo, its spacing and alignment, and, when the store name shows as text, its font, size and colour. For what the Design and Advance tabs do on every element, see Using the element settings panel.
Related guides
Was this helpful?
0 people found this helpful