Adding an account icon
Add an account icon so shoppers can log in, and set the wording of the label and the menu signed-in customers see.
2 min read19viewsUpdated 14 September 2026Orbit Support Team
The Account Icon gives shoppers a way into their account. Signed-out visitors click it to log in. Signed-in customers get a small menu with links to their orders, addresses, settings and log out. It usually sits in your header.
Considerations
- Account Icon is in the Ecommerce group, so it is there in both Basic and Pro mode.
- Your header is its own template. Edit it under Storefront, then Templates, on the Header tab.
- In a header template, a dropped element moves into the Header Builder on its own. Drop it where you want it to sit in the bar.
Add the element
- Open the header template, or any page, in the page builder.
- In the toolbox on the far left, click Elements.
- Open the Ecommerce group and find Account Icon, or search for it.
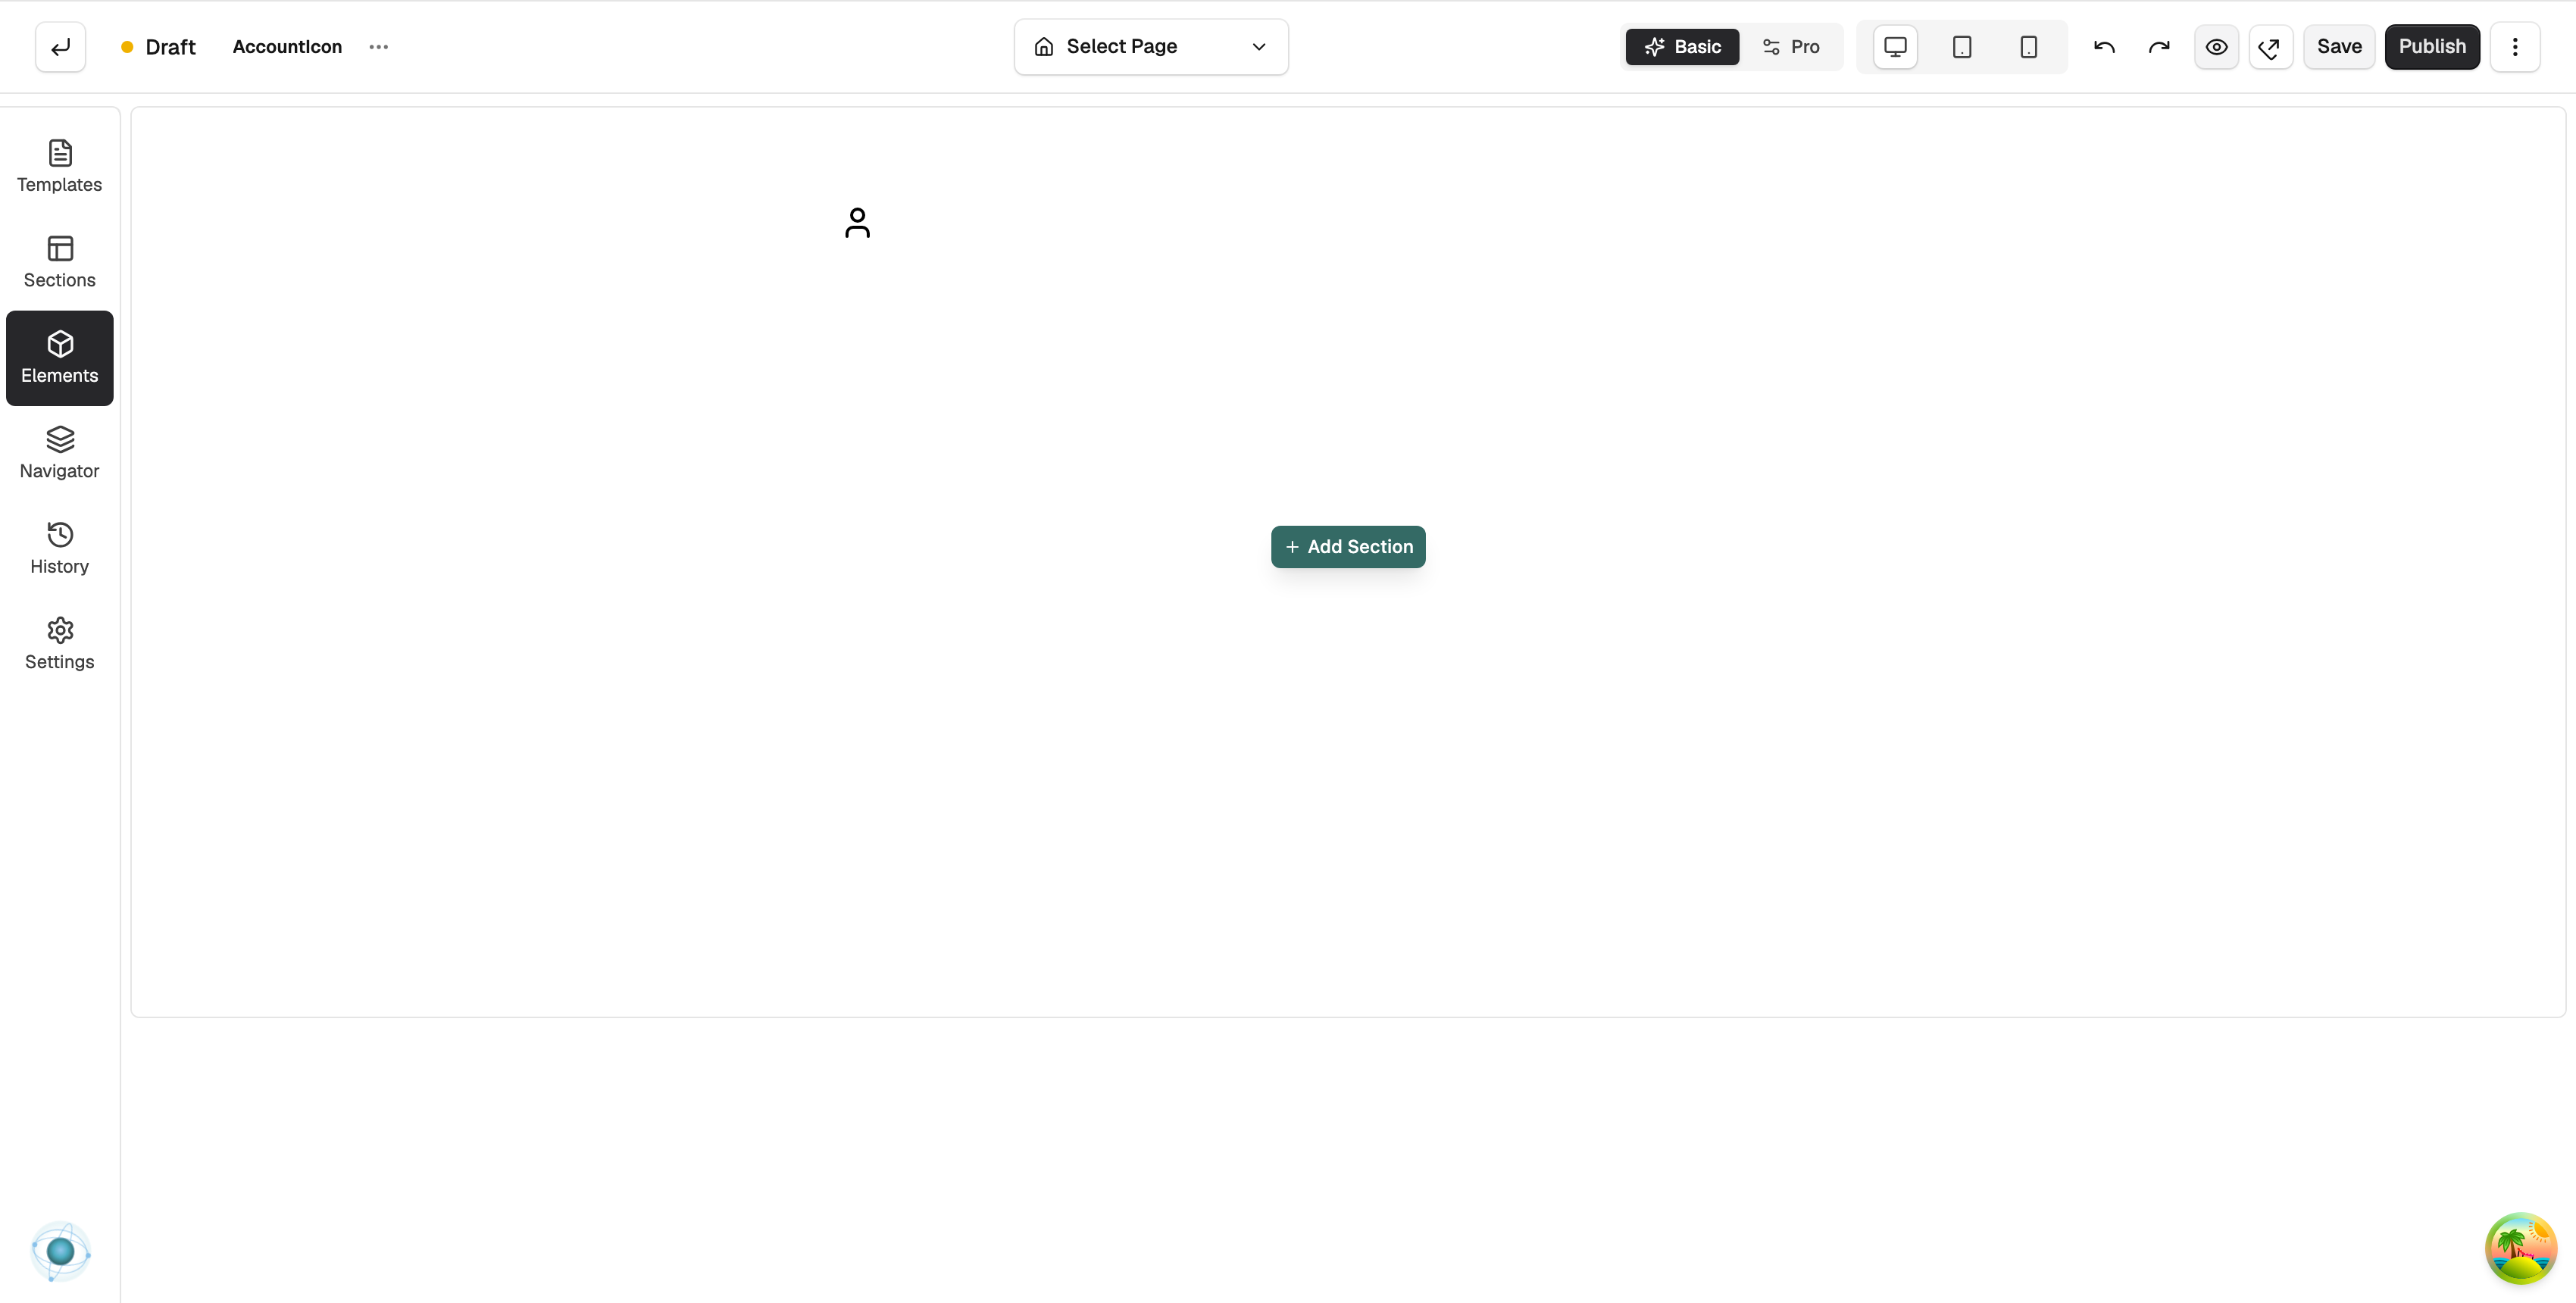
- Drag it onto the canvas and drop it where you want it. It arrives as a plain person icon with no text.
Content settings
Click the element and open the Content tab.
- Icon: pick the icon customers see. Click the field to choose a different one.
- Label: Show Label puts text next to the icon. When it is on, Login Text is the wording for signed-out visitors and Account Text is the wording for signed-in customers.
- Dropdown Menu: Show Dropdown opens a menu for signed-in customers. When it is on, Orders Text, Addresses Text, Settings Text and Logout Text set the wording of the four links.
Design settings
Open the Design tab to style it:
- Icon: Icon Size, Icon Colour and Icon Hover Colour.
- Label: Font Size, Text Colour and Gap, the space between the icon and the text.
- Dropdown: Width, Background Colour, Text Colour, Hover Background, Border Colour, Border Radius and Shadow.
- Animation: Transition Duration (ms), how fast the menu opens.
Related guides
Was this helpful?
0 people found this helpful