Adding a Lightbox element
Show a small preview that opens a full-size image, video or embed in an overlay. Covers the trigger, source and thumbnail settings.
The Lightbox element shows a small preview on your page. When a customer clicks it, the full-size image, video or embed opens in an overlay on top of the page. Use it when you want to keep the page tidy but still let people see something up close.
Add the element
- In the page builder, click Elements in the toolbox on the left.
- Click the Advance group, or type the name in Search elements....
- Drag Lightbox onto the canvas and drop it where you want it. The panel closes on its own.
- Click the element on the canvas. Its settings open on the right, with a Content tab and a Design tab.
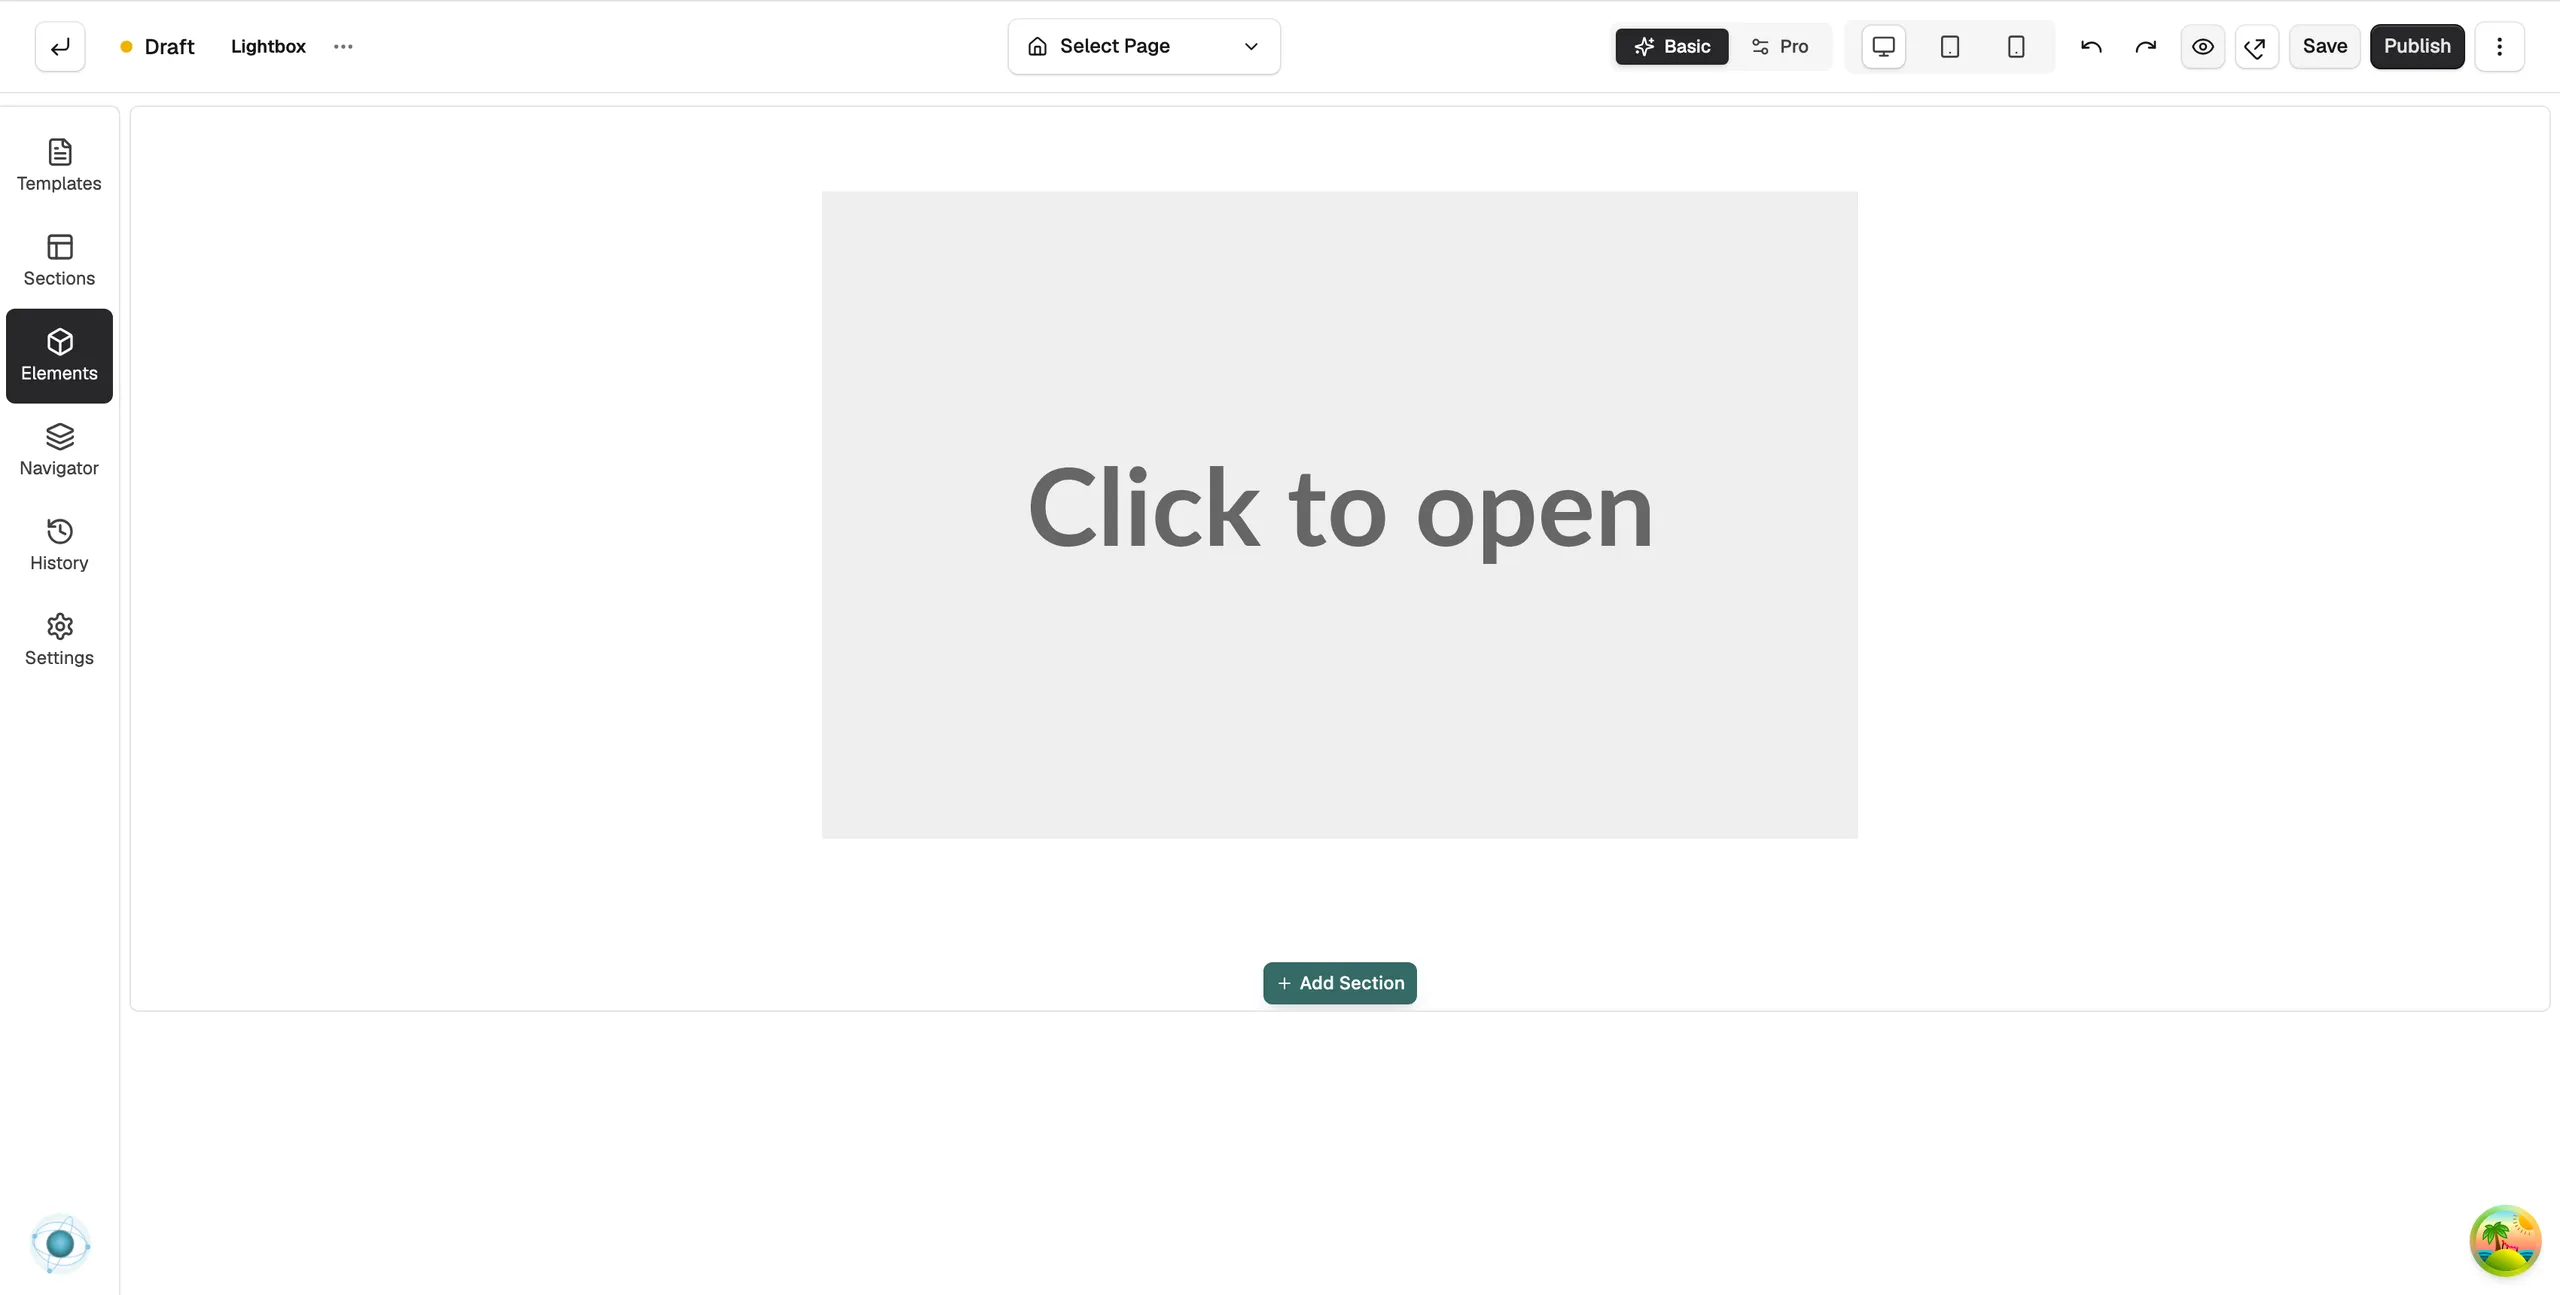
Note: The Advance group only shows in Pro mode. If you cannot see it, click Pro at the top of the builder.
Content settings
- Thumbnail Image URL: the preview image shown on the page.
- Alt Text: a short description of the preview for screen readers and search engines.
- Aspect Ratio: the shape of the preview: Natural, 16:9, 4:3, 1:1 or 3:4.
- What opens the lightbox?: Click the image, a Play-icon overlay on the image, or a Button below the image.
- Button Text: the button label, when you chose the button. The default is View larger.
- Source Type: what opens in the overlay: Full-size image, Video file (mp4/webm), YouTube, Vimeo or Embed URL.
- Source URL: the web address of that image, video or page.
Design settings
Open the Design tab to set the preview width and alignment, the button colours, the colour of the dark overlay and the colour of the close button. For what the Design and Advance tabs do on every element, see Using the element settings panel.
Related guides
Was this helpful?
0 people found this helpful