Creating a popup
Create a popup, design it in the page builder, set its trigger, page targeting and frequency, then publish it so shoppers see it.
A popup is a small window that appears over your storefront, such as a newsletter signup or a welcome offer. You create it on the Popups page, design it in the page builder, then set when and where it shows.
Considerations
- Popups is no longer an item in the Storefront menu. Click Storefront itself to open the Storefront Overview, then click Manage Popups. The Popup tab under Storefront, then Templates, lists the same popups.
- A popup needs two switches on before shoppers see it. It must be Published, and Enabled must be on in its settings. A new popup starts as a Draft with Enabled off.
- Saving in the page builder saves a draft of the design. You still need to publish the popup.
- A popup has no page of its own. Its handle is only a reference.
Create a popup
- From your Orbit dashboard, click Storefront. The Storefront Overview opens.
- Under Quick Actions, click Manage Popups.
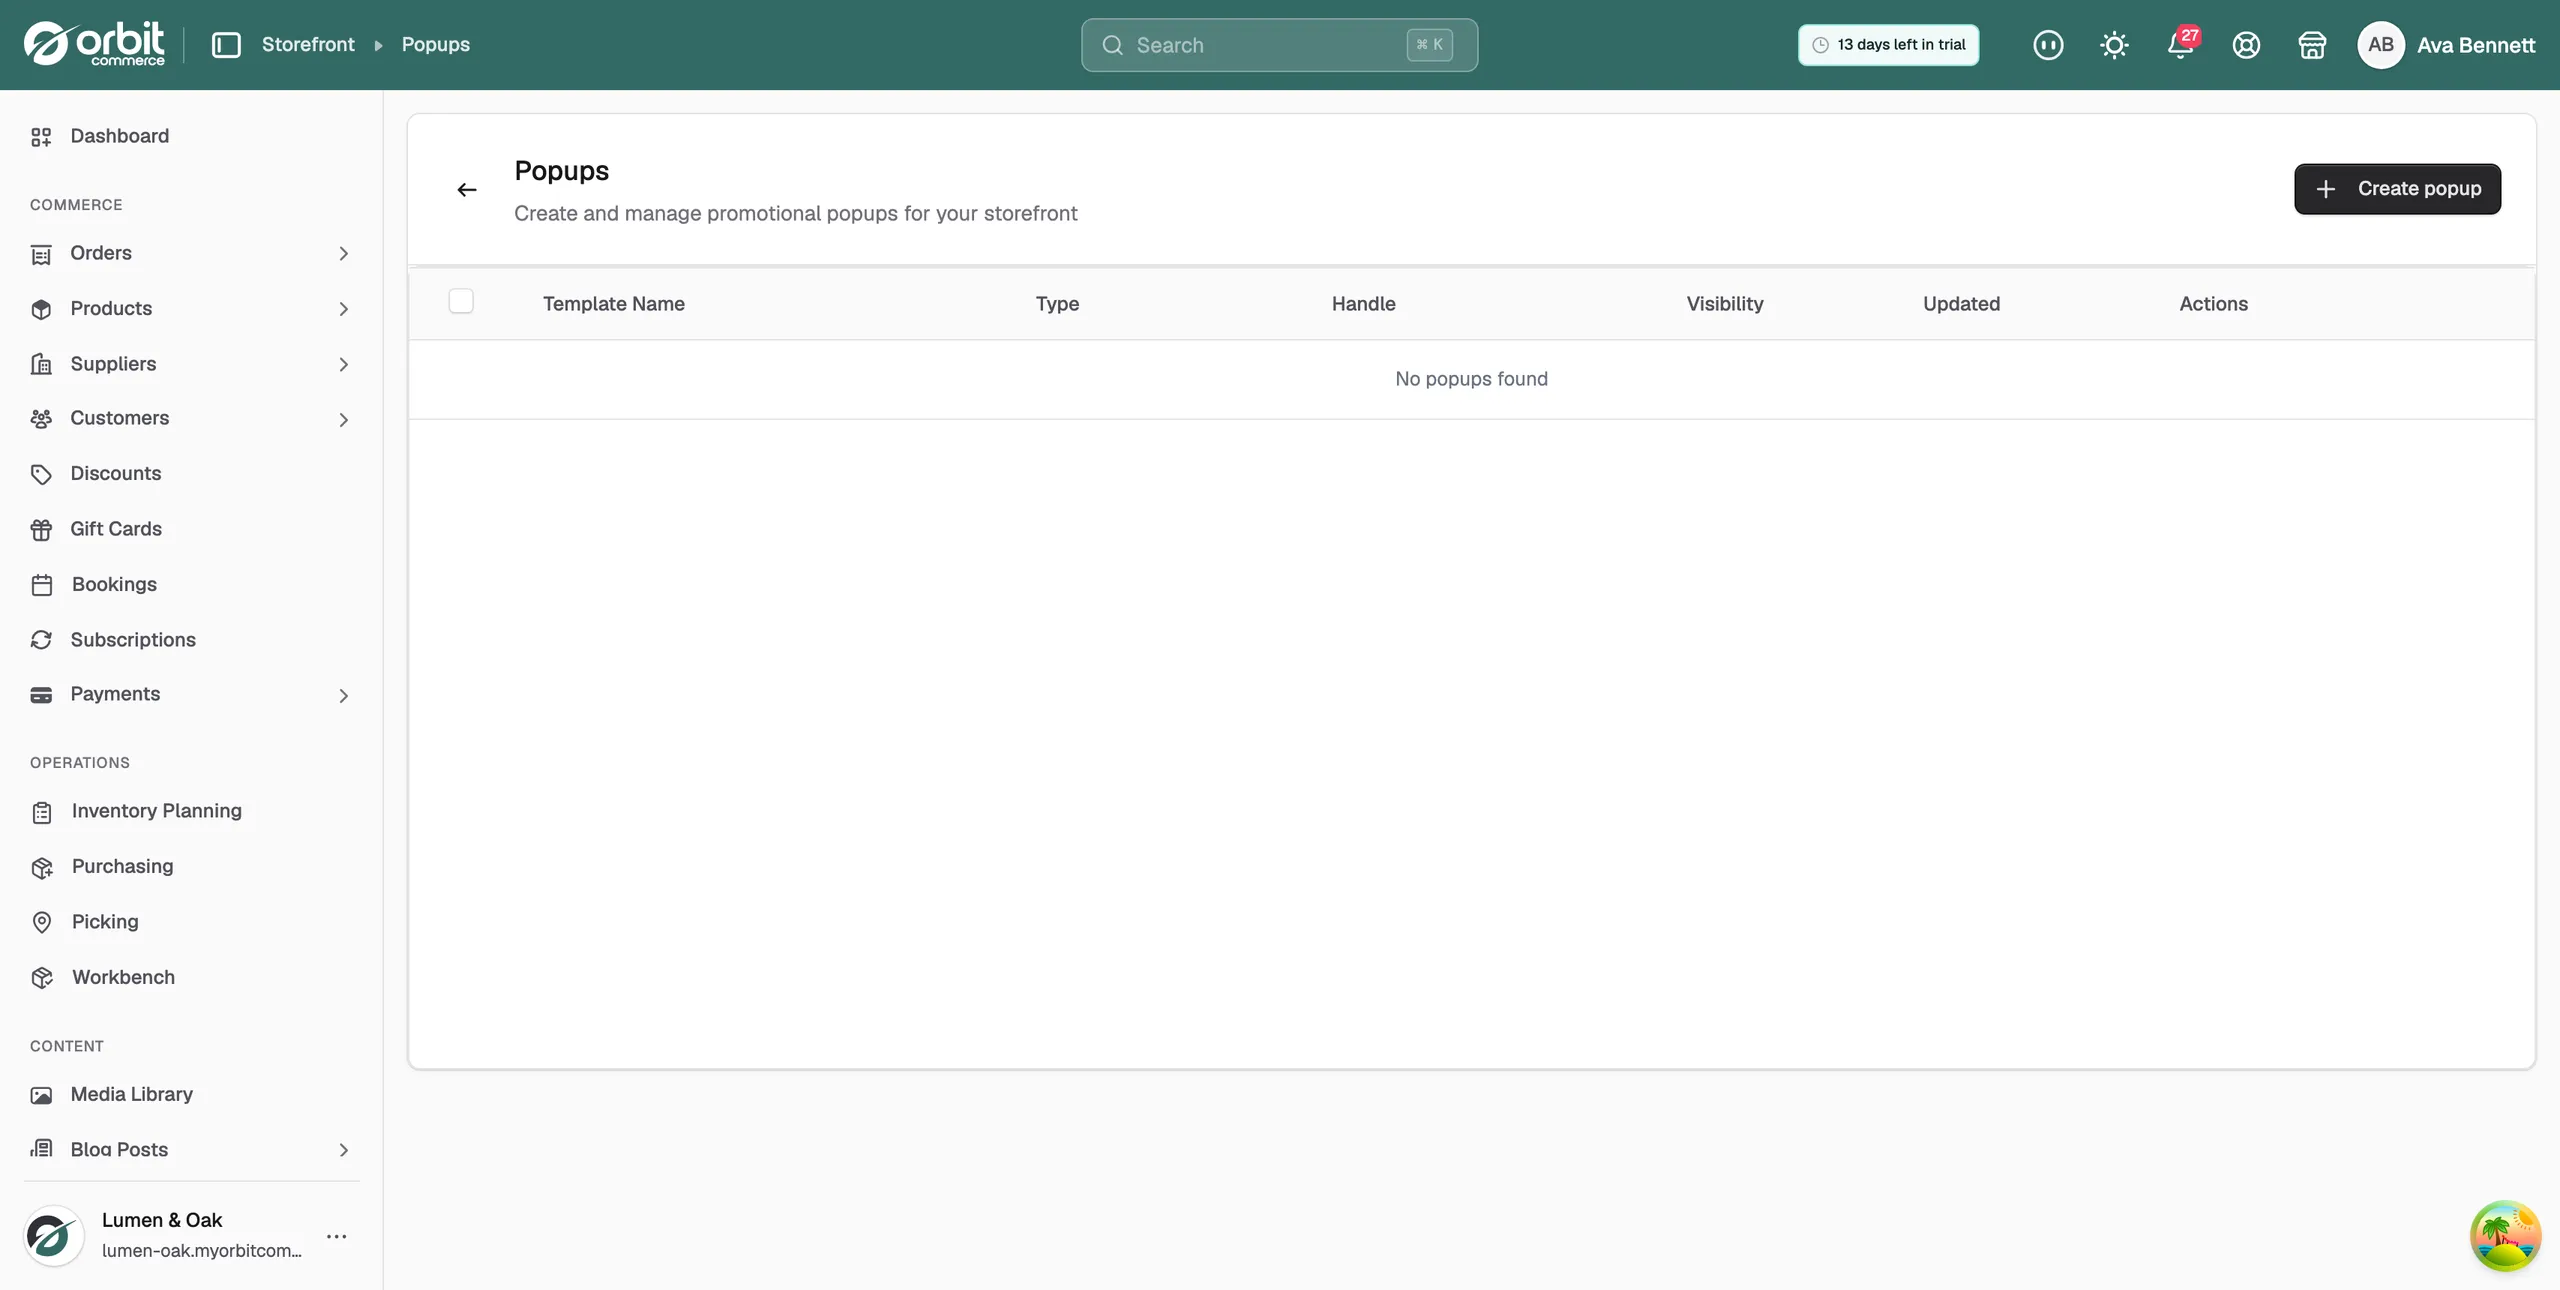
- Click Create popup.
- Enter a Title, for example Newsletter Signup. The title is for your own reference and is not shown to customers.
- Click Create Popup. The message Popup created appears and the popup is listed as a Draft.
Design the popup
- Hover over the popup's row and click Edit design. The page builder opens at the size shoppers will see.
- Click Elements, then Ecommerce.
- Drag Newsletter Signup onto the popup. It arrives with a heading, a line of text, an email field and a Subscribe button. Change any of them in the settings panel.
- Click Save. The message Page content saved successfully appears.
- Click the back arrow to return to the Popups list.
Tip: A popup does not have to be a signup form. For a welcome offer, use a heading, some text and a button instead.
Set when and where the popup shows
- Hover over the popup's row and click Settings. The Edit Popup dialog opens.
- Switch Enabled on.
- Choose a Trigger:
- Time Delay: shows after a number of seconds. Set Delay (seconds). Five seconds gives shoppers time to look around first.
- Exit Intent: shows when the shopper moves their mouse towards the browser's close or back button. Desktop only.
- Scroll Percentage: shows once the shopper has scrolled a set way down the page. Set Scroll percentage.
- Choose Page Targeting: All Pages, Homepage Only or Specific Pages. For specific pages, enter the Page handles (comma-separated), for example about-us, contact.
- Choose a Frequency: Every Page Visit, Once Per Session, Once Per Day or Once Ever.
- Click Save Changes. The message Popup updated appears.
Note: For Specific Pages, type each handle exactly as it appears in the Handle column on the Pages list. A handle that does not match is ignored.
Publish the popup
- Tick the box beside the popup. A bar replaces the column headers.
- Click Set as published.
- Click Publish popup to confirm. The Visibility badge changes to Published.
With Published and Enabled both on, the popup is live. To take it down without deleting it, tick it and click Set as draft.
Delete a popup
- Tick the popup, click the ... button, then choose Delete popups.
- Click Delete to confirm. The popup moves to the trash.
The Popups list
Each row shows:
- Template Name: the popup's title, with a small preview of its design.
- Type: always popup on this page.
- Handle: a reference made from the title.
- Visibility: Published (live), Draft (not live) or Archived (retired).
- Updated: when the popup last changed.
Related guides
Was this helpful?
0 people found this helpful