Adding an image gallery
Add an Image Gallery, add pictures from your media library, reorder or remove them, and show them as a grid, masonry wall or slider.
2 min read3viewsUpdated 16 September 2026Orbit Support Team
The Image Gallery element shows a set of pictures as a grid, a masonry wall or a slider. Use it for a lookbook, a collection or photos of your shop.
Add the element
- Open the page in the page builder.
- In the toolbox on the far left, click Elements.
- Click the Basic group, or type gallery in Search elements....
- Drag Image Gallery onto the canvas and drop it where you want it.
- Click the gallery on the canvas. Its settings open on the right, with the Images group open.
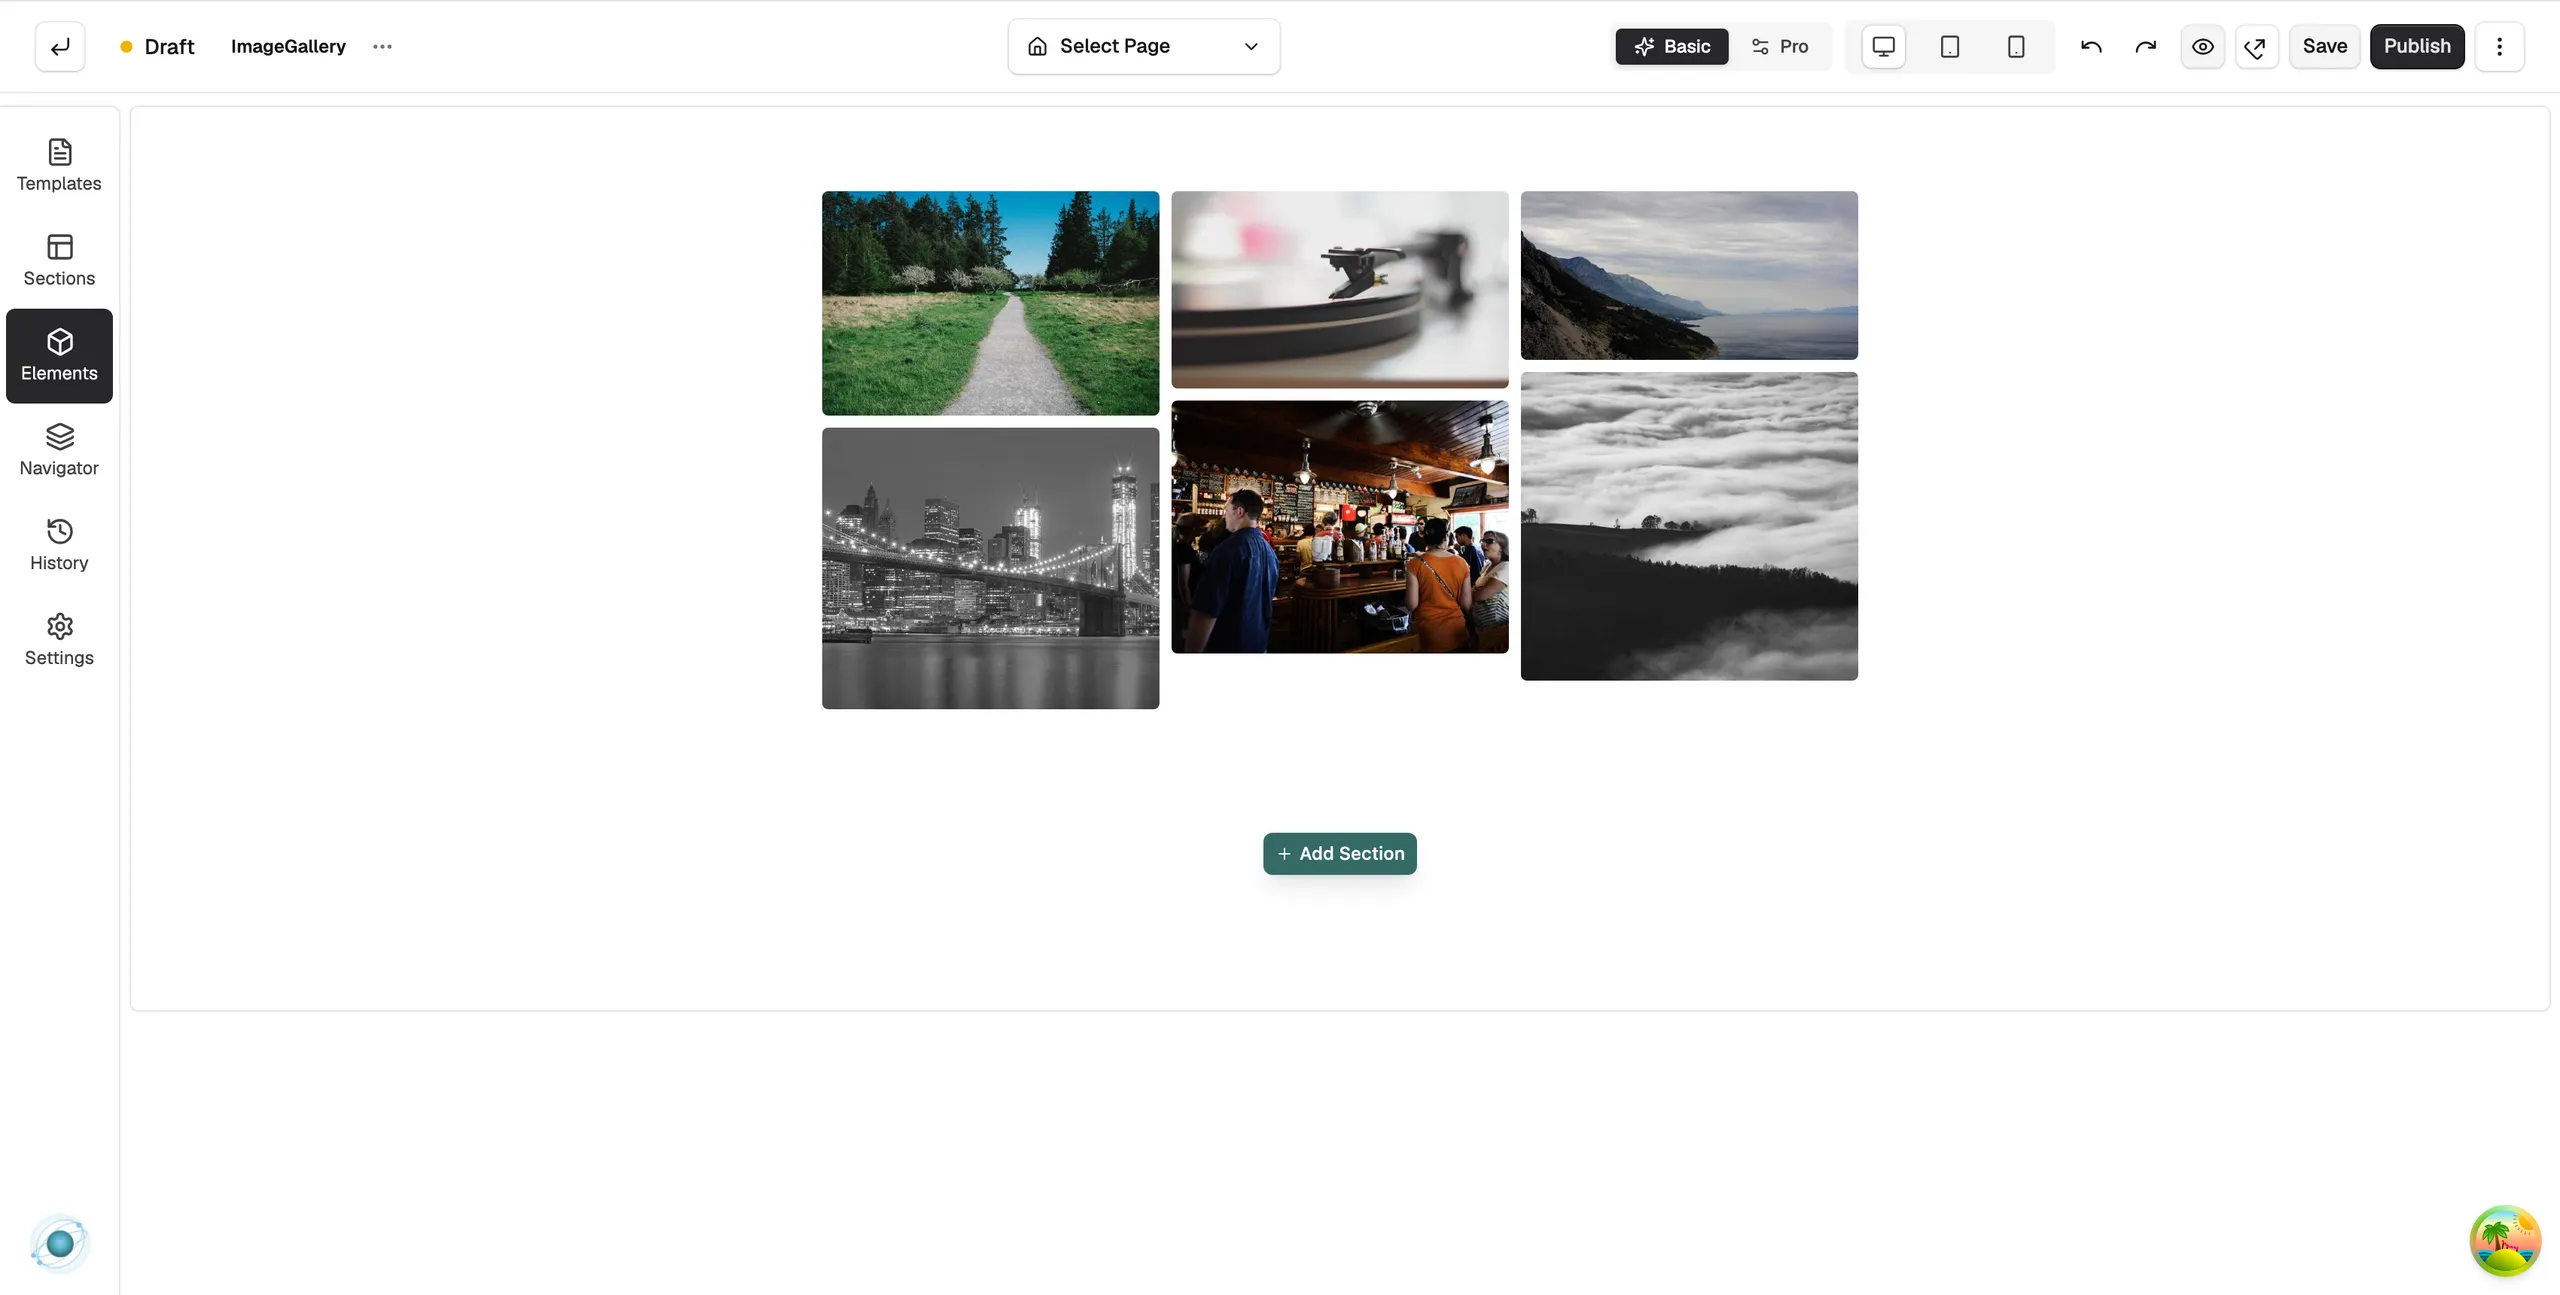
Add and arrange pictures
- In the Images group, click Add Media. The Add Images to Gallery window opens.
- Pick one or more pictures from your media library, or upload new ones. Thumbnails appear in the group, and a count under them reads, for example, 4 images.
- Hover over a thumbnail to change it. The arrows move it left or right. The × removes it.
Note: Each picture uses the alt text saved in your media library, or its file name if there is none. Set alt text in the media library before you add a picture to the gallery.
Design settings
- Layout: Grid, Masonry or Slider. Columns runs from 1 to 6 for grid and masonry. Aspect Ratio is Auto, 1:1 (Square), 4:3, 16:9 or 3:2 for grid and slider.
- Slider Settings: shown for the slider layout. Switches for Arrows, Pagination, Loop and Autoplay, plus a Speed (ms) slider when autoplay is on.
- Style: the Gap between pictures, Border Radius, Object Fit, and a Hover Effect of None, Zoom or Fade.
For the Design and Advance tabs in full, see Using the element settings panel.
Related guides
Was this helpful?
0 people found this helpful