Designing your category pages
Design the template behind every category page: the title, description, banner, filters, sorting and product grid. Plus the Categories List page.
A category page is where shoppers browse a group of products. Other platforms call these collection pages. In Orbit they are category pages, and they all share one template. You design that template once in the page builder. Every category then fills in its own name, description, banner and products. Templates live under Storefront, then Templates.
Considerations
- Every category in your store uses the same template.
- The Category Page group of elements only shows when you are editing a category template.
- You pick one of your categories to preview in the builder. Shoppers always see the category they clicked.
- There is no Collection Grid element any more. Category Grid replaced it.
Open your category page template
- From your Orbit dashboard, go to Storefront, then Templates.
- Click the Categories tab to see only your category templates.
- Hover over the template you want and click Edit design. The page builder opens.
Add category elements
- In the toolbox on the left, click Elements.
- Click the Category Page tab. You can also type in Search elements... to find one.
- Drag the element onto the page.
- Click the element to open its settings on the right.
Each element fills in on its own from the category the shopper is looking at:
- Category Title: the name of the category.
- Category Description: the category's description text.
- Category Banner: the category's banner image.
- Category Filters: lets shoppers narrow the products, for example by price or brand.
- Category Sorting: lets shoppers sort the products, for example by price.
- Category Layout Switch: lets shoppers swap between grid and list view.
Choose a category to preview
A new template has nothing to show until you point it at a category.
- Click your Category Title, Category Description or Category Banner element.
- In the settings panel, open Category Preview.
- Click Select Category and pick one.
- The page fills with that category's details, so you can see how your layout looks.
Note: The preview category only changes what you see in the builder. It is not the category shoppers see.
Show the products
- In the toolbox, click Elements, then the Ecommerce tab.
- Drag Product Grid onto the page.
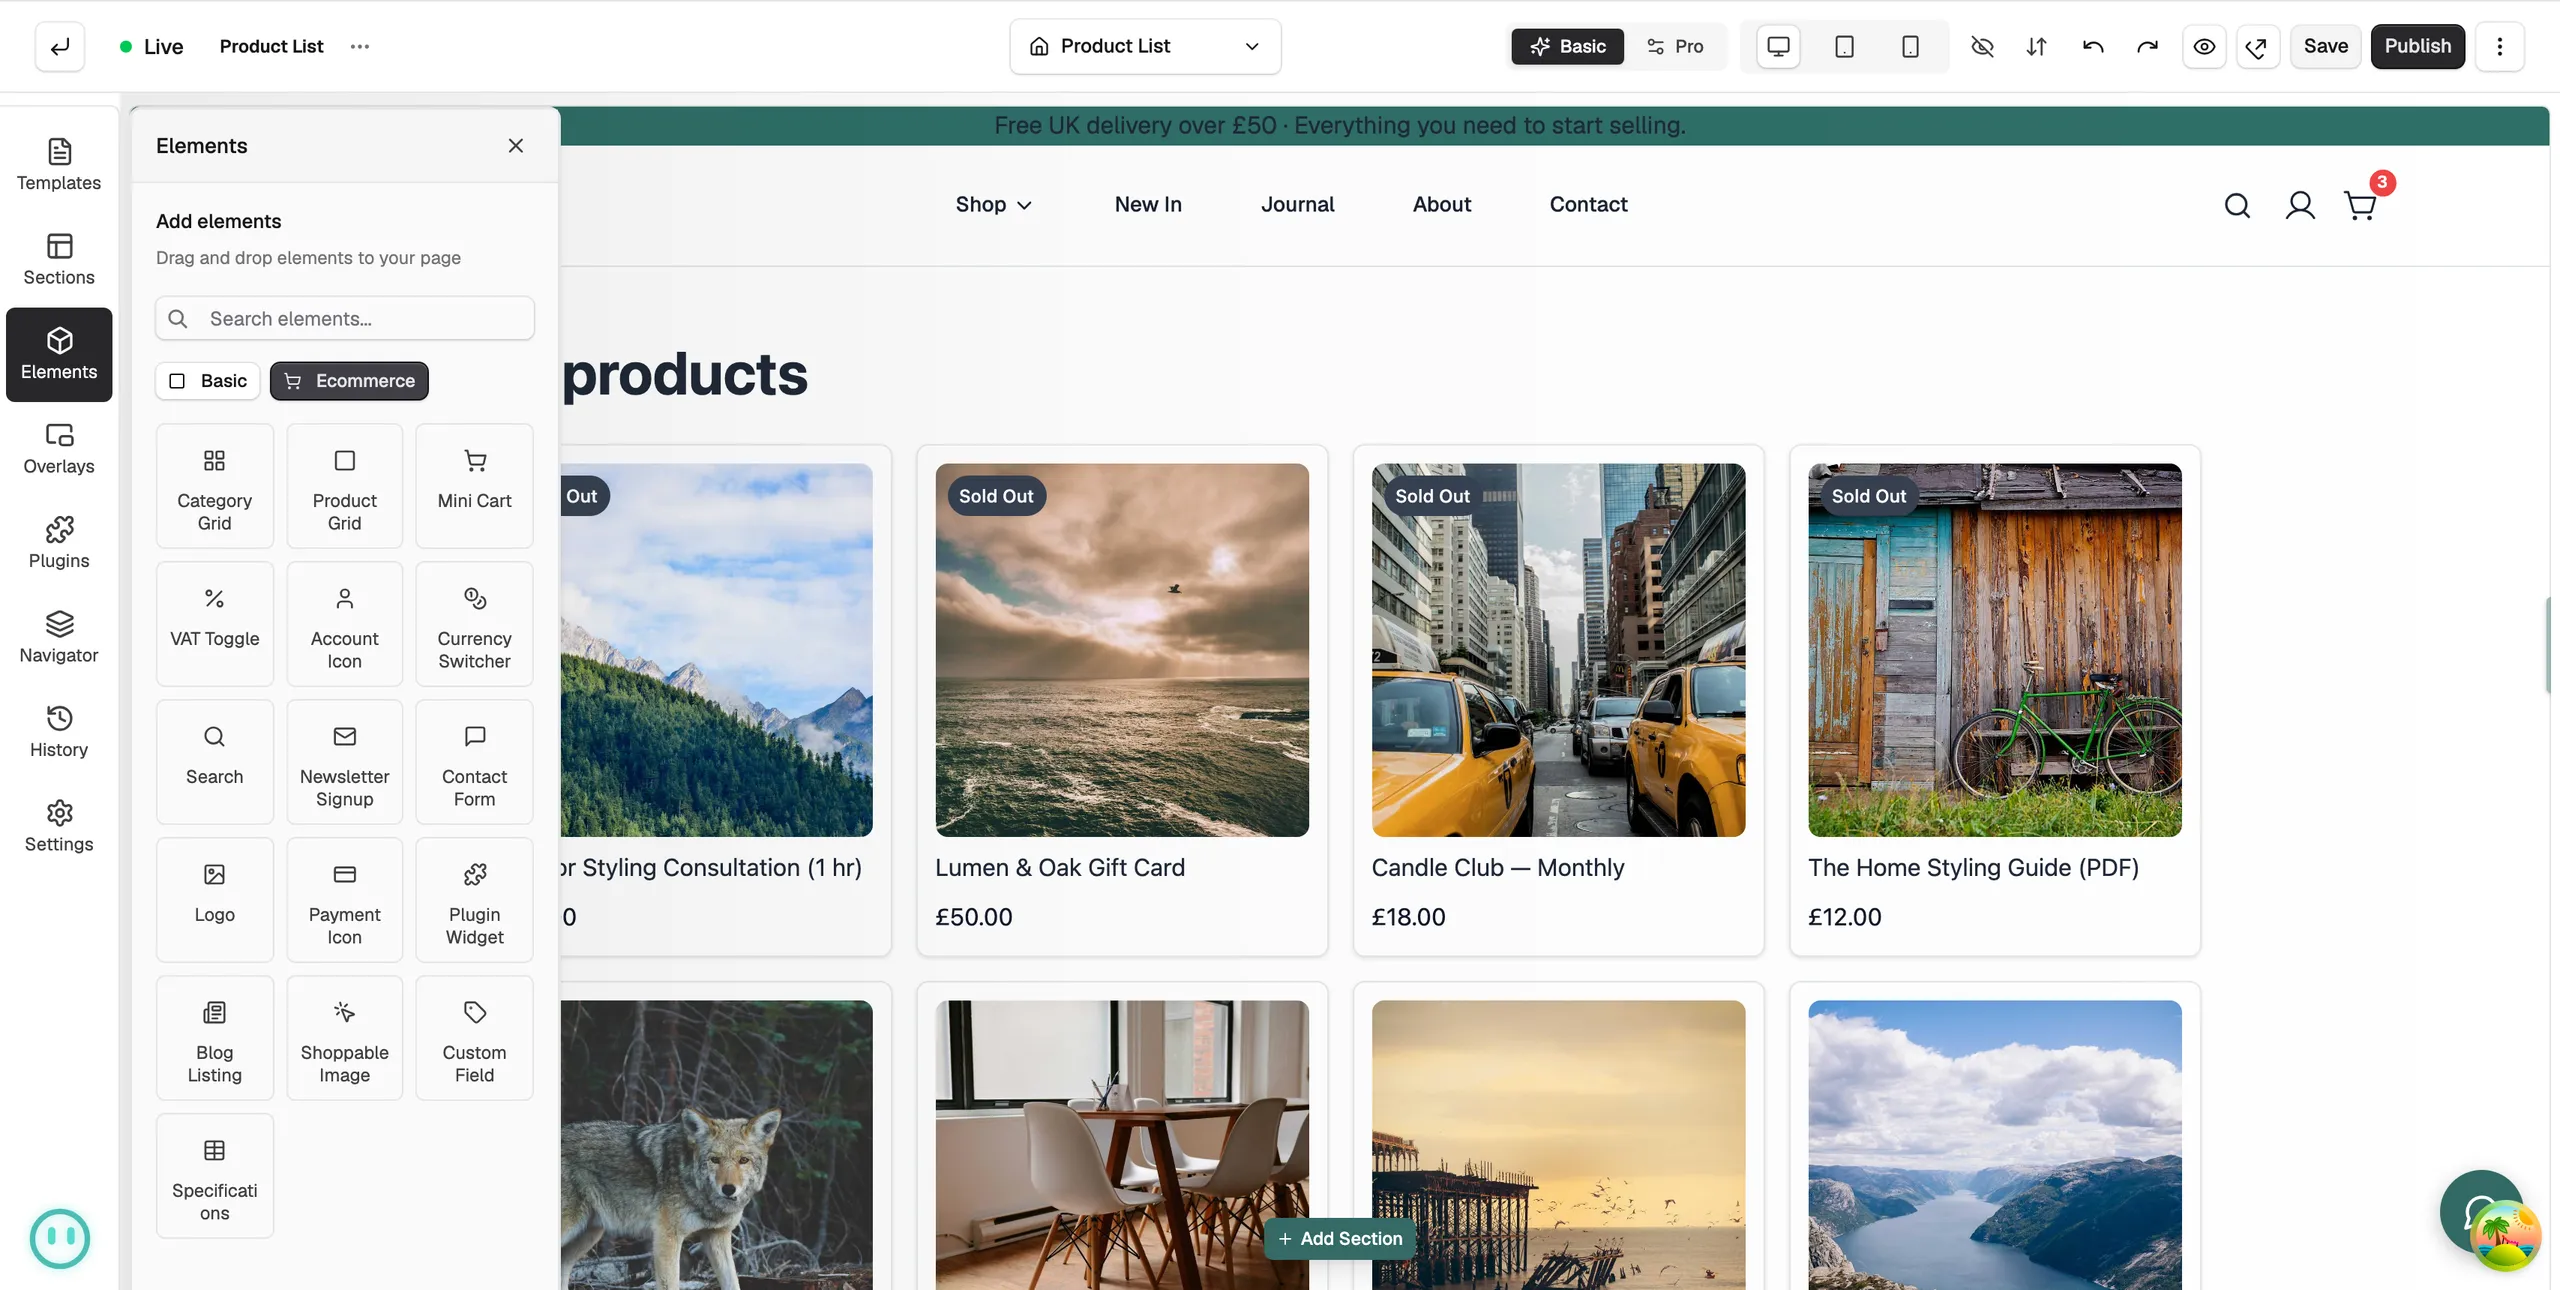
- Click the grid. In the settings panel, open Data Source.
- Leave Data Source Type set to Category and pick no category. The grid then shows the products of whichever category the shopper opened.
- Open Query & Merchandising to set Limit and Sort By.
Lay out the page
Arrange the elements into sections. A common layout puts the title and description at the top, the filters and sorting above or beside the products, and the product grid below. Style each element in the settings panel.
When you are happy, click Save, then Publish. See Saving, previewing and publishing a page.
The Categories List template
The Categories List page is different. It lists your categories, not the products inside one. Shoppers use it to pick a category first.
- On the Templates page, click the Categories List tab.
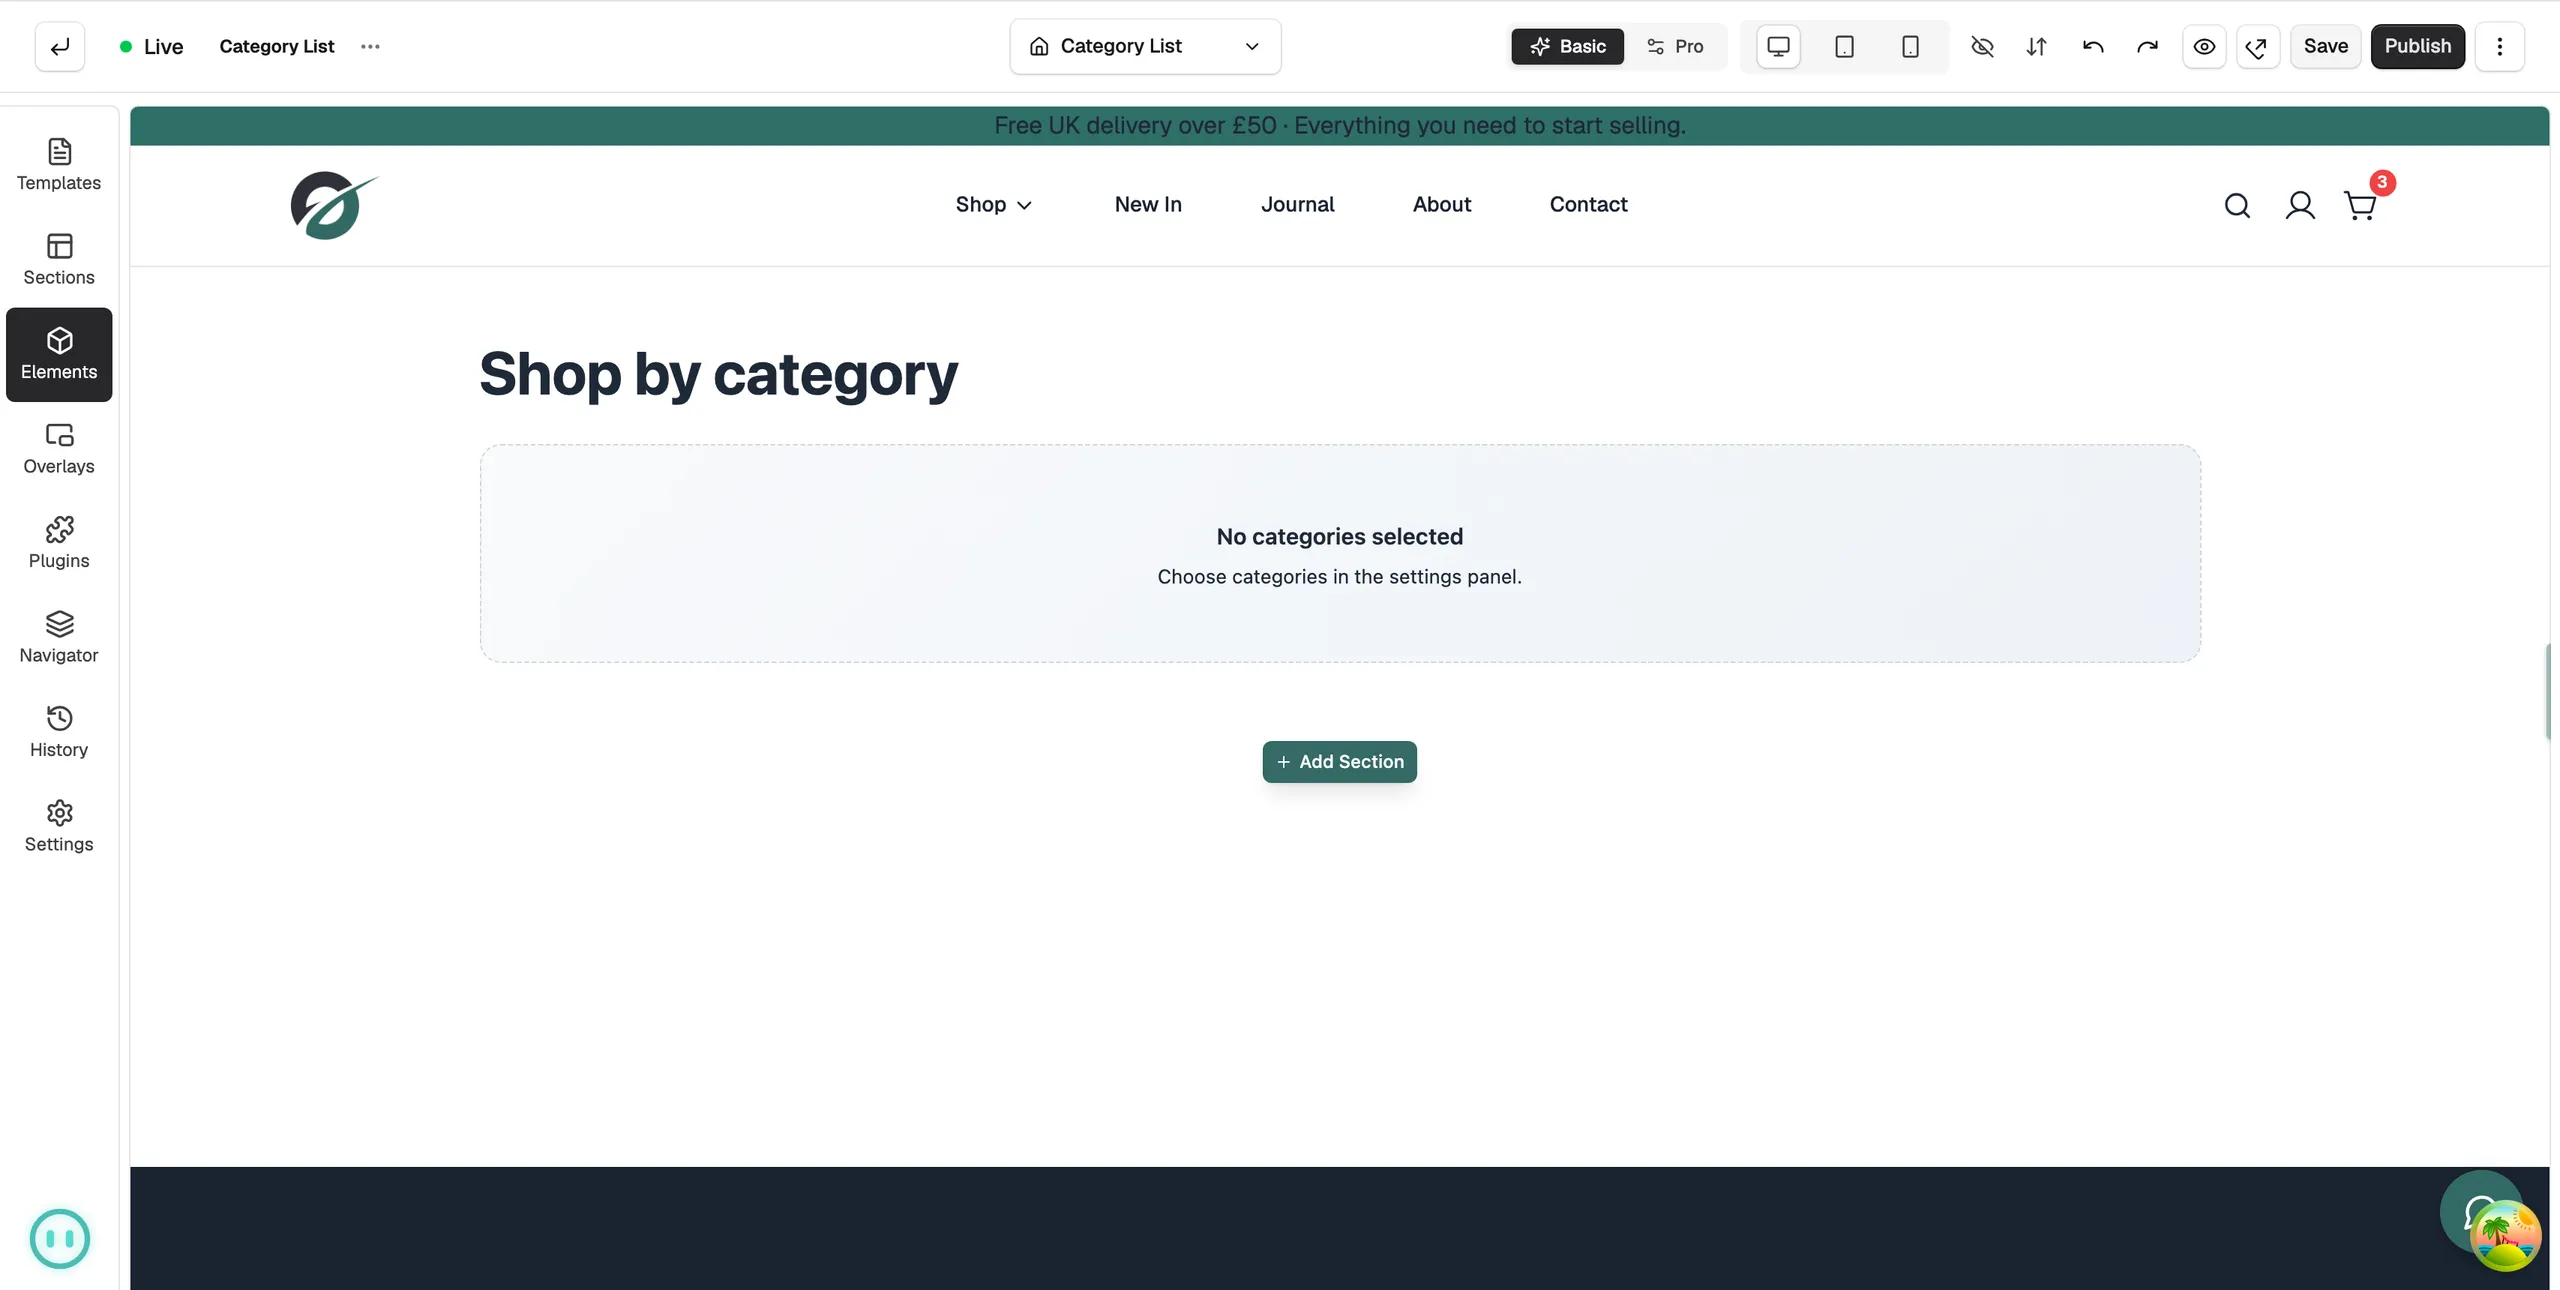
- Open the template and drag in a Category Grid from the Ecommerce tab.
- Click the grid, then choose your categories in the settings panel. Until you do, the grid reads No categories selected.
Related guides
Was this helpful?
0 people found this helpful