Designing your account dashboard
Open your account template, add the account elements customers use to check orders and details, and start from a ready-made layout.
4 min read4viewsUpdated 16 September 2026Orbit Commerce
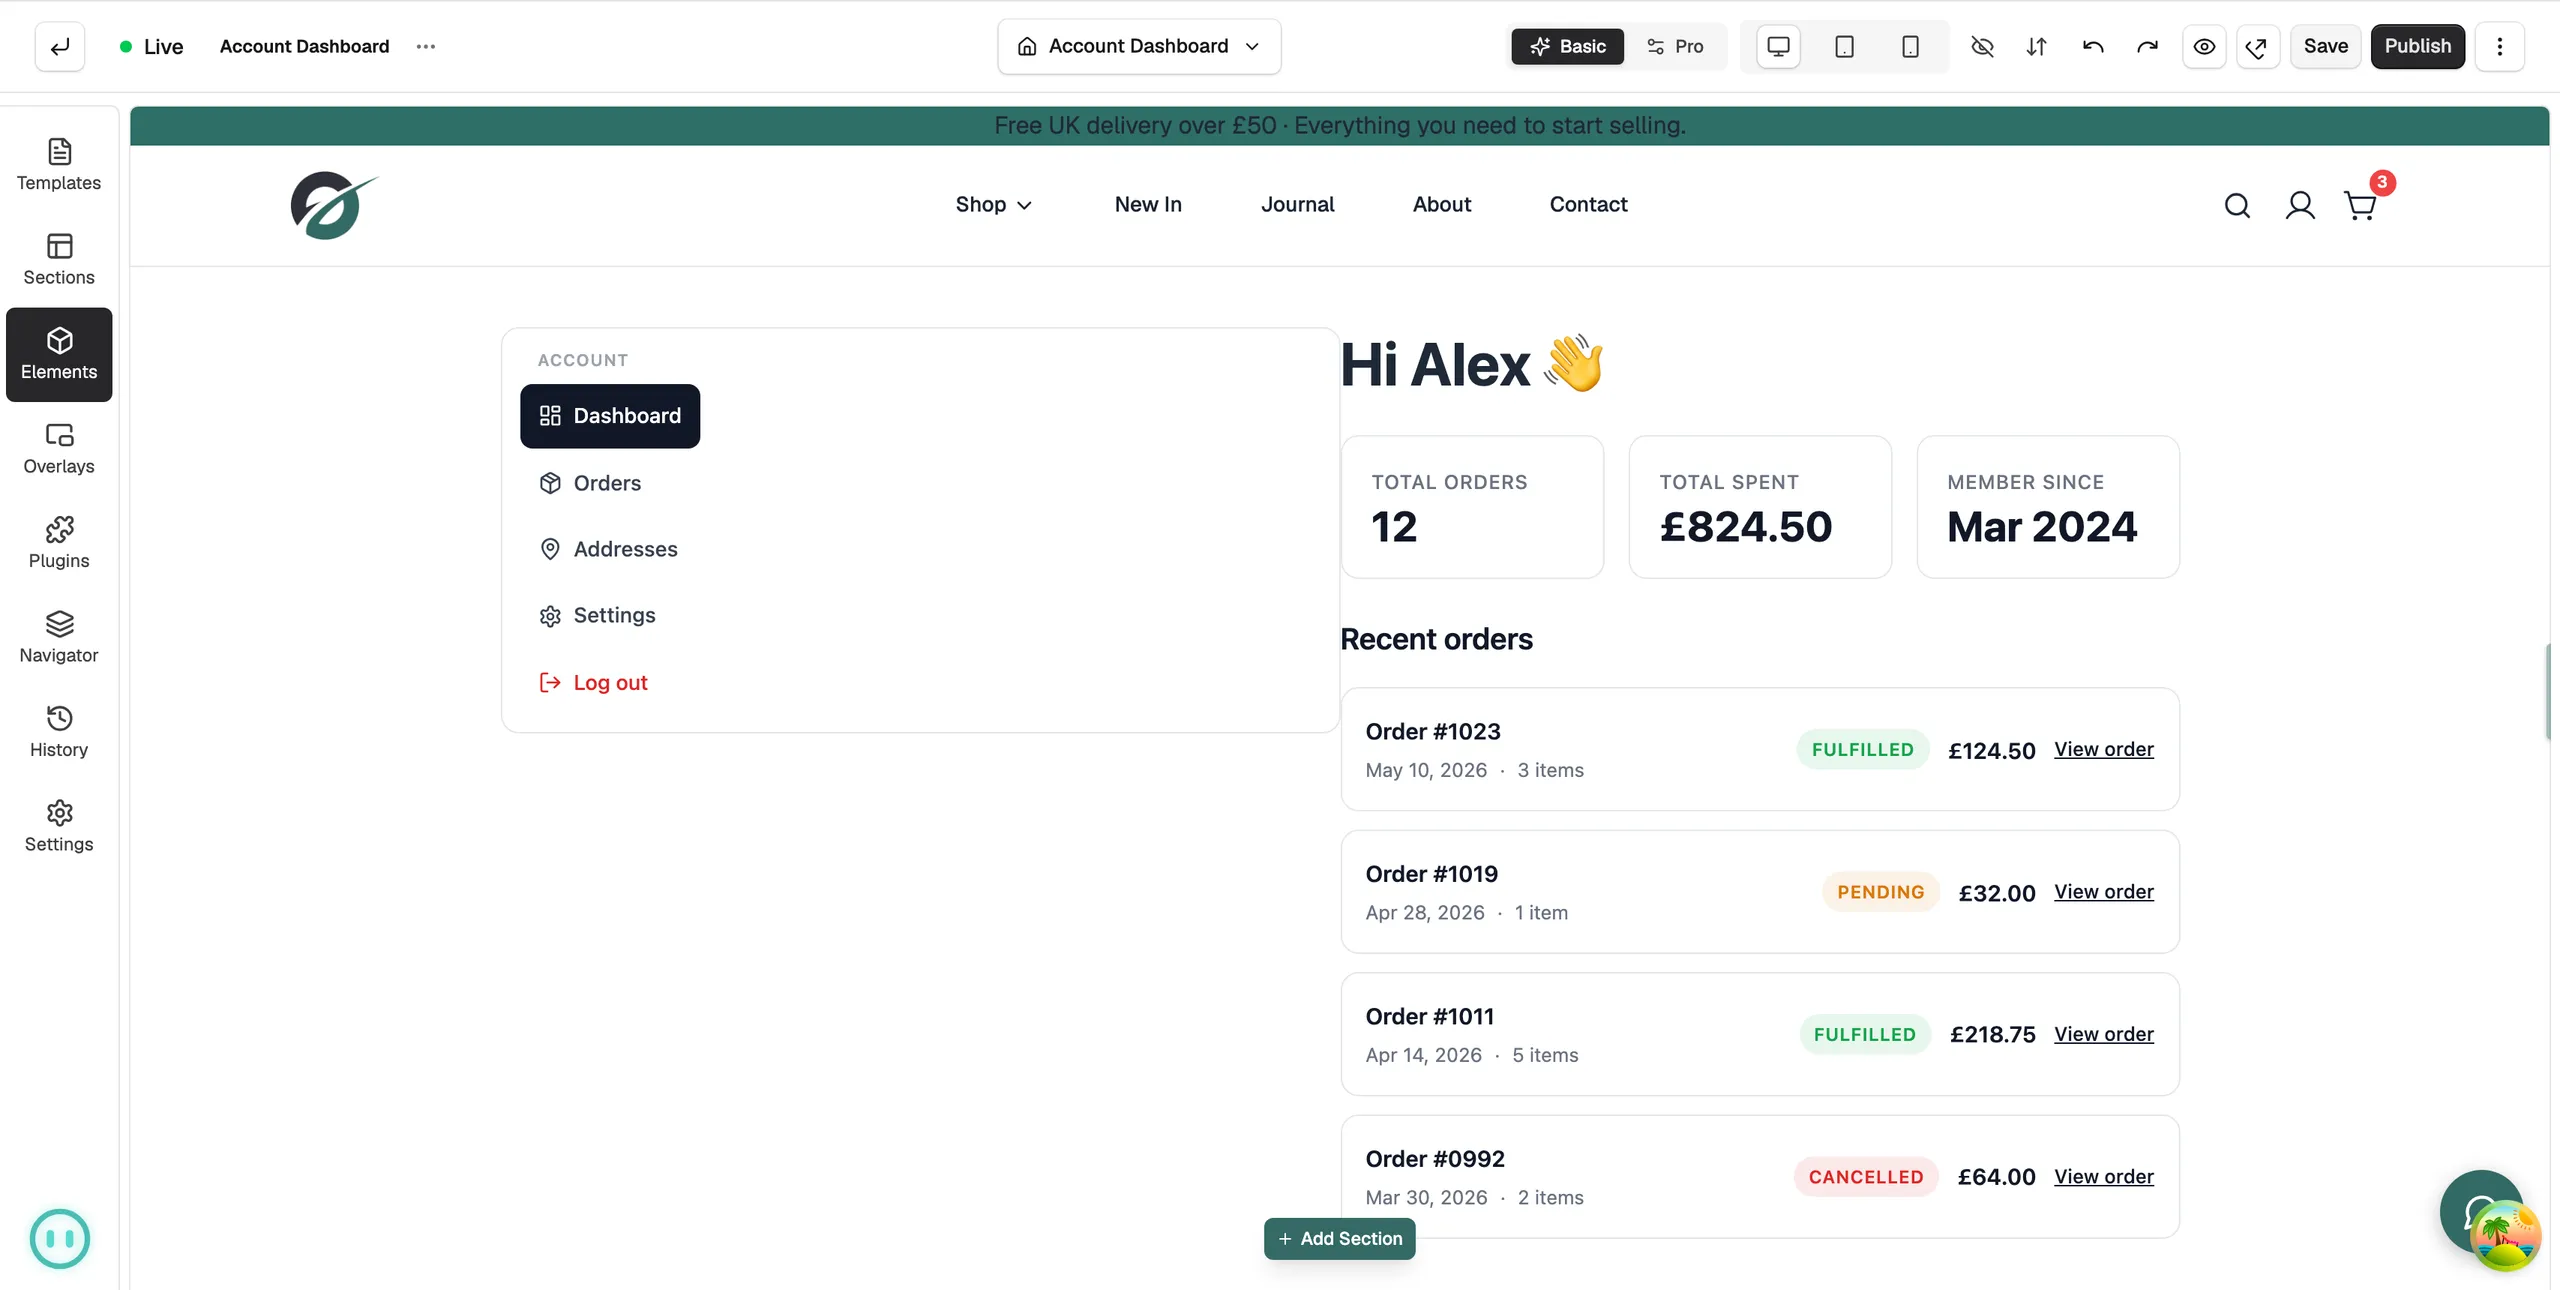
The account dashboard is what a customer sees when they log in to your shop. You design it in the page builder, using account elements that fill in with each customer's own details. Your store has one account template, and it covers every part of the account area.
Considerations
- The account elements only show real details on the storefront. In the page builder you see sample content.
- Applying a ready-made layout replaces everything on the canvas. Use Undo if you change your mind.
- Saving keeps your work as a draft. Customers only see the new design once you publish it.
Open the account template
- From your Orbit dashboard, go to Storefront, then Templates.
- Click the Account tab.
- Click the template row. It opens in the page builder.
Add account elements
- In the toolbox on the far left, click Elements.
- Click the Account chip. It only appears when you are editing the account template.
- Drag an element onto the canvas, or click its tile to add it.
- Click the element to open its settings on the right and style it.
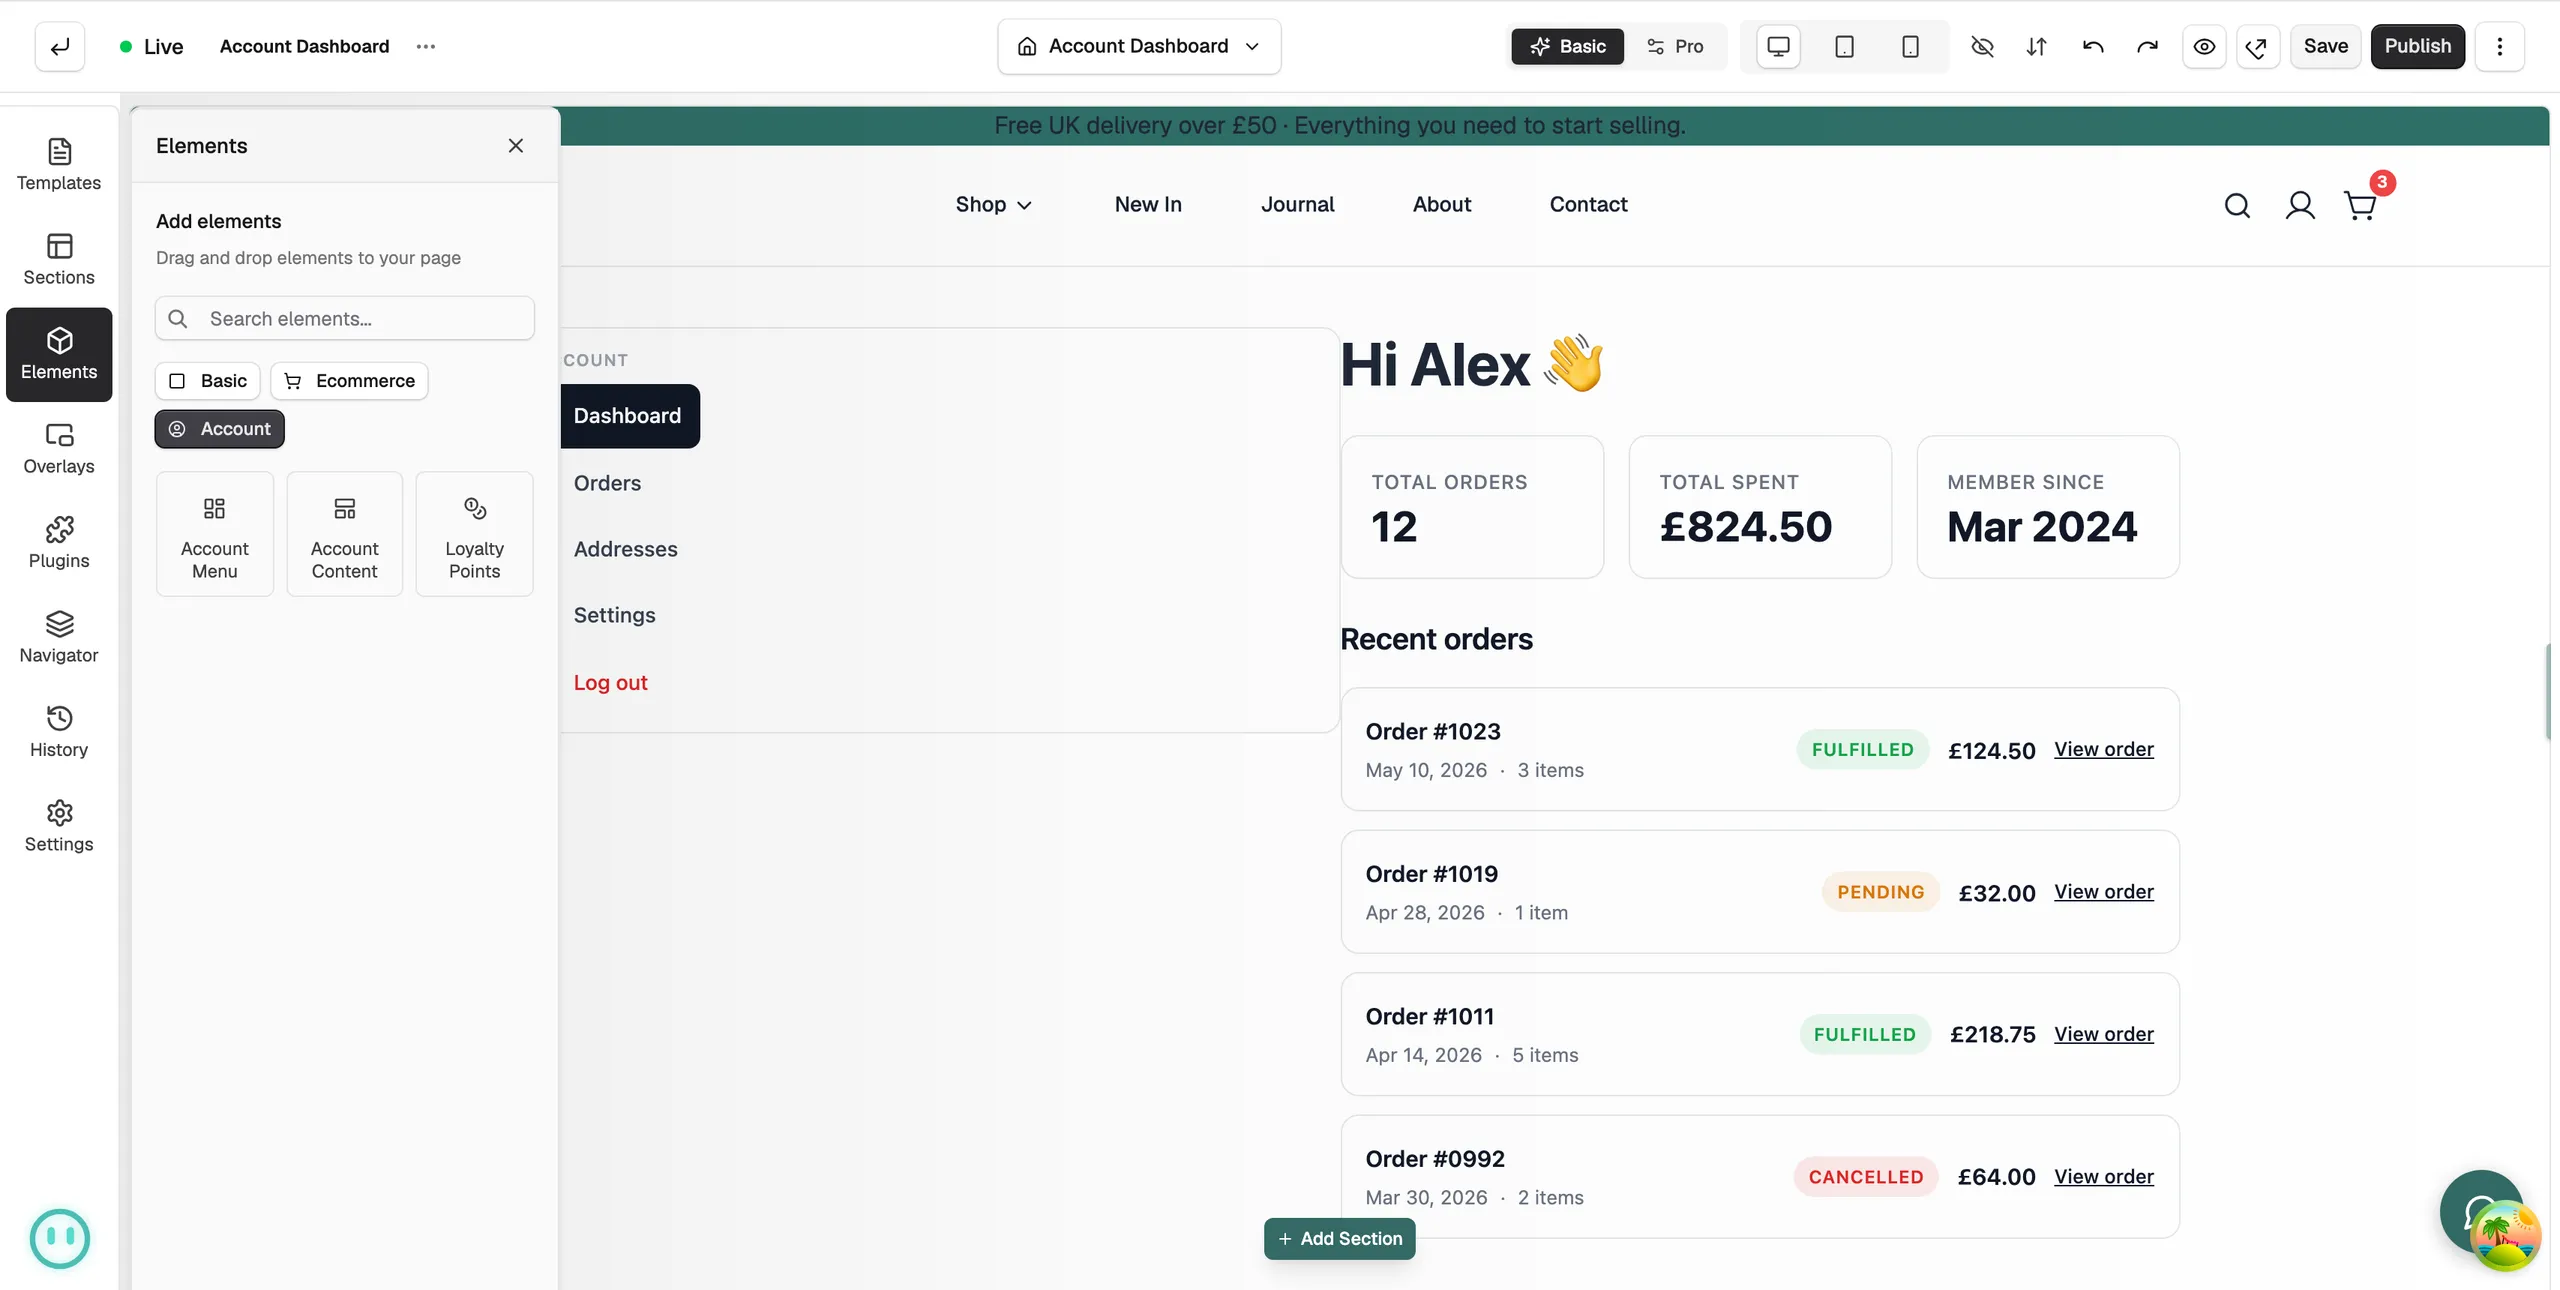
The account elements are:
- Customer Greeting: a welcome message with the customer's name.
- Account Menu: links to the other parts of their account, down the side or across the top.
- Account Stats Card: total orders, total spent, member since and loyalty points.
- Orders List: the customer's recent orders.
- Address List: their saved delivery and billing addresses.
- Profile Form: lets them change their name and email address.
- Password Change Form: lets them set a new password.
- Logout Button: logs them out.
More account elements
Newer elements sit on the same Account chip and are added the same way.
- Buy It Again: the products this customer orders most, each with a Reorder button. Useful when people buy the same items again and again.
- Account Tabs: a tab bar where every tab is its own canvas. Name the tabs, then design what sits inside each one.
- Customer Fields: shows the customer custom fields you pick, as a grid, an inline row or chips. You choose which fields appear and how each value is formatted.
- Notification Preferences: email and SMS consent toggles the customer can switch on or off. The toggles cover transactional updates and marketing, for email and for SMS.
- Two-Factor Security: lets the customer turn two-factor authentication on or off and get new backup codes. It shows their current state as Enabled or Disabled.
- Company Details: a card with the company name, tax ID and note for a business buyer. It only shows for customers who belong to a company, and only a company manager can edit it.
- Company Team: the people on a company account, with their permissions and any open invitations. It only shows for customers who belong to a company, and only a company manager can make changes.
Start from a ready-made layout
- In the toolbar at the top, click the More actions button.
- Click Choose dashboard layout. The Choose a dashboard layout window opens.
- Click a layout to select it, then click Apply layout.
- Confirm the replacement. The layout lands on the canvas, ready for you to rearrange and restyle.
The same menu has Reset to default layout, which puts the standard account dashboard back.
Save and publish
- Click Save. Your changes are kept as a draft.
- Click Publish, then confirm. Customers now see the new account dashboard.
Tip: Put the greeting and the orders list at the top. Checking an order is the main reason customers log in.
Related guides
Was this helpful?
0 people found this helpful