Importing and exporting customers
Move your customer list in and out of Orbit as a CSV file, with column mapping on the way in and a choice of scope and format on the way out.
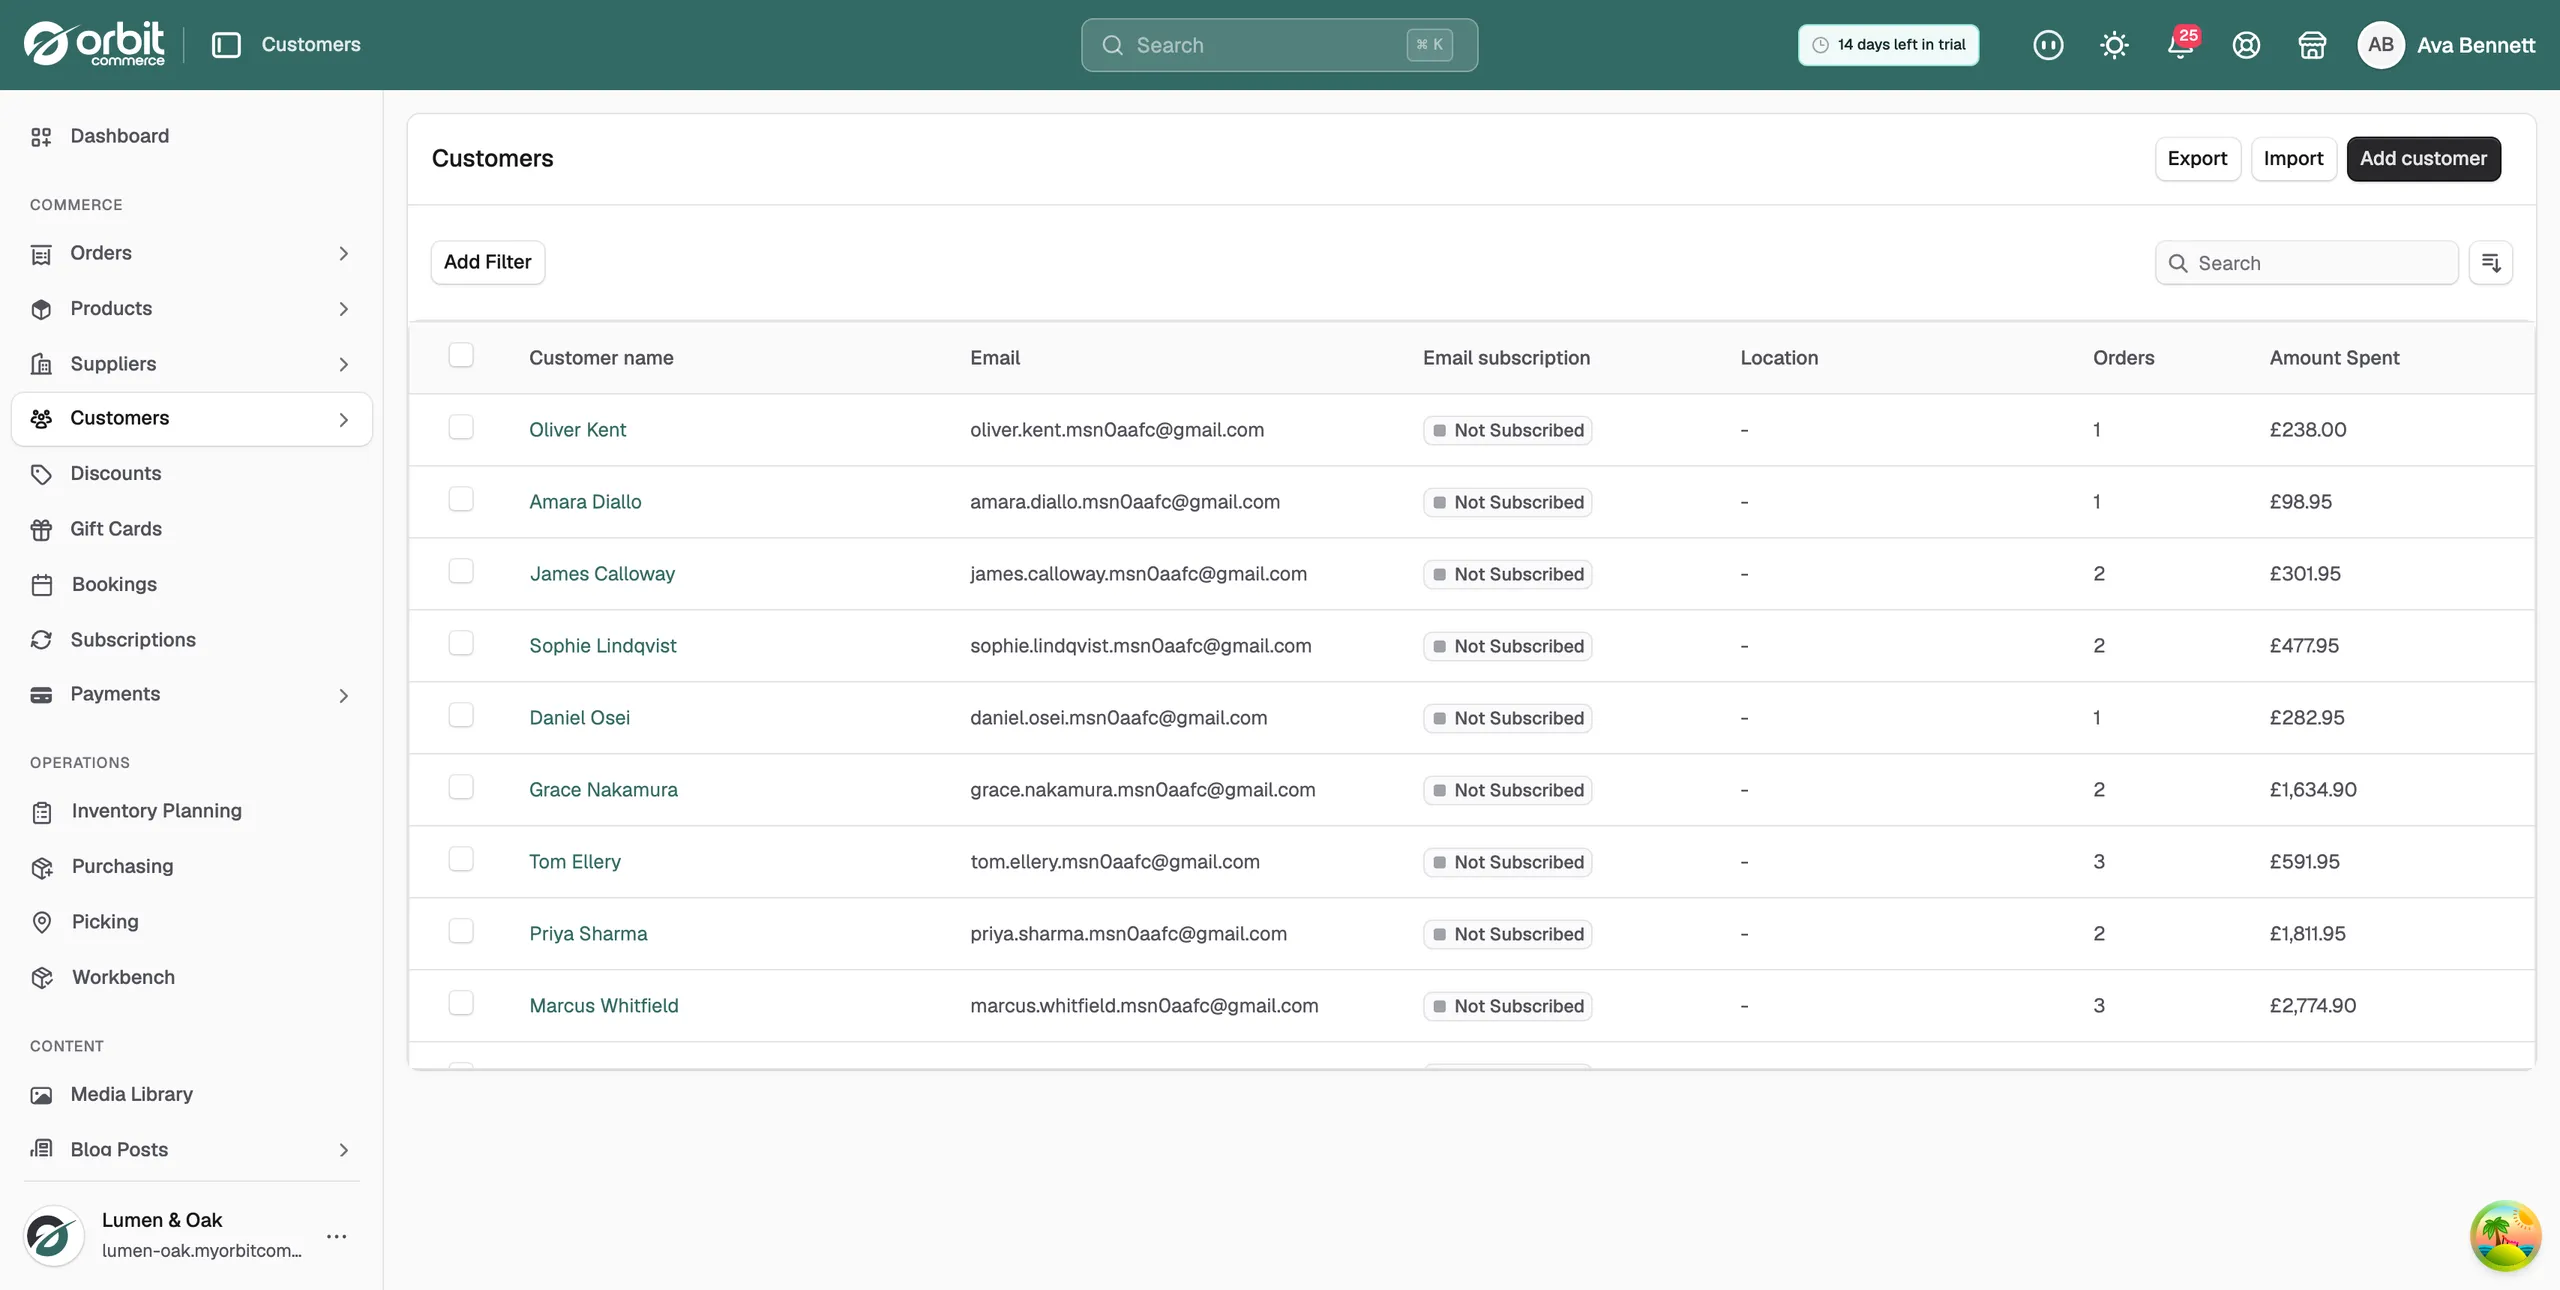
You can move your customer list in and out of Orbit as a CSV file. Import and Export both sit at the top right of the Customers page. For the list itself, its filters and its bulk actions, see Managing your customer list.
Considerations
- Import and Export appear only once your store has at least one customer. On a new store you see Add customer on its own.
- The file must be a CSV and no larger than 25MB.
- Only three columns are required: First Name, Last Name and Email.
- An import runs in the background. You can close the dialog and carry on working.
Export customers
- From your Orbit dashboard, go to Customers.
- Filter or search the list first if you only want part of it.
- Click Export at the top right.
- Under Exports, choose which customers to include.
- Under Export as, choose the file format.
- Click Export customers. The file is prepared and downloads on its own.
Which customers to include
- Current page: only the customers visible on the page you are on.
- All customers: every customer in your store.
- Selected customers: only the ones you have ticked.
- Filtered results: only the customers matching your current filters.
File format
- Excel Format (.xlsx): a CSV file that opens cleanly in Excel.
- Plain CSV (.csv): a standard CSV file.
A customer export holds customer data only. It does not include their orders. To collect everything your store holds on one person, use Export customer data (GDPR) on their profile instead. See Deleting customers and GDPR requests.
Import customers
- From your Orbit dashboard, go to Customers.
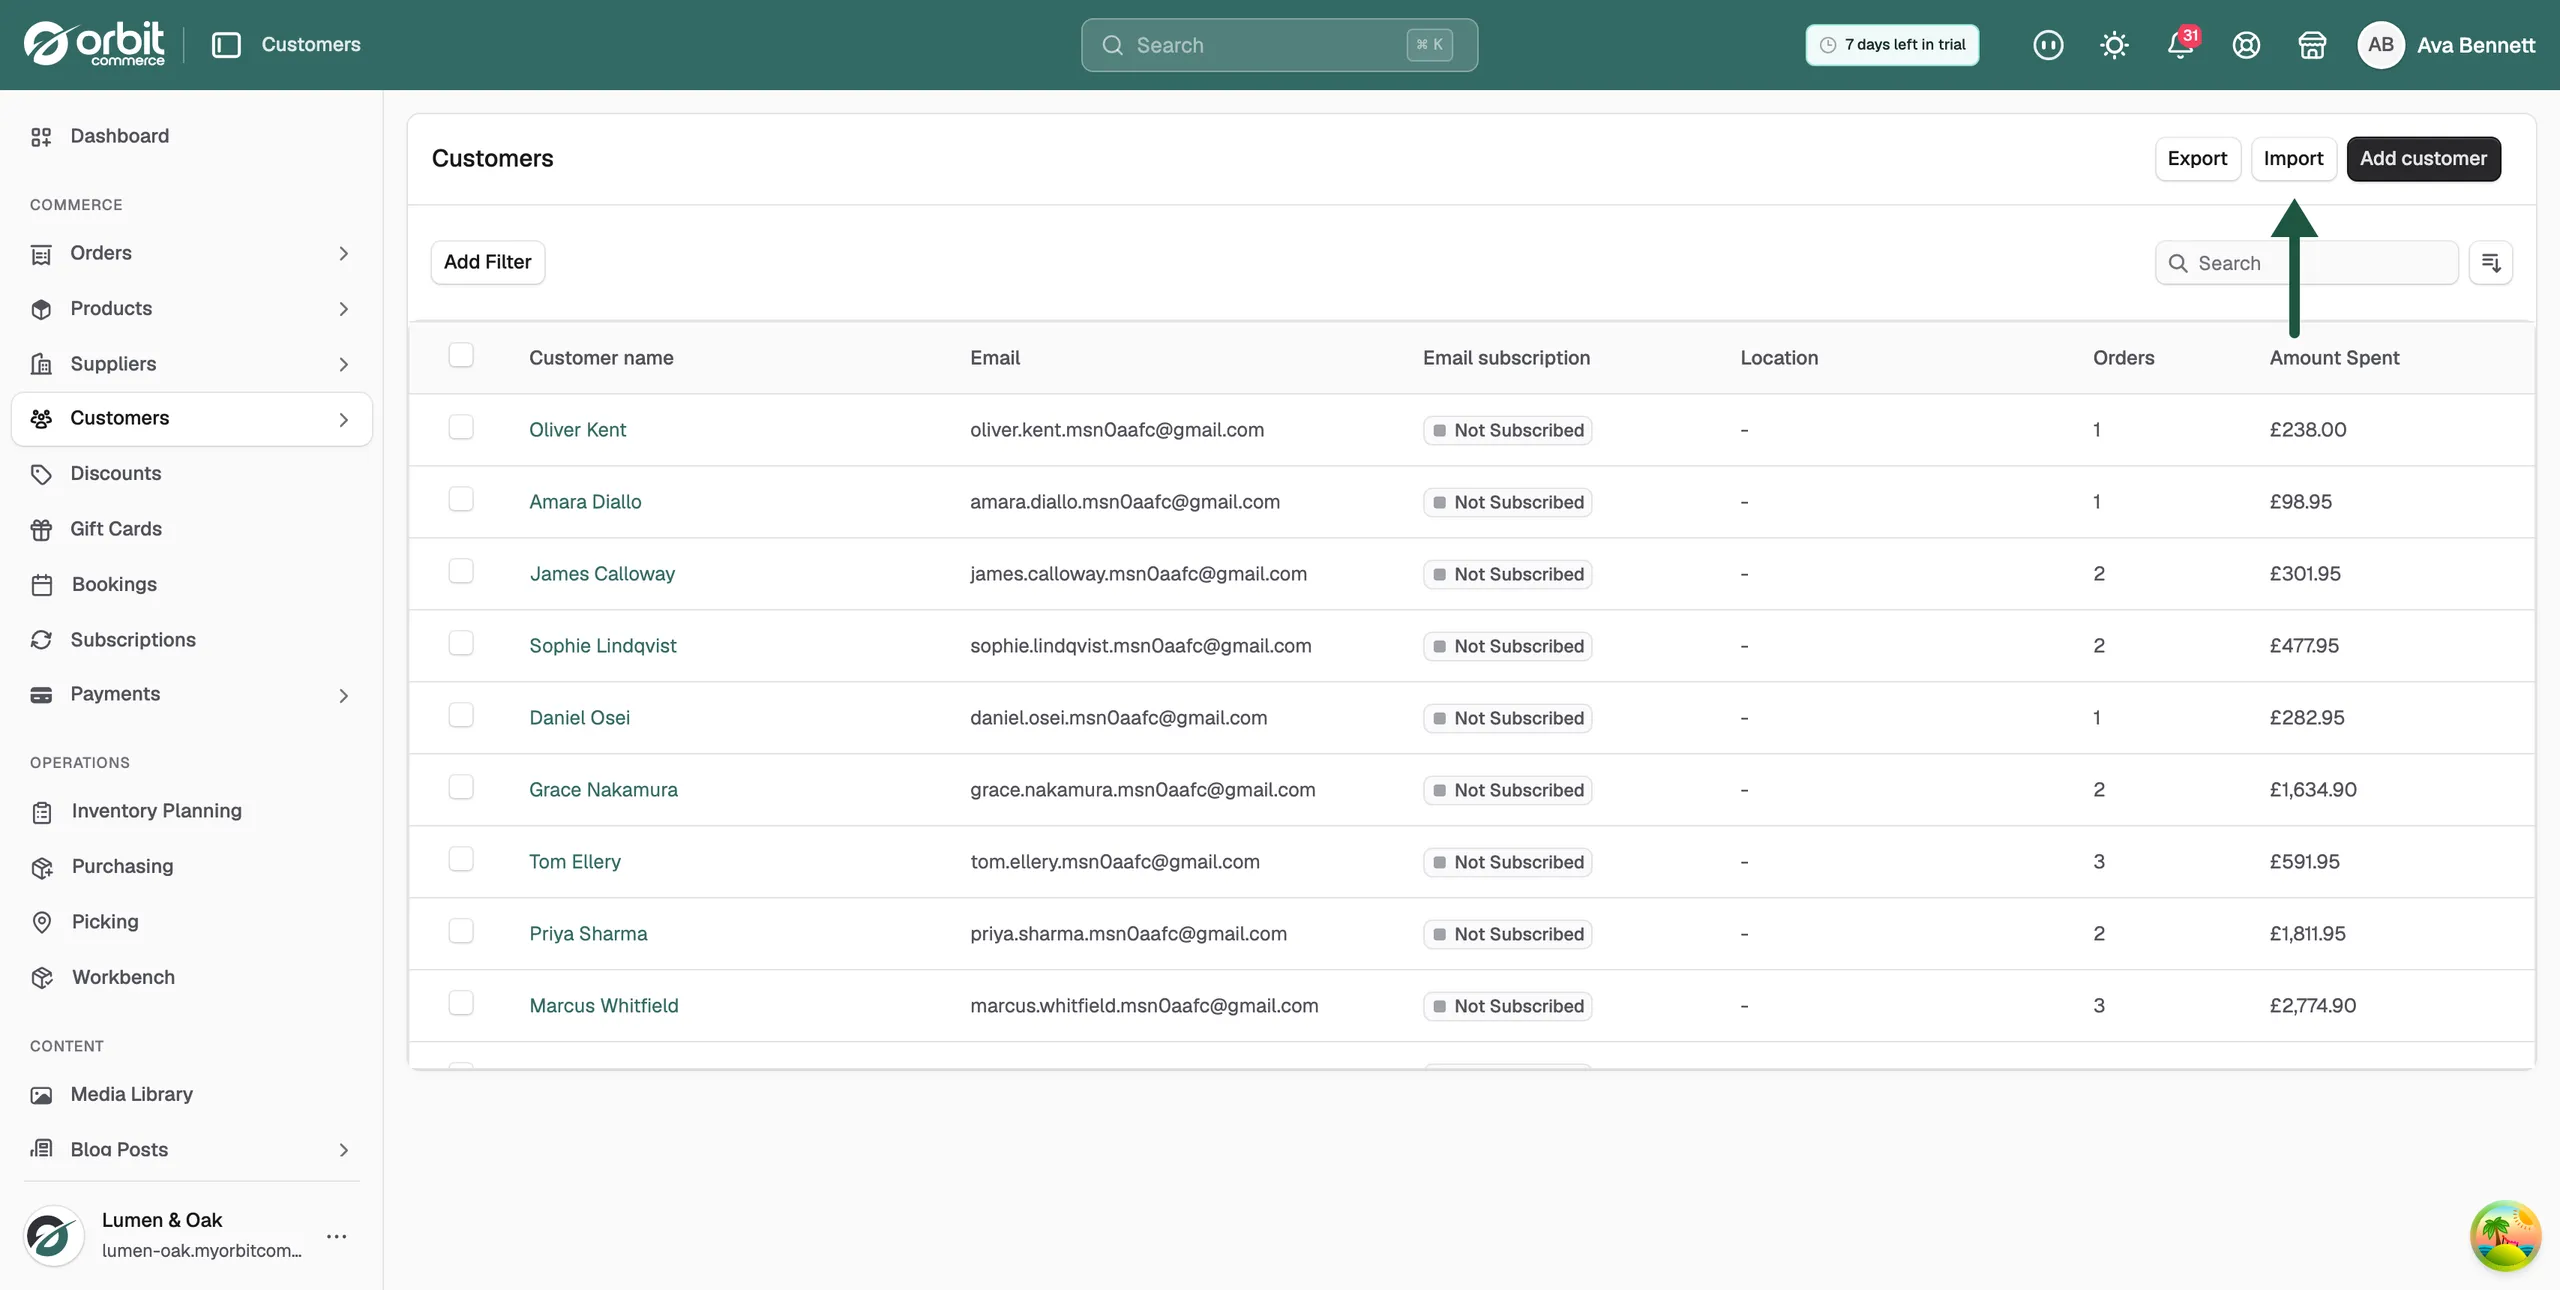
- Click Import at the top right.
- Click Download sample CSV at the bottom left and open the file. It shows the columns Orbit expects.
- Put your customers in a file with those columns, one row per customer.
- Click + Add file and choose your file, or drop it on the box.
- Under This import should…, check the two boxes. Both are ticked to start with.
- Click Upload and preview. Orbit reads the file in your browser. Nothing has reached your store yet.
- Read the summary. It tells you how many customers and how many addresses the file holds, and shows the first customer in full.
- To check or change how a column is read, click Column mappings, then click Back to preview when you are done.
- Click Import customers. The dialog shows the job running.
- Wait for Import completed successfully!, then click Close. Your new customers are in the list.
Tip: Run a ten row test file before you import ten thousand rows. A mapping mistake is cheap to fix at that size.
What the import does with each row
- Create new records: rows that match nothing in your store are added as new customers.
- Update existing records: rows that match a customer you already have update that customer. Only the columns in your file change.
- Matched by email: the email address is what Orbit matches on.
Because rows are matched on email, running the same file twice does not create the customers twice. The address columns on a row become that customer's address.
The column mapping screen
Each column in your file is listed on the left, with the Orbit field it goes to on the right.
- Auto: a green badge meaning Orbit recognised your column heading and matched it for you.
- A star next to a field name means that field is required. Only First Name, Last Name and Email have one.
- A greyed out field with (mapped) after it is already taken by another column.
- Do not import: ignores that column.
Note: Passwords never move between platforms, so imported customers have a record but no login. Send them an account invite so they can set their own password. See Inviting customers to create an account.
Related guides
Was this helpful?
0 people found this helpful