Adding a customer
Create a customer record by hand for phone orders, trade accounts and regulars, with their address, marketing consent, notes and tags in place.
4 min read6viewsUpdated 15 September 2026Orbit Commerce
Most customers add themselves when they buy from you. You can also create one by hand, for a phone order, a trade account or a regular you want on file. You do it from Customers in your Orbit dashboard.
Considerations
- Only three fields are required: First Name, Last Name and Email. Each one carries a red star.
- Every customer needs their own email address. Orbit will not create a second customer on an email that is already in use.
- There is no draft. Nothing is saved until you click Create customer.
- The marketing consent boxes stay greyed out until the email and phone fields above them have a value.
- Tax status is not on this form. You set it on the customer profile after you create them.
Add a customer
- From your Orbit dashboard, go to Customers.
- Click Add customer.
- In the Contact details card, enter the First Name, Last Name and Email.
- Enter a Company if they buy for a business.
- For Phone Number, leave the code as United Kingdom (+44) or pick another country, then type the rest of the number in the box beside it.
- Under Marketing Consent, tick Customer agrees to receive marketing emails or Customer agrees to receive marketing SMS. Tick a box only if they said yes.
- In the Address card, start typing in Address Line 1, then pick the address from the list. The city, postcode and country fill in for you.
- In the Notes & tags card, type anything your staff should know in Customer Notes.
- In the Tags box, type a tag name. Pick a tag from the list, or click the Create row to make a new one.
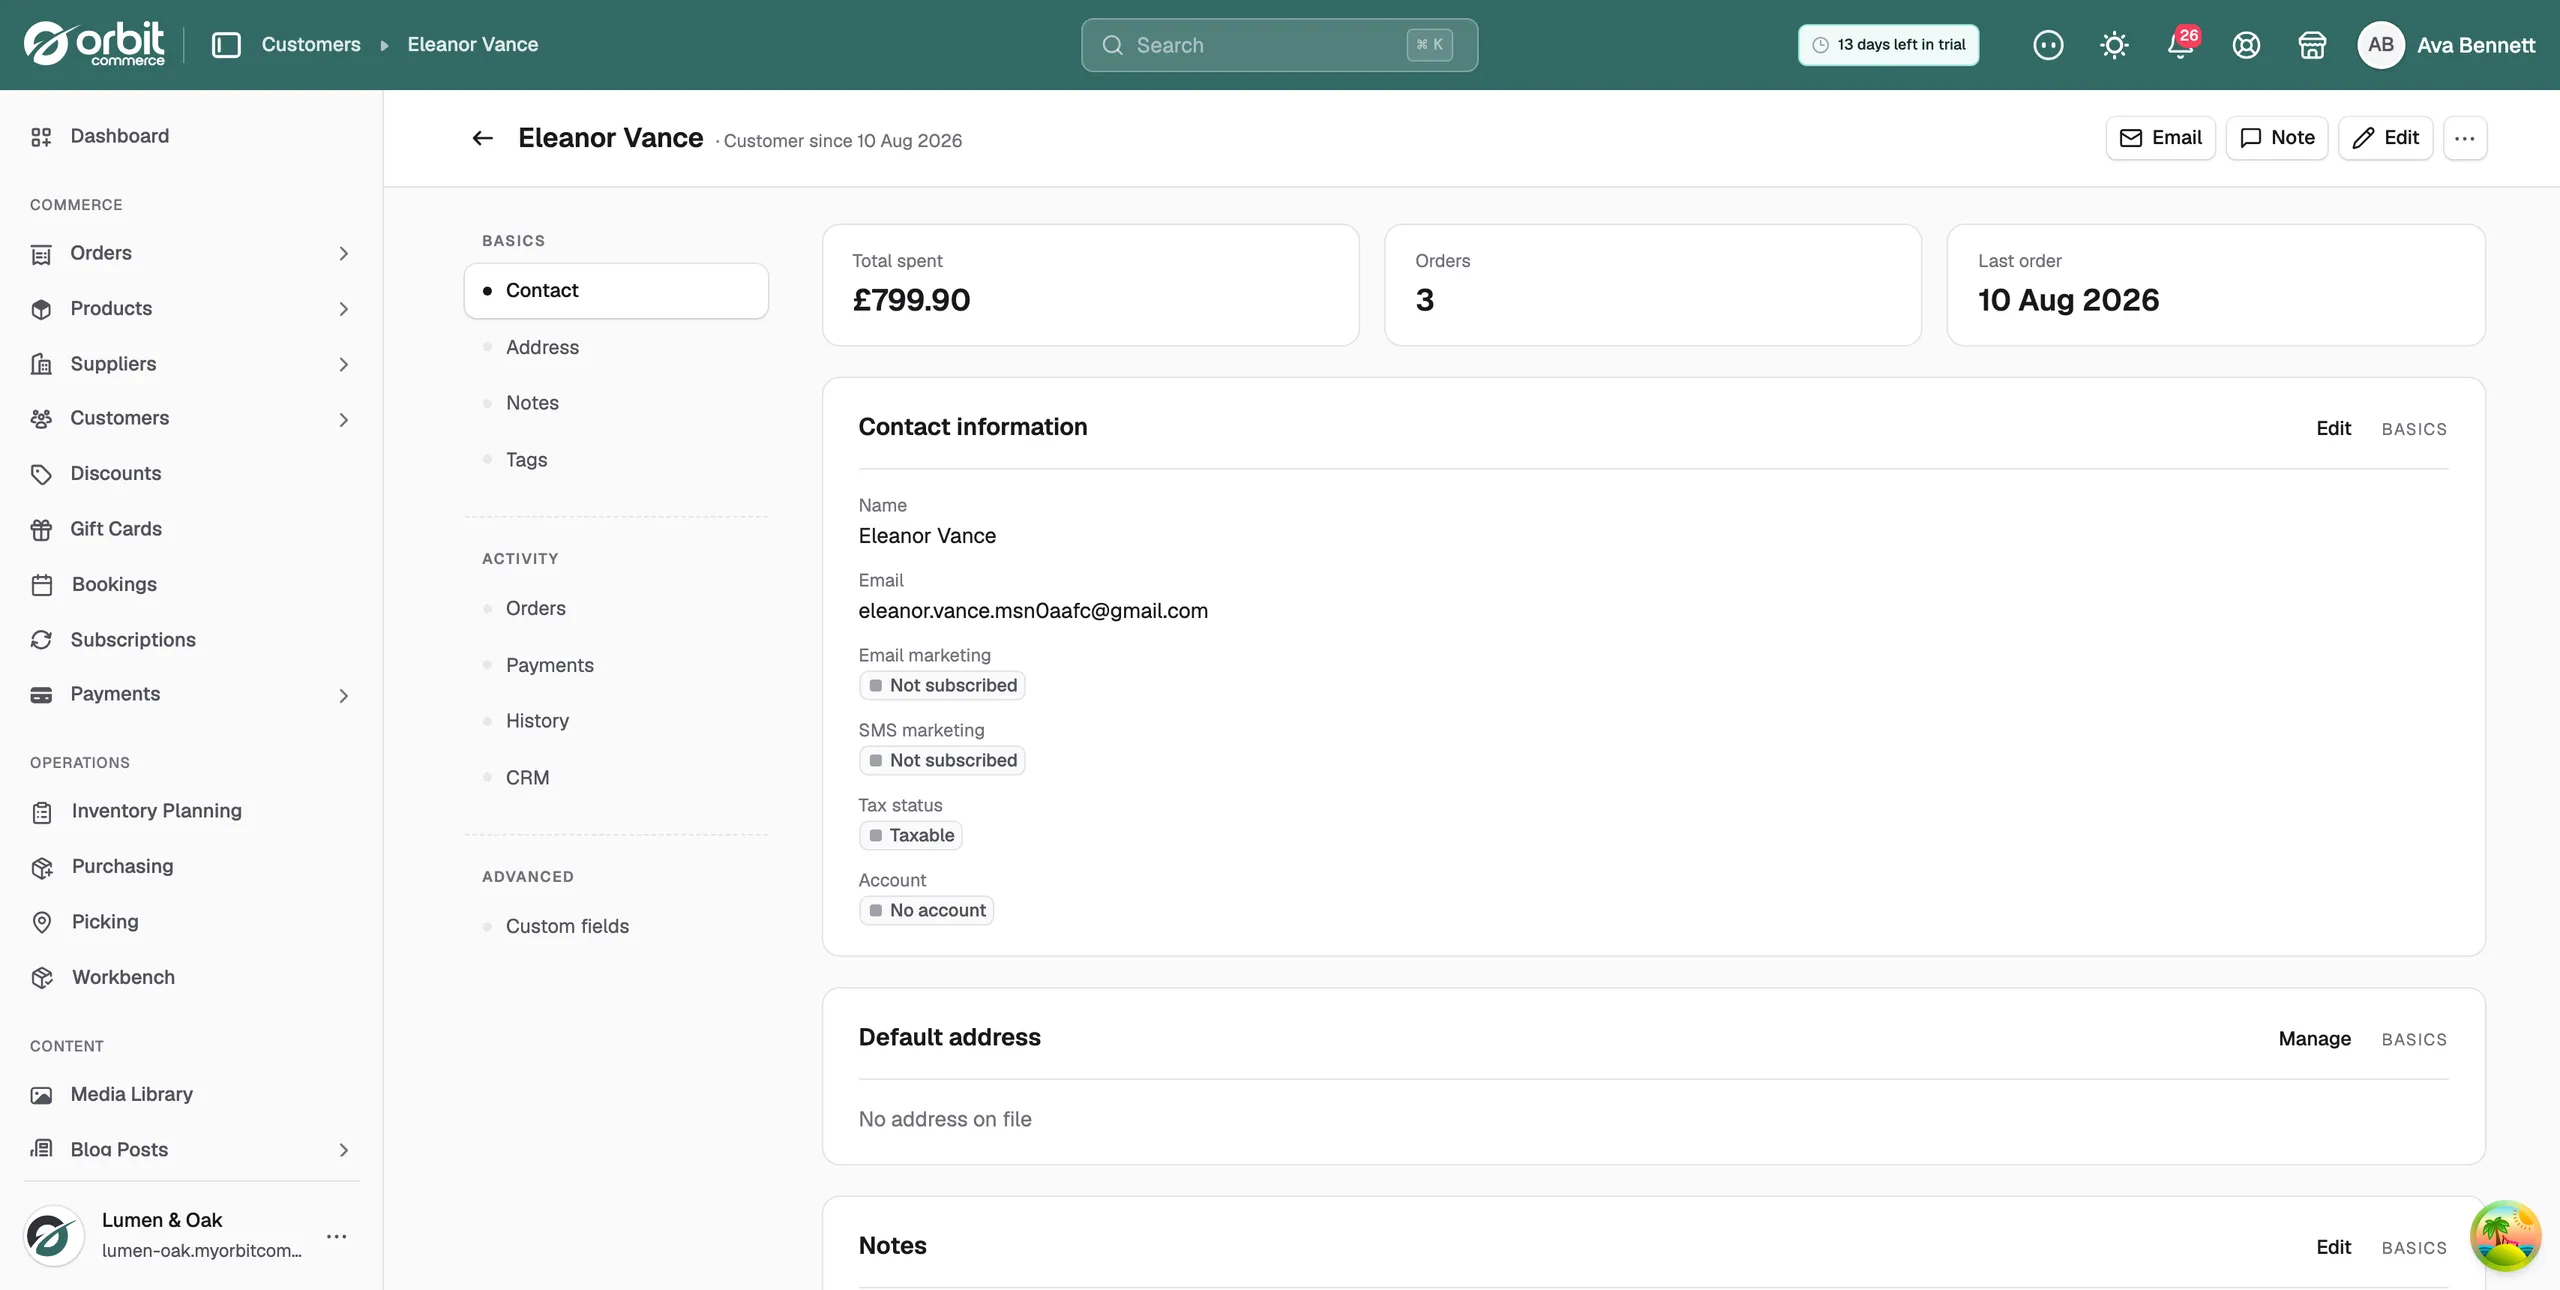
- Click Create customer at the top right. The customer profile opens.
Note: The address you enter here becomes both the default shipping address and the default billing address for that customer.
The fields on the form
Contact details
- First Name and Last Name: required, and shown as the customer's name everywhere in Orbit.
- Email: required, and unique to this customer. Order updates and account invites go to it.
- Company: the business they buy for. Optional.
- Phone Number: a country code on the left and the number on the right. Type the number without the code.
- Marketing Consent: one tick box for marketing emails and one for marketing text messages.
Address
- First Name, Last Name and Company (optional): who the parcel is addressed to.
- Address Line 1: start typing and pick from the list to fill in the rest.
- Address Line 2 (optional), City, State / Province and Postal / ZIP Code.
- Country (optional): picked for you when you choose an address from the list.
- Phone Number (optional): a delivery number, if it differs from the contact number.
Notes & tags
- Customer Notes: private notes for your staff, such as a delivery quirk. The customer never sees them.
- Tags: labels you use to group customers. Type a name and pick a tag, or create a new one.
After you create the customer
The profile is now the record for that person. It shows their total spent, order count and last order at the top, then their contact details, address, notes, tags, orders, payments and history below.
- To mark a trade customer as tax exempt, open the profile, click the three dots menu and choose Edit preferences.
- To let them sign in to your storefront, send them an account invite. See Inviting customers to create an account.
- When you raise a manual order, attach this customer record rather than typing a bare email. Their history and total spent then stay correct. See Creating a manual order.
Related guides
Was this helpful?
0 people found this helpful