Reading a customer profile
Open a customer profile to see what they have spent and ordered, check their contact details and account status, manage addresses, and add notes and tags.
The customer profile holds everything your store knows about one person. Their contact details, marketing preferences, address, orders, payments, notes, tags and custom fields all sit on one page. You can also write a note, add tags and manage their addresses from here.
Open a customer profile
- From your Orbit dashboard, go to Customers.
- Click the customer's name in the list. Their profile opens.
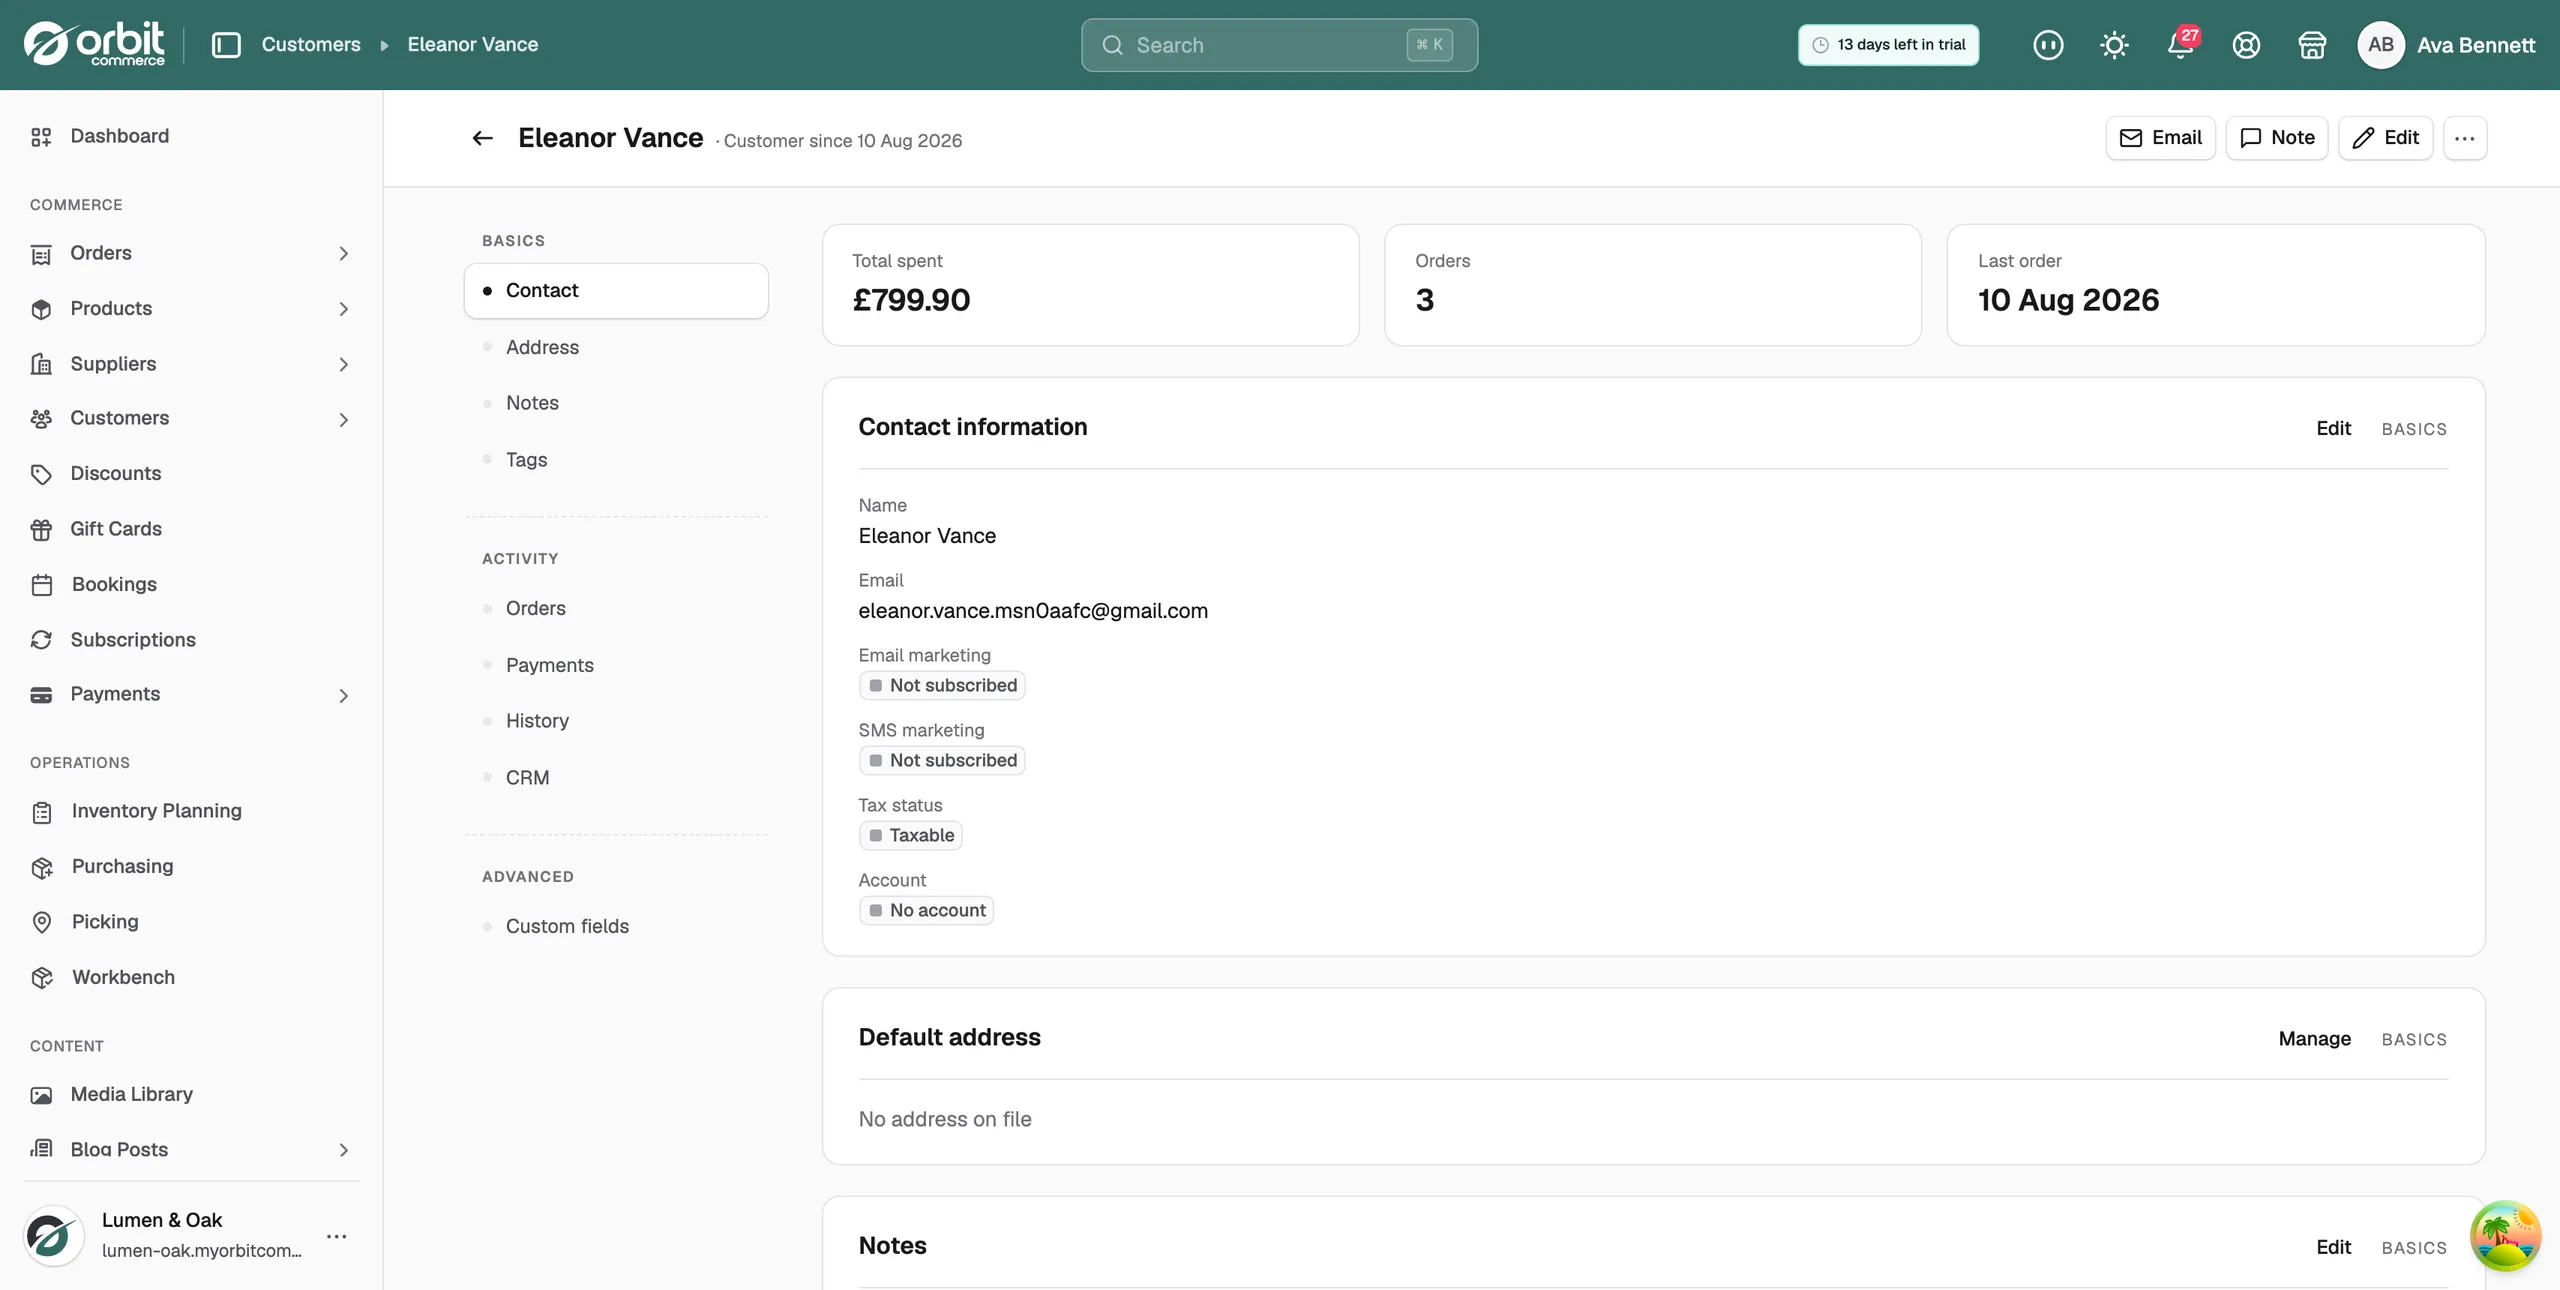
The top of the page shows their name and the date they became a customer. The page is one long list of cards. Use the menu on the left to jump to a card: Contact, Address, Notes, Tags, Orders, Payments, History and Custom fields.
The buttons at the top
The bar at the top of the profile holds three buttons and a three dots menu.
- Email: starts an email to the customer.
- Note: opens the same box as Edit on the Notes card.
- Edit: updates their contact information.
The three dots menu holds the rest:
- Edit contact information: name, email, phone and company.
- Manage addresses: add, edit or remove an address.
- Edit preferences: email marketing, SMS marketing and tax exempt status.
- Export customer data (GDPR): downloads everything the store holds on them.
- Send account invite: shown only while they have no storefront account.
- Merge duplicate customer: moves a duplicate record onto this one.
- Erase personal data: redacts their personal details for an erasure request.
- Delete customer: removes the record from your customer list.
The three summary tiles
- Total spent: the combined value of their orders.
- Orders: how many orders they have placed.
- Last order: the date of the most recent one, or No orders.
Note: All three tiles count draft orders as well as paid ones. If a customer has an unpaid draft, it adds to Total spent and to Orders.
Contact information
The Contact information card shows the core details. Click Edit on the card to change them.
- Name: their first and last name.
- Email: the address on the record.
- Phone: their number, or No phone on file.
- Email marketing: Subscribed or Not subscribed.
- SMS marketing: Subscribed or Not subscribed.
- Tax status: Taxable or Tax-exempt.
- Account: Has account if they can sign in to your storefront, No account if they cannot.
Their default address
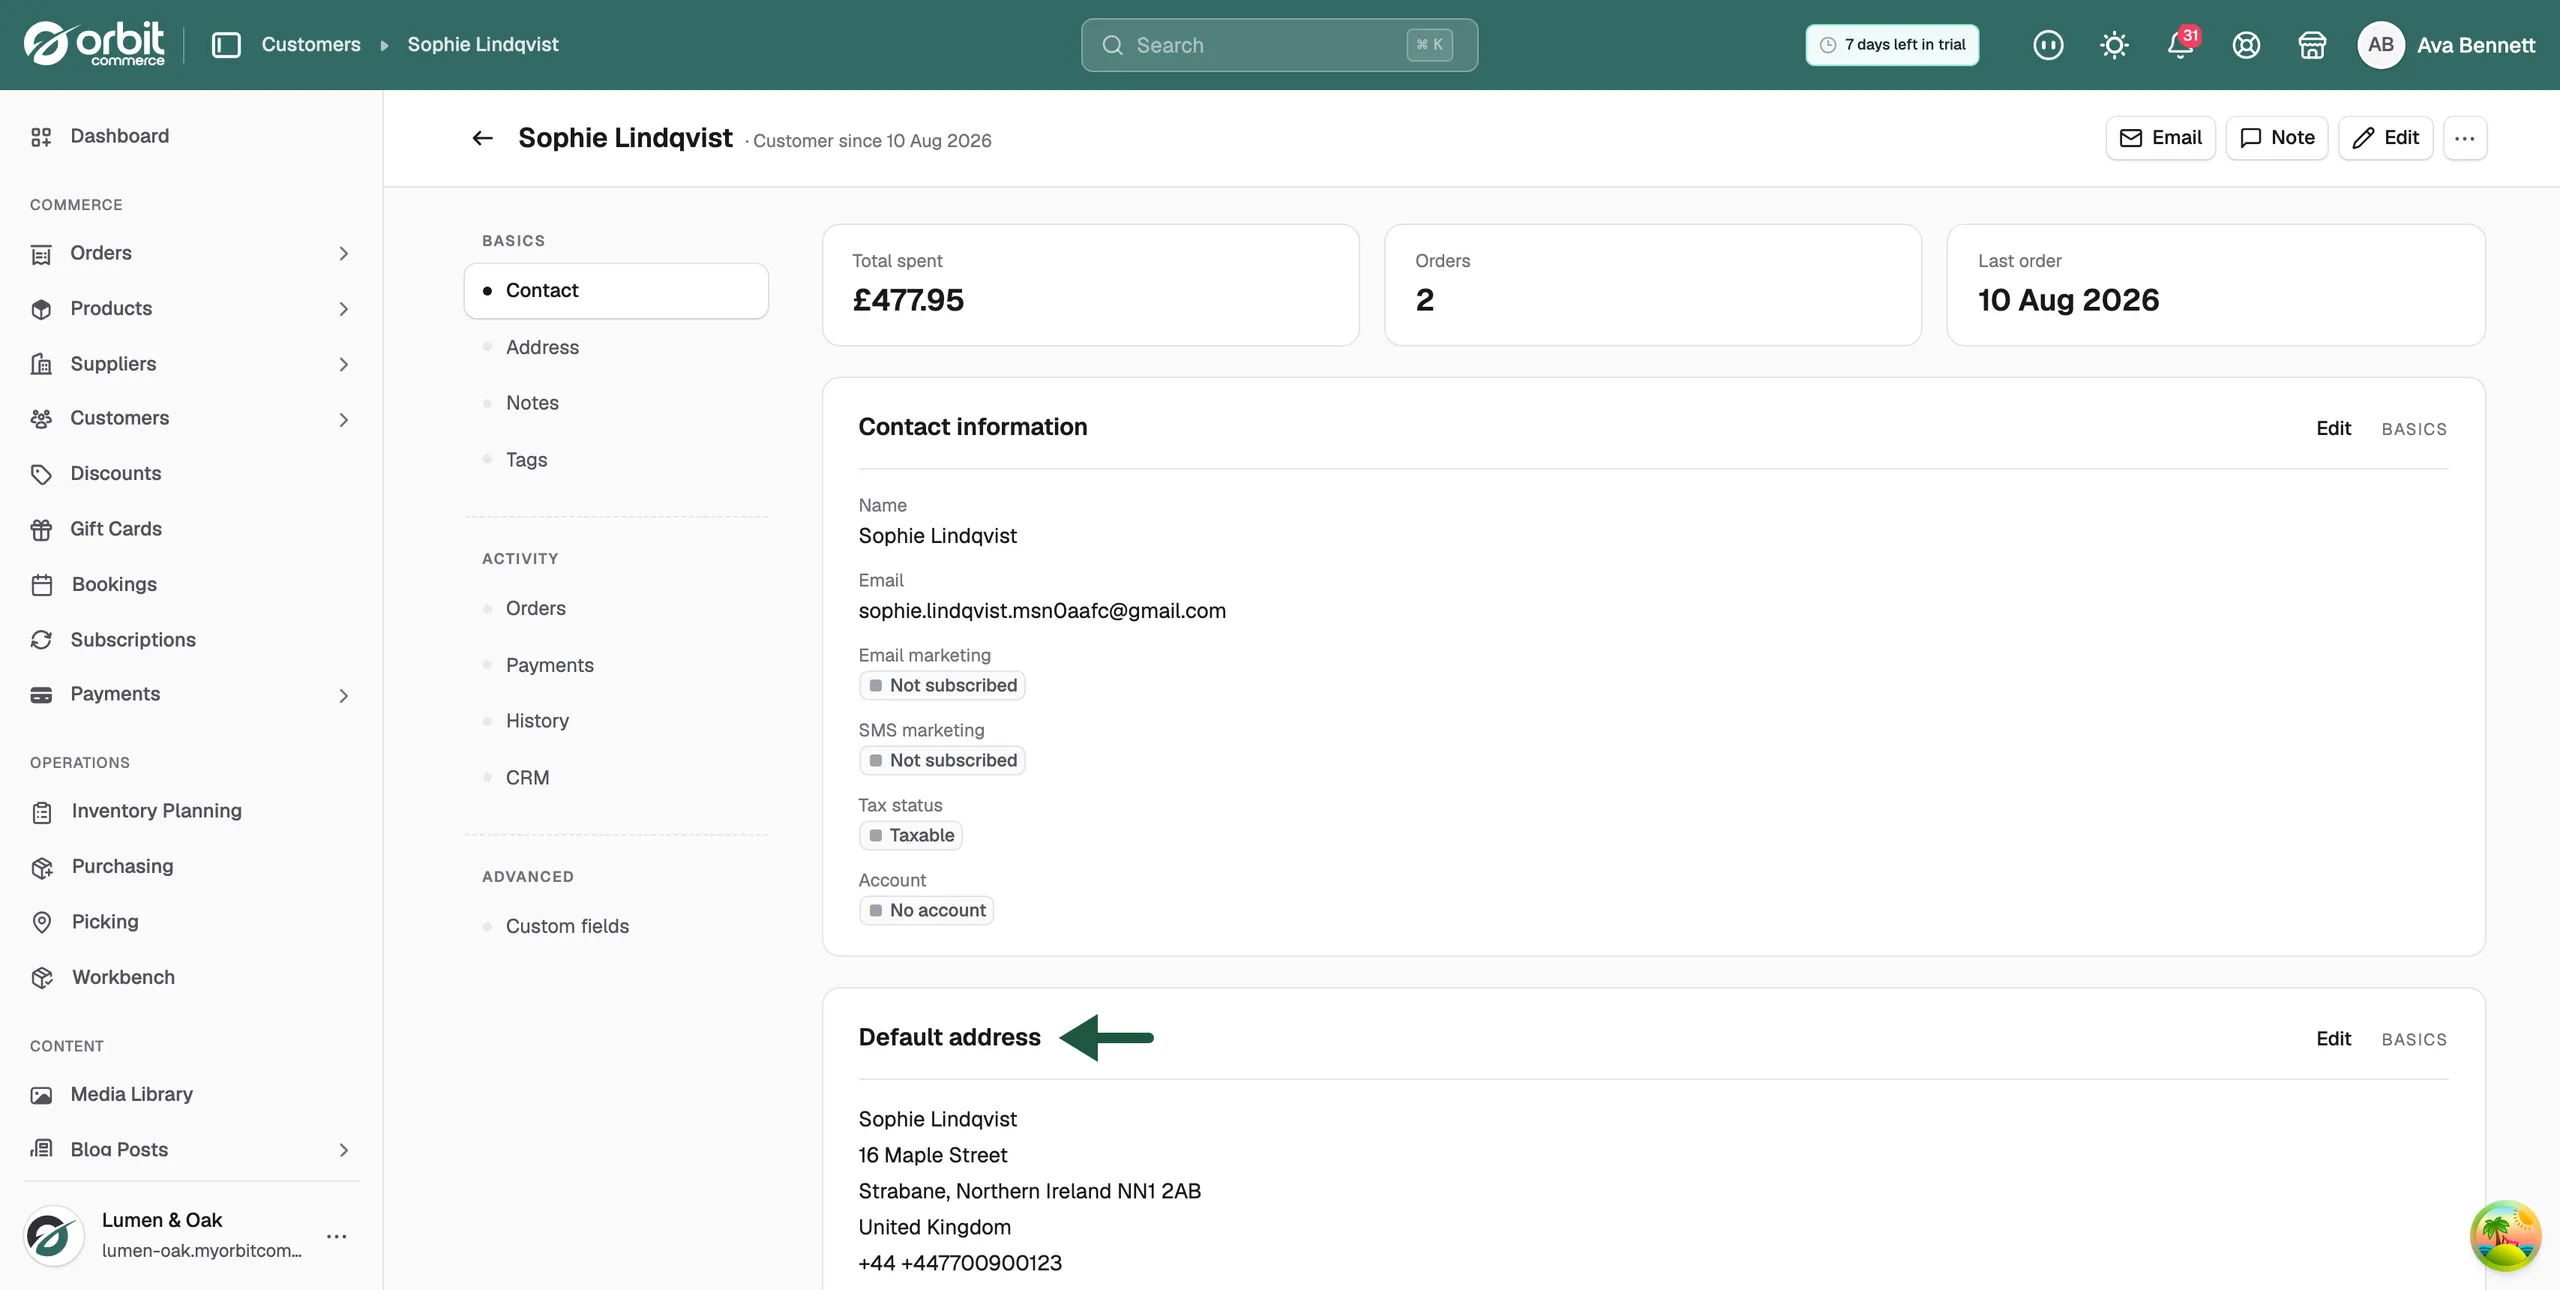
The Default address card shows the address used for shipping. It lists the company, name, address lines, town or city, county, postcode, country and phone number. When there is no address it reads No address on file.
To change it, click Edit on the card, or Manage if there is no address yet. You can also choose Manage addresses from the three dots menu. From there you add an address, change one, set one as the default, or delete one. See Editing a customer.
Write a note
- On the Notes card, click Edit. You can also click Note at the top of the page.
- Type the note. Only your team sees it.
- Click Save Notes. The card fills with your text and the message Notes updated successfully appears.
For more on what to record and who can see it, see Adding notes to a customer.
Note: A customer has one note, not a list of them. Saving replaces whatever was there before, so copy the old text first if you still need it.
Add tags
- On the Tags card, click Edit.
- Type at least three letters in the box. Matching customer tags appear below it.
- Click a tag to add it, or click the Create row to make a new one. A new tag is created for the whole store straight away, so it is ready for your next customer.
- To take a tag off, click the × on its chip.
- Click Save Tags. The box is the whole list, so anything you removed from it is removed from the customer.
The box only lists customer tags. Product tags never appear in it. For what tags are used for, see Adding tags to a customer.
Orders, payments and history
- Orders: every order this customer has placed, with its date, status, payment status, fulfilment status and total. Click an order number to open it. Draft orders are marked Draft in orange.
- Payments: the payments linked to those orders, with the date, method, status and amount.
- Activity history: what your staff changed on this record, and when.
- Custom fields: any extra details you collect about customers. You set these up in Settings.
Related guides
Was this helpful?
0 people found this helpful