Managing bookings
Open the Bookings page, see appointments in a calendar or a list, record what happened, cancel a booking, and reserve time so nobody can book it.
Bookings is where you handle appointments for your service products. You can see every appointment in a calendar or a list, open one to check the customer and the service, record what happened, and reserve time so nobody can book it. The page sits under Commerce in the left menu.
Considerations
- Bookings only covers products with the type Service. See Setting up a bookable service.
- The days and times customers can pick come from your service hours. See Setting your service hours.
- Cancelling a booking refunds the customer and cannot be undone.
- A time block is permanent. Once you save it, you cannot edit it or remove it.
Open the Bookings page
- From your Orbit dashboard, go to Bookings.
- The page opens in Calendar view, showing the current month. Each booking sits in its day cell with its start time and the customer's name. Busy days show how many bookings they hold.
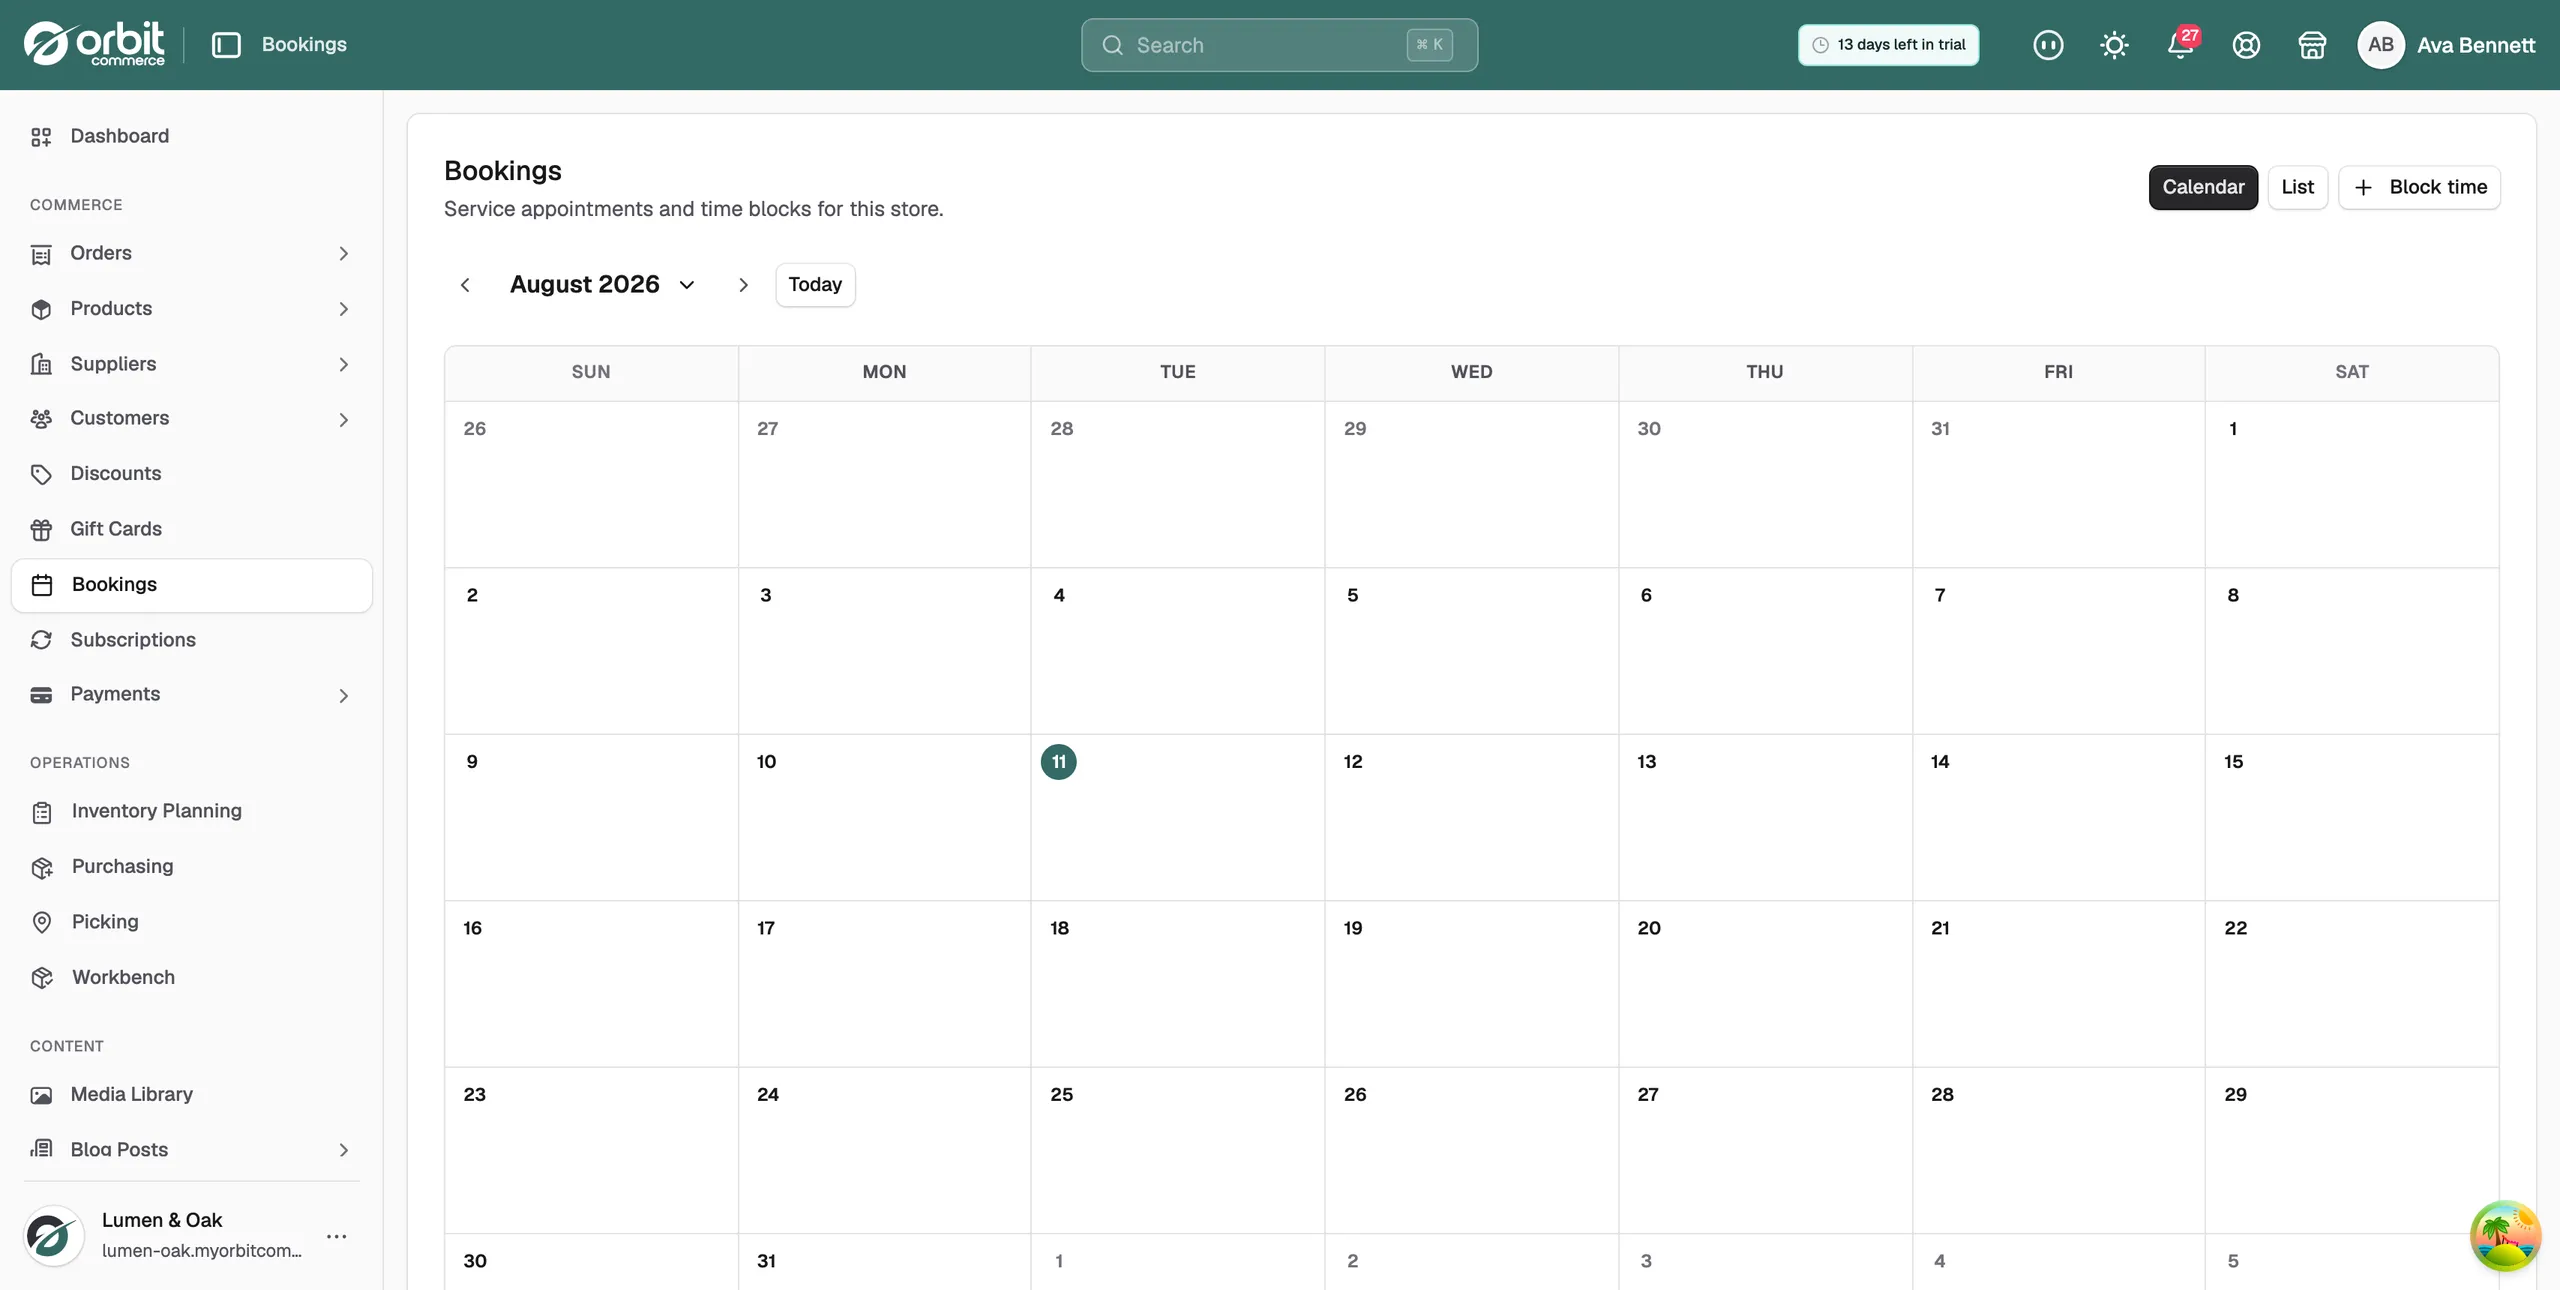
Switch between calendar and list view
- Click List in the top right. The same bookings appear as a table, one row each, in date order.
- Click Calendar to go back to the month grid.
The list has five columns:
- Date: the day the appointment is booked for.
- Time: the start time, on the 24 hour clock.
- Duration: how long the appointment lasts, in minutes.
- Customer: who made the booking. A time block shows a dash, because it has no customer.
- Status: the booking's current status, as a coloured label.
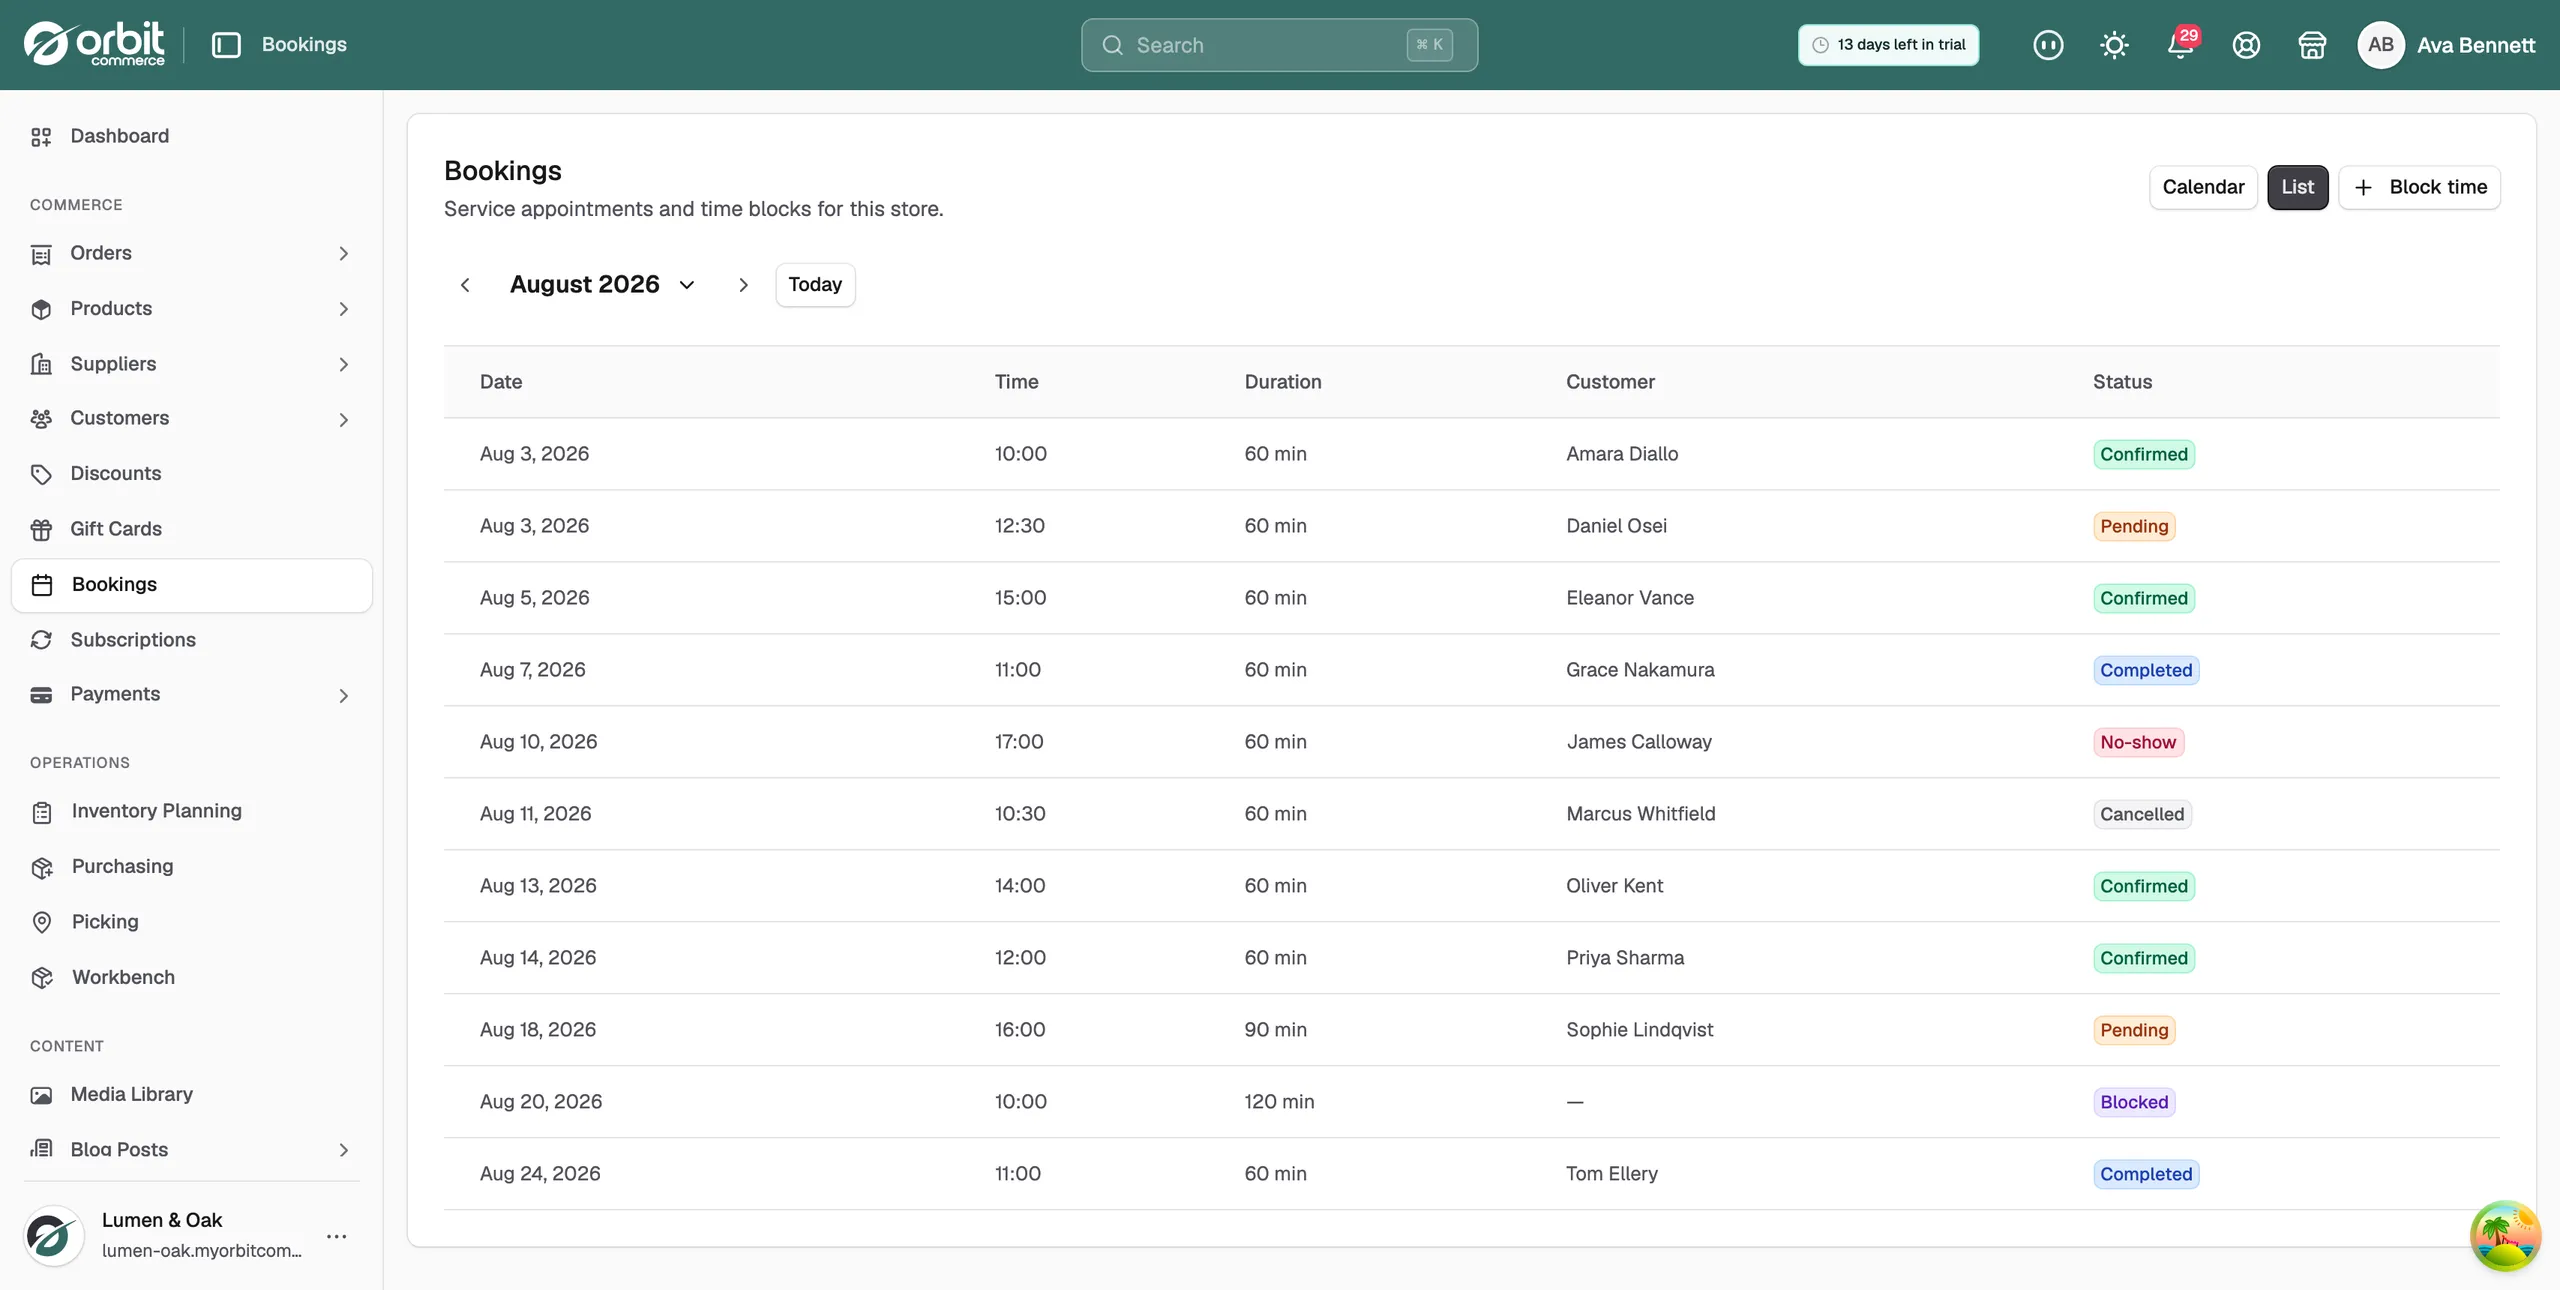
Open a booking
- Click a booking in the calendar, or any part of its row in the list.
- A panel opens on the right, headed Booking, with the status below the heading.
- Read the details you need. Click Close when you are done.
The panel shows these sections:
- When: the date, the start and end times, the length in minutes and the capacity of the slot.
- Product: the service the booking is for, with a View product link.
- Customer: the customer's name, email address, phone number and address, with a View customer link.
- Order: a View order link, when the booking has an order behind it.
- Customer note: anything the customer wrote when they booked.
- Cancellation reason: the reason given when the booking was cancelled.
Note: A time block has no customer and no order, so the panel shows only the service and the reserved time.
Mark a booking complete or no-show
- Open the booking.
- Click Mark complete to record that the appointment took place, or Mark no-show to record that the customer did not turn up.
- The panel closes and the booking's status changes to Completed or No-show.
Note: These two buttons only appear while the booking is Confirmed. A booking that is already completed, cancelled or marked as a no-show shows Close on its own.
Cancel a booking
- Open the booking.
- Click Cancel booking.
- Your browser asks for a reason for cancelling. The reason is optional and the customer sees it. Type one, or leave it empty.
- Click OK. The customer is refunded what they paid, less your cancellation fee.
Warning: Cancelling cannot be undone. The refund goes out straight away and the booking is removed from both the calendar and the list.
You can cancel a booking that is Confirmed or Pending. You cannot cancel one that is already completed, cancelled or a no-show, and you cannot cancel a time block. To set what you keep on a cancellation, see Taking deposits and setting cancellation policies.
Block out time
Blocking out time reserves part of the calendar so no customer can book it. Use it for holidays, training days or maintenance.
- On the Bookings page, click Block time in the top right.
- Under Service product, pick the service the block applies to. The list holds your active service products.
- Set the Start date and time.
- Set the End date and time. The end must be after the start.
- Click Block time. The message Time blocked off the calendar appears and the block lands on the calendar with the status Blocked.
Warning: A time block cannot be edited or removed once it is saved. Check the dates before you click Block time.
- A block covers one service only. If you are away from all of them, add a block for each service.
- The start and end times are read in your store's timezone, not the customer's.
- Bookings already in that window are not cancelled. The block stops new ones.
Booking statuses
- Confirmed: the appointment is booked and paid for.
- Pending: the appointment is waiting for payment. The booking panel calls this Pending payment.
- Completed: the appointment has taken place.
- Cancelled: the booking has been cancelled.
- No-show: the customer did not turn up.
- Blocked: time you have reserved so it cannot be booked.
Related guides
Was this helpful?
0 people found this helpful