Using the booking calendar
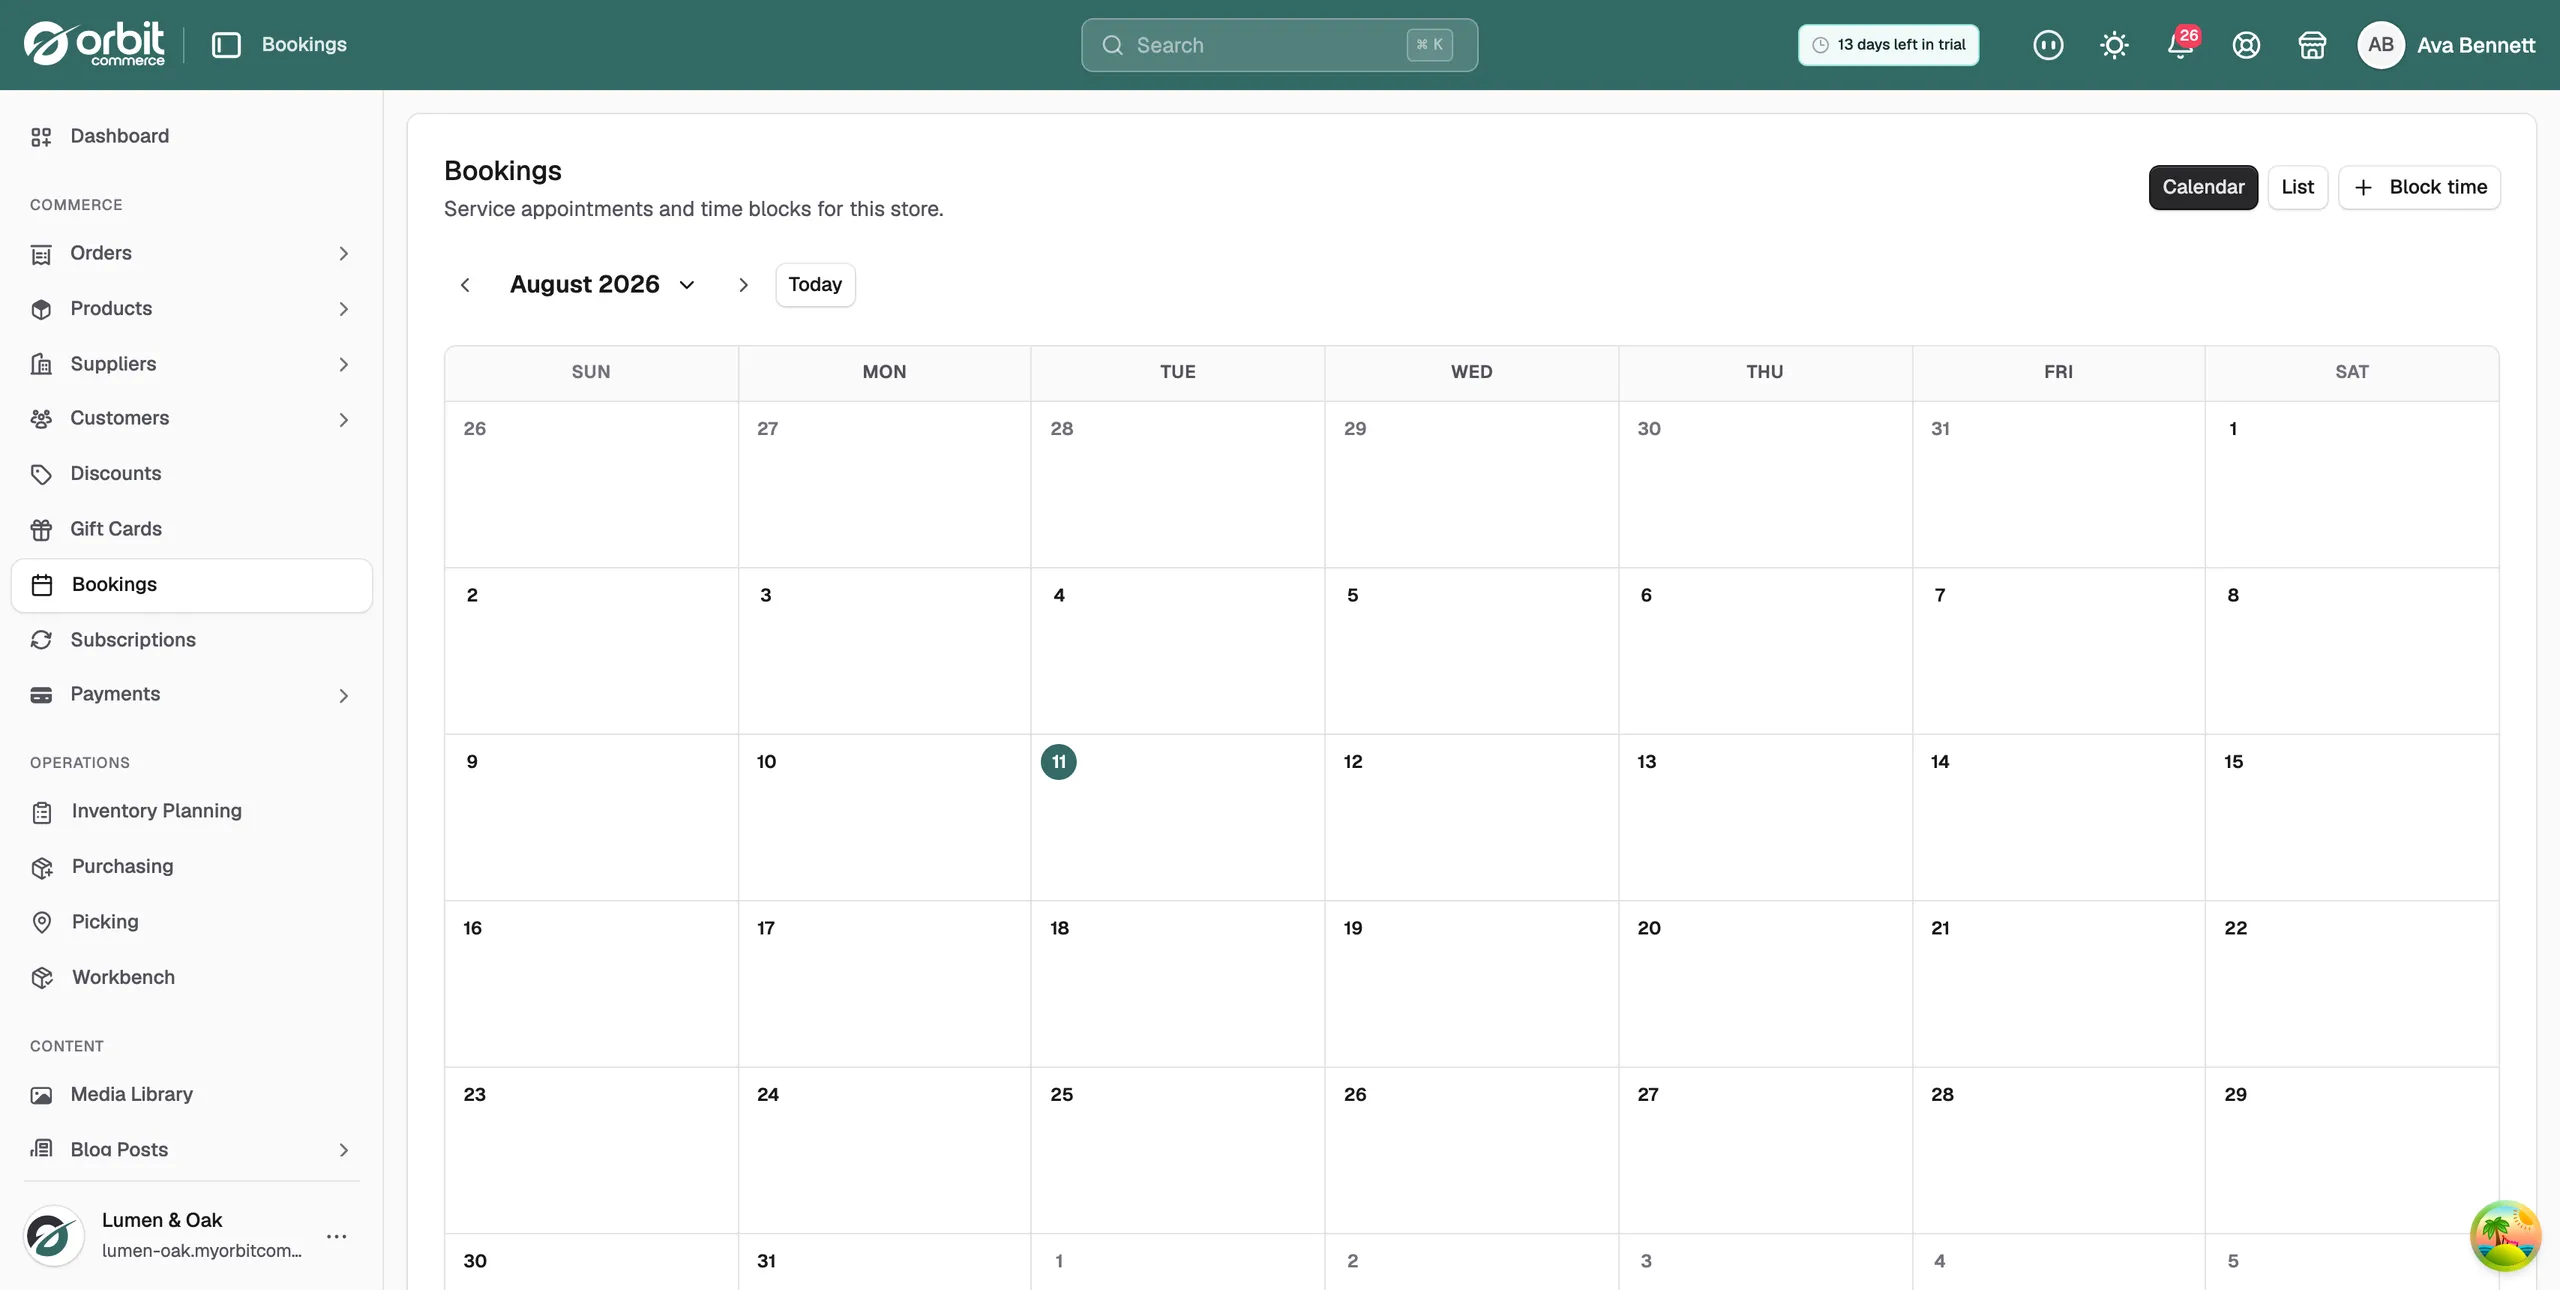
Move between months, read what the month grid shows, and switch to the list view when you want your bookings as a table.
The booking calendar is your appointment diary. It shows every service appointment and every block of reserved time for your store, one month at a time. You can also switch it to a list when you would rather work through a queue.
Open the calendar
- From your Orbit dashboard, go to Bookings.
- The page opens in Calendar view on the current month.
Move between months
- Click the arrows either side of the month name to step back or forward one month.
- To jump further, click the month name itself. A panel opens with a Month list and a Year list. Pick one from each.
- Click Today to return to the current month.
Read the calendar
Each booking sits in the cell for its day, showing the start time and the customer's name. A day with more than one booking shows a count, such as 3 bookings. Reserved time reads Blocked rather than the name of the service.
A legend runs under the grid with a colour for each status: Confirmed, Pending, Completed, Cancelled, No-show and Blocked. For what each one means, see Managing bookings.
Switch to the list
- Click List in the top right. The same bookings appear as a table with Date, Time, Duration, Customer and Status columns.
- Click Calendar to go back to the month grid.
Both views show the same bookings. Click any booking, or any row, to open it and see the customer, the service and the slot.
Tip: Start the day on the calendar. You get today's appointments with names and times before the door opens.
Keep the calendar accurate
- Record what happened as soon as an appointment ends. Open the booking and click Mark complete or Mark no-show.
- Use Block time for holidays and training days, so nothing lands on a day you are away.
- If a day fills up week after week, look at the session duration and the capacity on the service product.
Related guides
Was this helpful?
0 people found this helpful