Setting your storefront preferences
Set your homepage SEO and social sharing image, password protect your store while you build it, and turn on spam protection and customer order requests.
Preferences is where you set how your homepage appears in search results, which image shows when your store is shared, and who can get into your store while you work on it. It also holds spam protection and the switches for customer order requests, cookie consent and age verification. You find it under Storefront in your Orbit dashboard.
Considerations
- The Save button sits at the bottom of the page. It stays greyed out until you change something.
- The Enable cookie consent banner and Enable age verification gate switches save as soon as you click them. They do not wait for Save.
- The store password is not your admin login password. It is a separate password you give to visitors.
- The Homepage SEO fields also appear under Settings, then SEO. Both places save the same values, so the last save wins.
Open Preferences
- From your Orbit dashboard, go to Storefront.
- Click Preferences. The page opens with your settings grouped into cards.
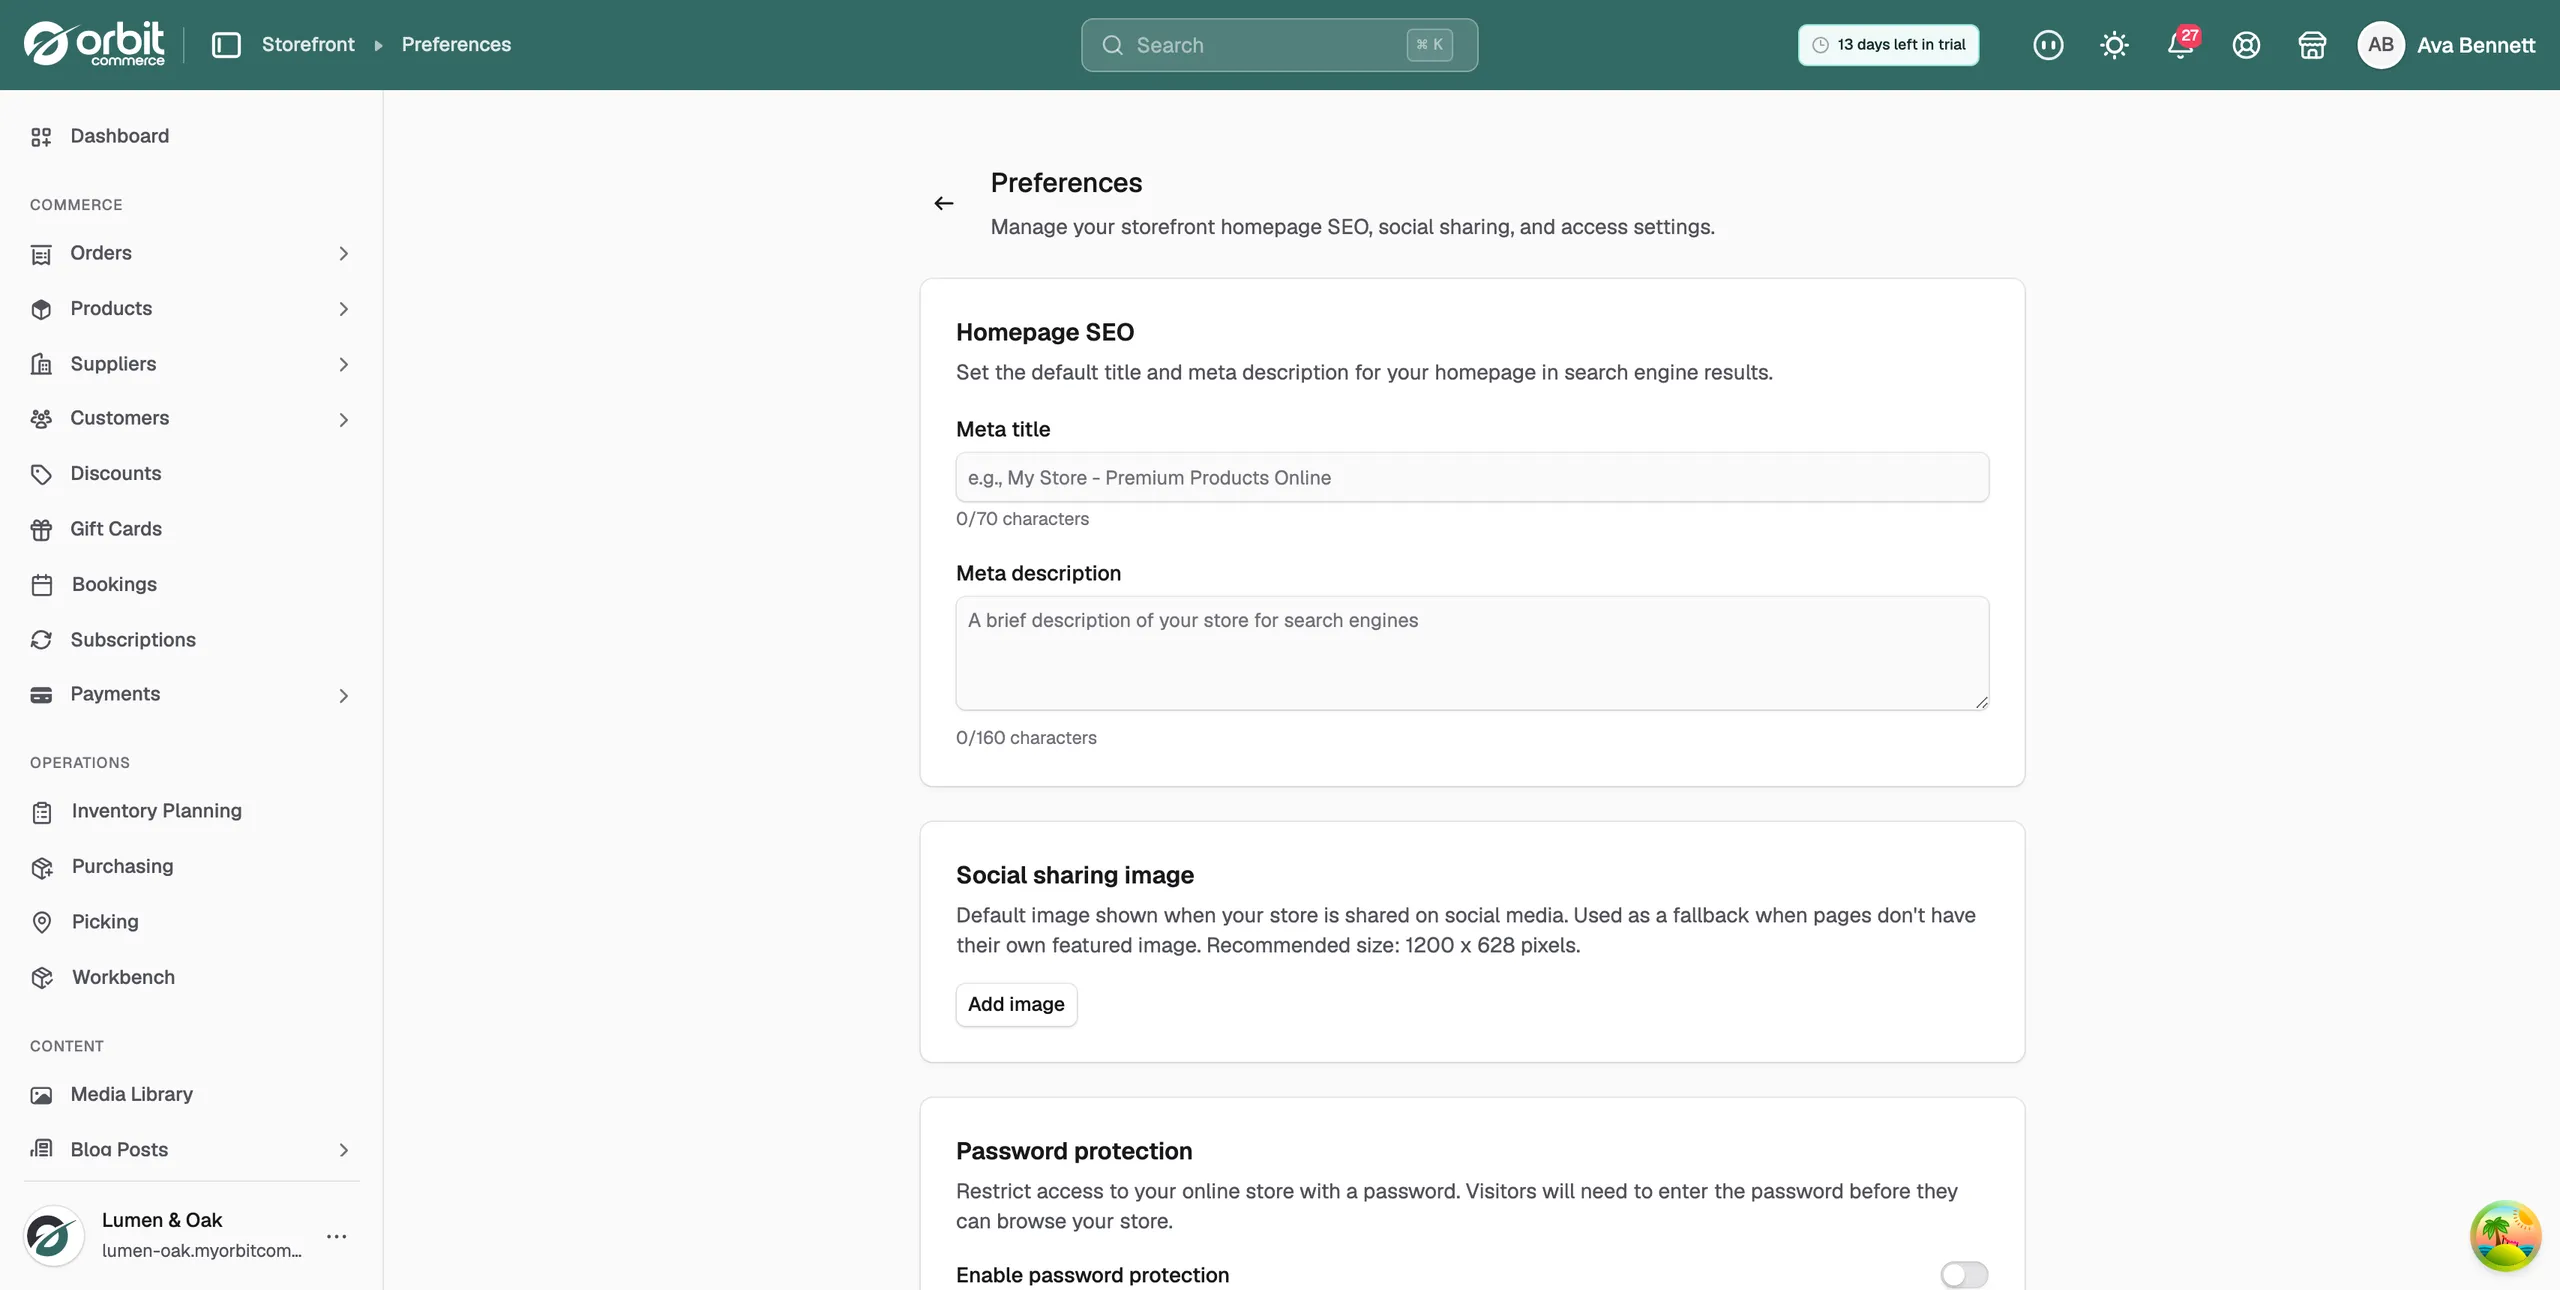
Set your homepage SEO
- Under Homepage SEO, type a Meta title. This is the title shown for your homepage in search results. Up to 70 characters.
- Type a Meta description. This is the short summary shown under the title. Up to 160 characters.
- Check the character count under each field.
- Click Save. The message Preferences saved successfully appears.
Set a social sharing image
This image shows when someone shares your store on social media. Orbit uses it when a page does not have its own image. Use an image sized 1200 x 628 pixels.
- Under Social sharing image, click Add image.
- In the Select Social Sharing Image window, choose an image from your media library or upload a new one.
- Click Save.
Once an image is set, click Change image to swap it, or Remove to clear it.
Password protect your store
Turn this on while you build your store. Every page then asks visitors for the password before it loads.
- Under Password protection, switch on Enable password protection. Two fields appear.
- In the Password field, type the password you will share with visitors.
- In Message for visitors, type a short line to explain, such as when you open.
- Scroll to the bottom and click Save. The message Preferences saved successfully appears.
- The Password field now reads [password set]. This means the password is stored safely.
- Click the Visit storefront icon at the top of the dashboard. You see what a visitor sees: your store name, your message and a password box.
A wrong password shows Incorrect password. Please try again. and the store stays locked.
Warning: Do not clear the Password field after you have saved it. An empty password can lock your store with no way to get in. To change the password, type a new one over the top.
Note: Your storefront can take up to a minute to pick up the change. If you still see the old state, wait and refresh.
Remove the password
- Under Password protection, switch off Enable password protection.
- Click Save. Visitors can browse your store again.
Turn on spam protection
Spam protection adds an hCaptcha check to your forms. Some customers will need to complete the check before they can submit.
- Under Spam protection, switch on Enable spam protection. Two options appear.
- Tick Enable on contact and comment forms to protect your contact form and blog comments.
- Tick Enable on login, create account and password recovery pages to protect customer account pages.
- Click Save.
Allow cancellation and return requests
These switches let customers ask for a cancellation or a return from their account. Requests come to you to approve. Nothing is cancelled or refunded on its own.
- Allow cancellation requests: customers can ask to cancel an order.
- Allow return requests: customers can ask to return an order.
Switch either off if you would rather handle cancellations and returns yourself, then click Save.
Cookie consent and age verification
The last two cards are switches for features that have their own pages.
- Enable cookie consent banner: shows the cookie banner on your storefront. Click Configure cookie consent to set the categories, wording and look.
- Enable age verification gate: asks visitors to confirm their age before they browse. Click Configure age verification to set the minimum age and method.
Both switches save straight away. See Setting up your cookie consent banner and Setting up age verification.
B2B customer access
On the Enterprise plan, the B2B customer access card lets you limit buying to approved trade customers. Switch on Restrict access to B2B customers only, add a Message for visitors, and click Save. Anyone can still browse, but visitors must log in with a verified company account to add to cart or check out. On other plans the card shows View plans.
Related guides
Was this helpful?
0 people found this helpful