Setting up age verification
Turn on an age check for your storefront, choose a confirm button or date of birth entry, and edit the prompt visitors see.
Age verification puts a prompt in front of your storefront. Visitors must confirm their age before they can browse. Use it if you sell age-restricted goods such as alcohol, vapes, knives or fireworks. You set it up on the Age Verification page, which you open from Storefront > Preferences.
Considerations
- Age verification is off for every new store until you turn it on.
- Search engines and link previews are not affected. Your store still appears in search results.
- A visitor who passes the check is remembered on that device. They are not asked again until the remember period ends or you raise the minimum age.
- There is no Age Verification entry in the Storefront menu. The only way to the page is the Age verification card on the Preferences page.
Open the Age Verification page
- From your Orbit dashboard, go to Storefront > Preferences.
- Scroll to the bottom of the page and find the Age verification card.
- Click Configure age verification. The Age Verification page opens.
Note: The Enable age verification gate switch on the Preferences card saves the moment you flip it. It does not wait for the page's Save button. Use it to turn the prompt on or off quickly without opening the full page.
Turn on age verification
- On the Age Verification page, switch on Enable age verification.
- Click Save at the top right. The message Age verification settings saved appears. New visitors see the prompt straight away.
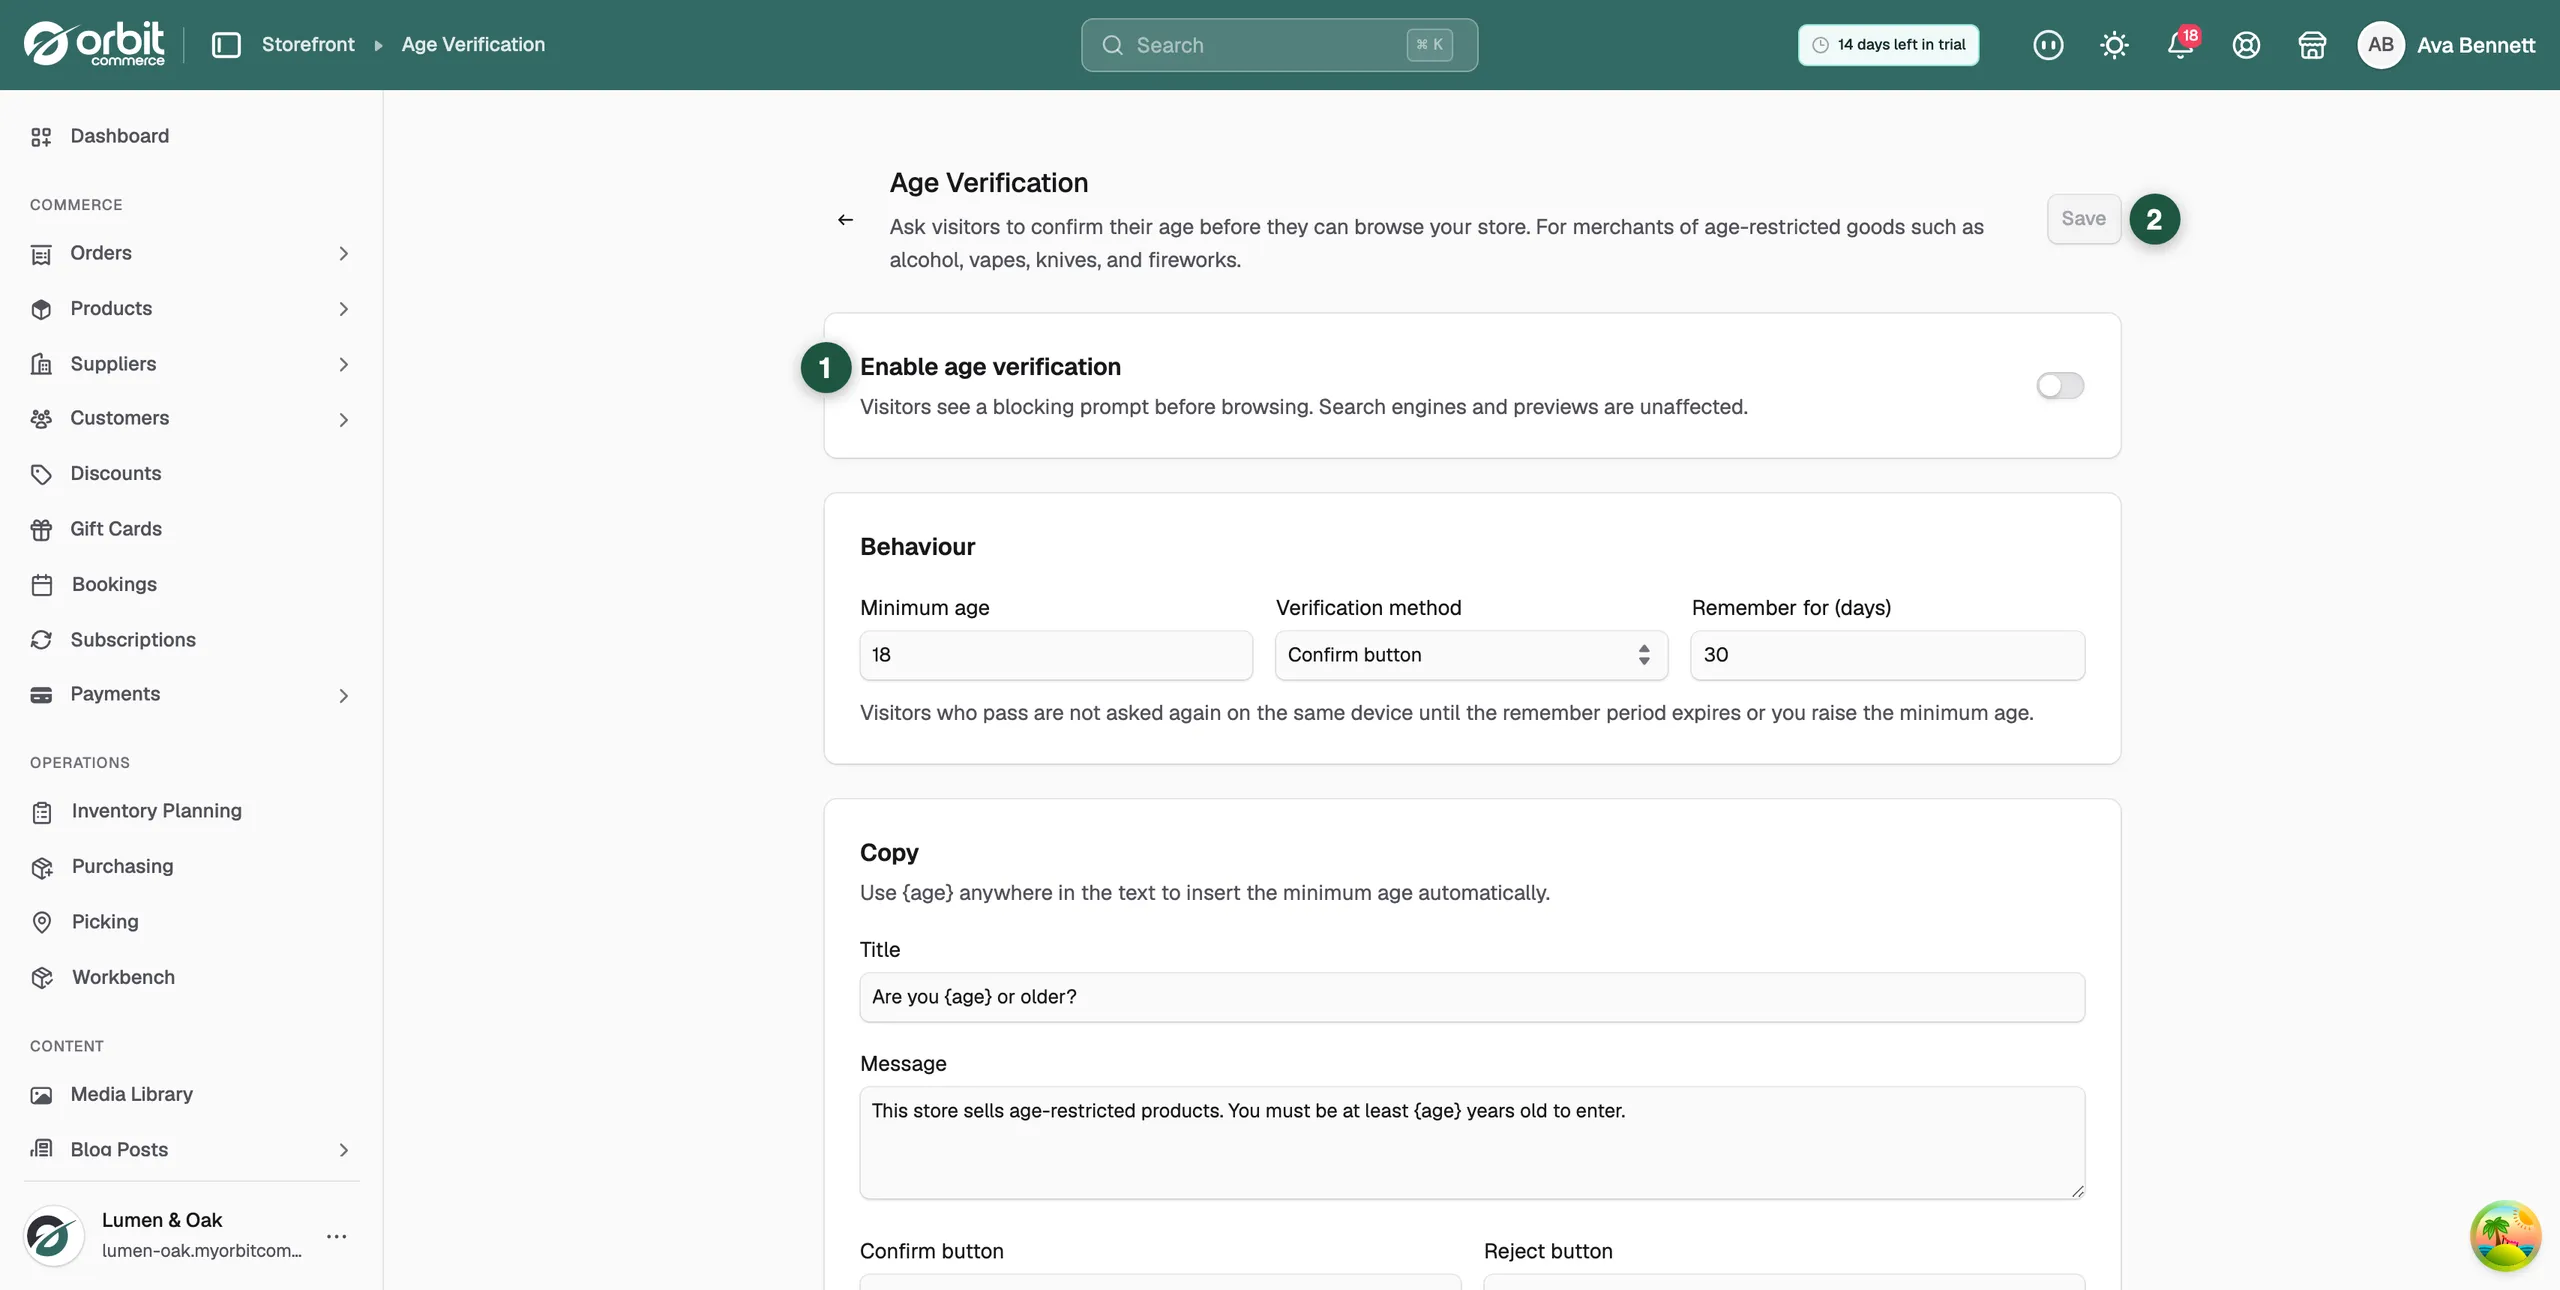
Save stays greyed out until you change something on the page.
Set the minimum age and method
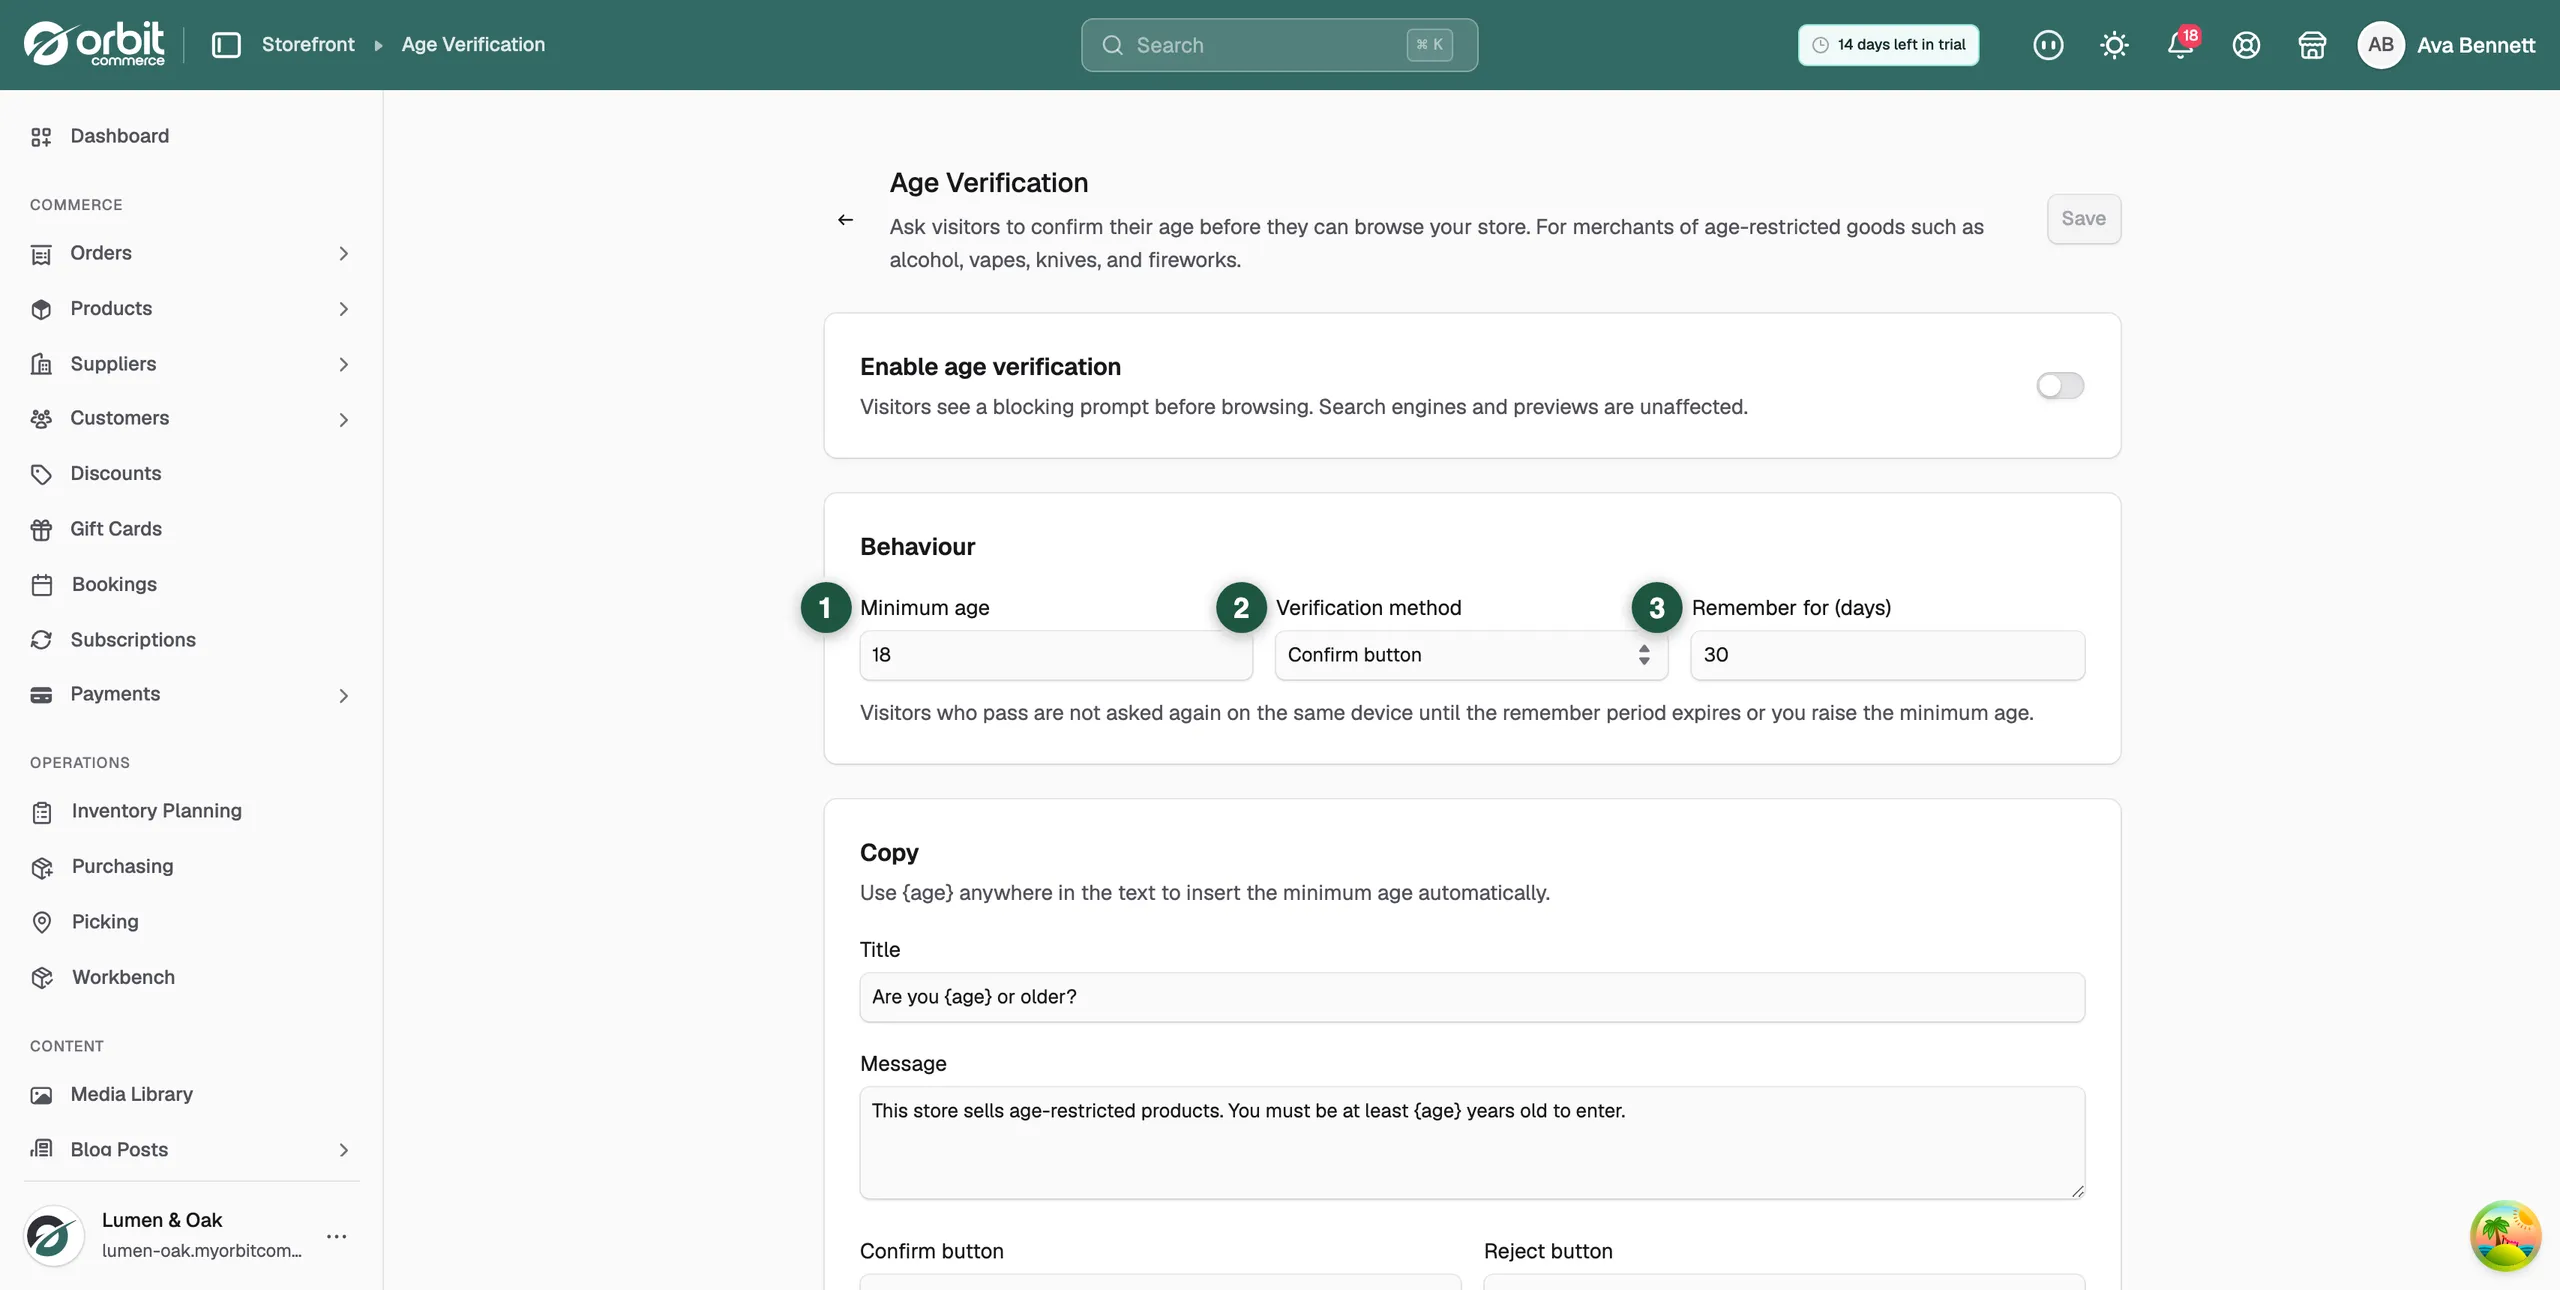
The Behaviour card controls who is asked and how often.
- In Minimum age, enter the age visitors must meet, for example 18.
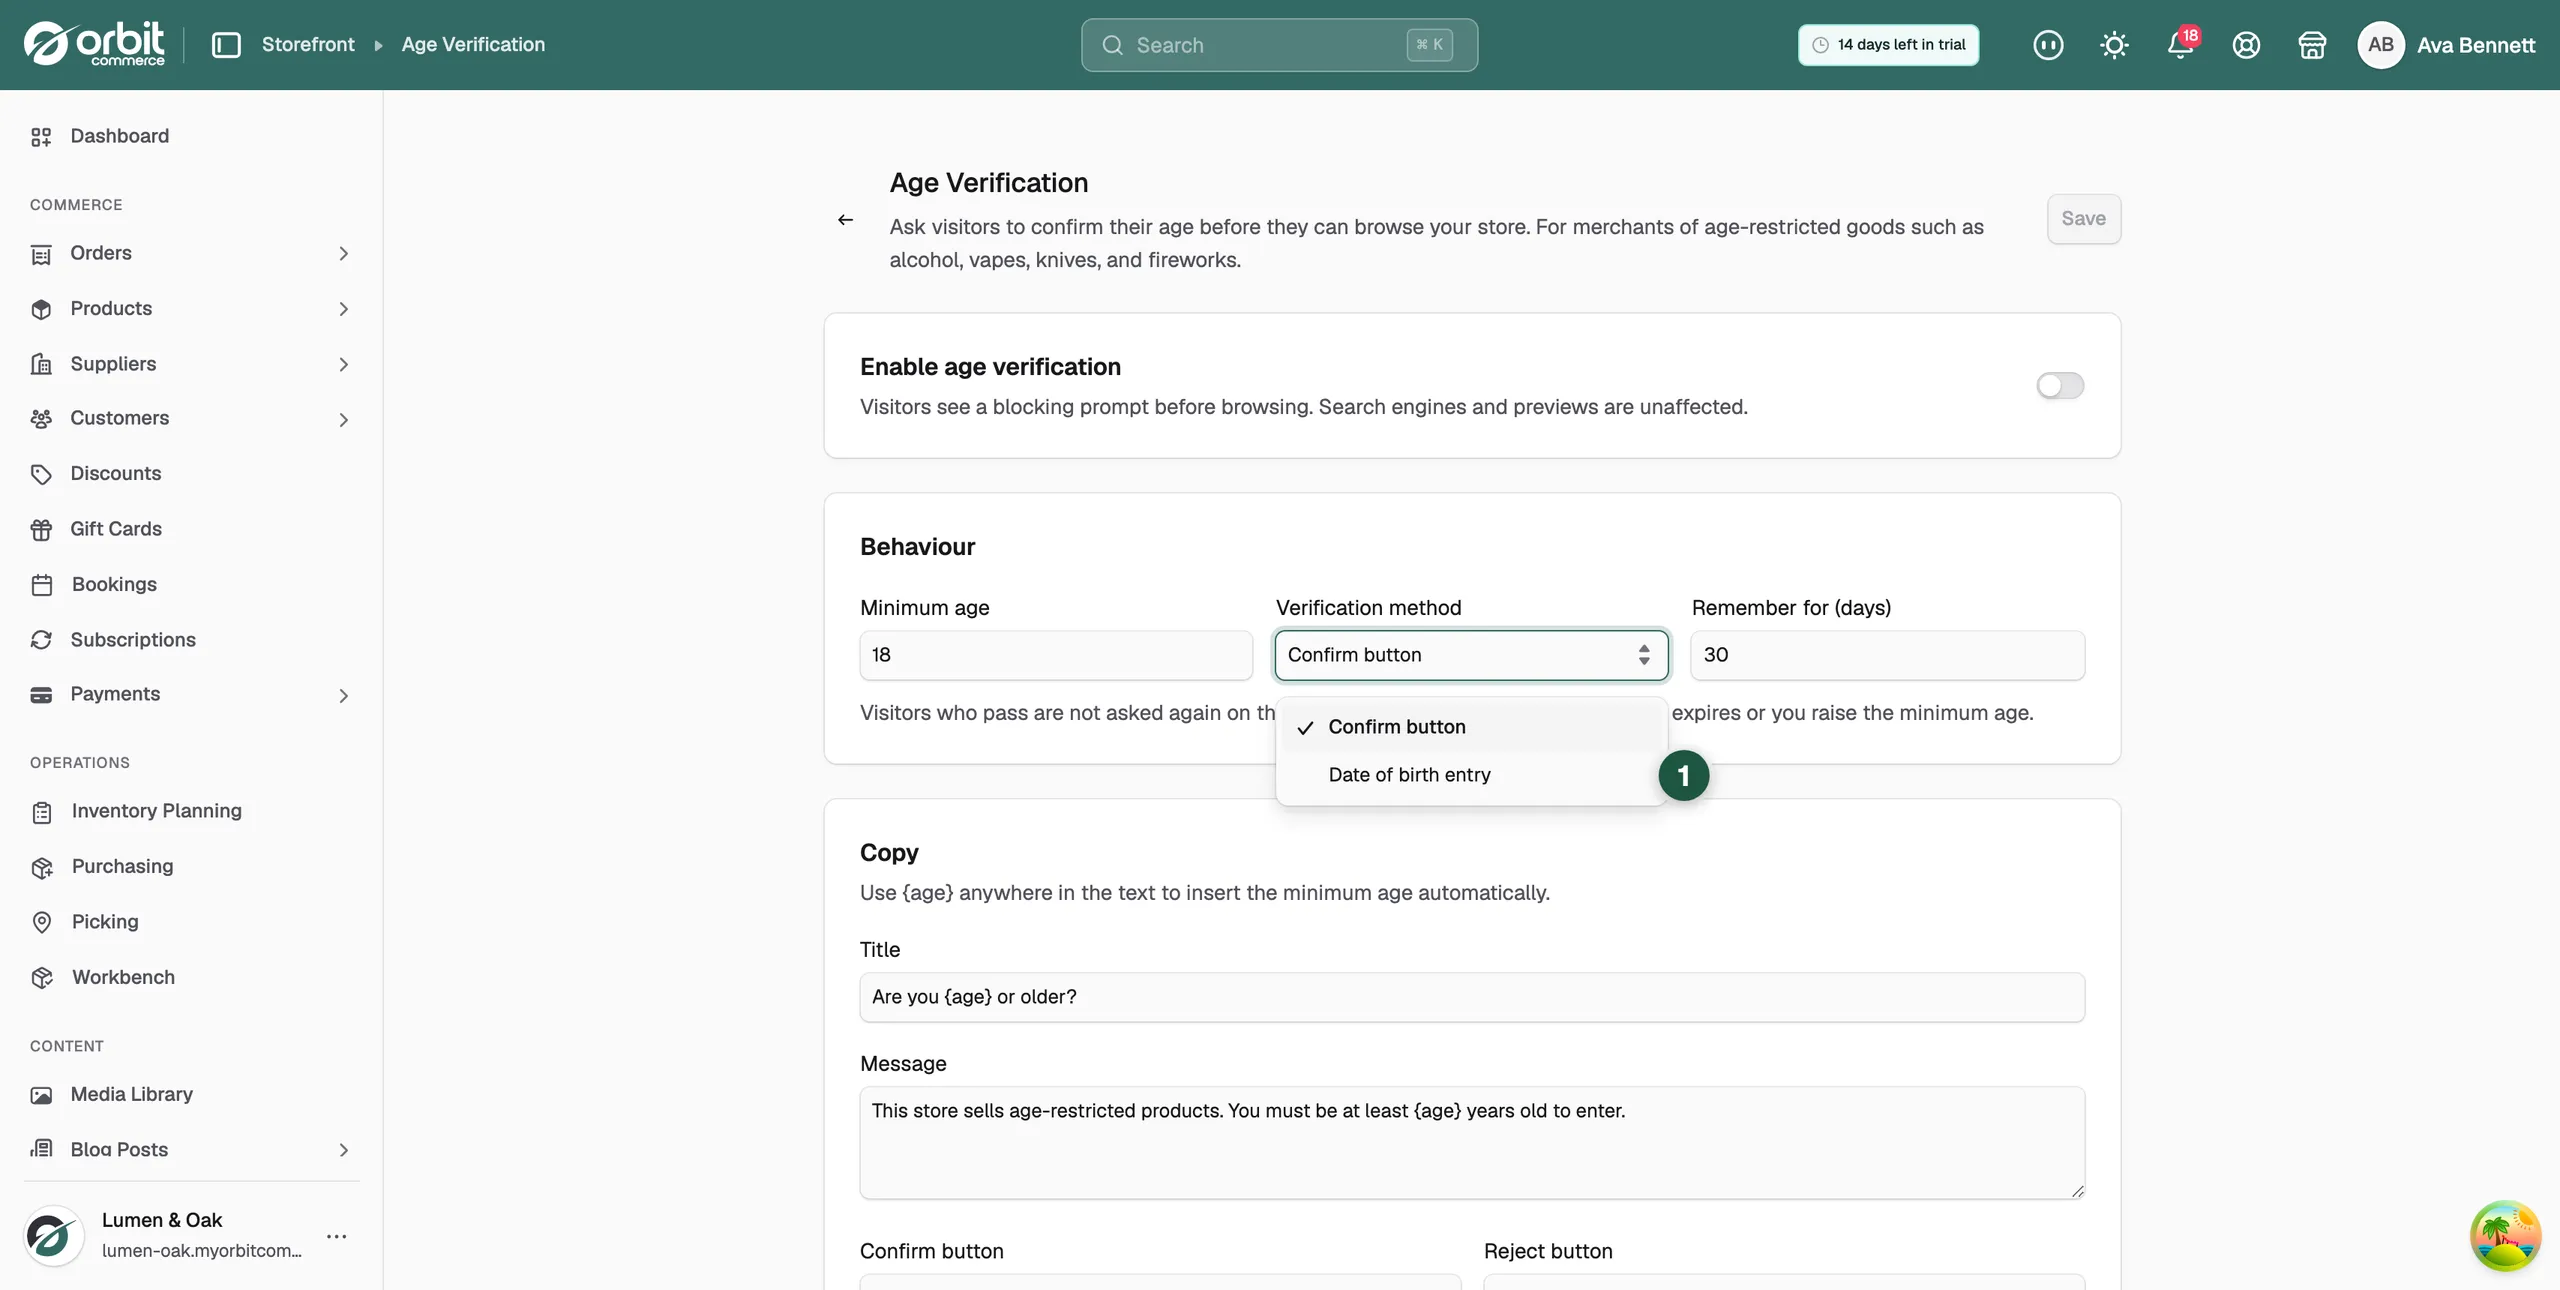
- In Verification method, choose how visitors prove their age.
- In Remember for (days), enter how long a visitor who passes is remembered on the same device.
- Click Save.
The two verification methods are:
- Confirm button: visitors click a button to confirm they are old enough. This is the lightest check.
- Date of birth entry: visitors type their date of birth and Orbit works out their age. This is a stronger check.
Tip: Choose Date of birth entry if your local rules ask for more than a self-declaration. Set Remember for (days) long enough that returning customers are not asked every visit, but short enough to meet your compliance duties.
Edit the prompt text
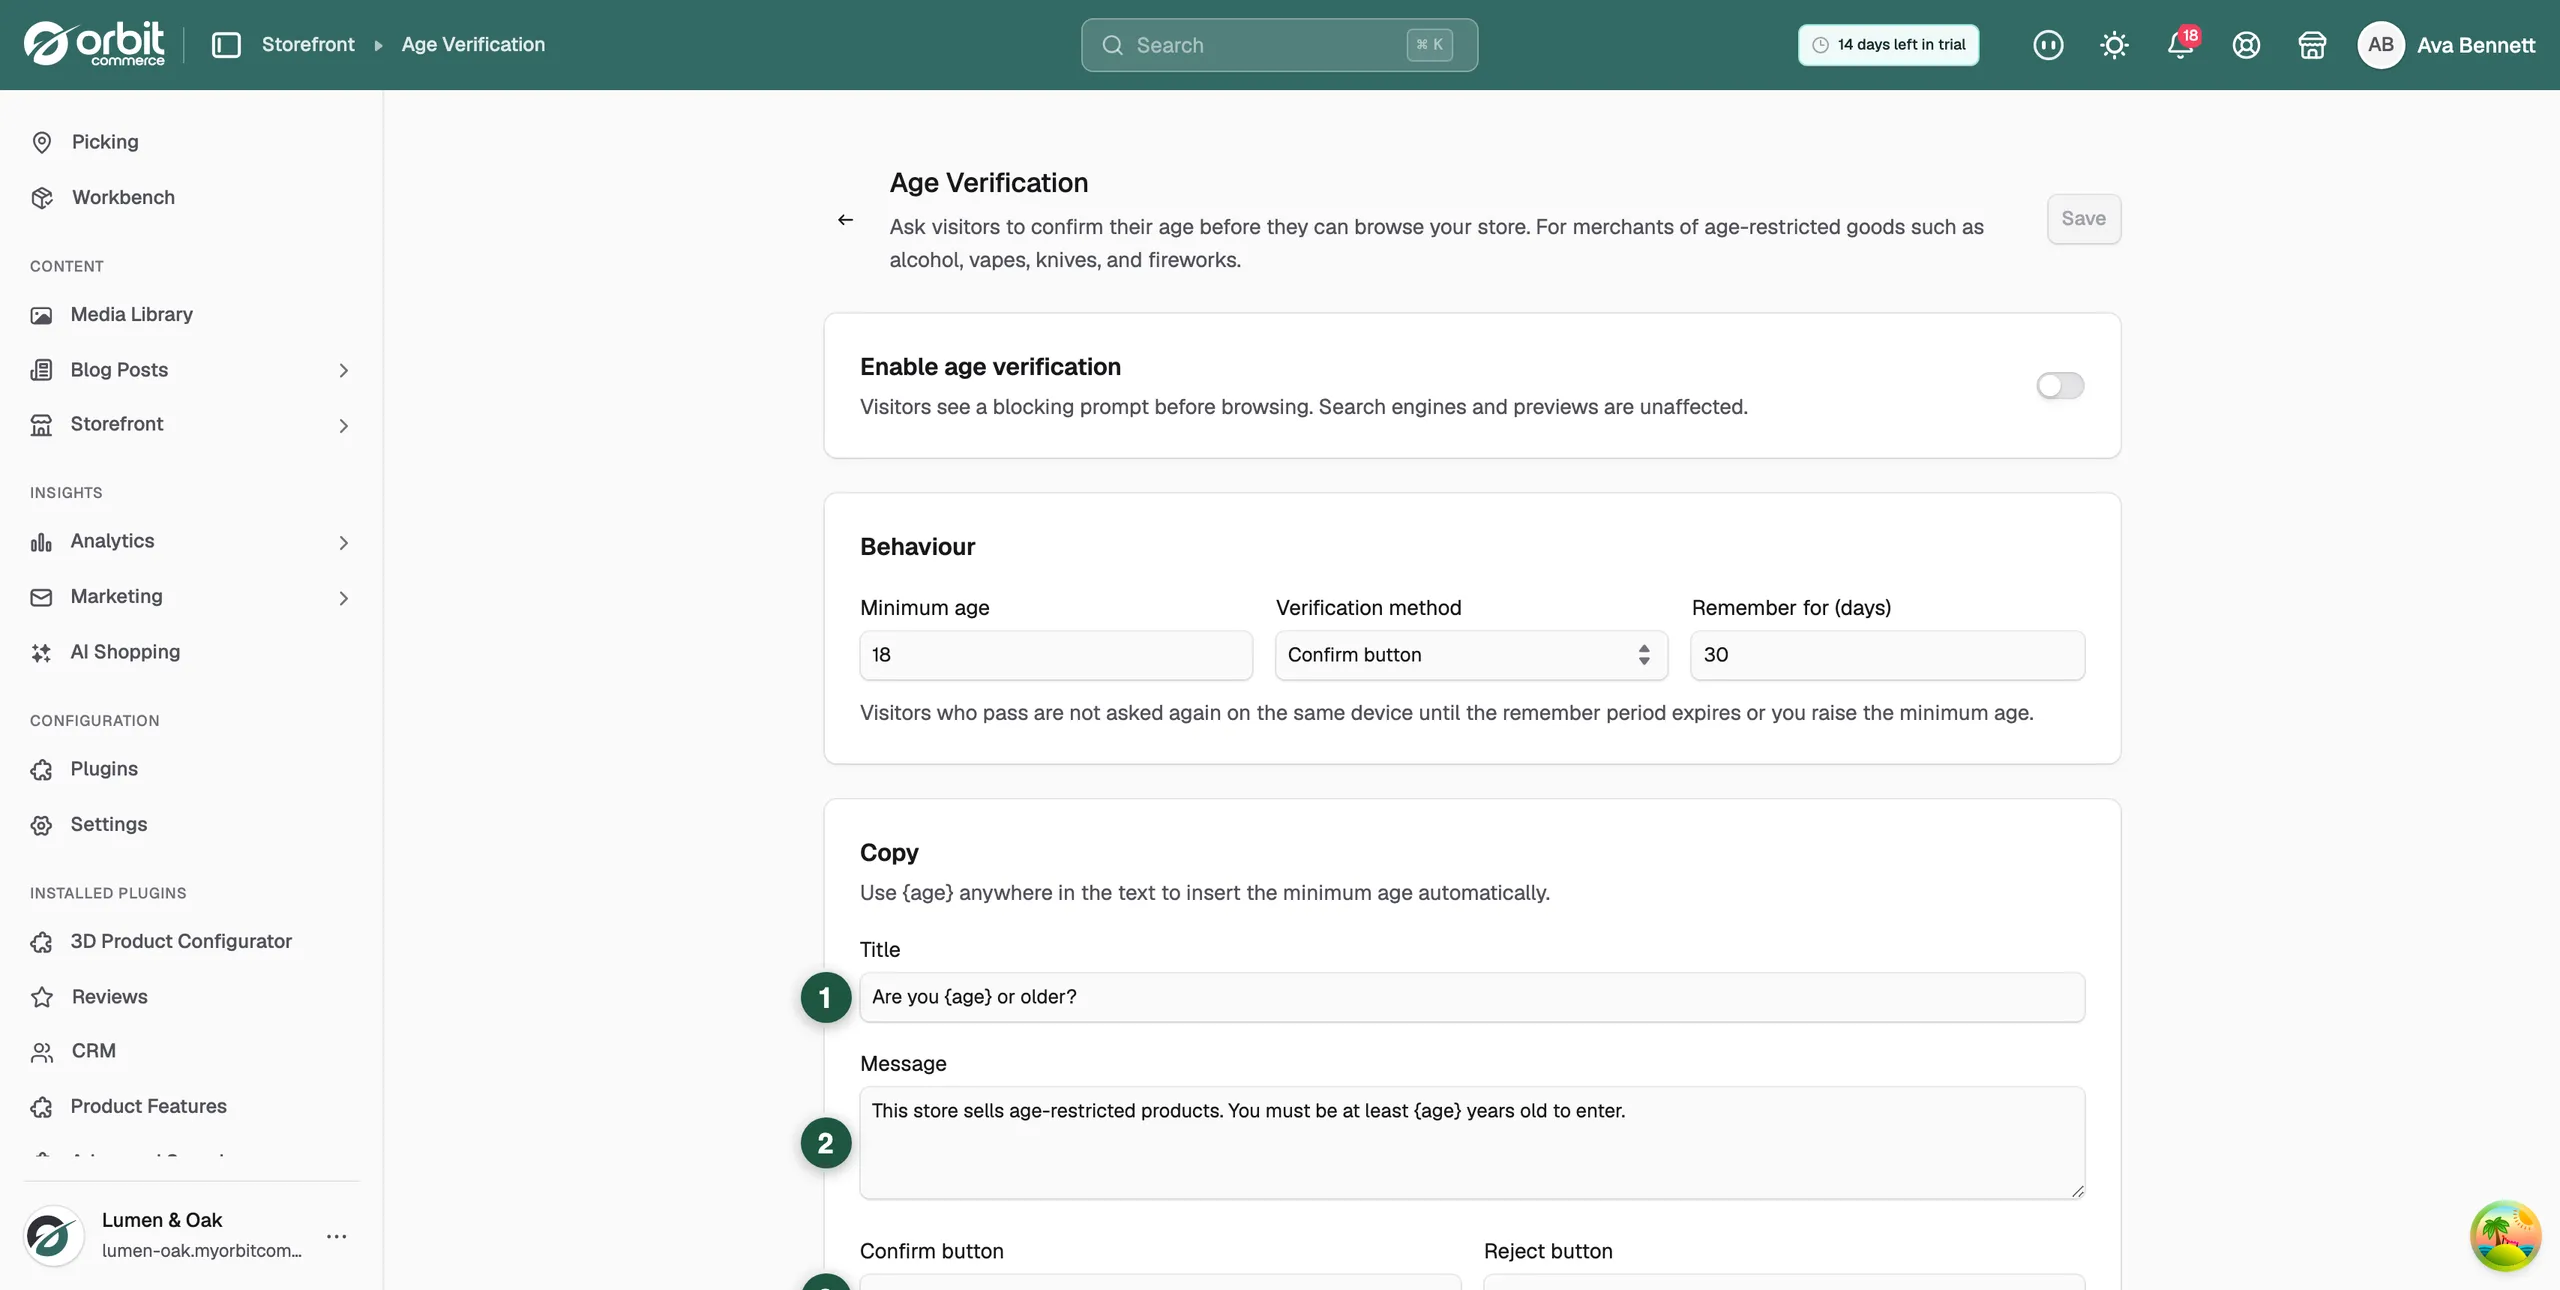
The Copy card holds every piece of text visitors see in the prompt. Type {age} anywhere in the text to insert your minimum age. If you change the minimum age later, the text updates on its own.
- Title: the heading of the prompt, for example "Are you {age} or older?".
- Message: the explanation shown under the title.
- Confirm button: the label on the button visitors click to confirm their age.
- Reject button: the label on the button visitors click if they are under age.
- Date of birth submit button: the label on the button visitors click after typing their date of birth.
- Not old enough message: what visitors see if they fail the check.
- Change any of the fields above.
- Click Save.
Related guides
Was this helpful?
0 people found this helpful