Setting what a team member can do
Learn what the premade roles cover, build a custom role, change a member's role, and grant or withhold single permissions for one person.
Every team member has a role, and the role decides what they can see and do. You can use the premade roles, build your own on the Roles tab, or tune one person's permissions on their member page. All of this is under Settings, then Team.
Considerations
- You cannot edit your own row. You can only manage members whose role sits below yours.
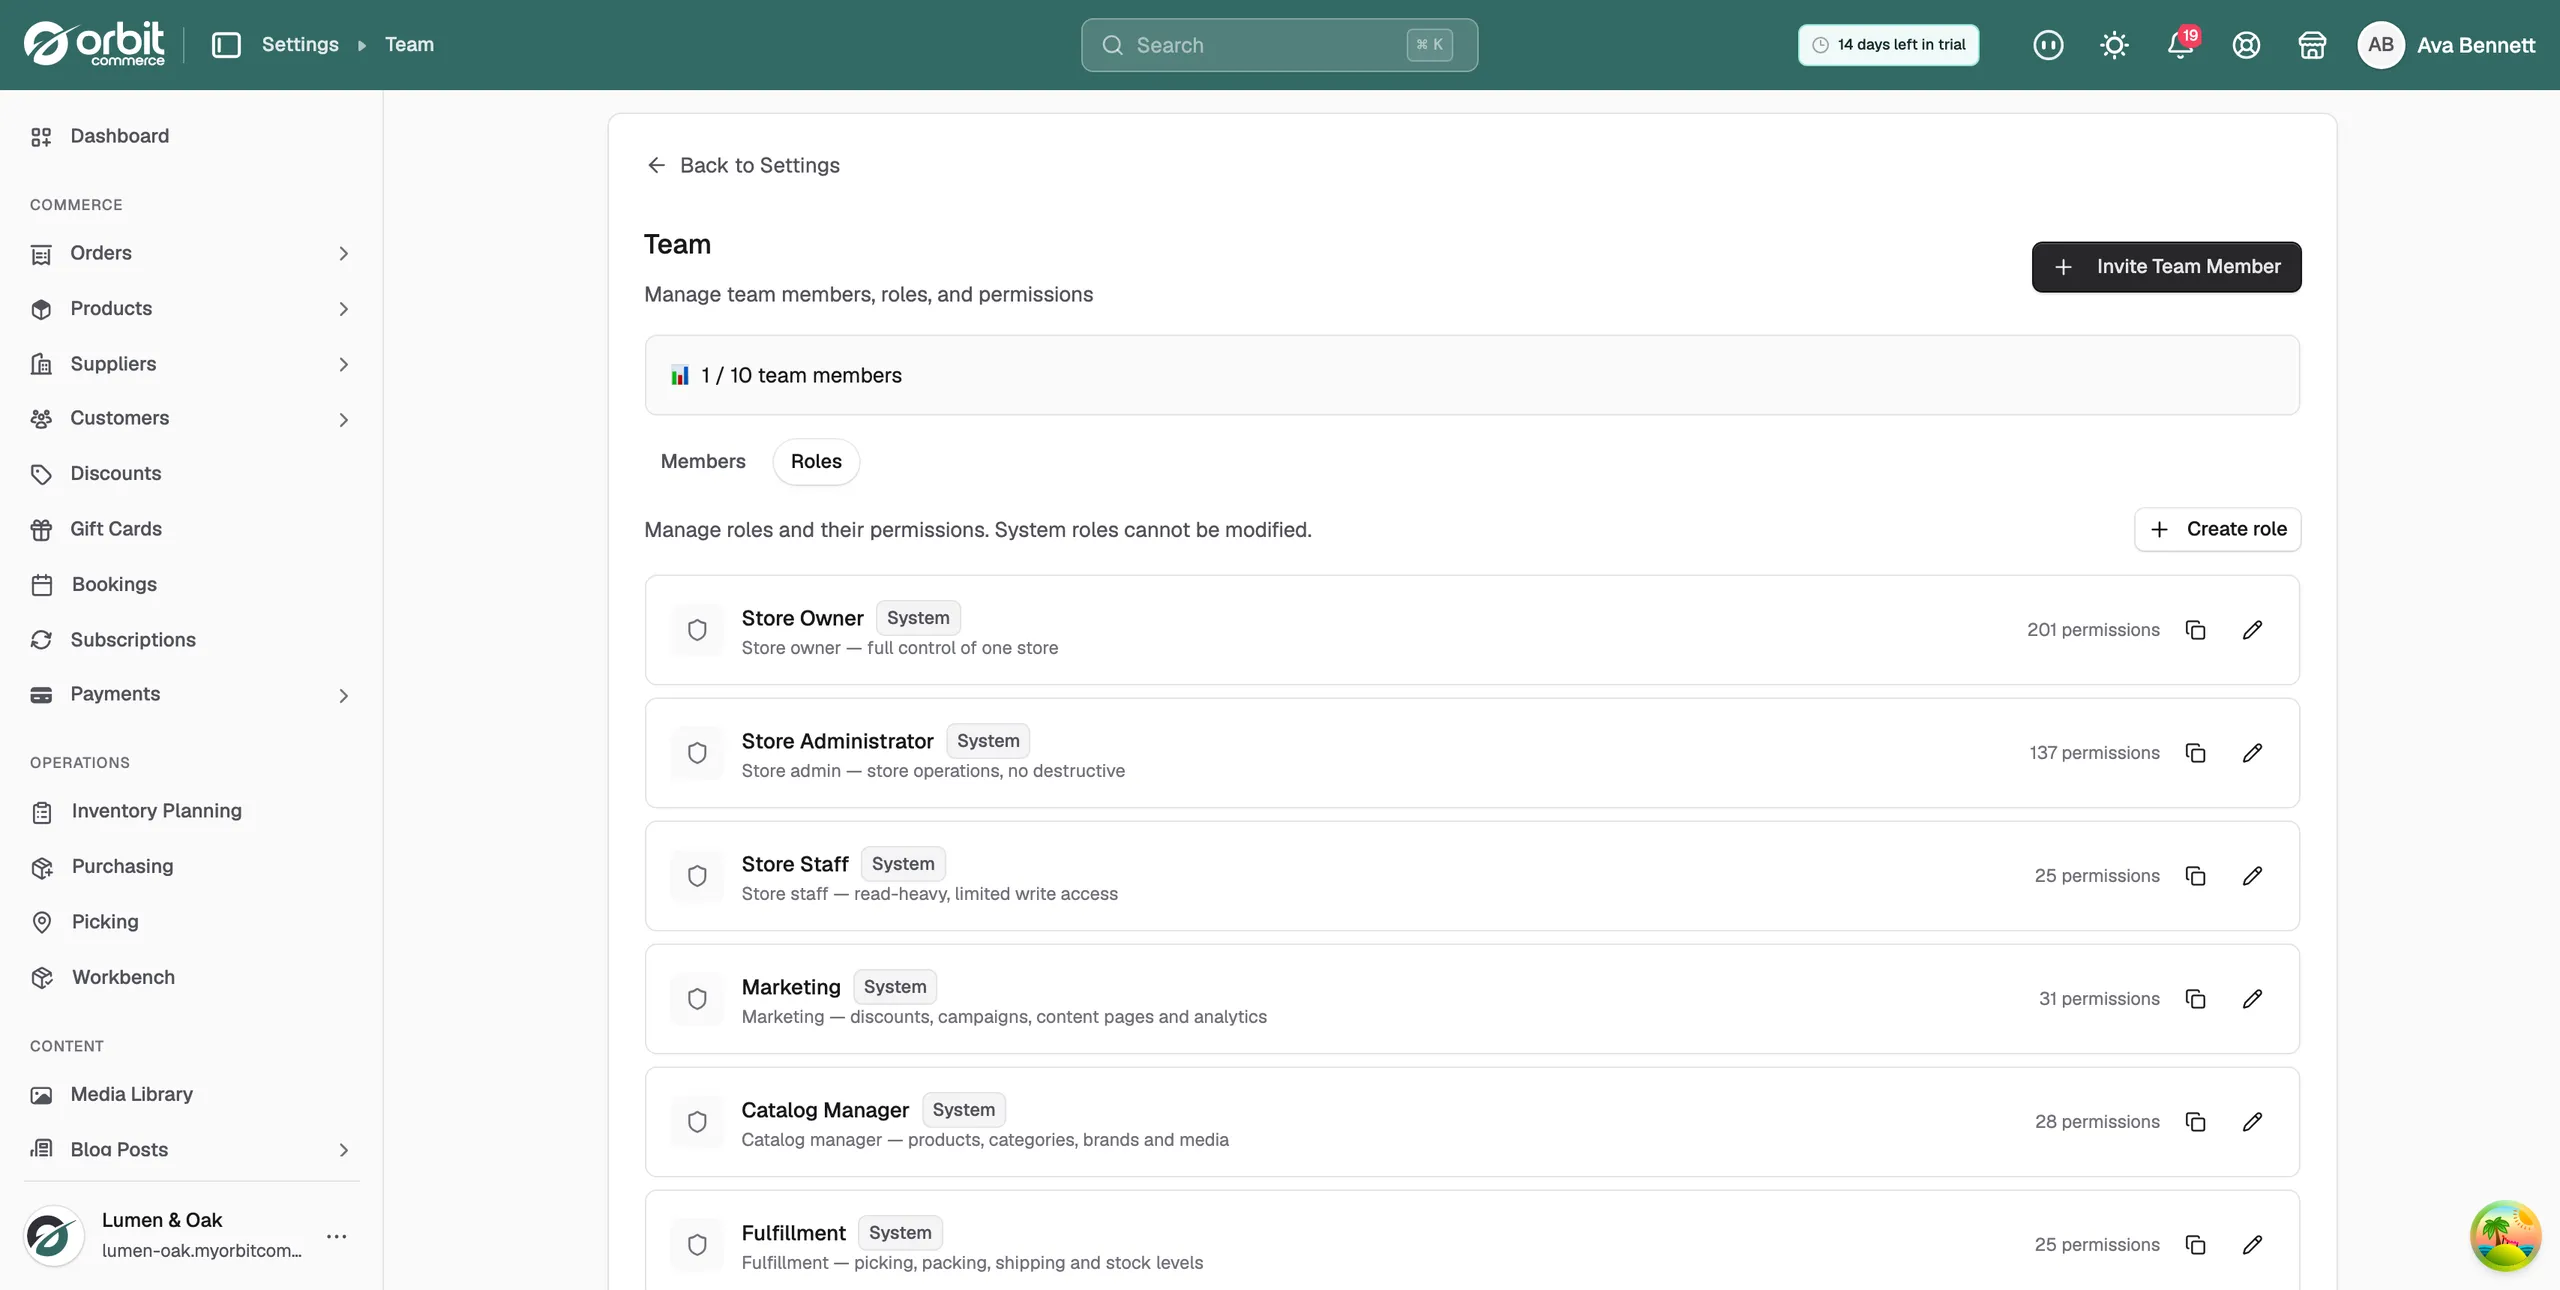
- Premade roles carry a System badge and cannot be changed. Duplicate one to make a custom role from it.
- Per-member tuning is available for the Store Administrator and Store Staff roles. Specialist roles show their core permissions only.
- A member who has not accepted their invitation yet cannot be edited. Their role opens up once they join.
Understand the premade roles
- Store Owner: full control of the store, every permission.
- Store Administrator: store operations with no destructive powers.
- Store Staff: read-heavy, limited write access for day-to-day work.
- Marketing: discounts, campaigns, content pages and analytics.
- Catalog Manager: products, categories, brands and media.
- Fulfillment: picking, packing, shipping and stock levels.
Each role on the Roles tab shows how many permissions it holds, so you know what you are handing out.
Create a custom role
- From your Orbit dashboard, go to Settings, then Team.
- Click the Roles tab.
- Click Create role. To start from a premade role instead, click the copy icon on its row.
- Type a Name, such as Warehouse Staff, and a Description that says what the role is for.
- Under Permissions, tick each permission the role gets. Reading and changing are separate permissions, so a role can see orders without being able to refund them. Use Select all to tick the lot.
- Click Create. The message Role created appears.
Use the pencil icon on a custom role to edit it, and the bin icon to delete it. Members with a deleted role lose its permissions.
Change a member's role
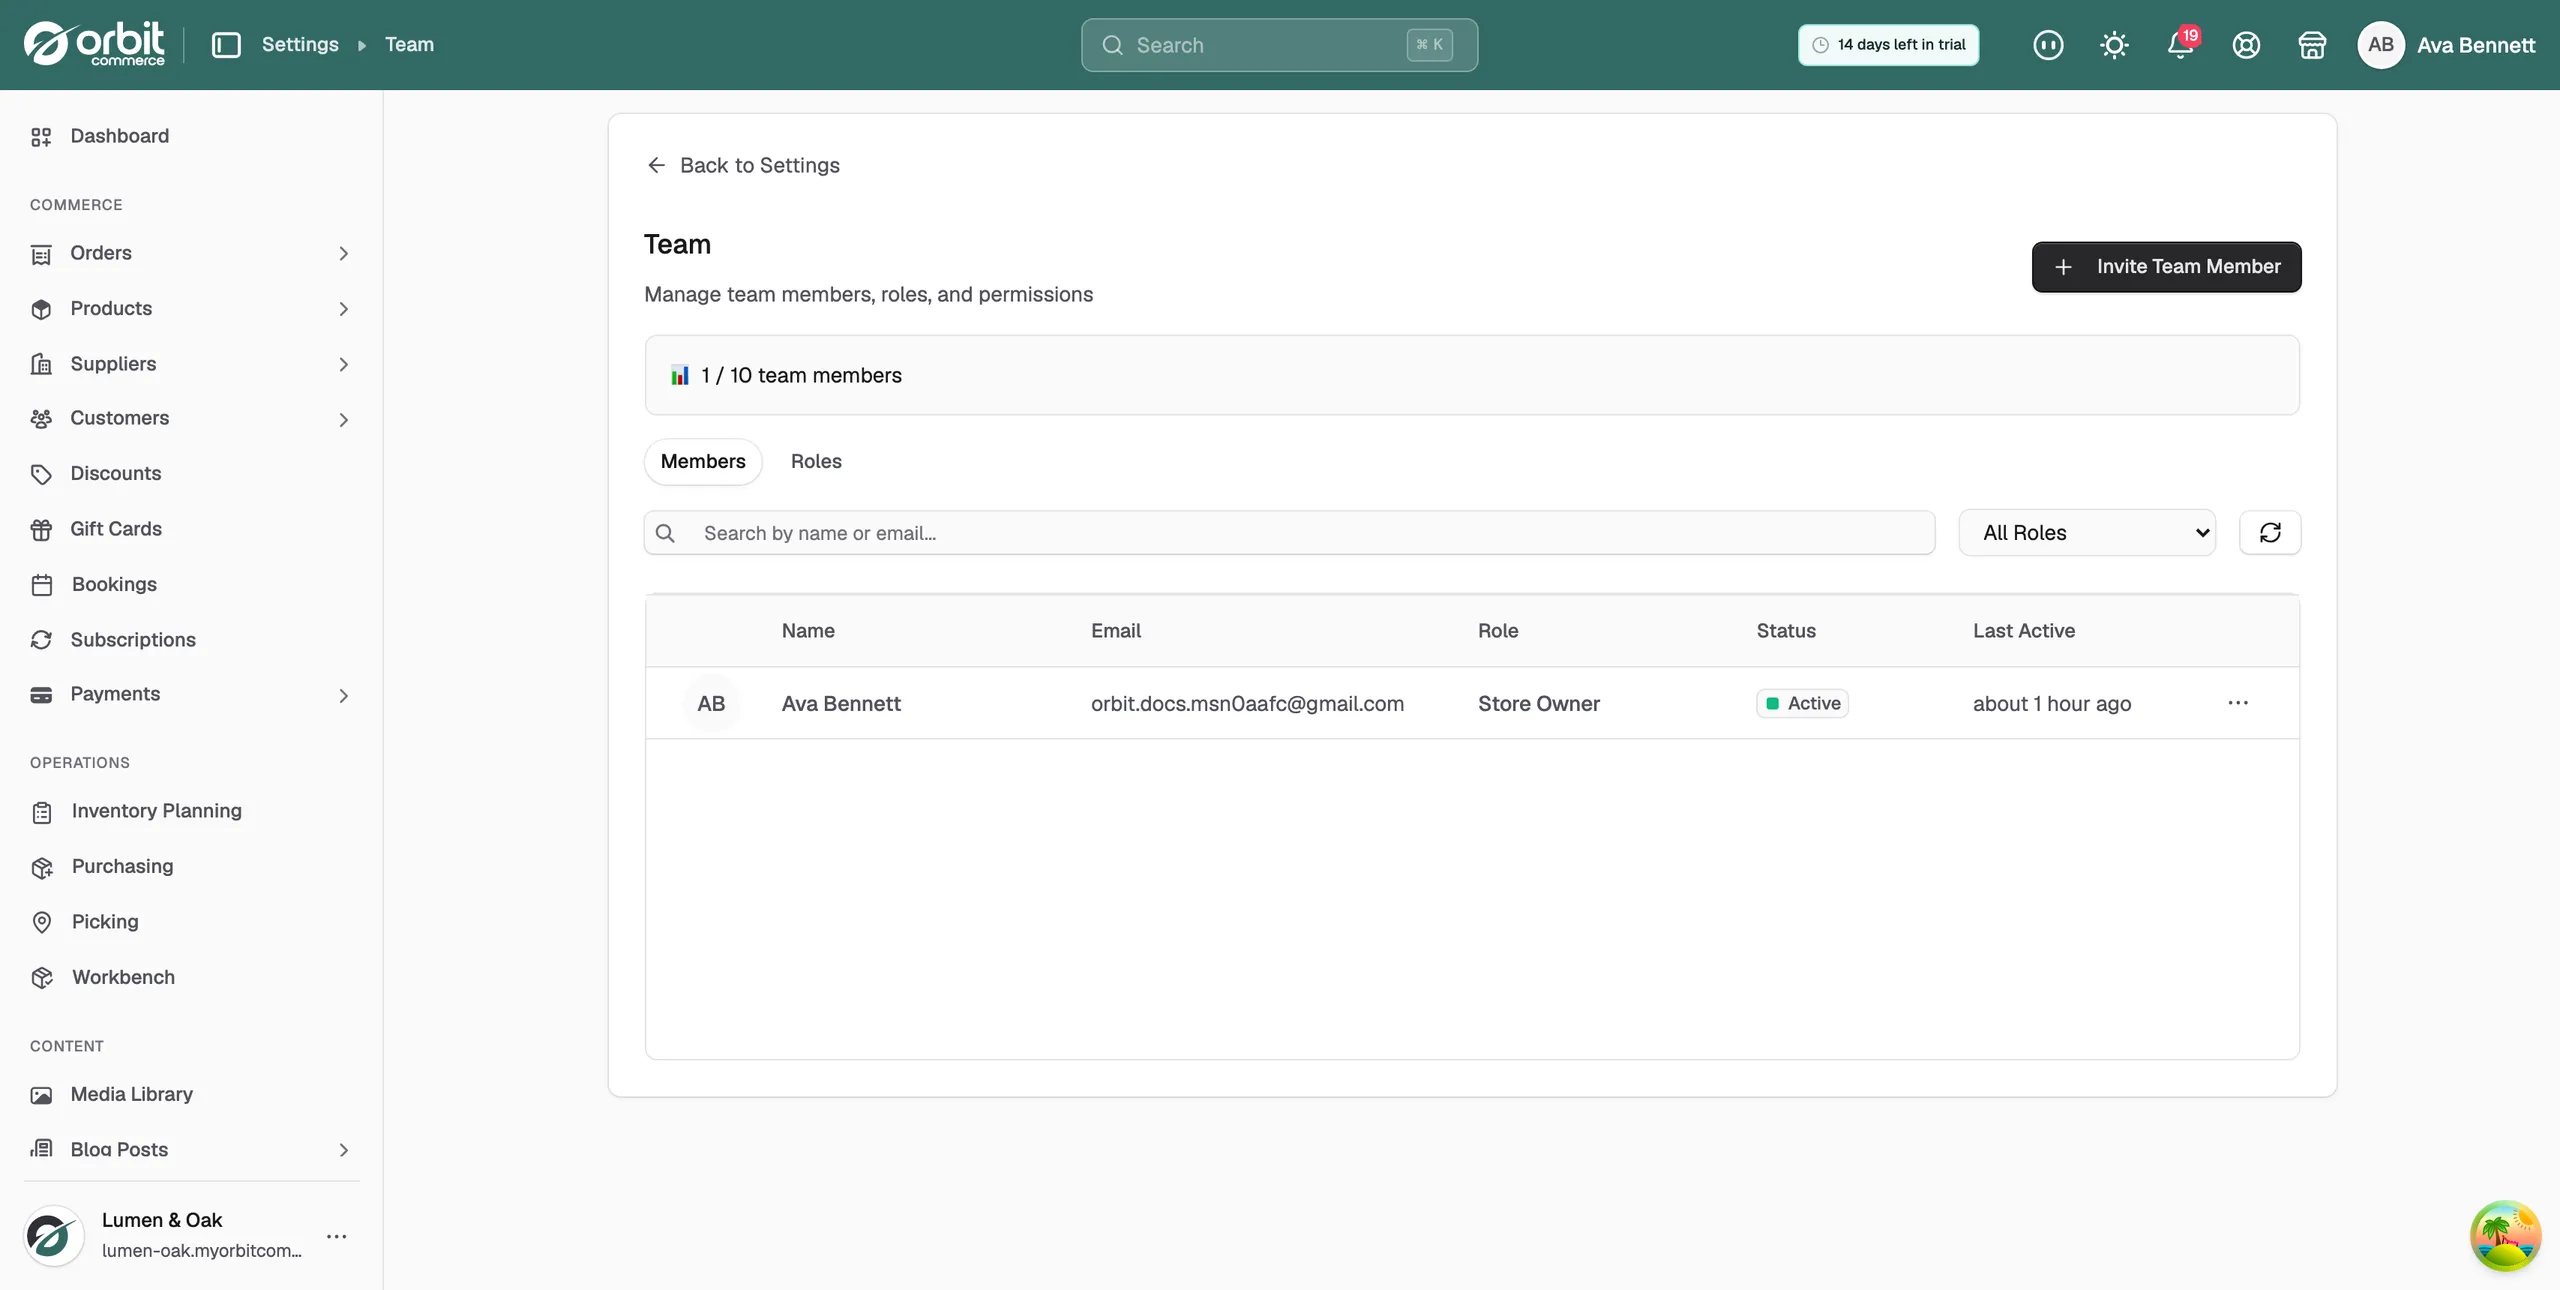
- On the Members tab, click the ... at the right of the member's row.
- Click Edit. Their page opens on the Basic Info tab.
- Under Role, pick the new role. A line under the field says what it covers.
- A Role Change Notice appears. It says the new role replaces their base permissions, and any custom permissions are kept if the new role allows them.
- Click Save Changes. The message Team member updated successfully appears and you are back on the team list.
Tune one member's permissions
Use this when a member needs one or two things their role does not give them, or should lose one thing it does. The change applies to that person only. Everyone else on the same role is untouched.
- Open the member as above and click the Permissions tab.
- Read Core Permissions (Required). These come with the role and are padlocked. You cannot untick them.
- Under Optional Permissions, tick the extras this person needs, such as Update order information and Change order status. Untick any they should not have.
- Read Restricted Permissions. These need the Store Owner role and cannot be granted here. They are shown so you know what the role can never do.
- Click Save Changes at the bottom of the page. The button is on both tabs.
Back on the Members tab, the line Has direct permissions appears under the member's role when you have granted them extras.
Tip: Start everyone on Store Staff and promote the few who need more. Payments and refunds are restricted for staff, so keep them with the owner. Check the Last Active column now and then and remove access nobody uses.
Related guides
Was this helpful?
0 people found this helpful