Setting up shipping zones and rates
Create the zones you deliver to, add delivery methods with their rates inside each zone, use shipping classes for bulky products, and copy the setup to another store.
Shipping settings decide where you deliver and what you charge. A zone is a place you ship to, such as the United Kingdom. A method is a delivery option inside a zone, with its rate, such as Standard Delivery at £4.95. Shipping classes let you charge more for bulky or fragile products. You set all of this under Settings, then Shipping.
Considerations
- Create a zone first. The Shipping Methods tab has nothing to add a method to until a zone exists.
- A zone with no regions picked applies to every address in the world.
- Zones are matched against the customer's address in the order they sit in the list. Drag a zone to change the order.
- Carrier accounts, label buying and the Rate Tester are covered in Connecting carriers and testing rates.
Open Shipping settings
- From your Orbit dashboard, go to Settings.
- Under Selling, click Shipping. The Shipping Settings page opens on the Shipping Zones tab.
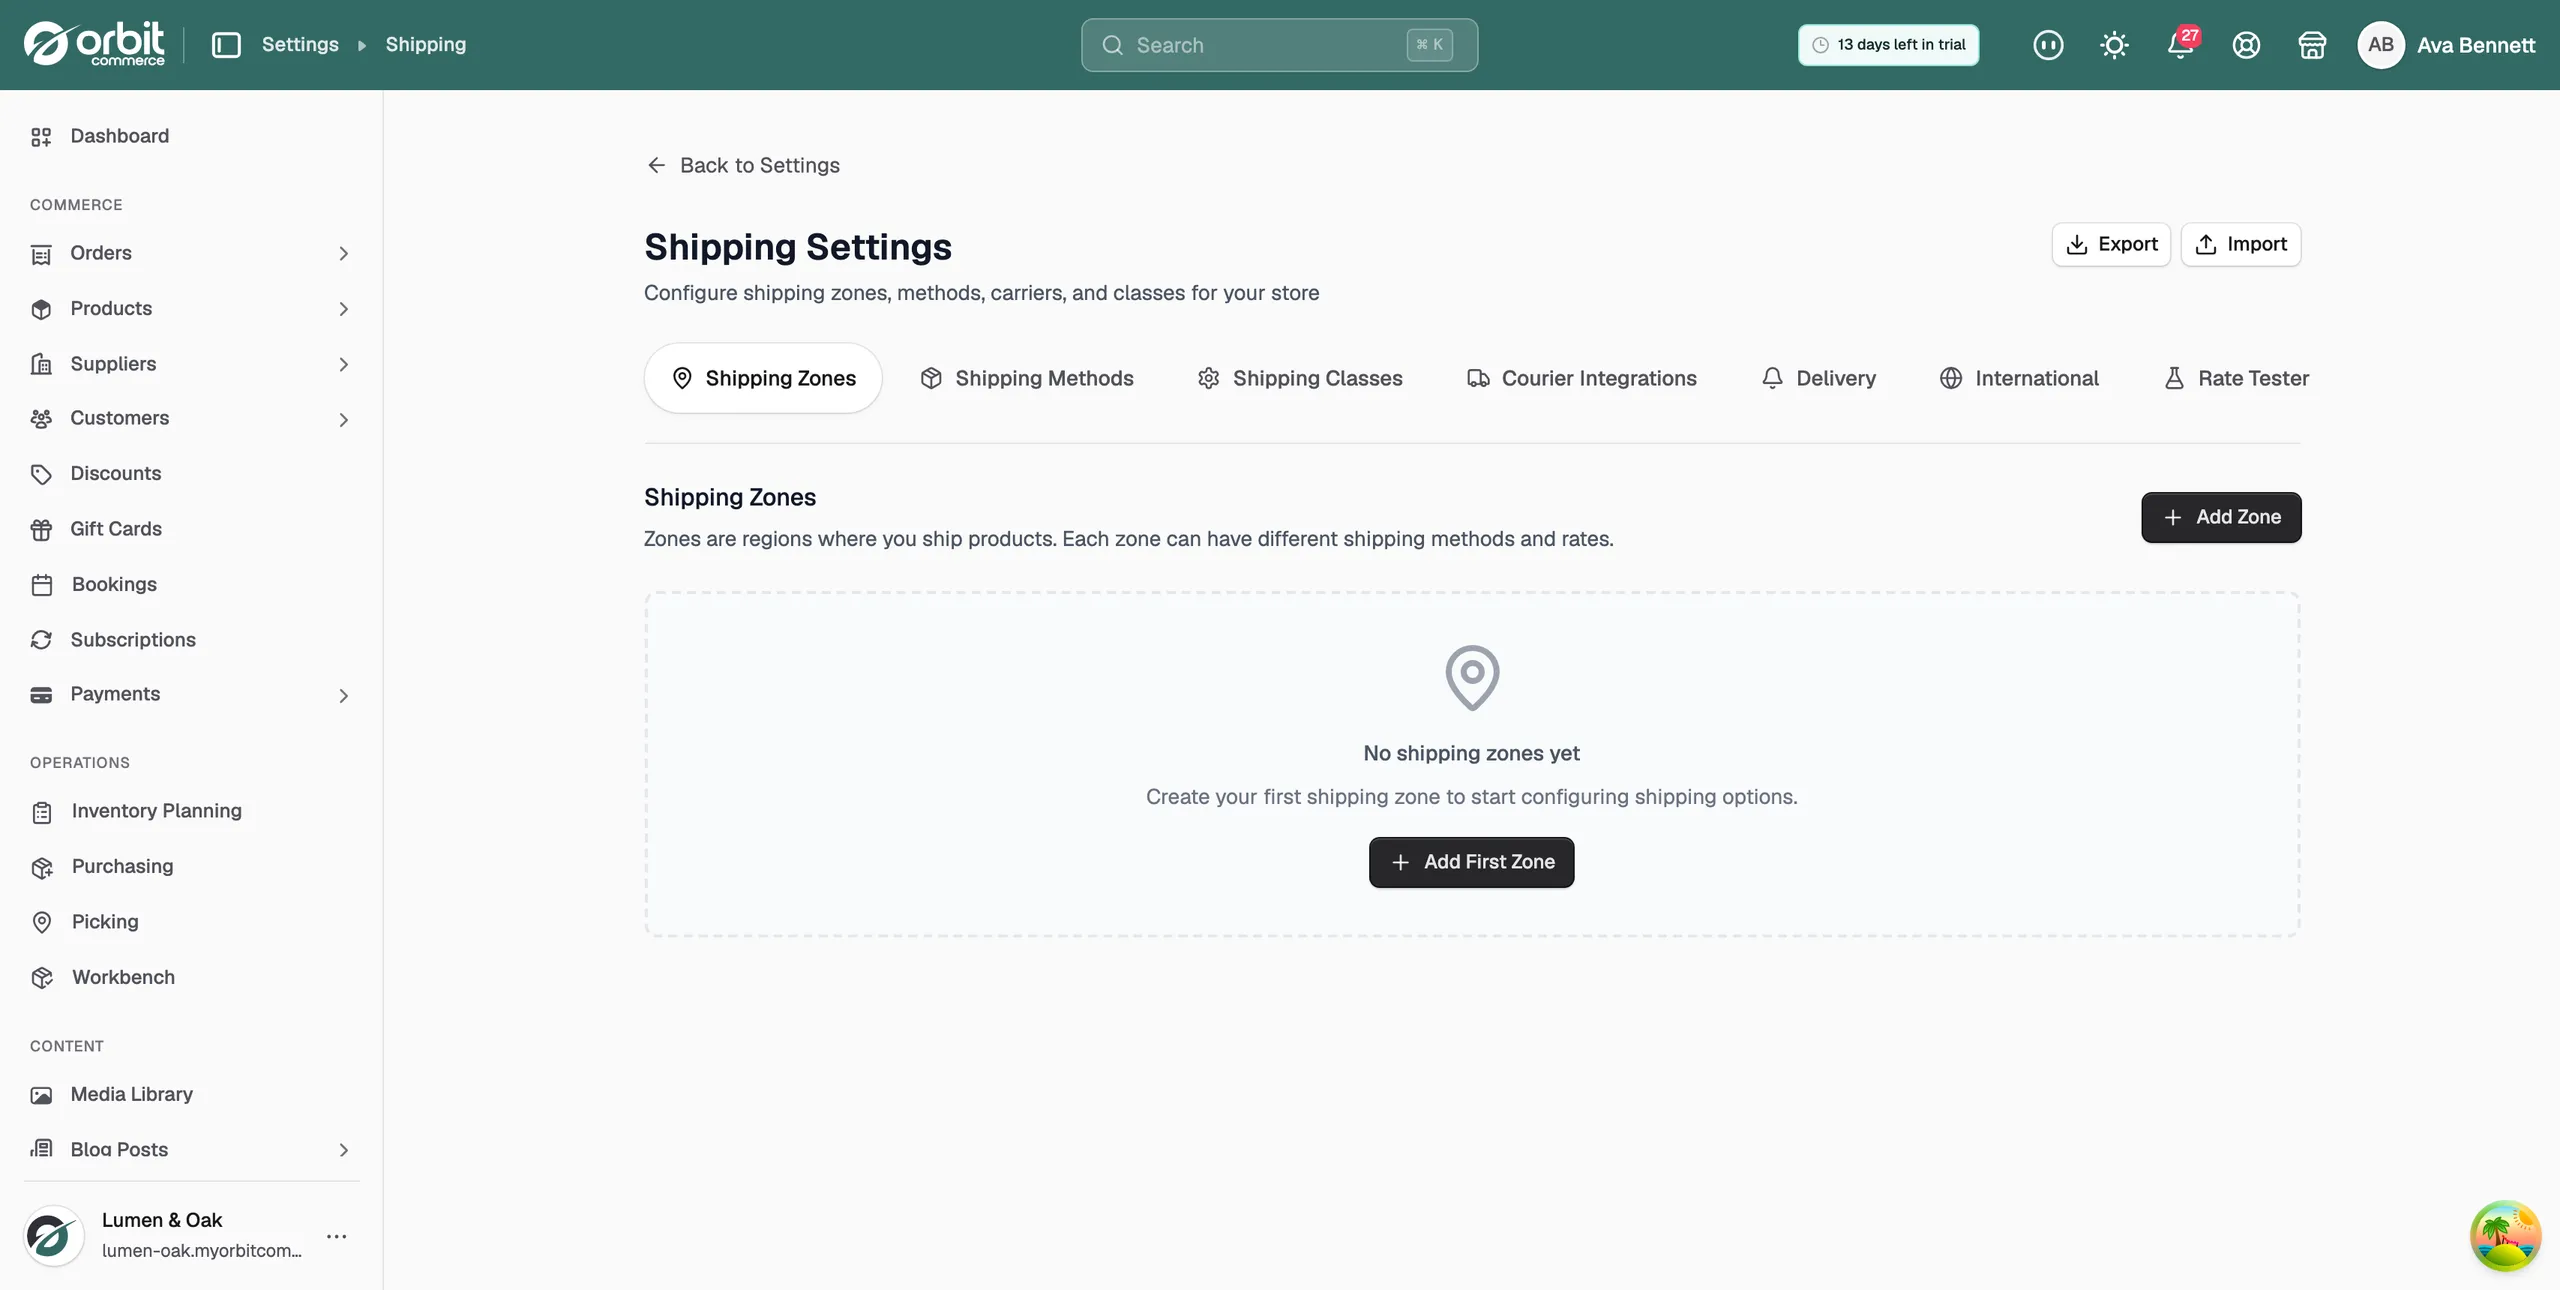
The page has seven tabs: Shipping Zones, Shipping Methods, Shipping Classes, Courier Integrations, Delivery, International and Rate Tester. You can also reach the same page from Store Settings, on the Shipping Settings tab.
Add a shipping zone
- On the Shipping Zones tab, click Add Zone. On a new store the button reads Add First Zone.
- Under Basic Information, type a Zone Name that says where you ship, such as United Kingdom. Next lights up once the name has two or more characters.
- Add a Description if you want one. Customers do not see it.
- Leave Zone Status on Active. An inactive zone is ignored at checkout.
- Click Next. The Shipping Regions step opens.
- Open the region your customers are in, such as Europe, or type a country in Search regions, countries, or states....
- Tick each country or state the zone covers. The counter under the list shows how many you picked, for example 1 location selected.
- Click Create Zone. The message Shipping zone created successfully appears and the zone is on the list.
The zones table shows:
- Zone Name: the name you gave the zone.
- Regions: the countries or areas it covers.
- Status: Active or Inactive.
- Methods: how many shipping methods the zone has.
Use the menu on a zone's row to Edit Zone, Deactivate Zone or Delete Zone.
Add a shipping method
- Click the Shipping Methods tab.
- Under Select Shipping Zone, pick the zone. A zone you created a moment ago is already picked.
- Click Add Method. On a zone with no methods the button reads Add First Method.
- Under Shipping Method Type, pick a type. See the list below. The Method Name fills in on its own, for example Standard Shipping. Change it if you like. Customers see this name at checkout.
- Click Create Method. The method is added and its settings sheet opens by itself.
The method types are:
- Flat Rate: one set price for delivery.
- Free Shipping: no charge, either on every order, over a Minimum Order Amount, or only with a coupon code.
- Local Pickup: the customer collects from you. You can add a Pickup Location, Pickup Instructions, a Pickup Fee and a Preparation Time.
- Carrier Calculated: live prices from a courier you have connected on the Courier Integrations tab.
- Conditional Rates: several rules with conditions, such as weight, cart total, postcode or product tag.
Set a flat rate
- In the Edit Flat Rate Method sheet, check the Method Name and add a Description if you want one.
- Under Tax Status, pick Taxable or No Tax.
- Under Shipping Class Costs, type what you charge in the No shipping class box, for example 4.95. You can also enter a formula, such as 10 + (2 * [qty]).
- If you have shipping classes, type a cost for each one. Under Calculation Type, pick Per class to charge for each class in the basket, or Per order to charge only the most expensive class.
- Under Delivery estimate, set the Handling and Transit days, the Order-by cutoff and whether to Exclude weekends. Orders placed before the cutoff dispatch the same working day. This powers the delivery date shown on your storefront.
- Check Method Status is on, then click Update Method. The sheet closes and the method shows in the table with its cost.
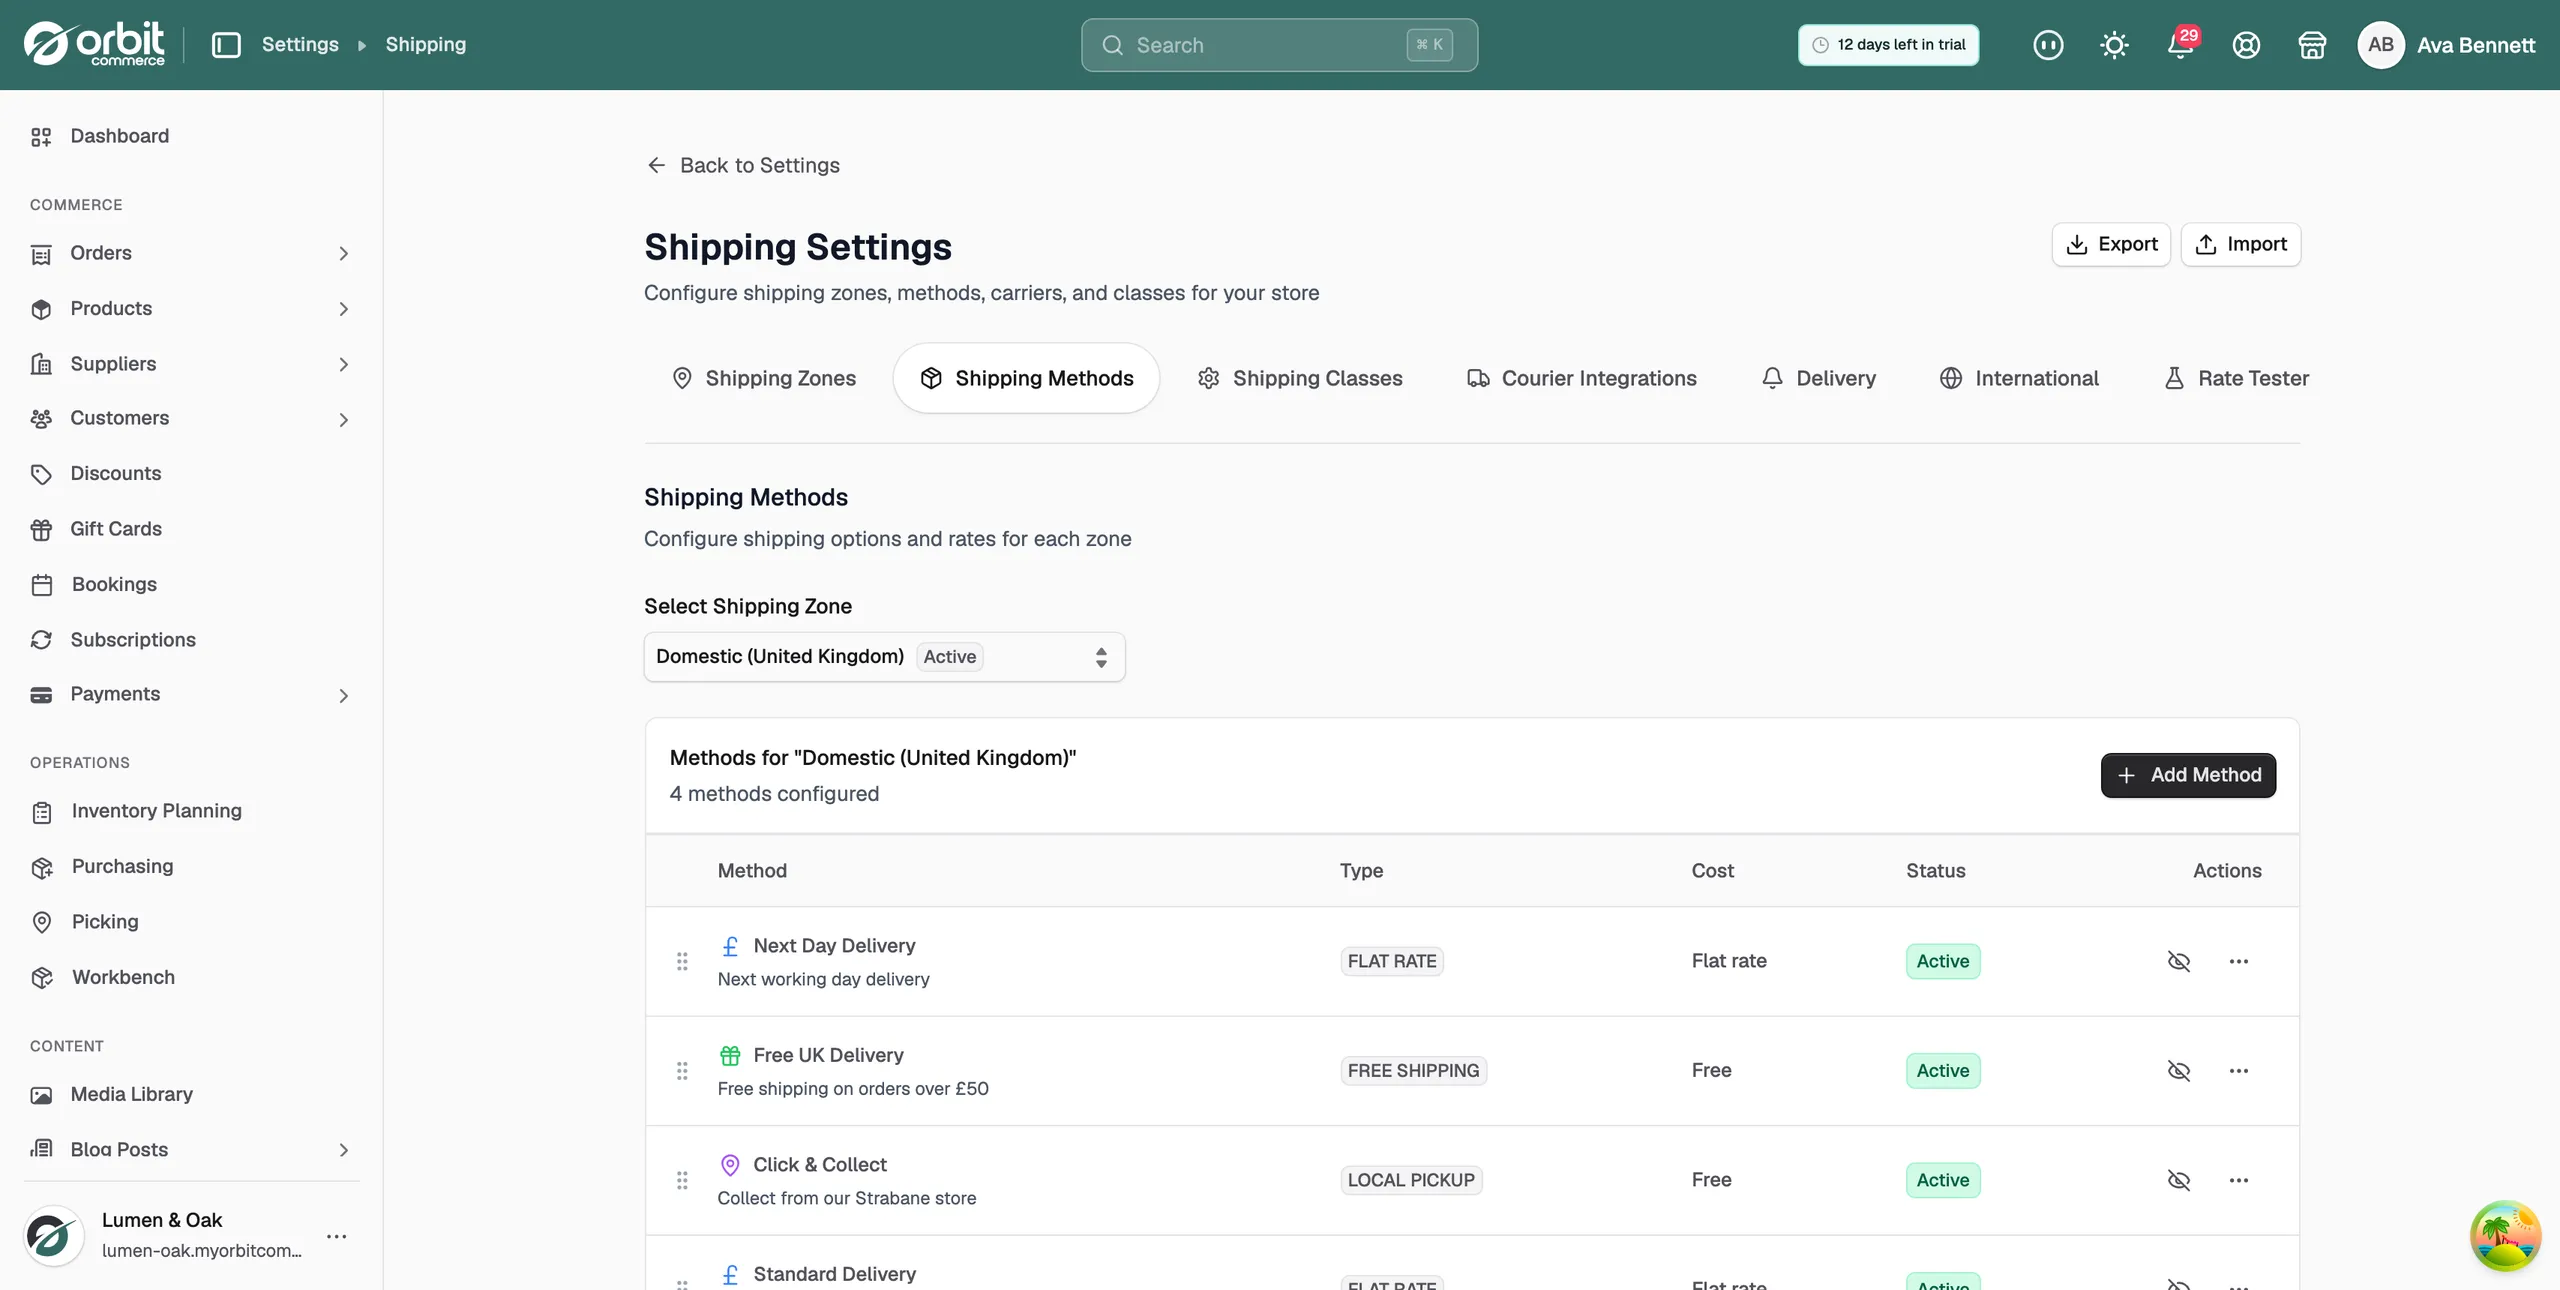
Note: Saving a method shows no message. Look for the new row in the table. Use the menu on a row to Edit Method, Deactivate Method or Delete Method.
Group products with shipping classes
A shipping class groups products that cost more to send, such as heavy, fragile or hazardous items. You then set a price for the class inside each method.
- Click the Shipping Classes tab.
- Click Add Class. On a new store the button reads Create First Class.
- Give the class a name, such as Heavy Items, and save it.
- Open each product that belongs in the class and set its shipping class in the product editor.
- Back on the Shipping Methods tab, edit your flat rate method and type a cost for the class under Shipping Class Costs.
Exporting and importing your shipping setup
You can save your shipping setup to a file, then load it into another store. This saves building the same zones and rates by hand twice. It is useful if you run more than one store, or if you set up shipping for a client.
Export your shipping setup
- From your Orbit dashboard, go to Settings, then Shipping.
- At the top of the Shipping Settings page, click Export.
- A JSON file downloads to your computer. The message Shipping configuration exported appears.
The file holds your shipping zones, your shipping methods, any conditional rate rules and their conditions, the delivery estimate set on each method, and your shipping classes. Courier connections do not travel with the file, and neither do your products.
Import a shipping setup
- In the store you want the setup in, go to Settings, then Shipping.
- At the top of the page, click Import.
- Pick the JSON file you exported. Only .json files are accepted.
- Read the window headed Import shipping configuration?. It says how many zones and methods the file adds, and confirms that nothing is overwritten or deleted.
- Click Import, or click Cancel if the counts look wrong. The button reads Importing... while it runs.
- A message such as Imported 2 zone(s) and 5 method(s) shows what was added. If anything could not be added, a warning starting Skipped names the zone or method and gives the reason.
Note: Import adds to what is already in the store. It does not replace it. Zones and methods you already have stay as they are, and the imported ones are added alongside them.
After an import, check these:
- Shipping Zones: the imported zones sit next to your own. Zones are matched in list order, so drag them into the order you want.
- Shipping Methods: pick each imported zone and check the method names and costs.
- Courier Integrations: a Carrier Calculated method is imported inactive, because its courier is not connected in this store yet. Connect the courier here, then use Activate Method on the method's row. See Connecting carriers and testing rates.
- Shipping Classes: the classes come across, but the products in this store are not in them yet. Open each product that belongs in a class and set its shipping class.
Related guides
Was this helpful?
0 people found this helpful