Editing your customer email templates
Change the subject line and content of the emails your store sends, add variables, preview on desktop and mobile, and send yourself a test.
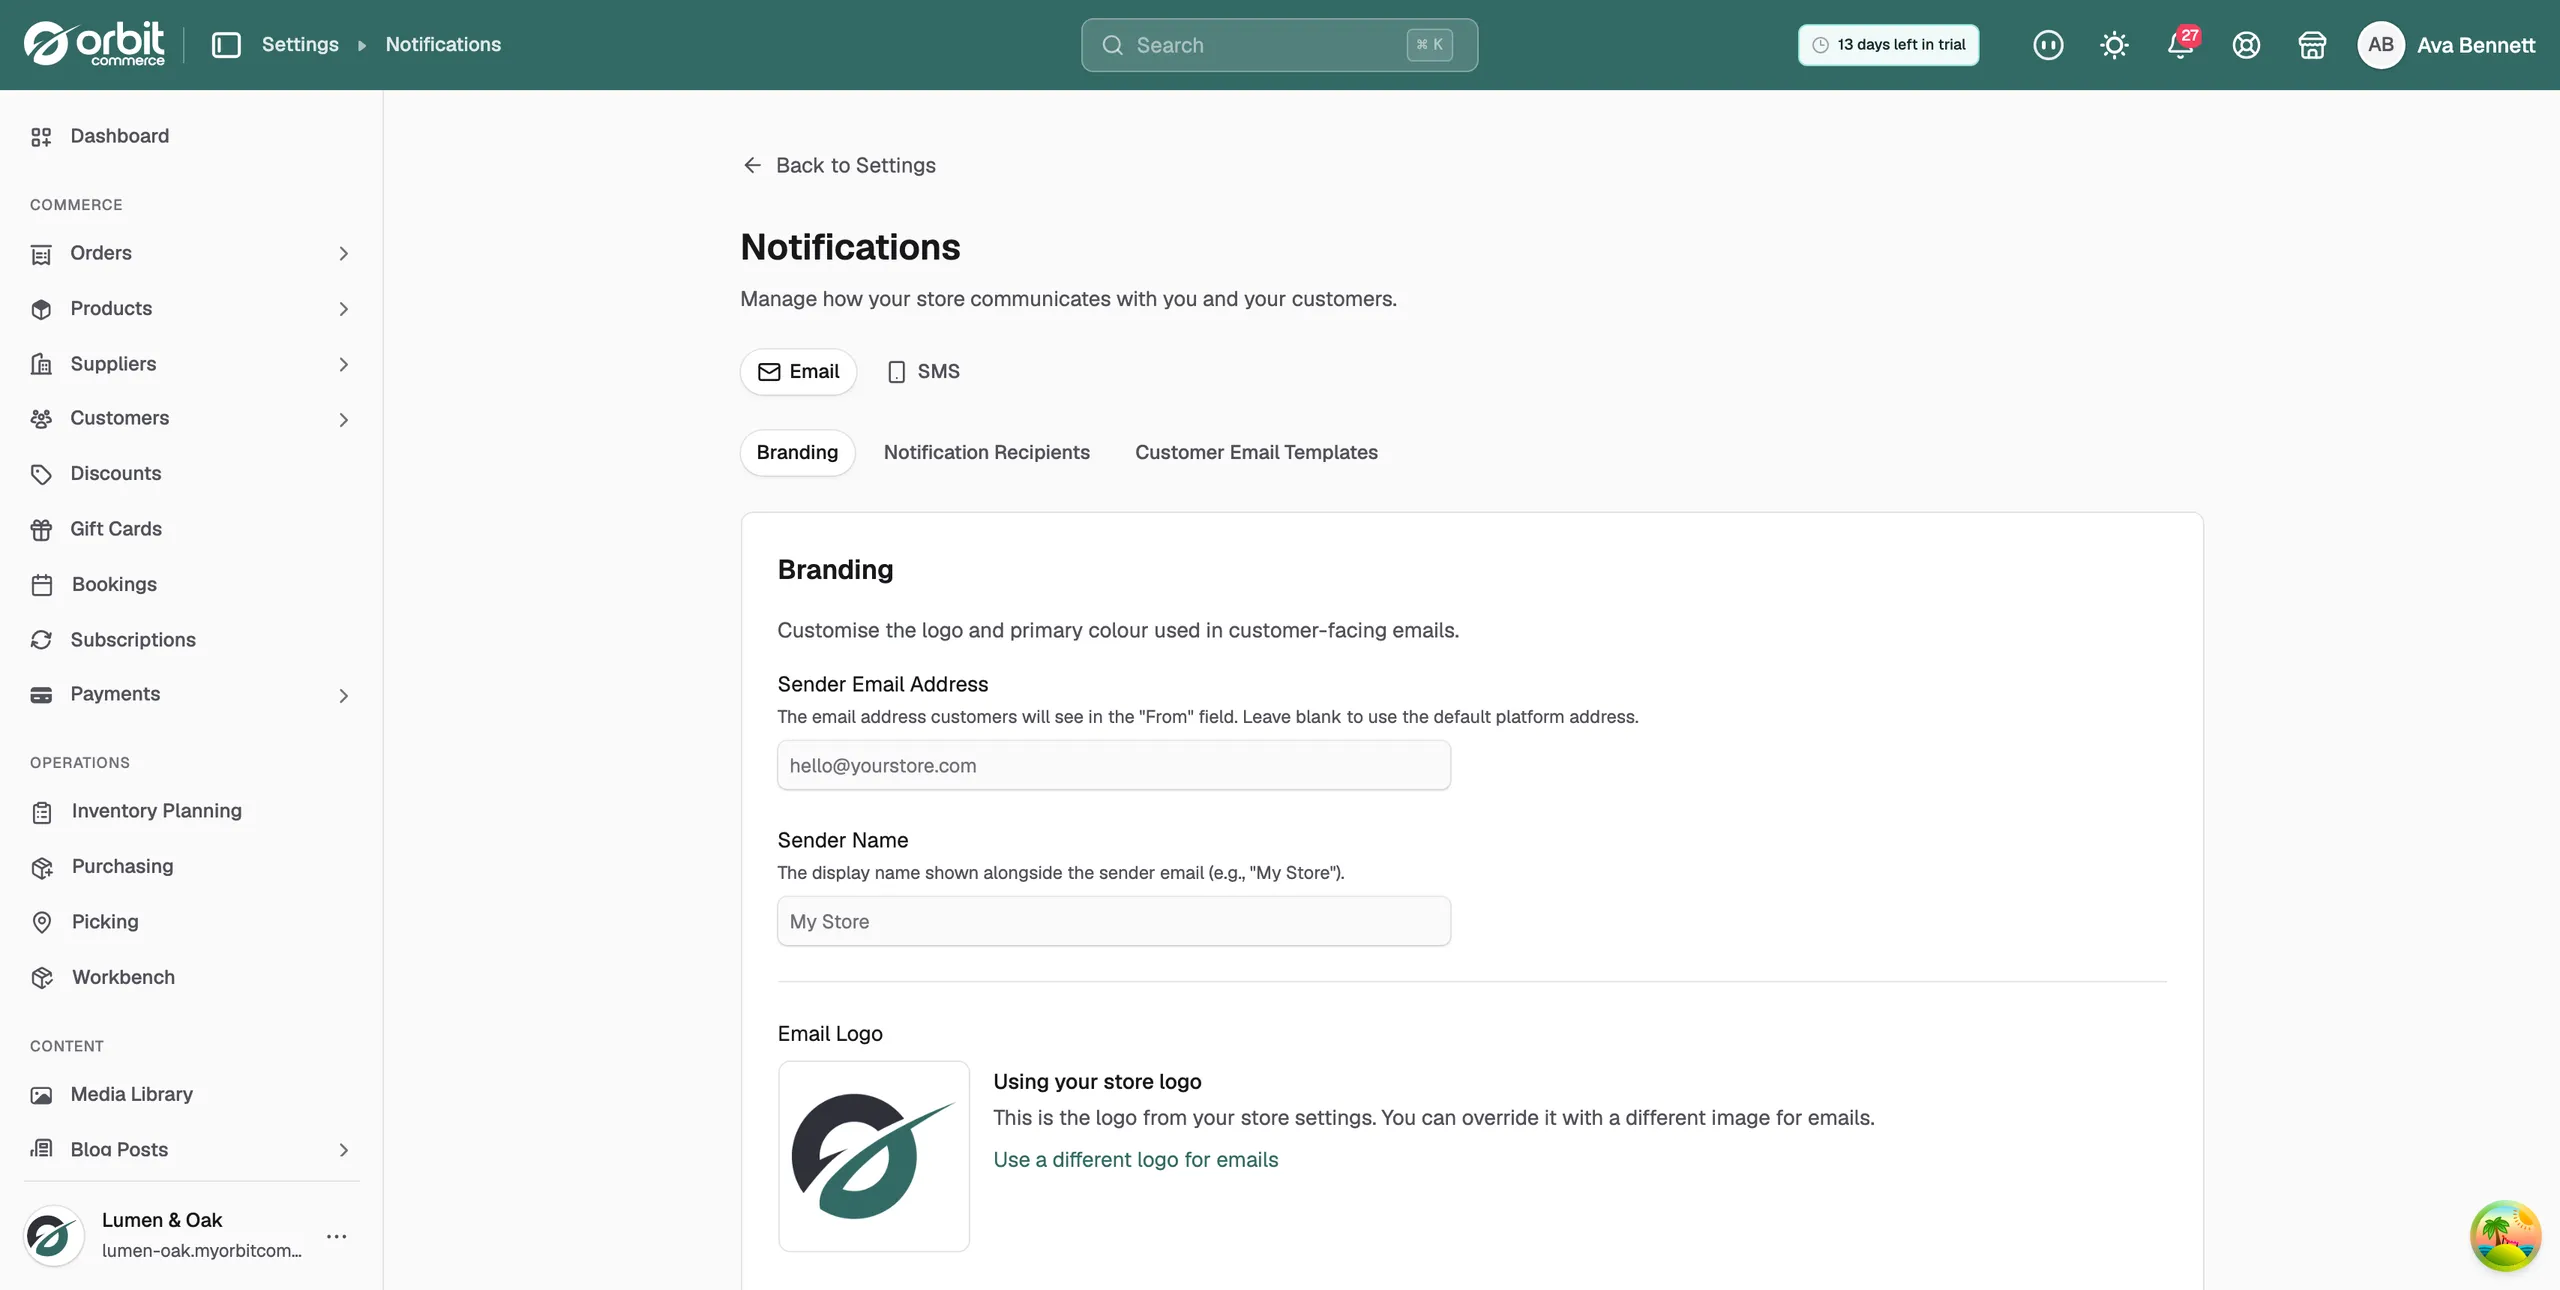
Orbit sends your customers an email at each step of their order, from the confirmation to the shipping notice. You can change the subject line and the content of each one. The templates live under Settings, then Notifications, on the Customer Email Templates tab.
Considerations
- The sender address, sender name, logo and brand colour are set on the Branding tab, not here. See Setting up email and SMS notifications.
- The Notifications page always opens on Branding, so there is no link that takes you straight to a template.
- A template you have changed carries a Customised badge. Reset removes those changes and cannot be undone.
- Your edits apply to this store only.
Open the template list
- From your Orbit dashboard, go to Settings.
- Under Insights & Tracking, click Notifications.
- Stay on the Email tab, then click Customer Email Templates.
- Each row is one email, with its name, a line saying when it is sent, and a pencil icon.
The emails you can change
The list covers every customer-facing email your store sends. The ones you will meet first are:
- Order Confirmation: sent when an order is placed.
- Customer Welcome: sent to a new customer after they verify their email.
- Newsletter Welcome: sent when someone subscribes to your newsletter. It carries the unsubscribe link.
- Customer Email Verification: the verification link for a new account.
- Customer Password Reset: the reset link for a storefront customer.
- Payment Failed: sent when a payment attempt does not go through.
Further down the list are the order emails such as Order Shipped, Tracking Update and Refund Issued, the four return emails, the digital download emails, the product subscription emails, Gift Card Received and Back in Stock. Abandoned Cart Recovery is here too. It is the template that opens when you click Customise Template in Setting up abandoned cart recovery.
Open a template
- On the Customer Email Templates tab, click the row for the email you want.
- The editor opens, with the template name at the top and Send test, Reset and Save on the right. Reset only appears on a template you have already changed.
- To come back without saving, click Back to Email Settings.
Edit the subject line
- In the Subject Line field, type the subject your customers will see.
- You can drop a variable into the subject, such as {{order.number}}, so each email carries its own details.
- Leave the field empty to keep Orbit's default subject for that email.
Edit the email
The editor has two tabs. Use whichever suits the change, and switch between them as you go.
- Visual Editor: build the email from blocks, such as Header, Heading, Text, Image, Button, Divider, List, Totals and Footer. Click a block to open its Properties panel on the right and change its wording, colours, font and spacing.
- HTML Code: edit the HTML yourself under HTML Source. Click Show preview to put the finished email beside the code, or Code only to hide it again.
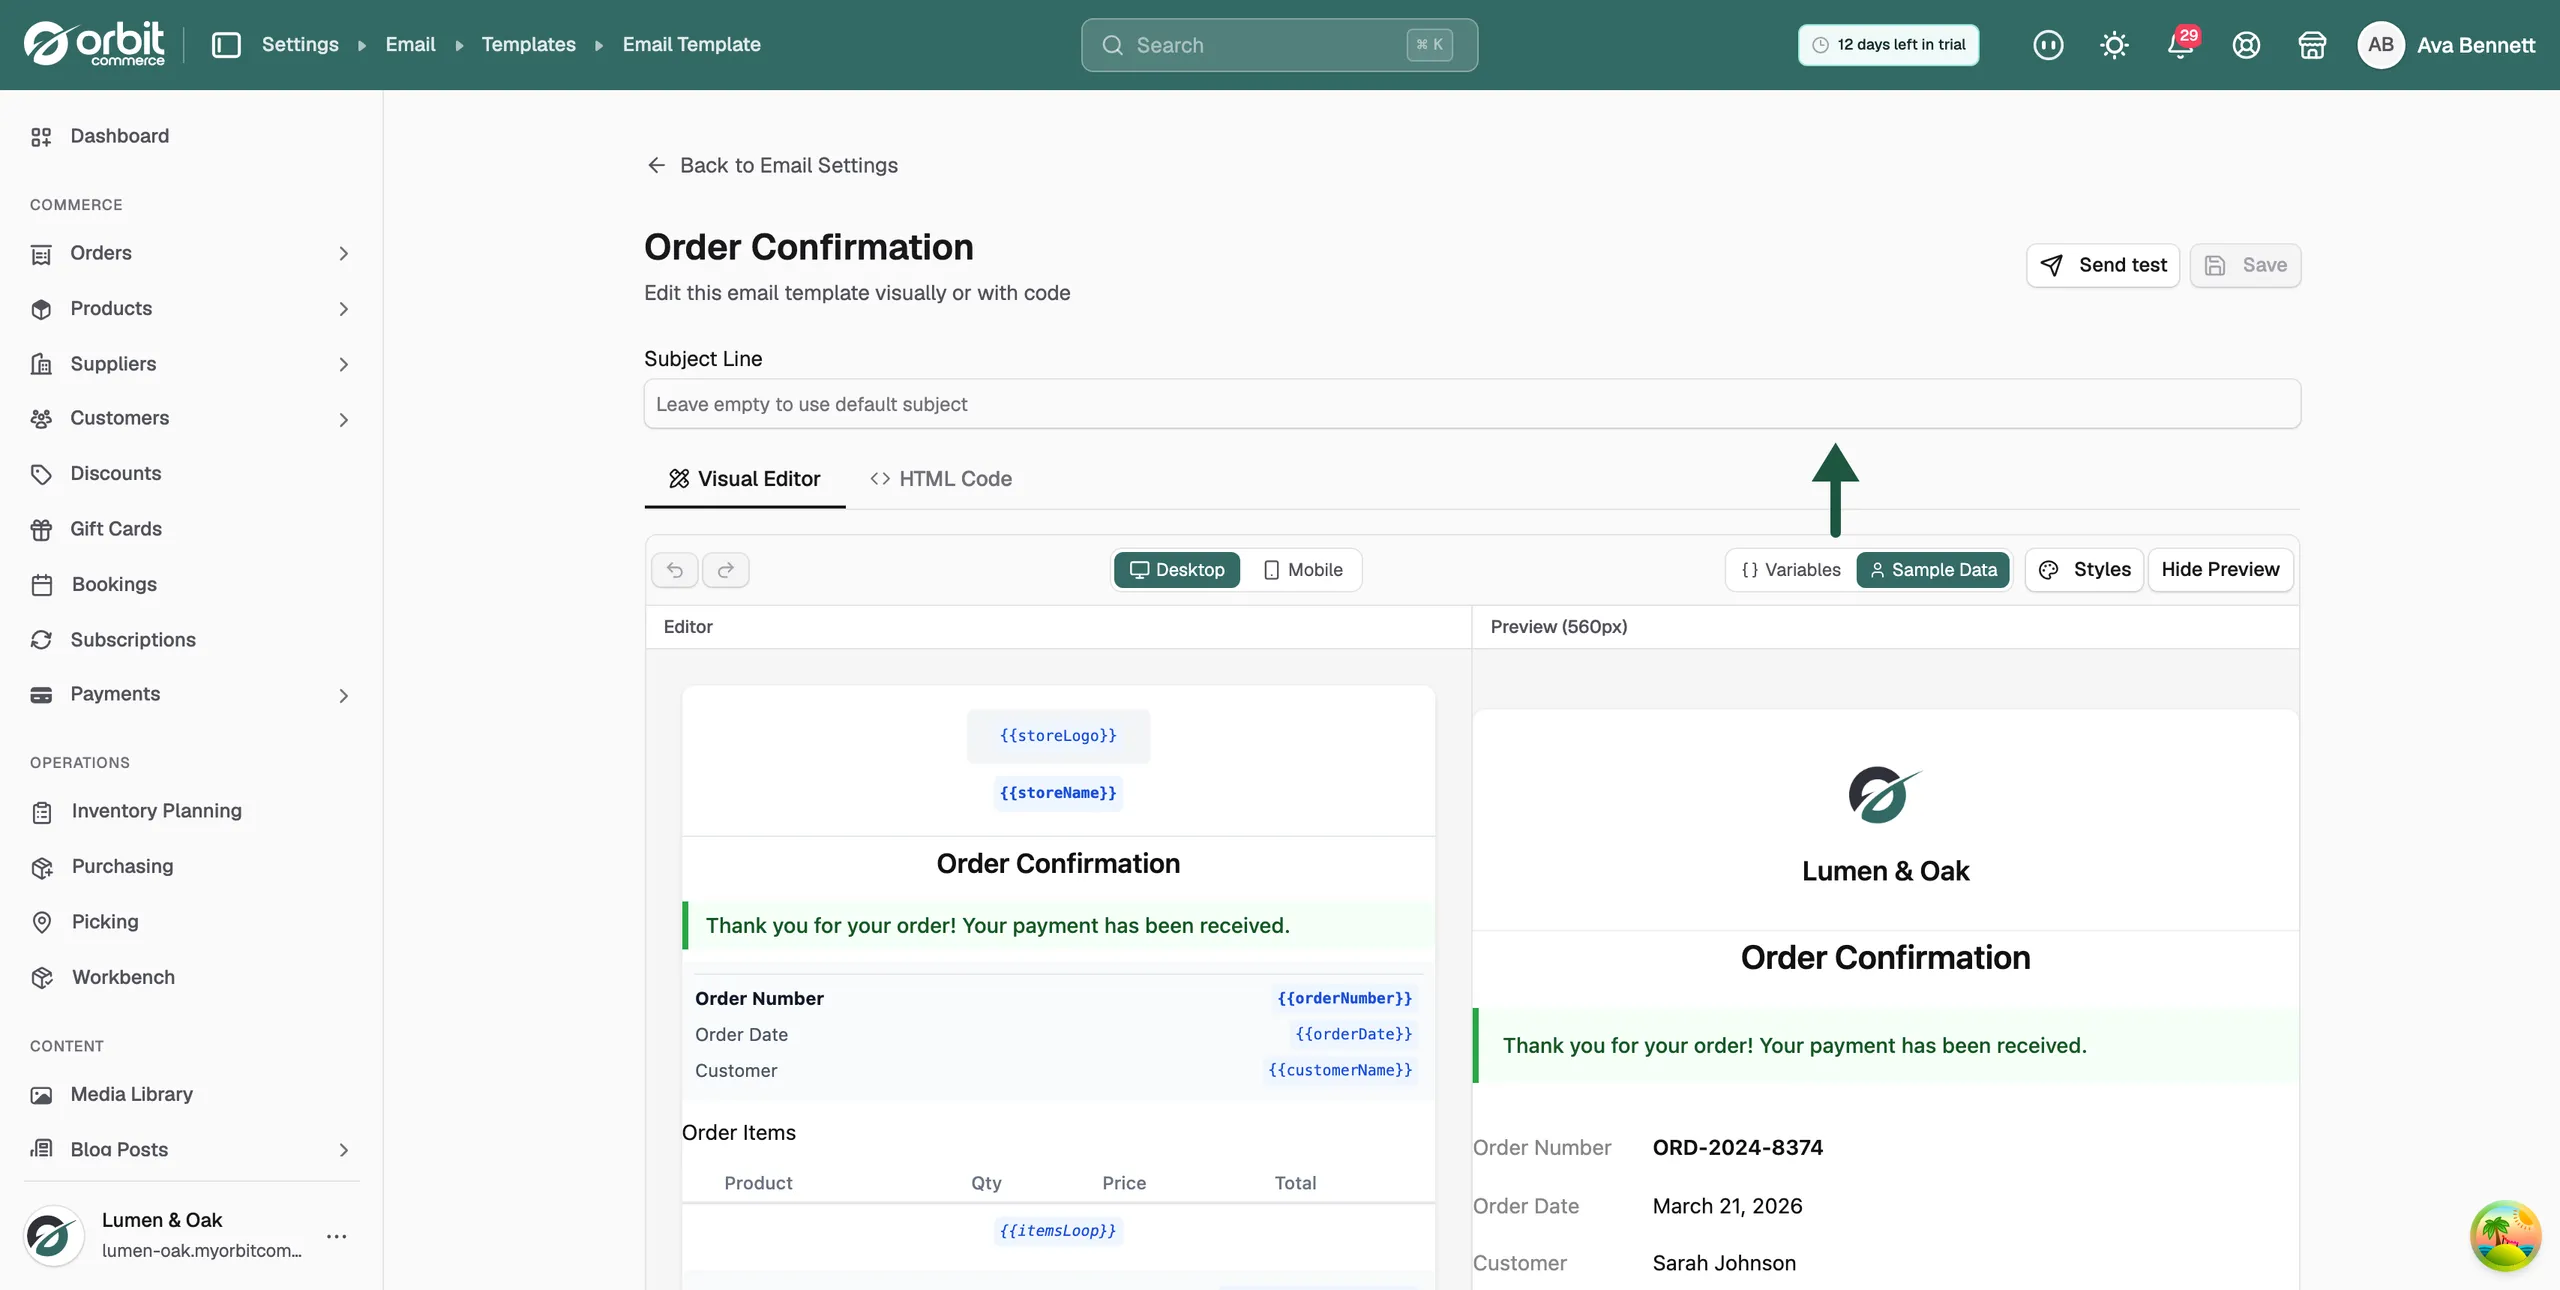
The toolbar above the visual editor controls the preview:
- Desktop and Mobile: check how the email looks at each size.
- Sample Data: fill the variables with realistic example values.
- Variables: show the raw variable tokens instead.
- Styles: set the colours, fonts and width that apply to the whole email.
- Hide Preview: give yourself more room to edit.
Add a variable
Variables pull in the details of each order or customer. {{customer.firstName}} becomes the customer's name, {{order.number}} becomes the order number, and so on.
- Click into the block or field where you want the detail to appear.
- Click Insert Variable.
- Search the list, then click the variable you want.
- Turn on Sample Data to see what it will look like when the email is sent.
Send yourself a test
- Click Send test at the top of the editor.
- Under Send a test email to, type your own address.
- Click Send, then check the email in your inbox.
Tip: Send a test before you save. It is the only way to see the subject line, the layout and the variables as a customer will.
Save or reset a template
- Click Save to apply your changes. The row in the list now shows a Customised badge.
- Click Reset to go back to Orbit's default. This removes your customisations and cannot be undone.
Related guides
Was this helpful?
0 people found this helpful