Adding custom fields
Set up custom fields on products, orders, customers and other areas, choose a field type and rules, and decide whether shoppers can see the value.
Custom fields add extra boxes to products, orders, customers and other parts of your store. You set them up under Settings, then Custom Fields. Once a field exists, it appears on every item of that type, ready to fill in.
Considerations
- You can add custom fields to ten areas: Products, Variants, Categories, Brands, Customers, Orders, Draft Orders, Pages, Blogs and Blog Posts.
- A field you add under Products appears on every product. The same goes for each other area.
- Visible on storefront only affects product and variant fields. Fields on orders, customers and other areas stay inside your dashboard.
Open Custom Fields
- From your Orbit dashboard, go to Settings.
- Under Selling, click Custom Fields. The page lists the ten areas.
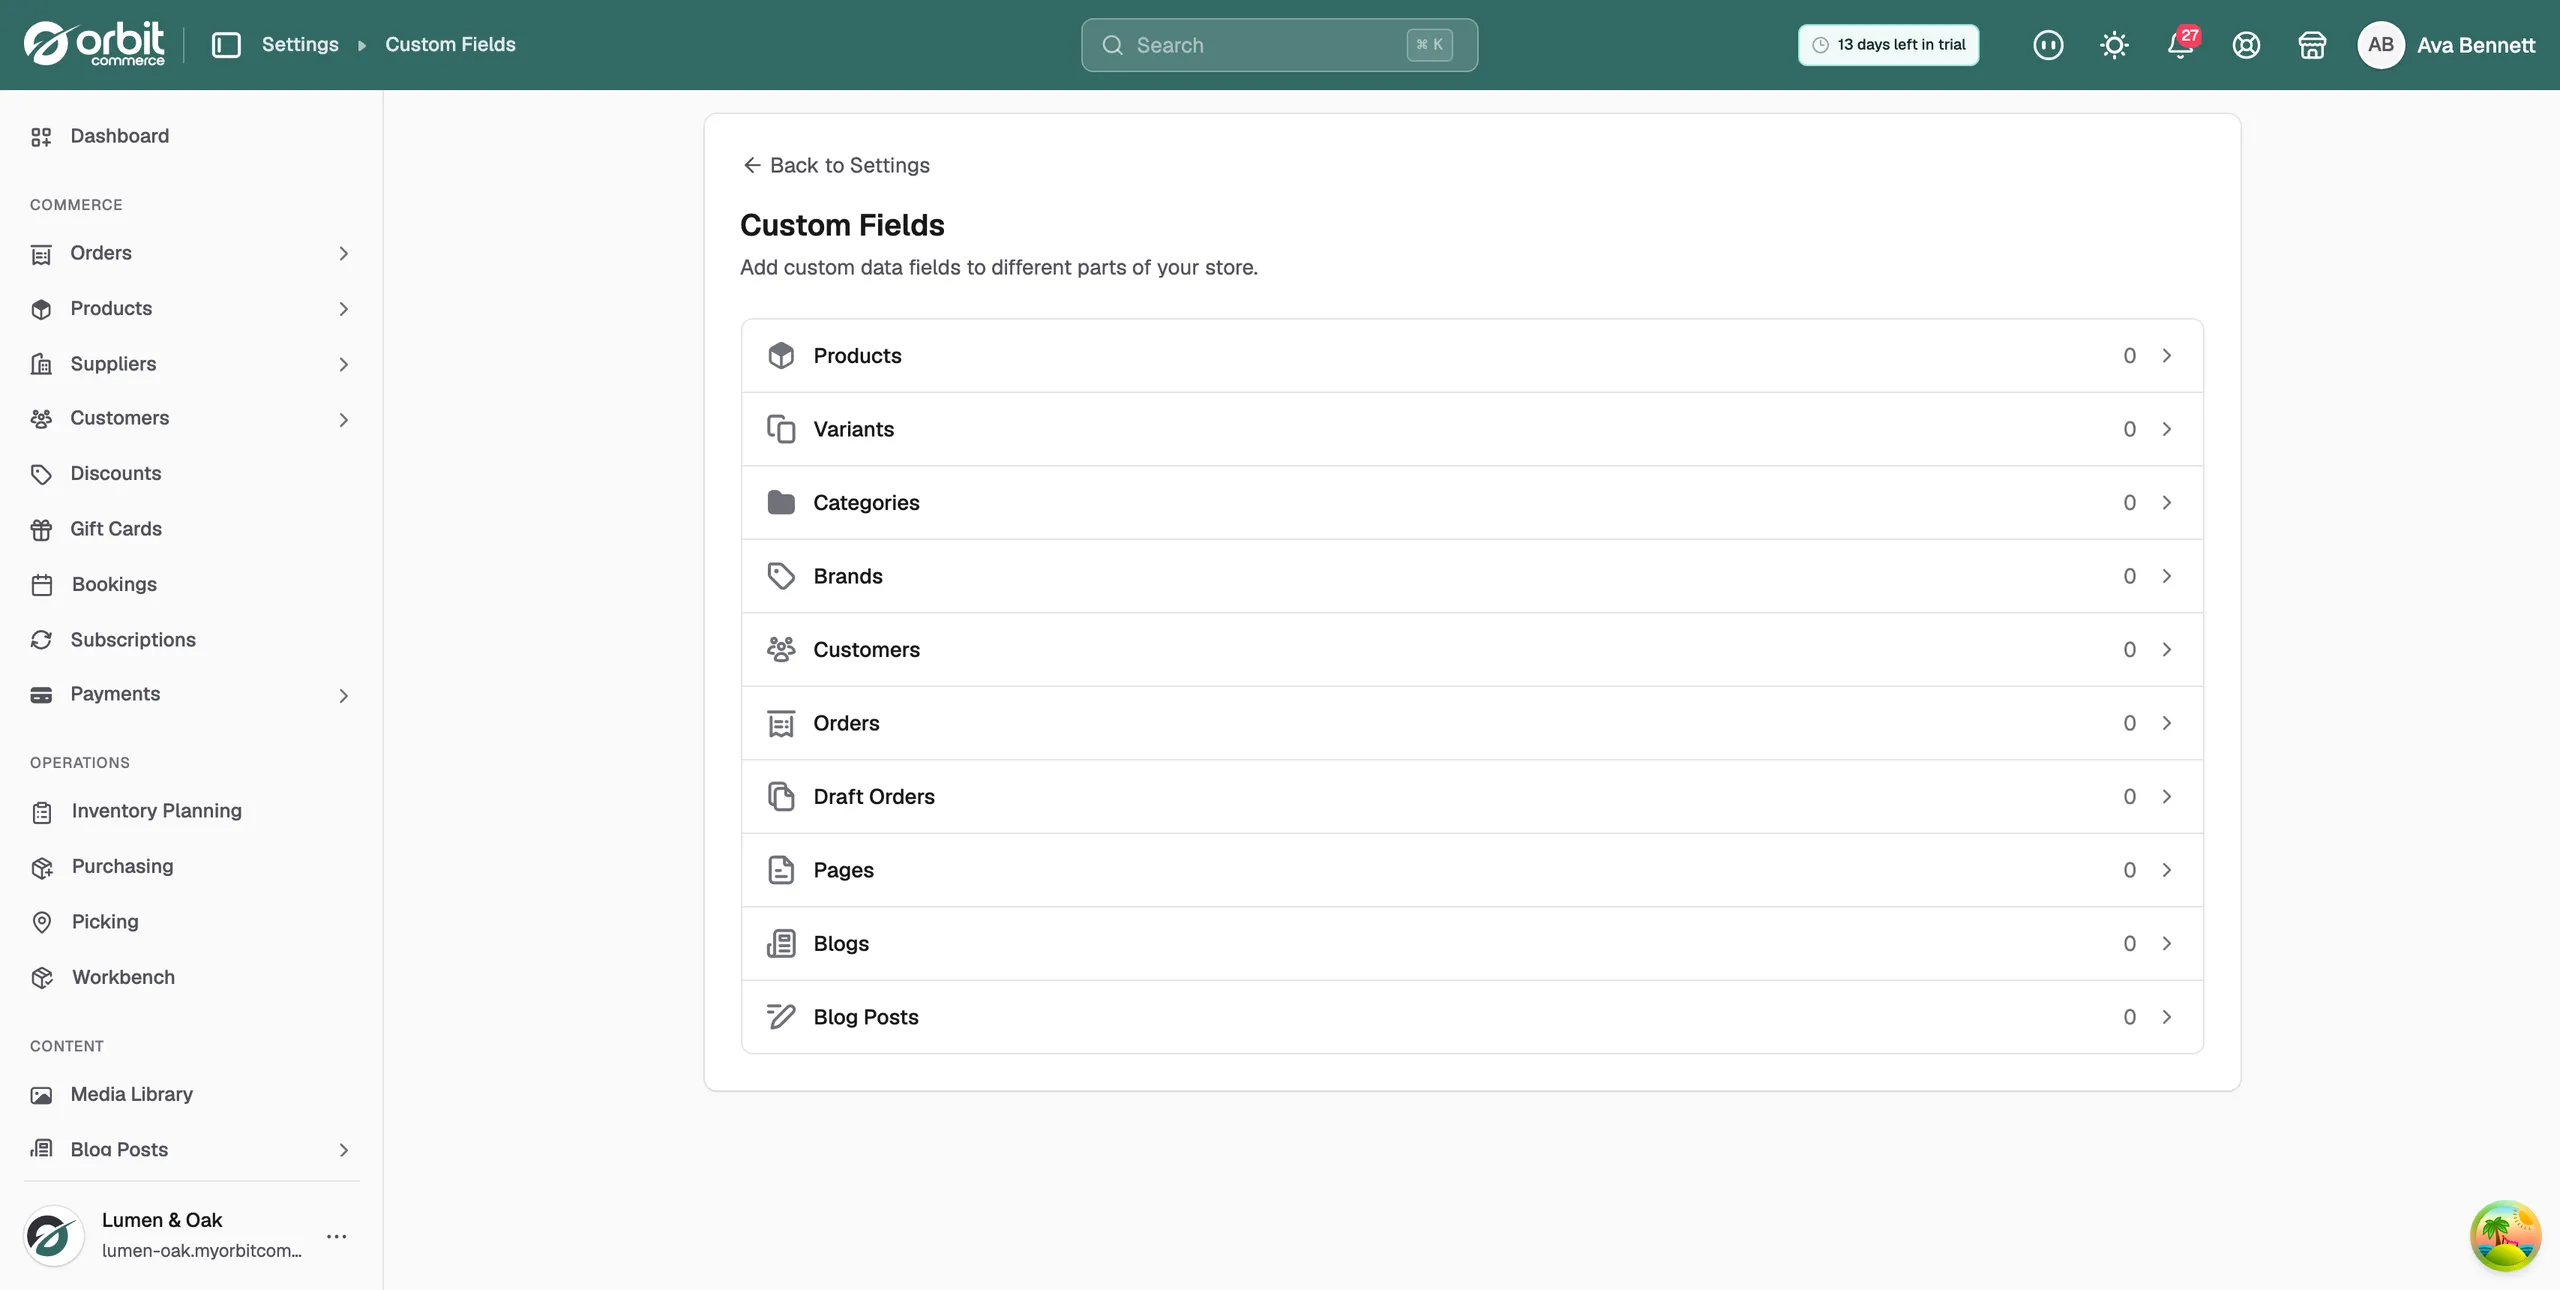
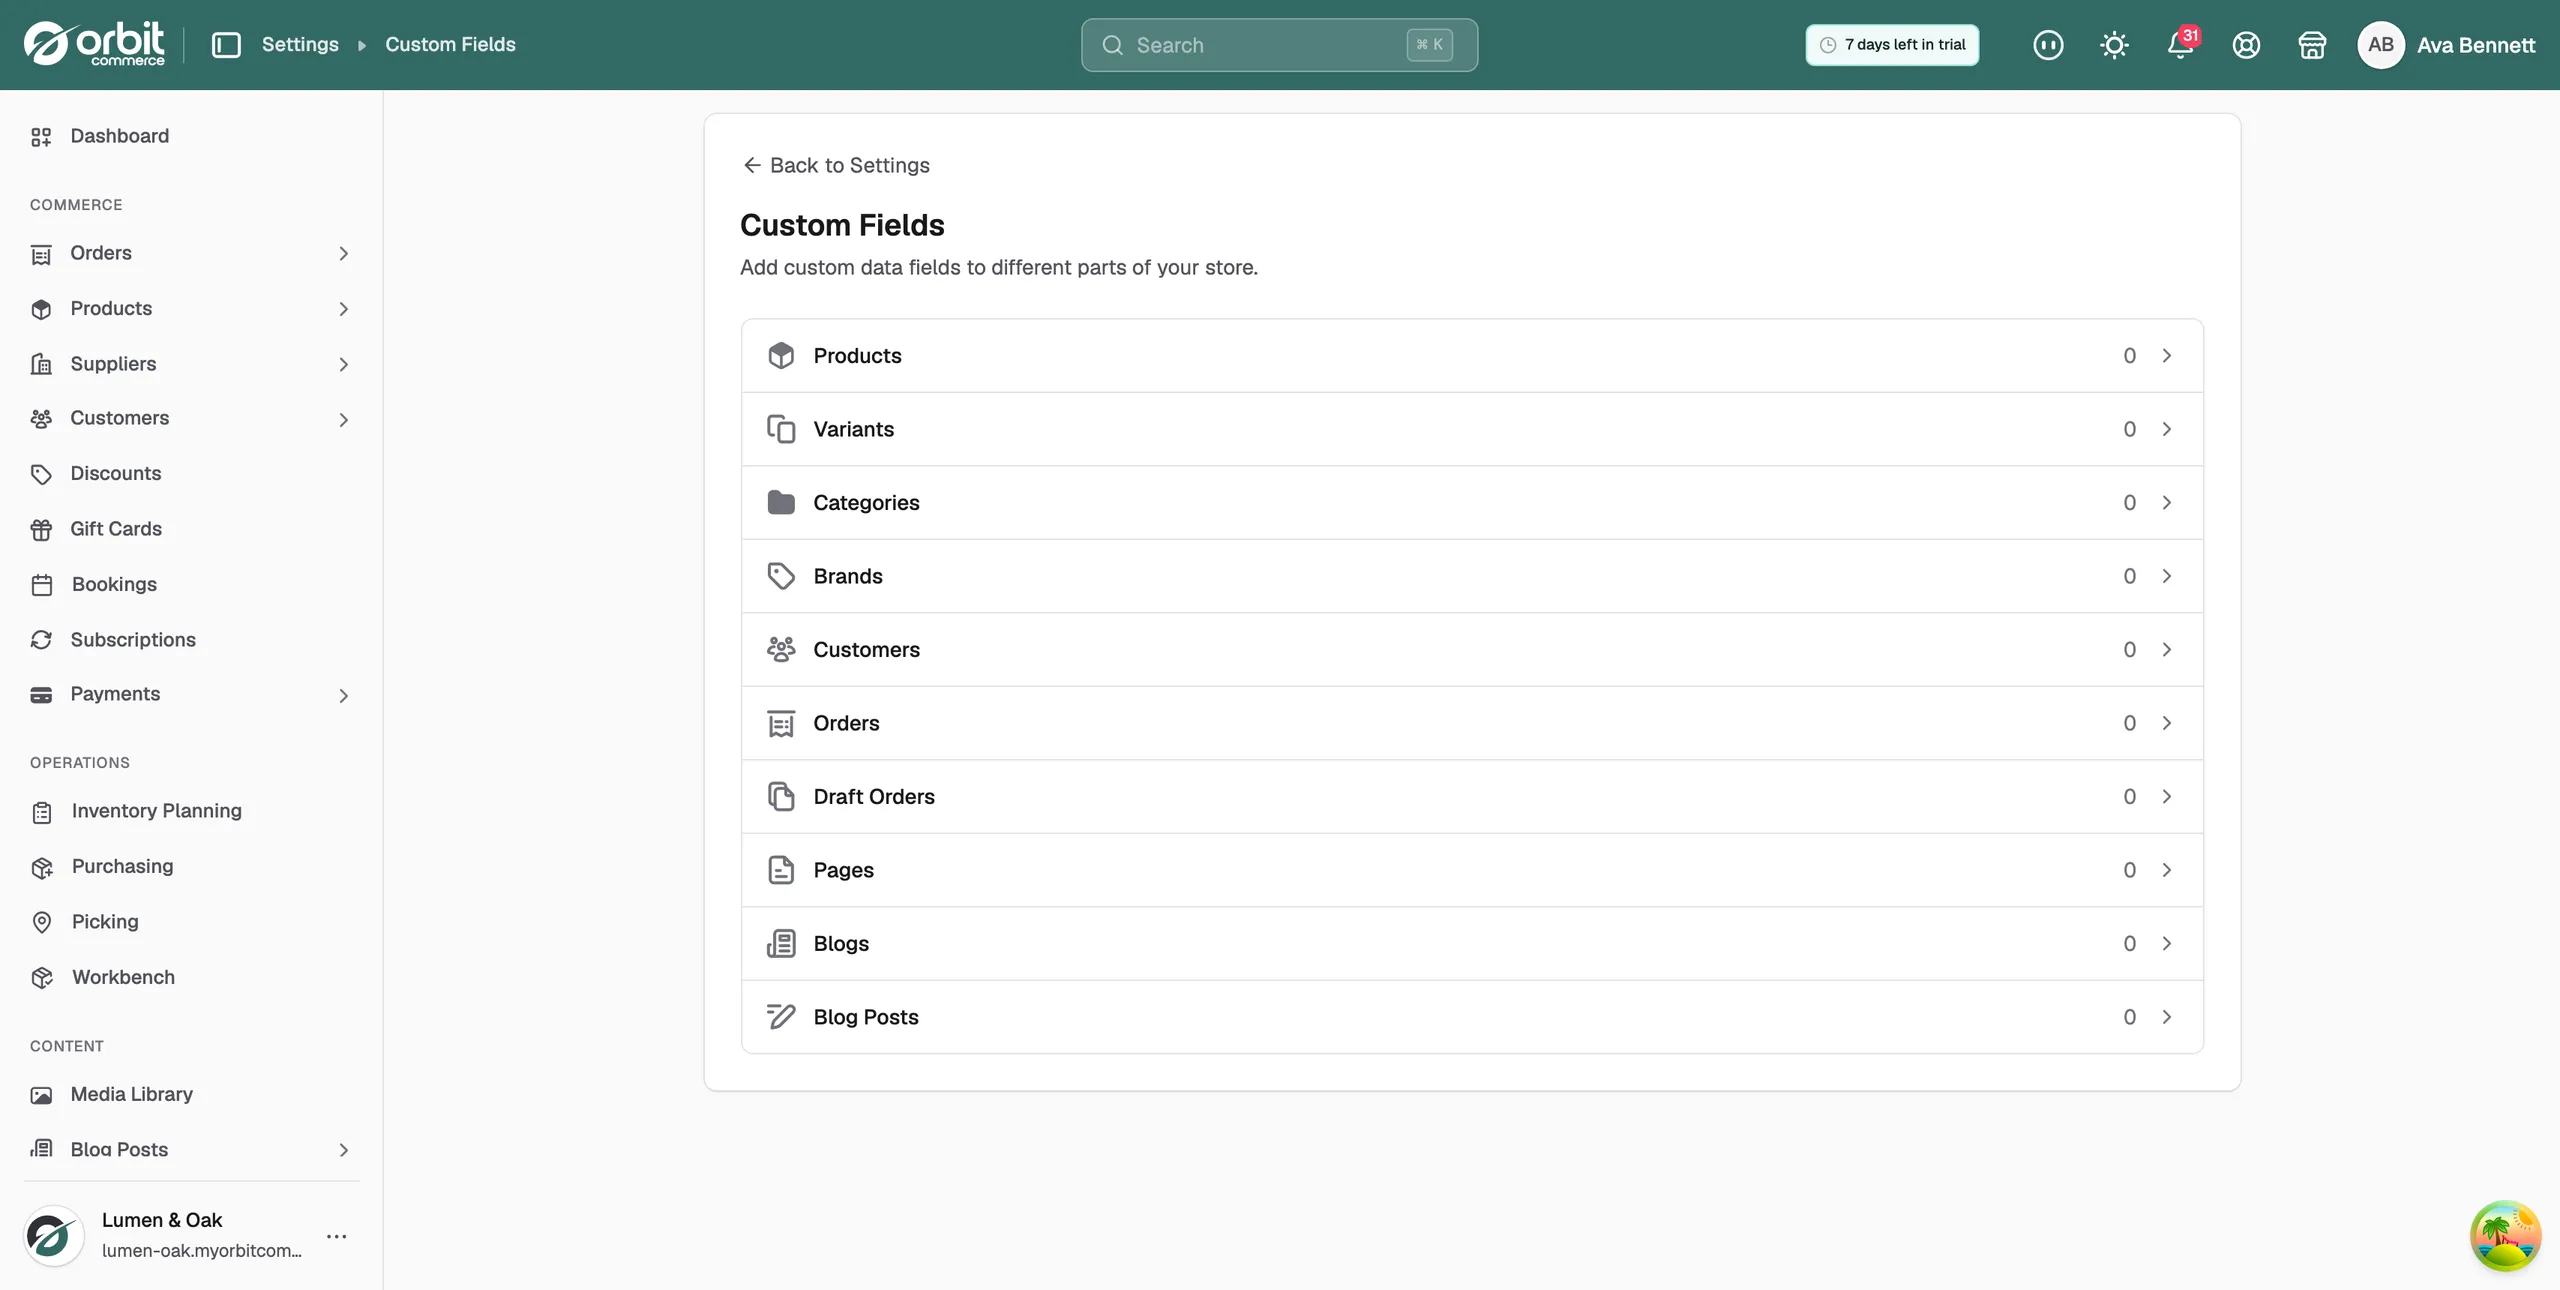
- Each row shows how many fields that area has. Click an area, for example Products.
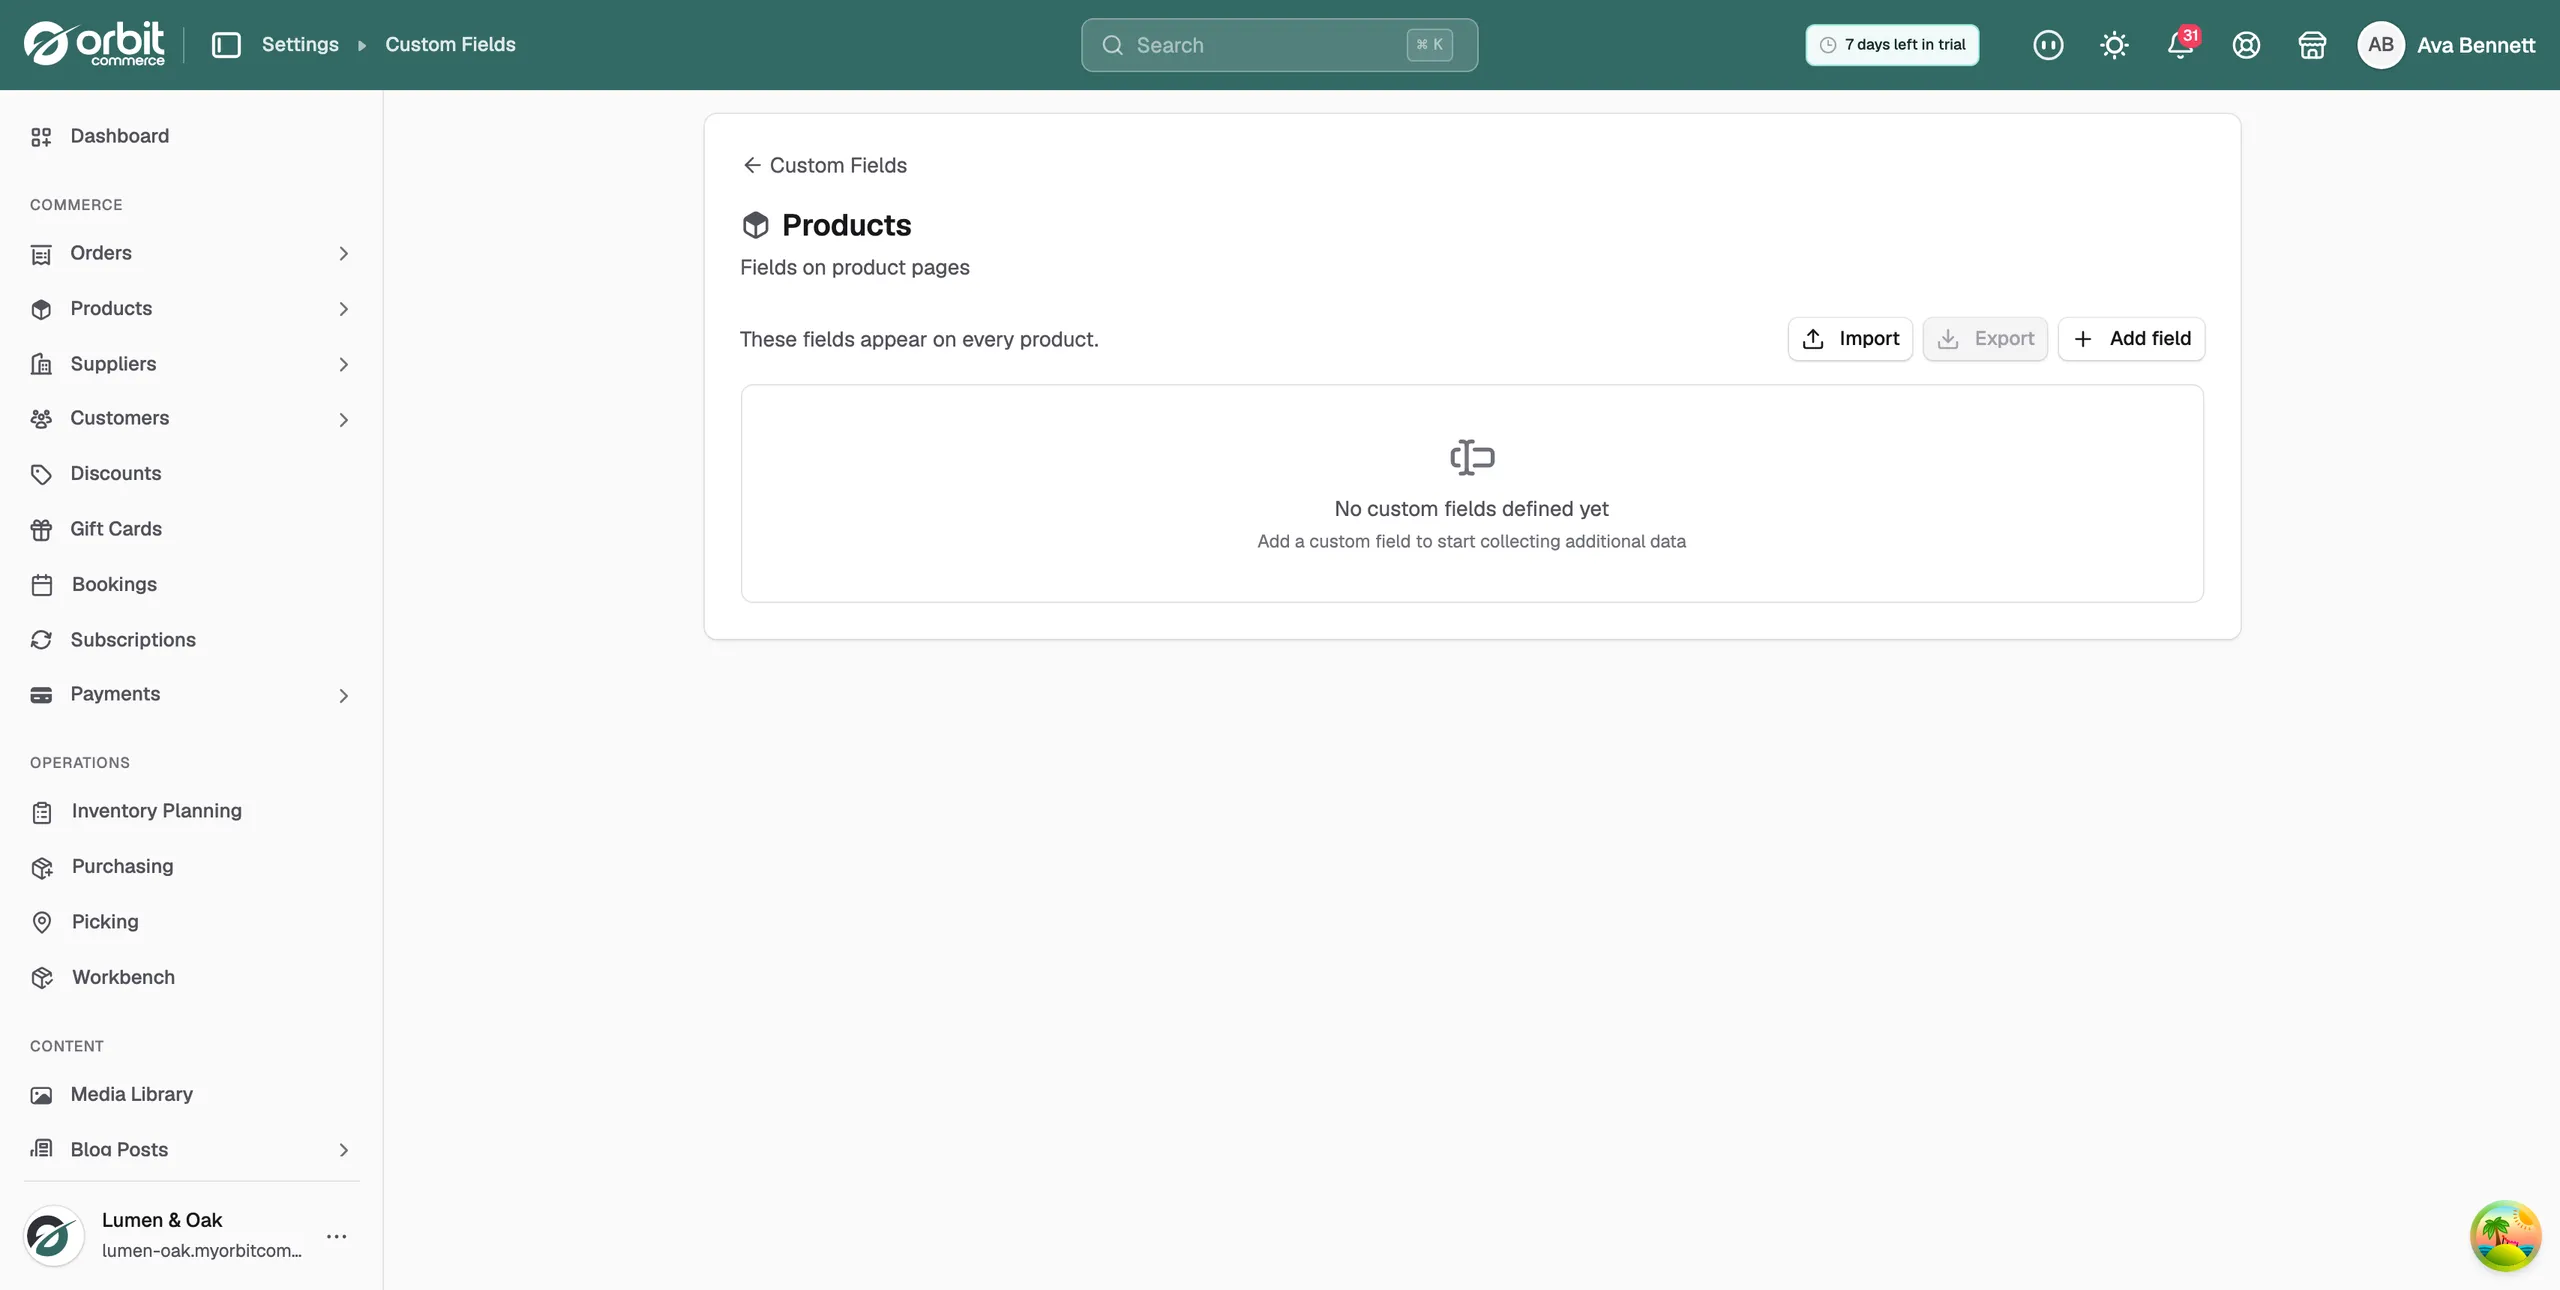
- The list of fields for that area opens. If there are none yet, it reads No custom fields defined yet.
Add a custom field
- Open the area you want, for example Products.
- Click Add field. The Add Custom Field panel opens.
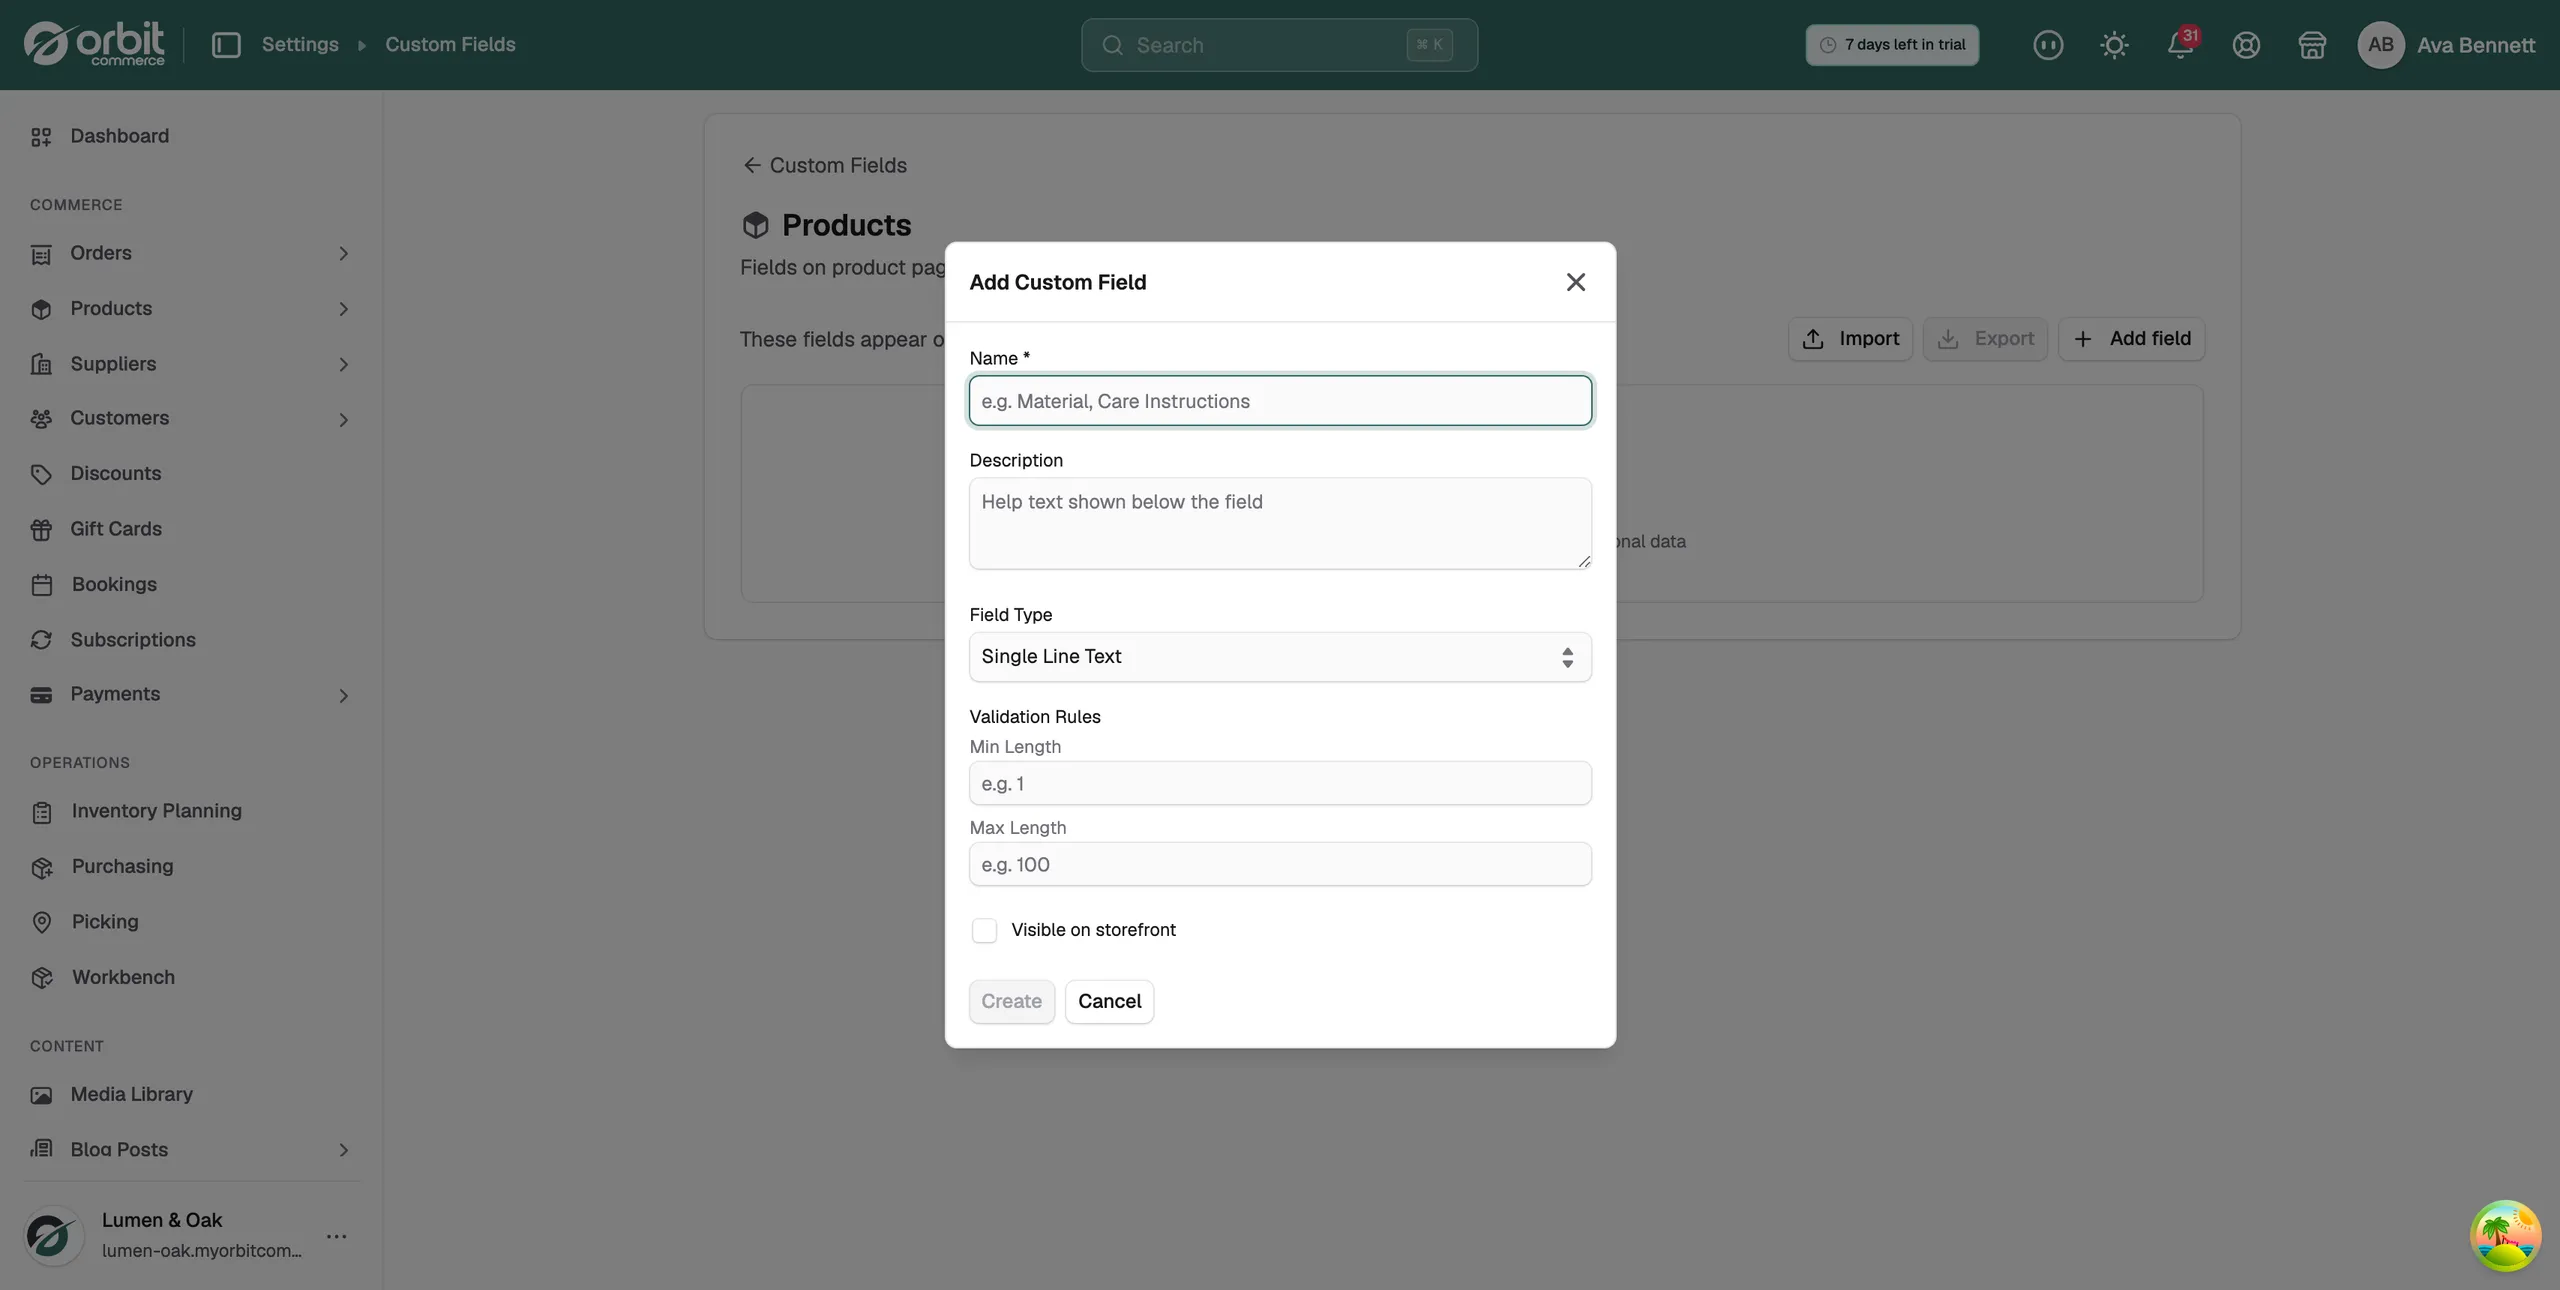
- Enter a Name, for example Finish. This is the label your team sees.
- Add a Description if you want. It shows as help text under the field.
- Click Field Type and pick a type. Single Line Text is chosen to start with.
- Fill in any Validation Rules the type offers, such as Min Length and Max Length. Leave a rule blank and it is not applied.
- For Single Select or Multi Select, type each option under Choices and click + after each one. Drag the grip next to a choice to reorder.
- Tick Visible on storefront if shoppers should see the value.
- Click Create. The message Custom field created appears and the field joins the list.
Note: Changing the Field Type clears any validation rules and choices you have entered. Pick the type first, then fill in the rest.
Field types
- Single Line Text: a short line of text.
- Multi Line Text: longer text over several lines.
- Number (Integer): a whole number.
- Number (Decimal): a number with decimal places.
- True / False: a yes or no.
- Date: a date.
- Date & Time: a date with a time.
- Color: a colour value.
- Single Select: pick one of the choices you set.
- Multi Select: pick several of the choices you set.
- URL: a web address.
- JSON: structured data, for developers.
- File: a file.
- Rating: a rating.
Validation rules by type
Rules keep values consistent. A value that breaks a rule is rejected when someone saves it. Rules apply from the moment you add them; values saved earlier are not rechecked.
- Single Line Text and Multi Line Text: Min Length and Max Length.
- Number (Integer) and Number (Decimal): Minimum and Maximum.
- Date: Earliest Date and Latest Date.
- Date & Time: Earliest and Latest.
- URL: Allowed Domains.
- True / False, Color, Single Select, Multi Select, JSON and File: no rules.
Show a field on the storefront
Tick Visible on storefront on a product or variant field to let your storefront use its value. Leave it unticked for anything internal.
- Show to shoppers: product material, care instructions, warranty information, size guidance, product-specific notes.
- Keep internal: internal product codes, warehouse handling notes, supplier references, admin-only order notes.
A visible field shows an eye icon in the list. To place the value on a product page, add a Custom Field or Specifications element in the page builder.
Fill in a field
- Open an item in the area you added the field to, for example a product.
- Find the field by its name. A select field shows a dropdown of your choices.
- Enter the value and click Save Custom Fields. The message Custom fields saved appears.
Edit, reorder or delete a field
- Edit: click the pencil on the field's row, make your changes and save.
- Reorder: drag the grip at the left of a row. Fields appear in this order in the editor.
- Delete: click the bin on the row, then click Delete to confirm or Cancel to keep it.
- Export: downloads the area's field definitions as a JSON file.
- Import: loads field definitions from a JSON file you exported before.
Warning: Deleting a field cannot be undone. Use Export first if you may want the field back.
Related guides
Was this helpful?
0 people found this helpful