Importing and exporting products
Bring in a whole catalogue from a CSV or Excel file, or download your products to a spreadsheet to edit them and load them back into Orbit.
You can add or update many products at once by importing a CSV or Excel file. You can also export your products to a spreadsheet, edit them there, and import them back. Both actions live on the Products page in your Orbit dashboard.
Considerations
- Orbit accepts CSV files and Excel files. If you are not sure how to lay out your file, download the sample CSV from the import dialog and use it as a template. Exporting your products gives you the same columns.
- An import can create new products, update existing products, or both. You choose this before you upload.
- When you update existing products, only the columns in your file change. Columns you leave out, and products not in the file, stay as they are.
- Imported products go live straight away unless you tell Orbit otherwise. A product with a blank Status imports as active. Set Status to draft if you want to check products before they appear on your storefront.
- Products with no price import as draft, whatever the Status column says.
Tip: Export your products before your first import. The exported file is the exact column layout Orbit expects, so you can edit it and import it back.
Import products from a CSV
- From your Orbit dashboard, go to Products.
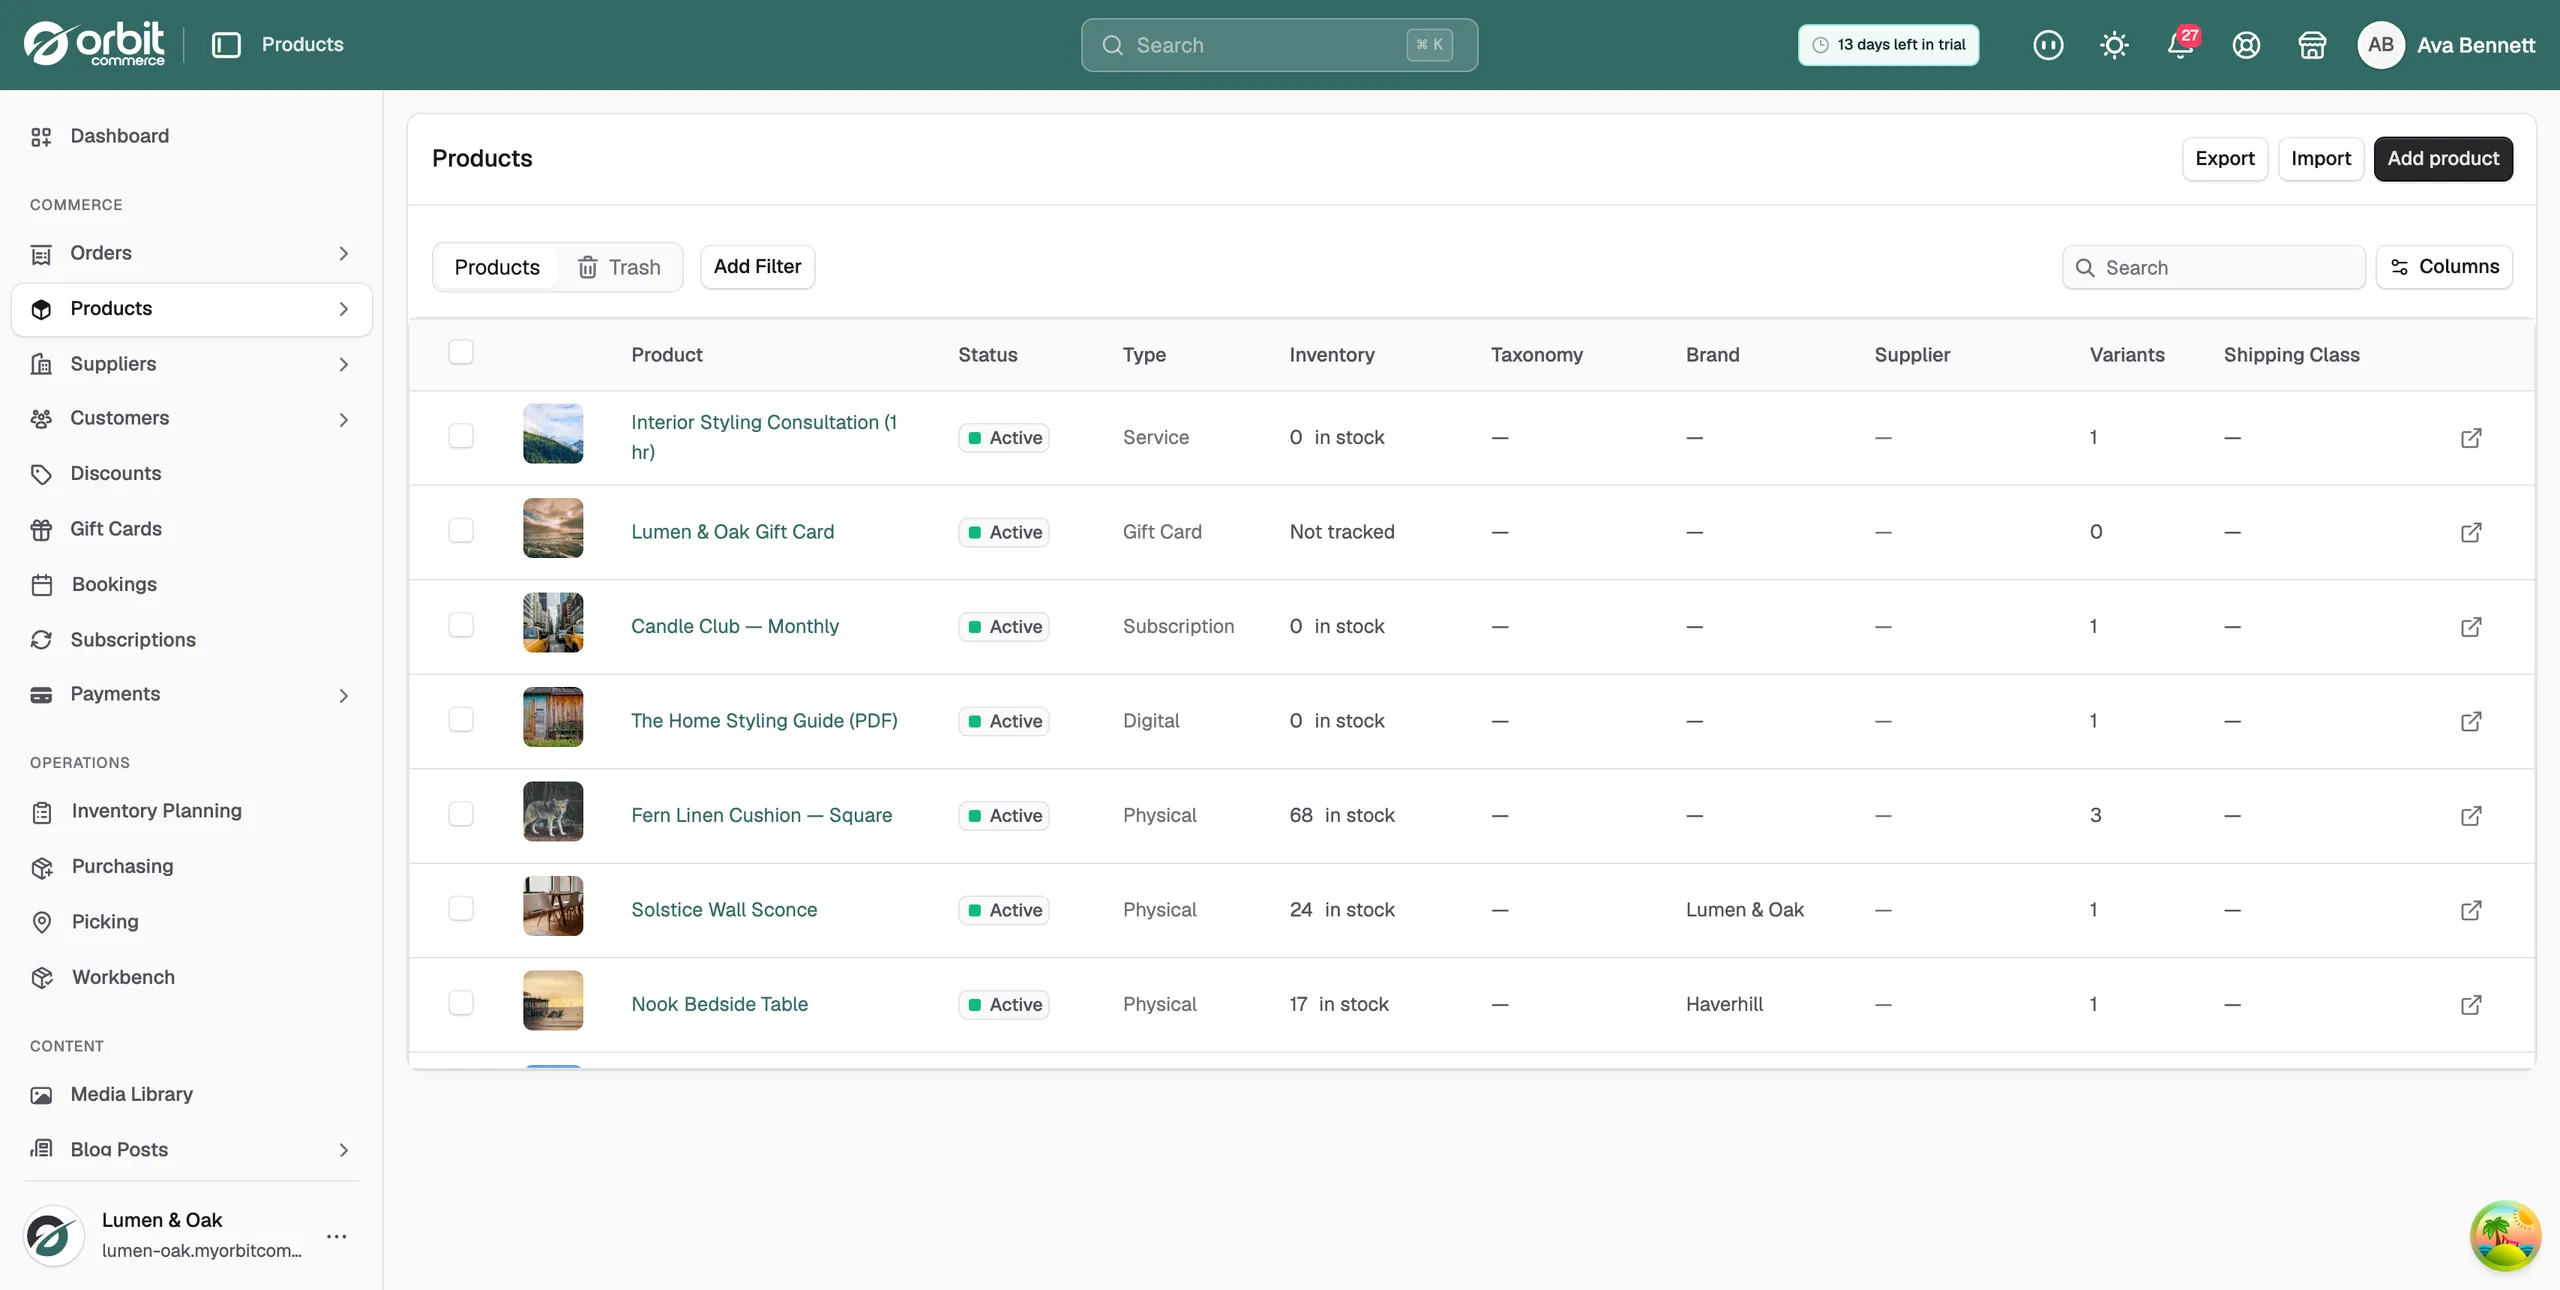
- Click Import at the top of the page. If your store has no products yet, click Import in the middle of the page instead. The Import products dialog opens.
- Click + Add file and choose your CSV or Excel file. You can also drop the file onto the dashed box. The file name and size appear once the file is chosen.
- Under This import should…, tick what the import needs to do. Create new products is ticked already. Tick Update existing products as well if some rows match products already in your store. At least one box must be ticked.
- If you ticked Update existing products, choose how Orbit finds the matching product under Match existing products by: SKU, Handle or Barcode. SKU is the default.
- Click Upload and preview. The Preview your first product step opens. It tells you how many products, SKUs and images the file contains, and shows a First Product Preview built from the first row.
- Check the Column mappings line. It says how many columns Orbit matched to a product field. If it shows a required field is unmapped, click Column mappings.
- On Map columns to product fields, find the column with no match. Under Maps to, pick the Orbit field it belongs to. Required fields are marked with an asterisk. Pick Do not import for any column you want to skip.
- Click Back to preview. The First Product Preview now shows the value from the column you mapped.
- Click Import products. The Product import in progress step shows a progress bar.
- Click Close and continue working if you want to leave the dialog. The import carries on in the background, and Orbit shows a message when it has finished.
When the import finishes, the dialog shows Import completed with a count of the products created and updated. Click Close to see them in your product list.
Note: The warning on the mapping step does not stop you. You can click Import products with a required field unmapped, but the import may fail. Map every required field first.
Export products
- From your Orbit dashboard, go to Products.
- Click Export at the top of the page.
- Choose what to export: All products, Current page, Selected products or Filtered results.
- Choose a format: Excel Format (.xlsx) or Plain CSV (.csv).
- Click Export. The file downloads to your computer.
The exported file has a column for each product field. You can open it in any spreadsheet app, make your changes, and import it back.
Columns in an import file
These are the columns in the file the tutorial video imports. Orbit matches most of them to product fields by name. Required fields are marked with an asterisk on the mapping step.
- Handle: a unique short name for each product. Required.
- Title: the product name. Orbit maps it to Name. Required.
- Description: the product description.
- Product Type: the type of product, such as physical.
- Tags: the product's tags.
- Status: active or draft. Required. In the video the column is called Live, so Orbit cannot match it and it is mapped by hand.
- SKU: the product's stock code.
- Barcode: the product's barcode.
- Quantity: the stock on hand.
- Is Physical: TRUE or FALSE. Required.
- Is Taxable: TRUE or FALSE. Required.
- Price: the selling price as a number, such as 801.00. Required.
- Categories: category names, separated by commas.
- Image URL: the web address of the product image.
- Option1 Name and Option1 Value: a variant option and its value, such as Size and 1000mm. Put each variant on its own row with the same Handle.
Related guides
Was this helpful?
0 people found this helpful