Connecting your store to Amazon
Install the Amazon Integration plugin, connect your Seller Central account, choose what to sync, then push products to Amazon and import Amazon orders.
3 min read5viewsUpdated 4 October 2026Orbit Commerce
The Amazon Integration plugin connects your store to your Amazon Seller Central account. You can list products on Amazon, keep stock levels in step on both channels, and pull Amazon orders into your Orbit dashboard next to your storefront orders.
Considerations
- You need an Amazon Professional seller account. The Individual tier does not allow API connections.
- Amazon needs a barcode (GTIN) on most products. Add barcodes before you connect. See Adding SKUs and barcodes.
- Amazon tracks your price and delivery performance closely. Only sync stock you can send out within your stated handling time.
Install the plugin
- From your Orbit dashboard, go to Plugins.
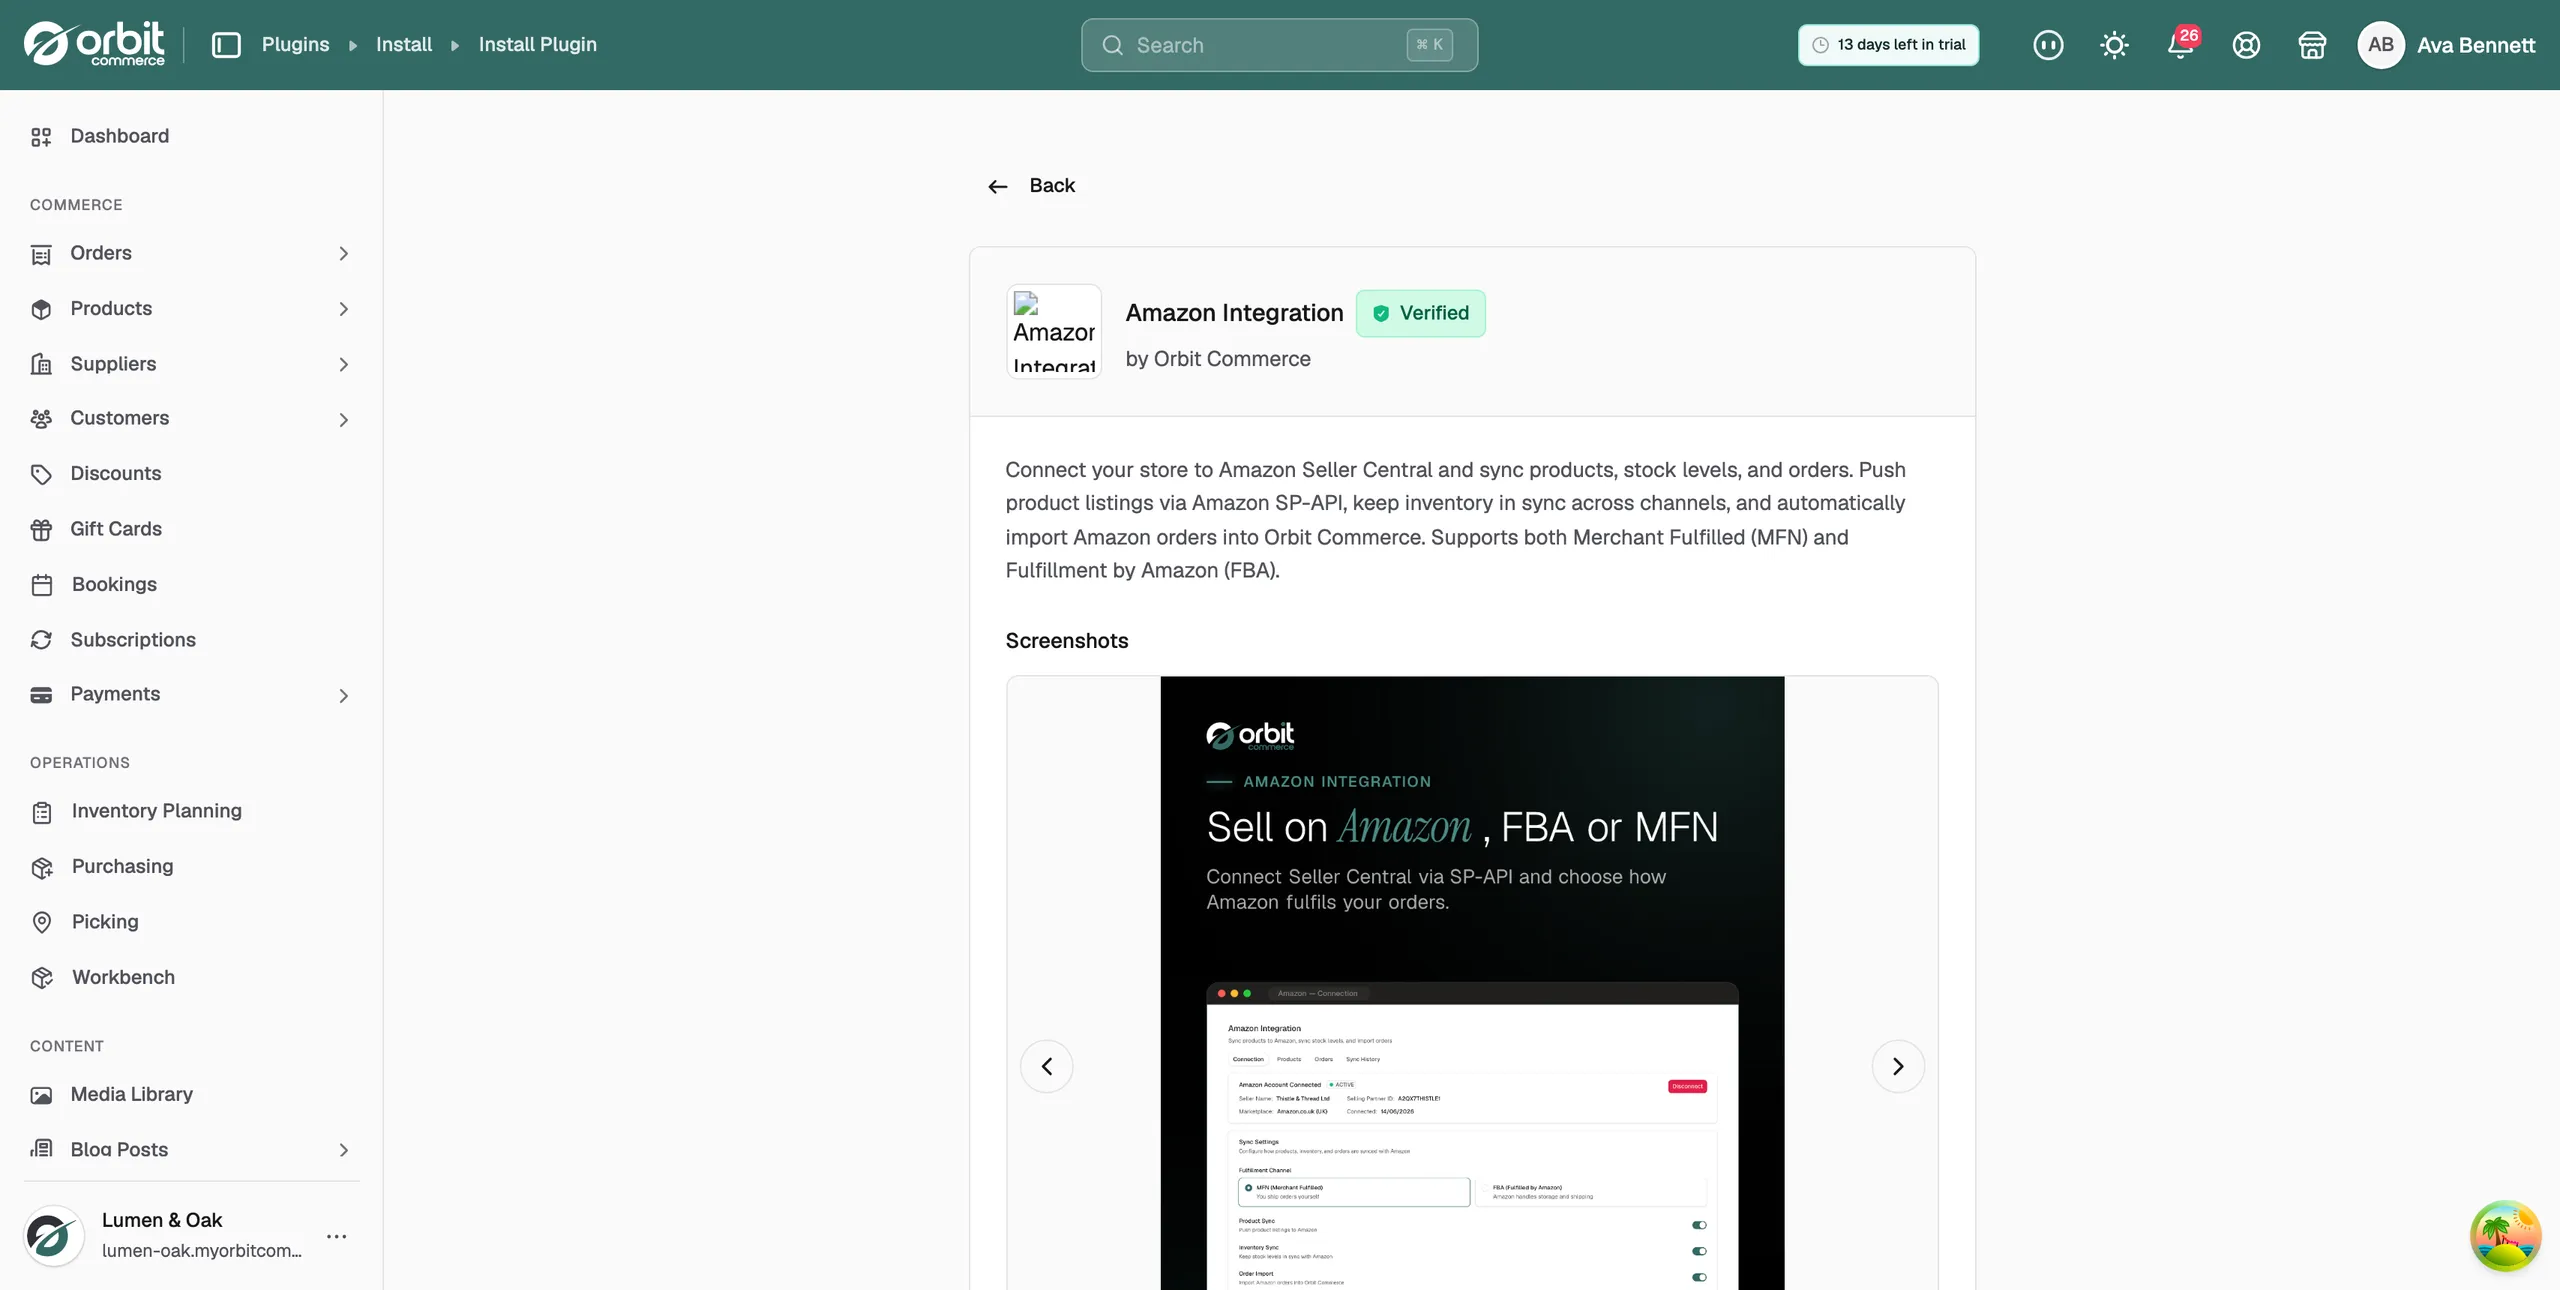
- Find Amazon Integration and install it. The full steps are in Installing and managing plugins.
- Once installed, the plugin appears in the left menu as Amazon.
Connect your Amazon account
- Open the plugin. It has four tabs: Connection, Products, Orders and Sync History.
- On the Connection tab, click Connect to Amazon Seller Central.
- Amazon opens and asks you to approve access. You do not type your Amazon password into Orbit.
- Approve the connection. You return to your dashboard and the tab shows Amazon Account Connected, with your seller name and marketplace.
Choose what to sync
Under Sync Settings on the Connection tab, switch on the parts you want, then click Save Settings.
- Product Sync: pushes your product listings to Amazon, with titles, images and prices. Your taxonomy is mapped to Amazon product types.
- Inventory Sync: keeps stock levels the same on both channels. A sale on Amazon lowers stock in Orbit, and a sale in your store lowers it on Amazon. Keep this on so you do not oversell.
- Order Import: brings Amazon orders into your Orders list, marked with their channel, so you fulfil everything in one place.
- Sync Interval: how often the sync runs, from every 15 minutes to daily.
- Fulfillment Channel: MFN (Merchant Fulfilled) if you ship orders yourself, or FBA (Fulfilled by Amazon) if Amazon stores and ships for you.
- Default Product Condition: the condition new listings use, such as New.
Push products to Amazon
- Open the Products tab. Each row shows the product's SKU, ASIN, Amazon Status and Last Synced.
- Click Push to Amazon. The push starts in the background.
- Open the Sync History tab to watch its progress. Back on the Products tab, use the Synced, Pending and Error filters to find products that need attention.
Import Amazon orders
- Open the Orders tab. Each row shows the Amazon Order ID, Buyer Email, Total, Fulfillment and Import Status.
- Click Import Orders Now to fetch orders straight away, rather than waiting for the next scheduled sync.
- Imported orders appear in your Orders list alongside your storefront orders.
Tip: Start with about ten products. Watch one order go all the way from Amazon to dispatch before you push the whole catalogue.
Related guides
Was this helpful?
0 people found this helpful