Adding a table
Add a table with a header row and cells you fill in yourself. Choose how many rows and columns it has, then style the header, cells and borders.
2 min read2viewsUpdated 16 September 2026Orbit Support Team
The Table element adds a grid of rows and columns you fill in yourself. Use it for size charts, specifications or comparisons. You add it in the page builder.
Considerations
- A table can have 1 to 20 rows and 1 to 10 columns.
- The first row is always the header row.
Add the element
- Open the page in the page builder.
- In the toolbox on the far left, click Elements.
- Find Table in the Basic group, or search for it.
- Drag it onto the canvas and drop it where you want it. The settings panel opens on Editing Table.
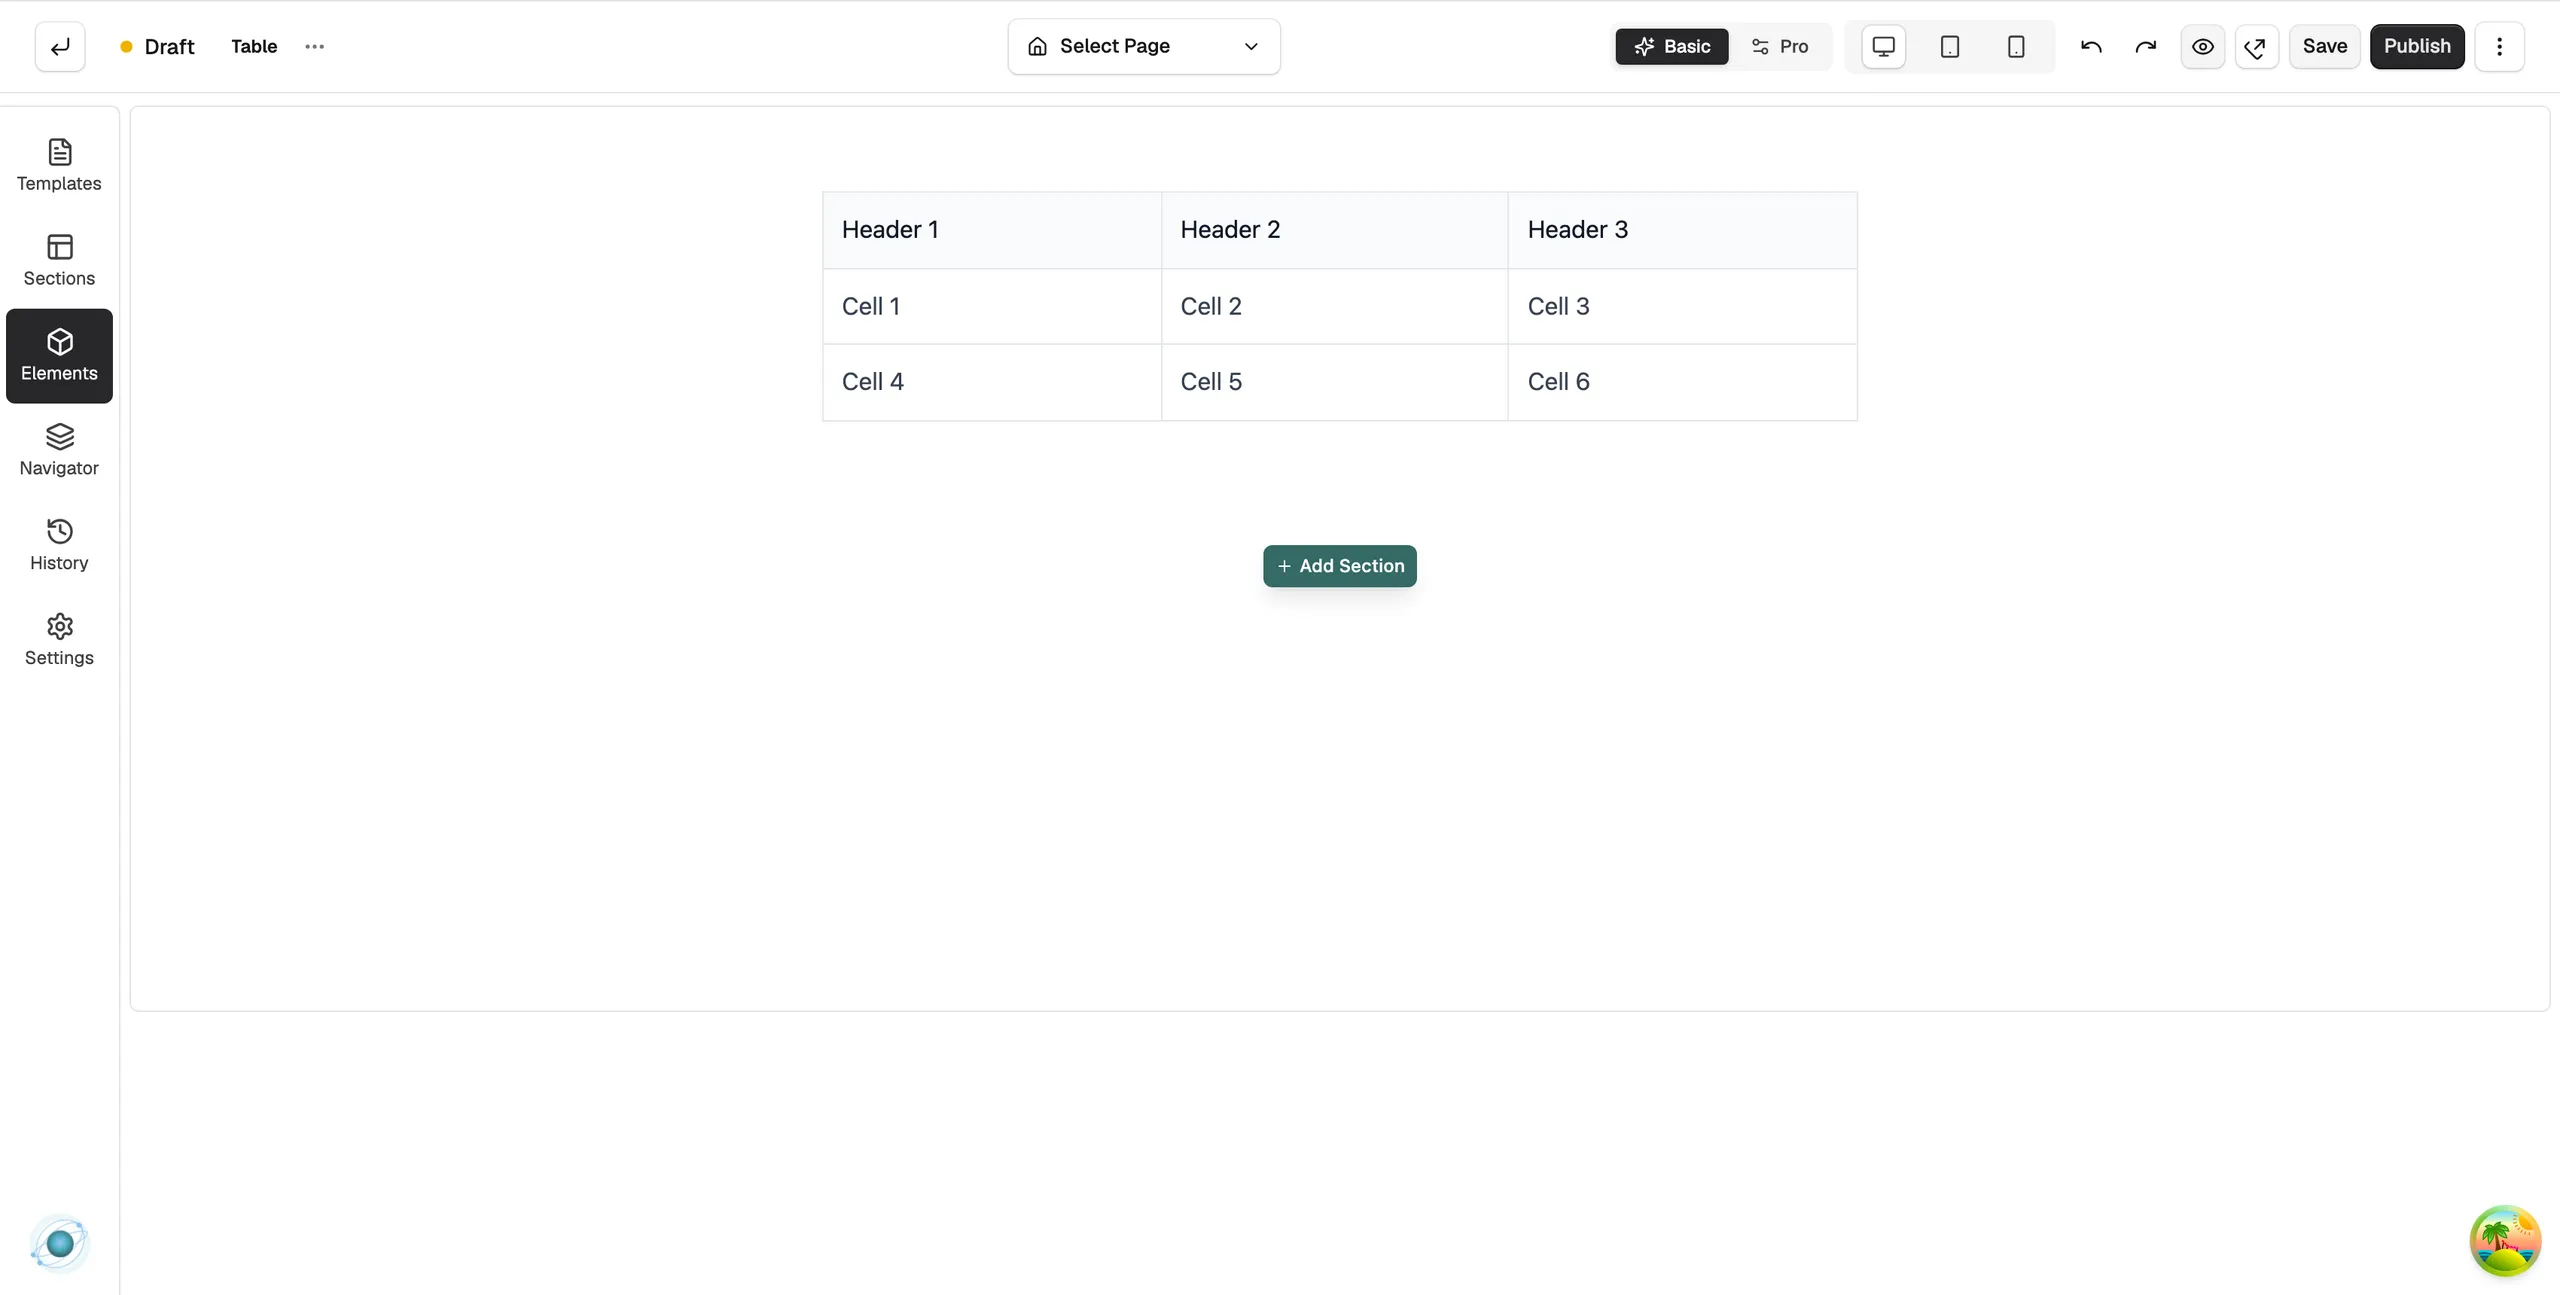
Set the size and fill in the cells
- With the table selected, open the Content tab.
- Under Table Size, drag the Rows and Columns sliders. The labels show the current count, such as Rows: 3.
- Under Table Data, type into each box. The boxes are grouped as Header Row, then Row 1, Row 2 and so on. The table on the canvas updates as you type.
Warning: Reducing the row or column count removes the cells at the end, along with their text.
Content settings
- Rows: how many rows the table has, including the header row.
- Columns: how many columns the table has.
- Table Data: one text box per cell.
Design settings
Open the Design tab to change the look. The groups are Typography, Header, Cells, Cell & Header Backgrounds, Border, Striped Rows, Alignment and Spacing.
Related guides
Was this helpful?
0 people found this helpful