Adding an Image with Text element
Put an image next to a heading, text and up to two buttons. Covers adding the element and every Content and Design setting.
2 min read2viewsUpdated 16 September 2026Orbit Support Team
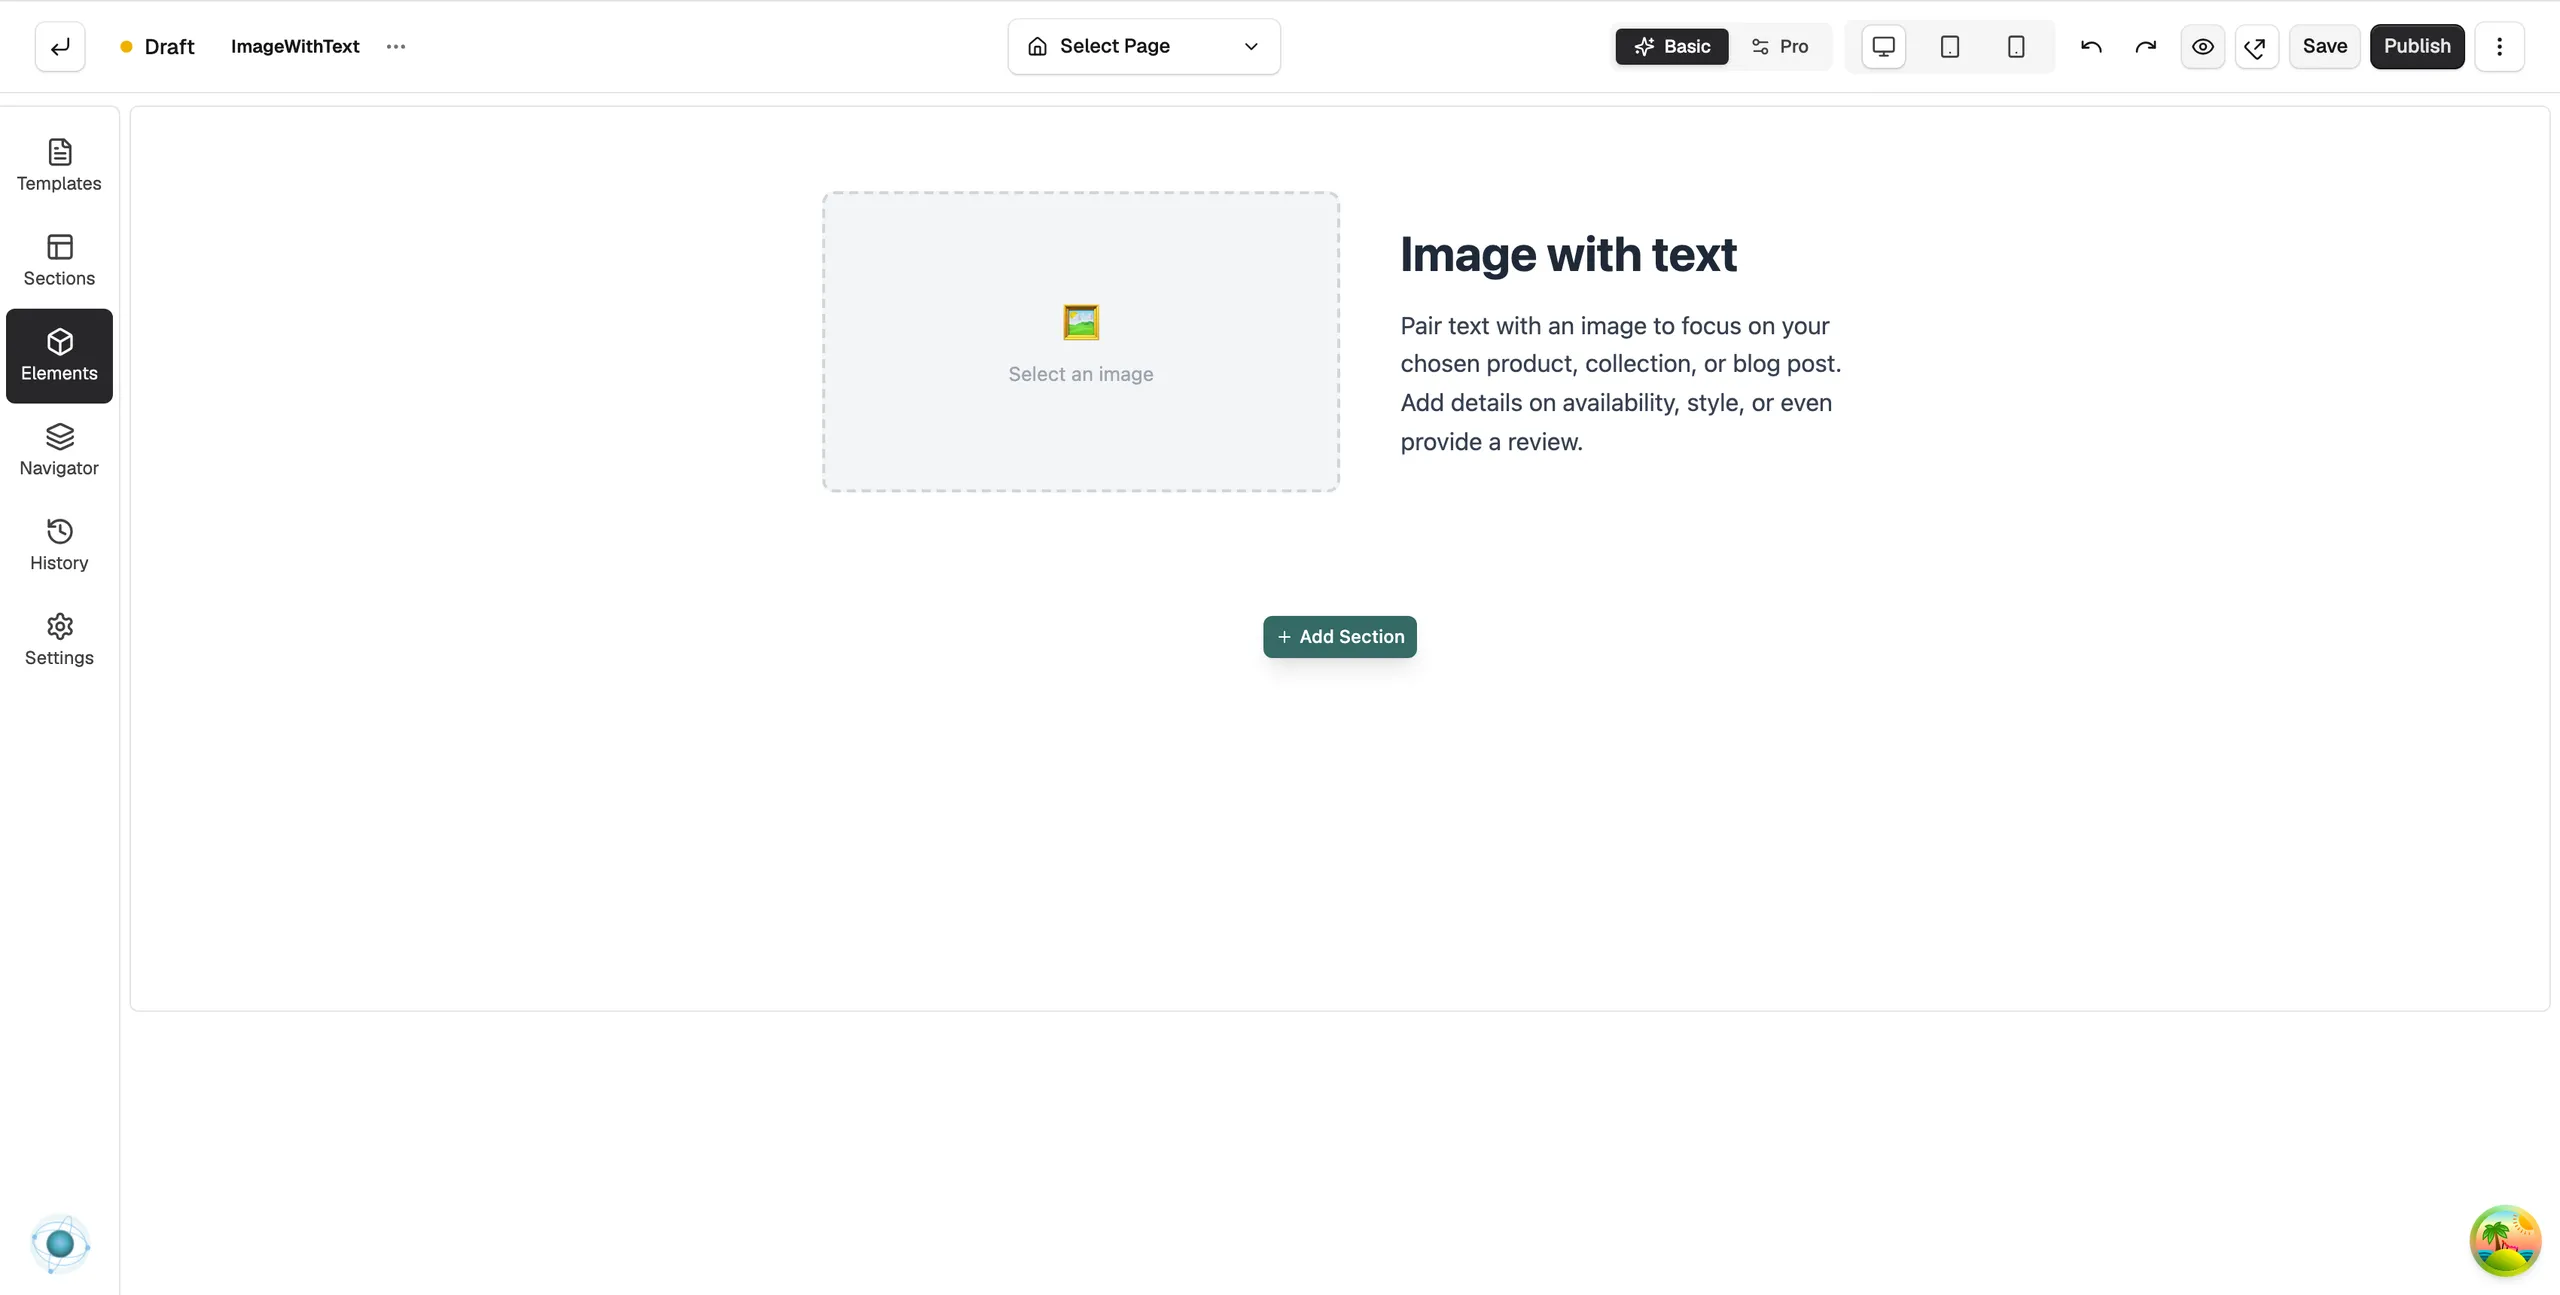
The Image with Text element puts an image and a block of text side by side. Use it to show off a product, a collection or a blog post, with a heading, a short description and up to two buttons. On phones the image and text stack on top of each other.
Add the element
- In the page builder, click Elements in the toolbox on the left.
- Click the Basic group, or type the name in Search elements....
- Drag Image with Text onto the canvas and drop it where you want it. The panel closes on its own.
- Click the element on the canvas. Its settings open on the right, with a Content tab and a Design tab.
Content settings
The Content tab is split into groups. Open a group to edit it.
- Image Source: pick an image from your media library or paste an image URL.
- Alt Text: a short description of the image for screen readers and search engines.
- Object Fit: how the image fills its box: cover, contain or fill.
- Aspect Ratio: the shape of the image box, such as original, 1:1, 4:3 or 16:9.
- Show Subheading: turn the short line above the heading on or off. When on, type it in Text.
- Show Heading: turn the main heading on or off. Type it in Text and pick its Tag, from H1 to H6. The tag sets the heading level for search engines.
- Show Body: turn the paragraph on or off. Type it in Text.
- Show Button: turn the first button on or off. Set its Label, its Link and whether to Open in New Tab.
- Show Second Button: the same three settings for a second button.
Design settings
Open the Design tab to change the layout and look.
- Image Position: put the image on the left or the right of the text.
- Image Width (%): how much of the row the image takes up.
- Stack on Mobile and Mobile Order: stack the two halves on small screens, and choose which comes first.
- Other groups set alignment, spacing, image borders, typography, button style and background colour.
For what the Design and Advance tabs do on every element, see Using the element settings panel.
Related guides
Was this helpful?
0 people found this helpful