Adding a contact form
Let customers send you a message from a page. Covers adding the Contact Form element, its titles, placeholders, messages and where the messages go.
2 min read13viewsUpdated 14 September 2026Orbit Support Team
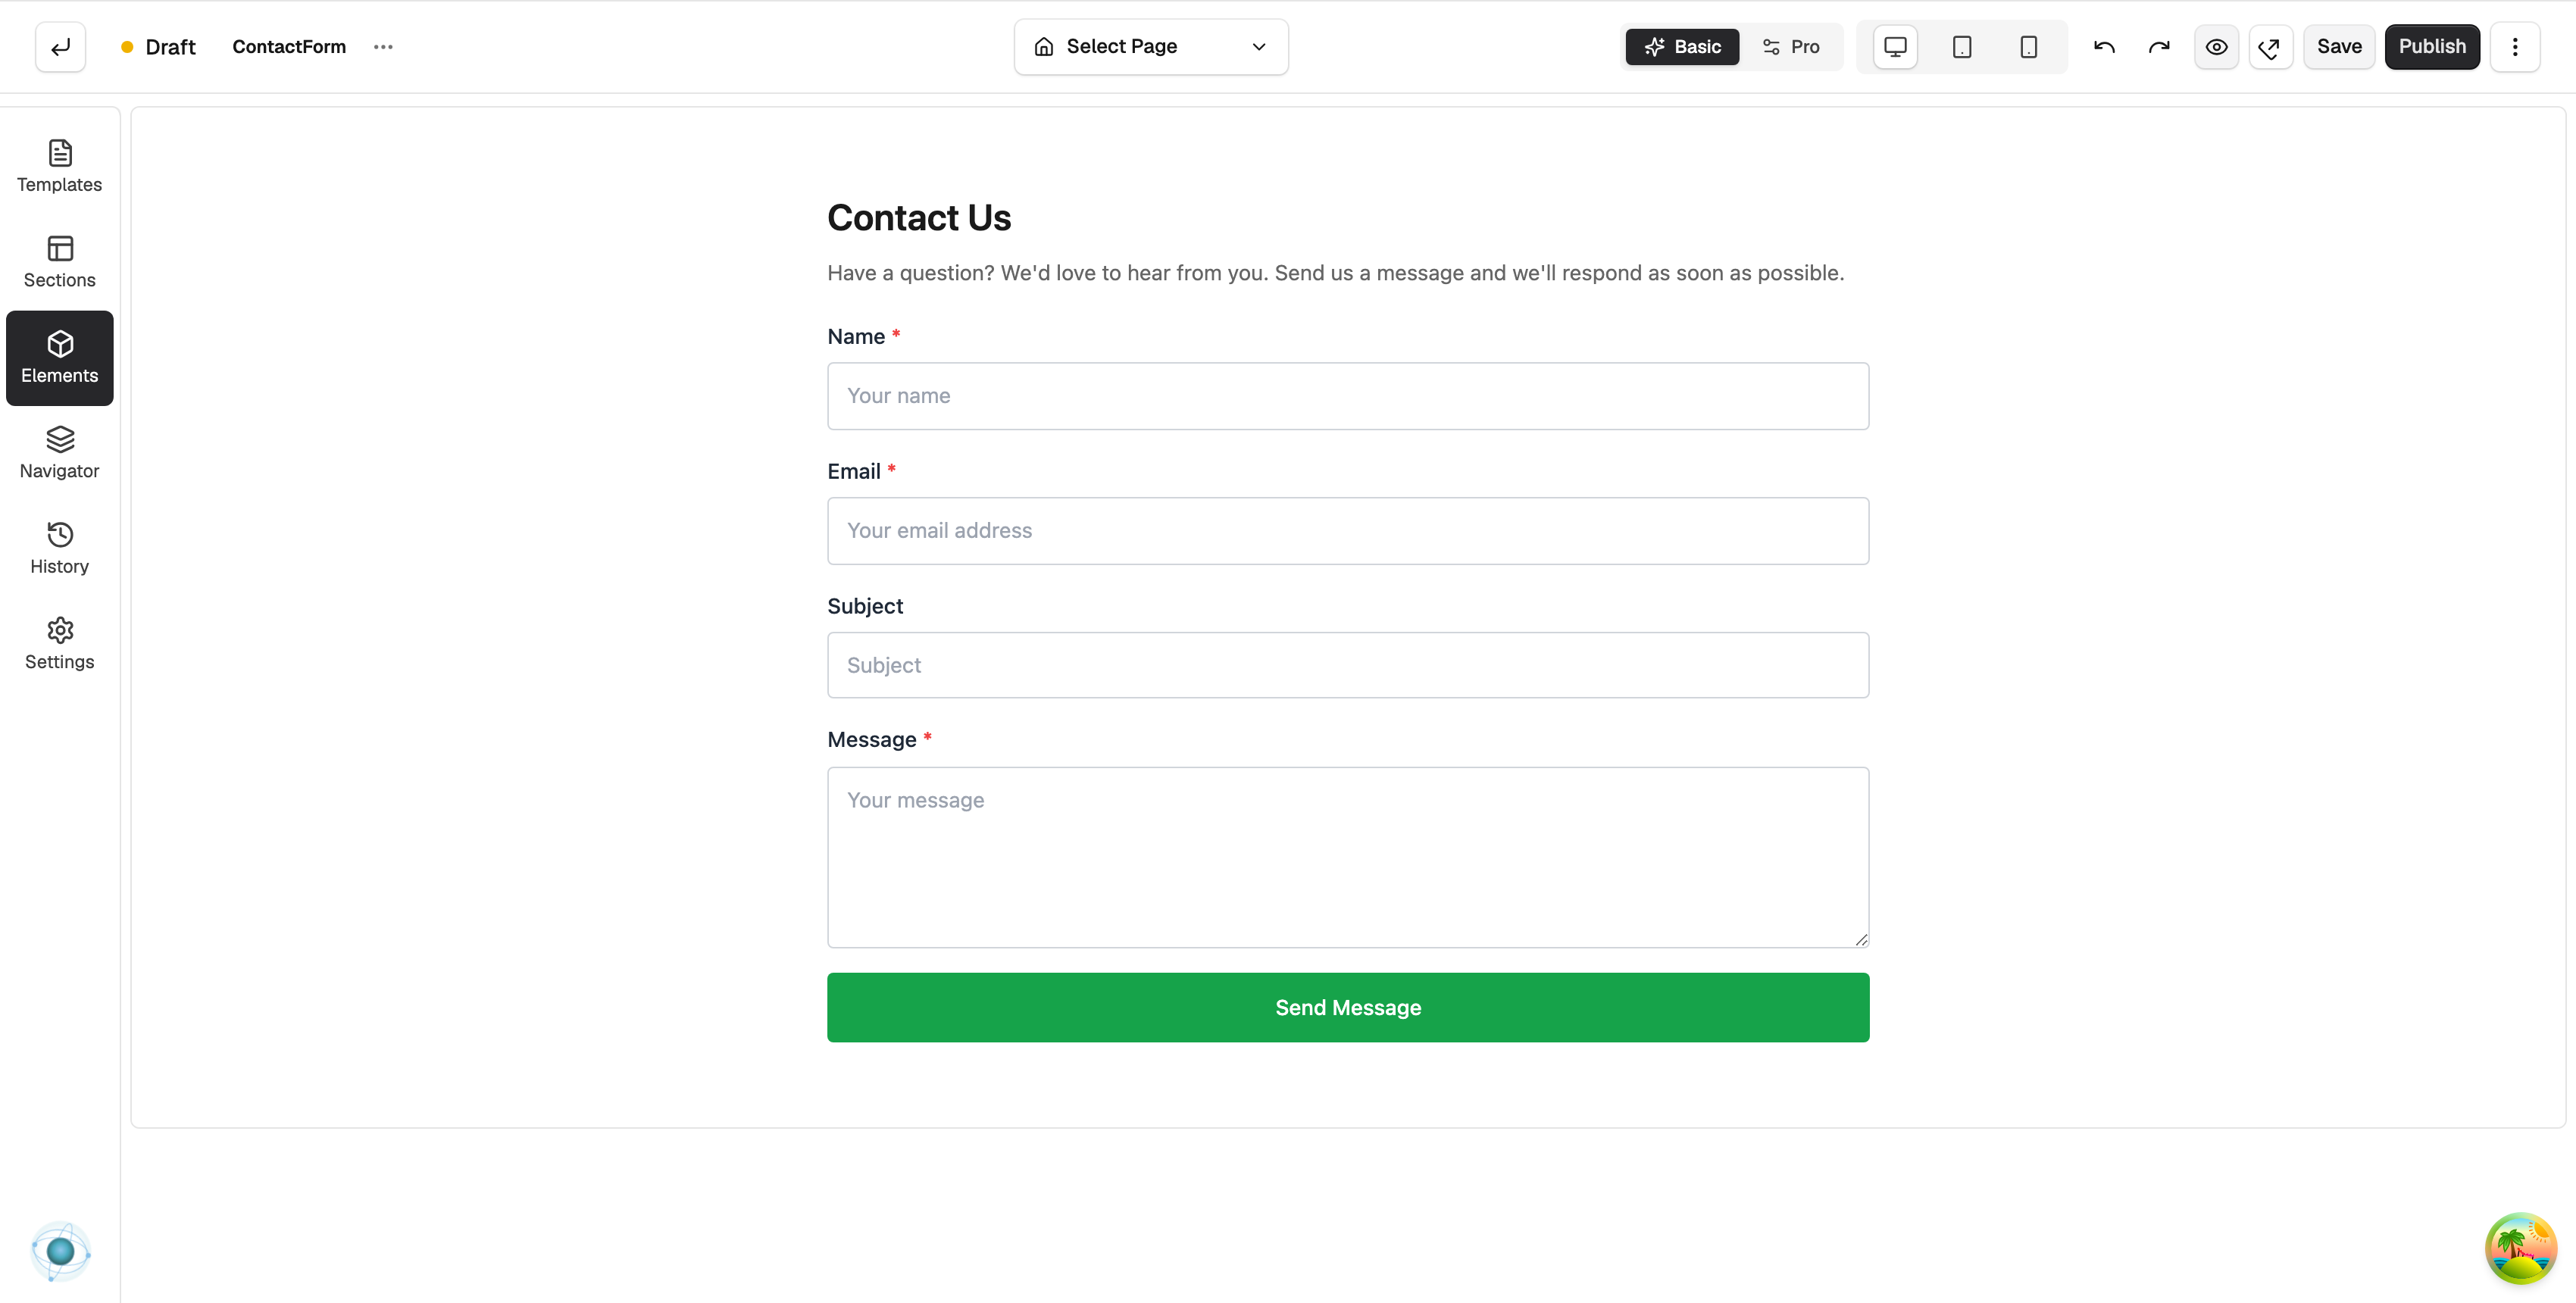
The Contact Form element adds a form customers can use to get in touch. Use it on a contact or support page so visitors can send you their name, email and message without leaving your store.
Considerations
- Messages sent through the form are emailed to the store owner's email address.
- The form only works for customers once the page is published.
Add the element
- From your Orbit dashboard, go to Storefront, then Pages, and open the page you want to edit.
- In the toolbox on the far left, click Elements.
- Open the Ecommerce group and find Contact Form, or search for contact.
- Drag it onto the canvas and drop it where you want it. On an empty page, drop it on a layout preset such as Full Width and the builder creates the section for you.
Settings
Click the form on the canvas and open the Content tab. The settings sit in four groups.
Content
- Title: the heading above the form, such as Contact Us.
- Description: a short line under the title inviting customers to get in touch.
Field Placeholders
- Name Field, Email Field, Subject Field, Message Field: the hint text shown inside each box before the customer types.
Button & Messages
- Button Text: the label on the send button, such as Send Message.
- Success Message: shown once the message has been sent.
- Error Message: shown if sending fails and the customer needs to try again.
Form Configuration
- Show Subject Field: show or hide the subject box.
- Subject Required: make the subject compulsory. This only appears while Show Subject Field is on.
The Design tab has groups for Layout, Typography, Text Colours, Input Styling, Button and Container.
Related guides
Was this helpful?
0 people found this helpful