Adding a Google Map
Add a Google Map to a contact or store page in Pro mode, type your address, set the zoom and map type, and change its height. No API key needed.
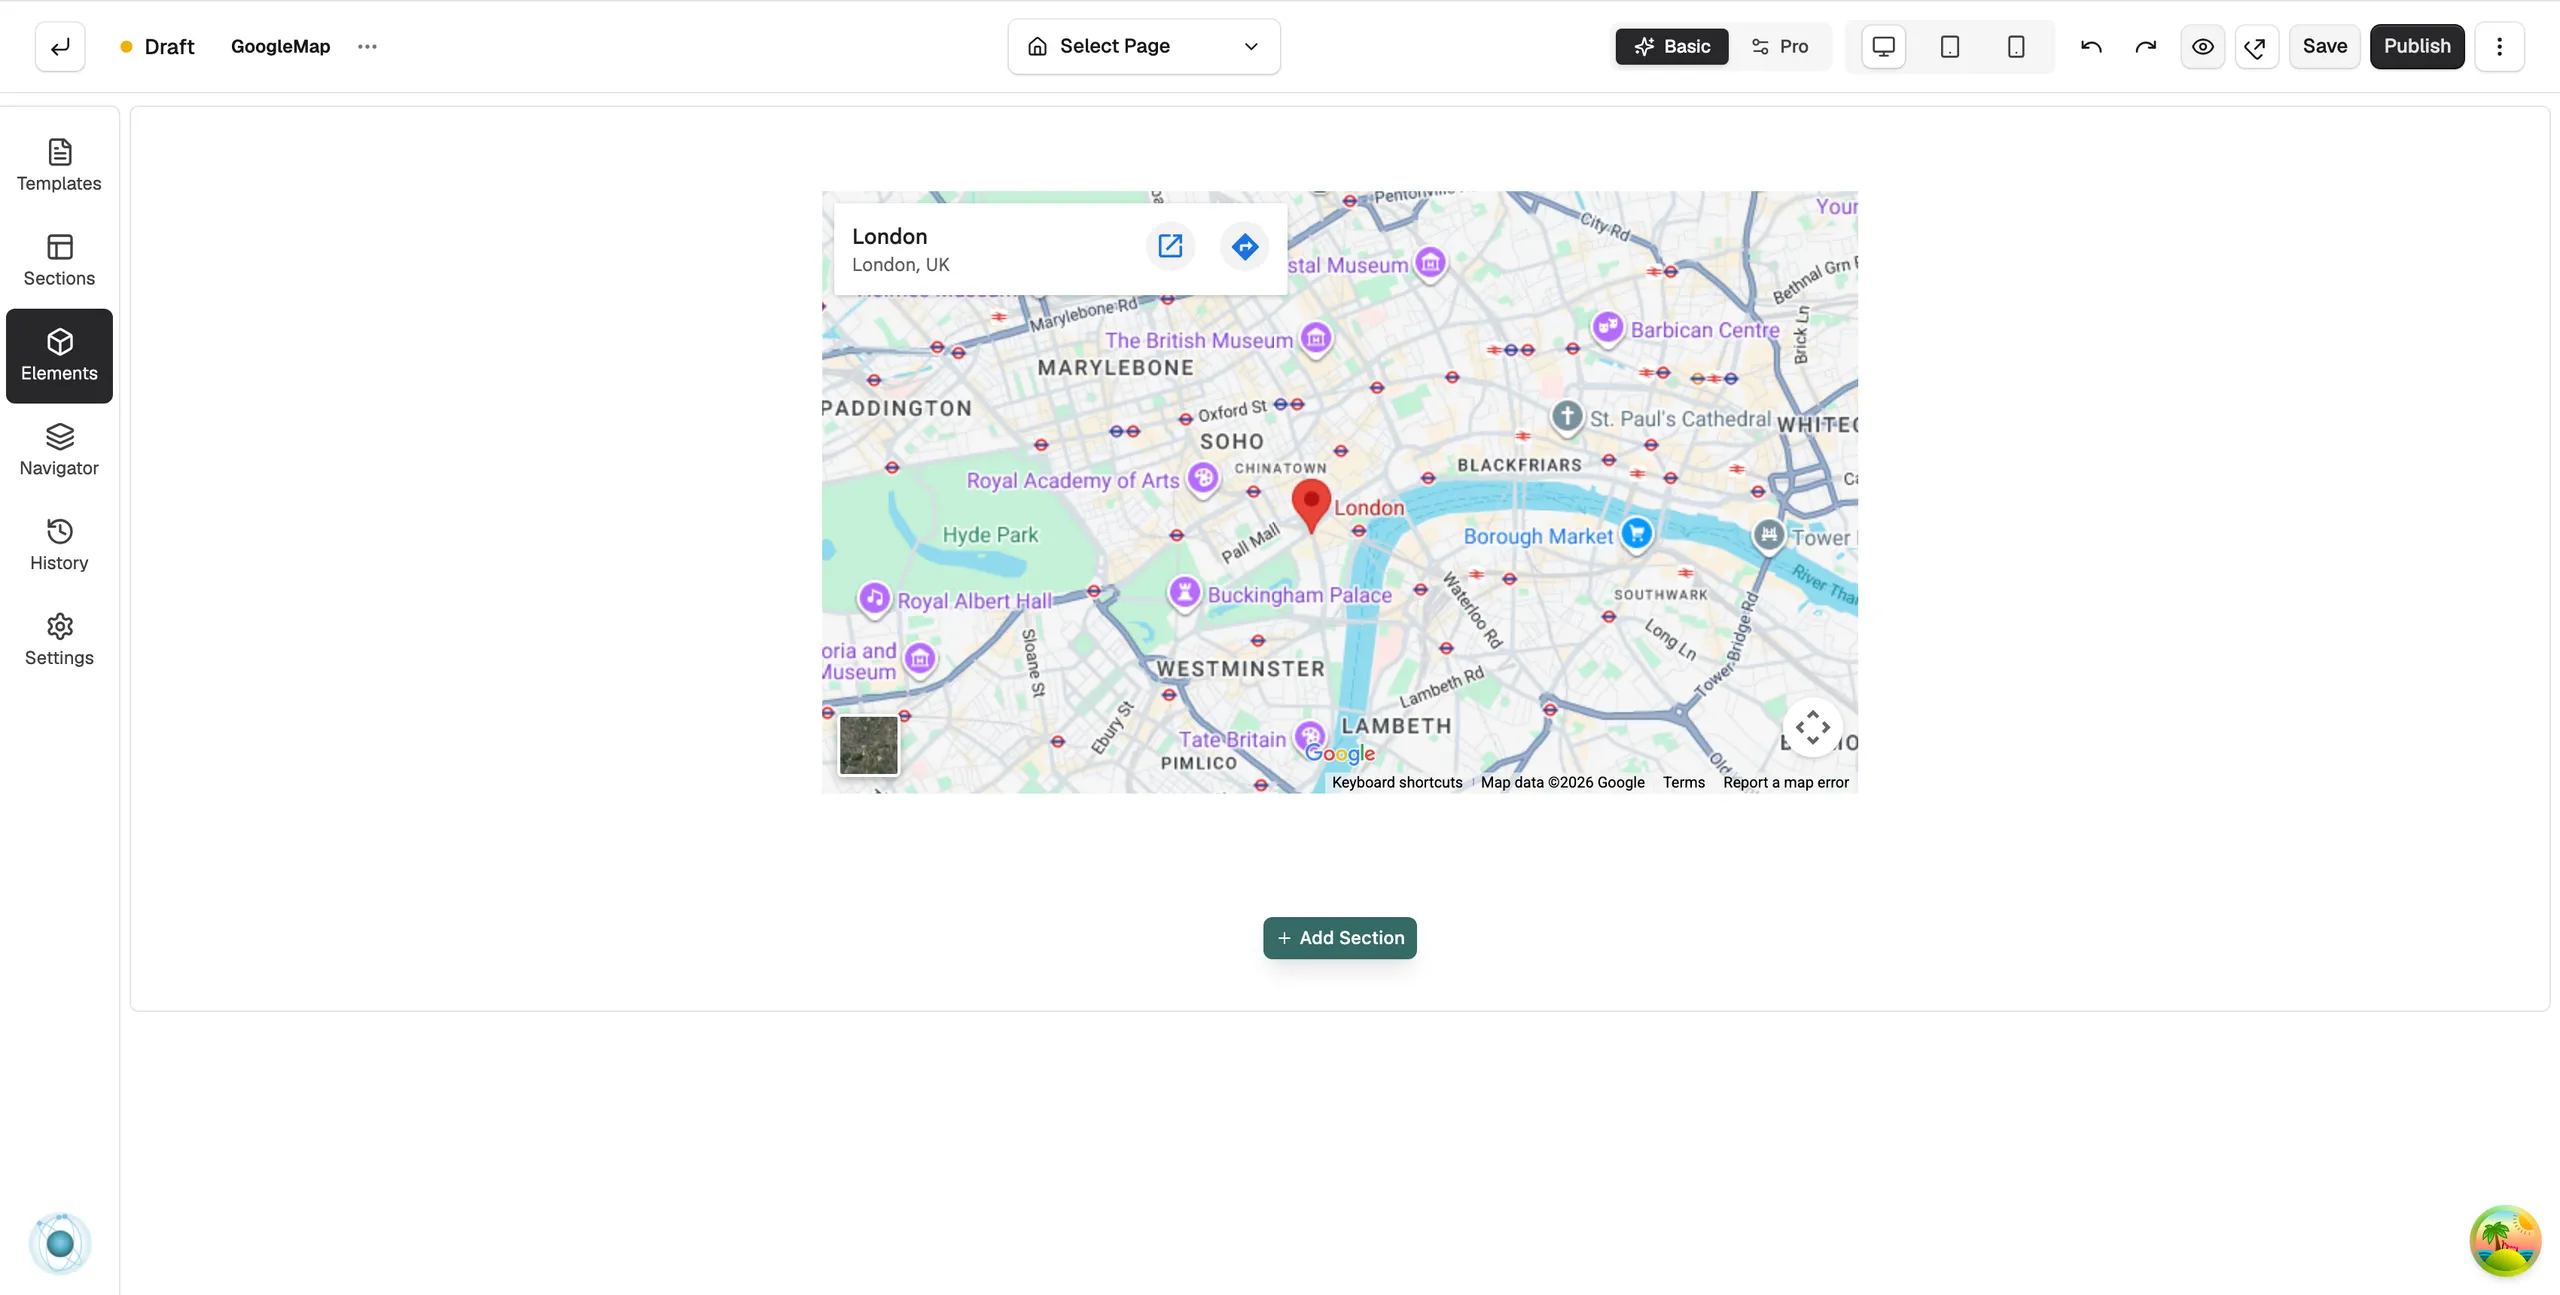
The Google Map element embeds a map of an address you type. Use it on a contact or store page so customers can see where you are. You do not need a Google API key. The map works from a plain address.
Add the element
- Open the page in the page builder.
- In the bar at the top, click Pro. A message reads Pro mode.
- In the toolbox on the far left, click Elements.
- Click the Advance group, or type map in Search elements....
- Click Google Map. It lands in the column you are working in and its settings open on the right. You can also drag it onto the canvas.
Note: Google Map is in the Advance group, and Basic mode hides that group from the list and from search. If you cannot find it, check that the editor is in Pro mode.
Content settings
The Content tab has one group, Location.
- Address: the place the map shows. Type it the way you would type it into Google Maps, with the street, town and postcode. The field starts as London, UK. The map reloads as soon as you change it.
- Zoom Level: a slider from 1 to 20. Low numbers show a whole region. High numbers show a single street. It starts at 14.
- Map Type: Roadmap or Satellite.
In the editor, clicking the map selects the element rather than moving the map. Open the live page to pan and zoom.
Design settings
The Design tab has a Size group with Height, which starts at 400 pixels, and Border Radius for rounded corners. Below it is a Spacing group. Make the map taller here if it looks cramped. For the Design and Advance tabs in full, see Using the element settings panel.
Related guides
Was this helpful?
0 people found this helpful