Designing your blog pages
Design the two blog templates in the page builder: the list of posts, and the page each post is shown on.
3 min read1viewsUpdated 16 September 2026Orbit Commerce
Your blog has two templates: the list of posts, and the page a single post is shown on. You design each one in the page builder. Every post then follows the post template, so you only lay it out once.
Considerations
- Both templates fill in with your real posts. In the page builder you see sample content.
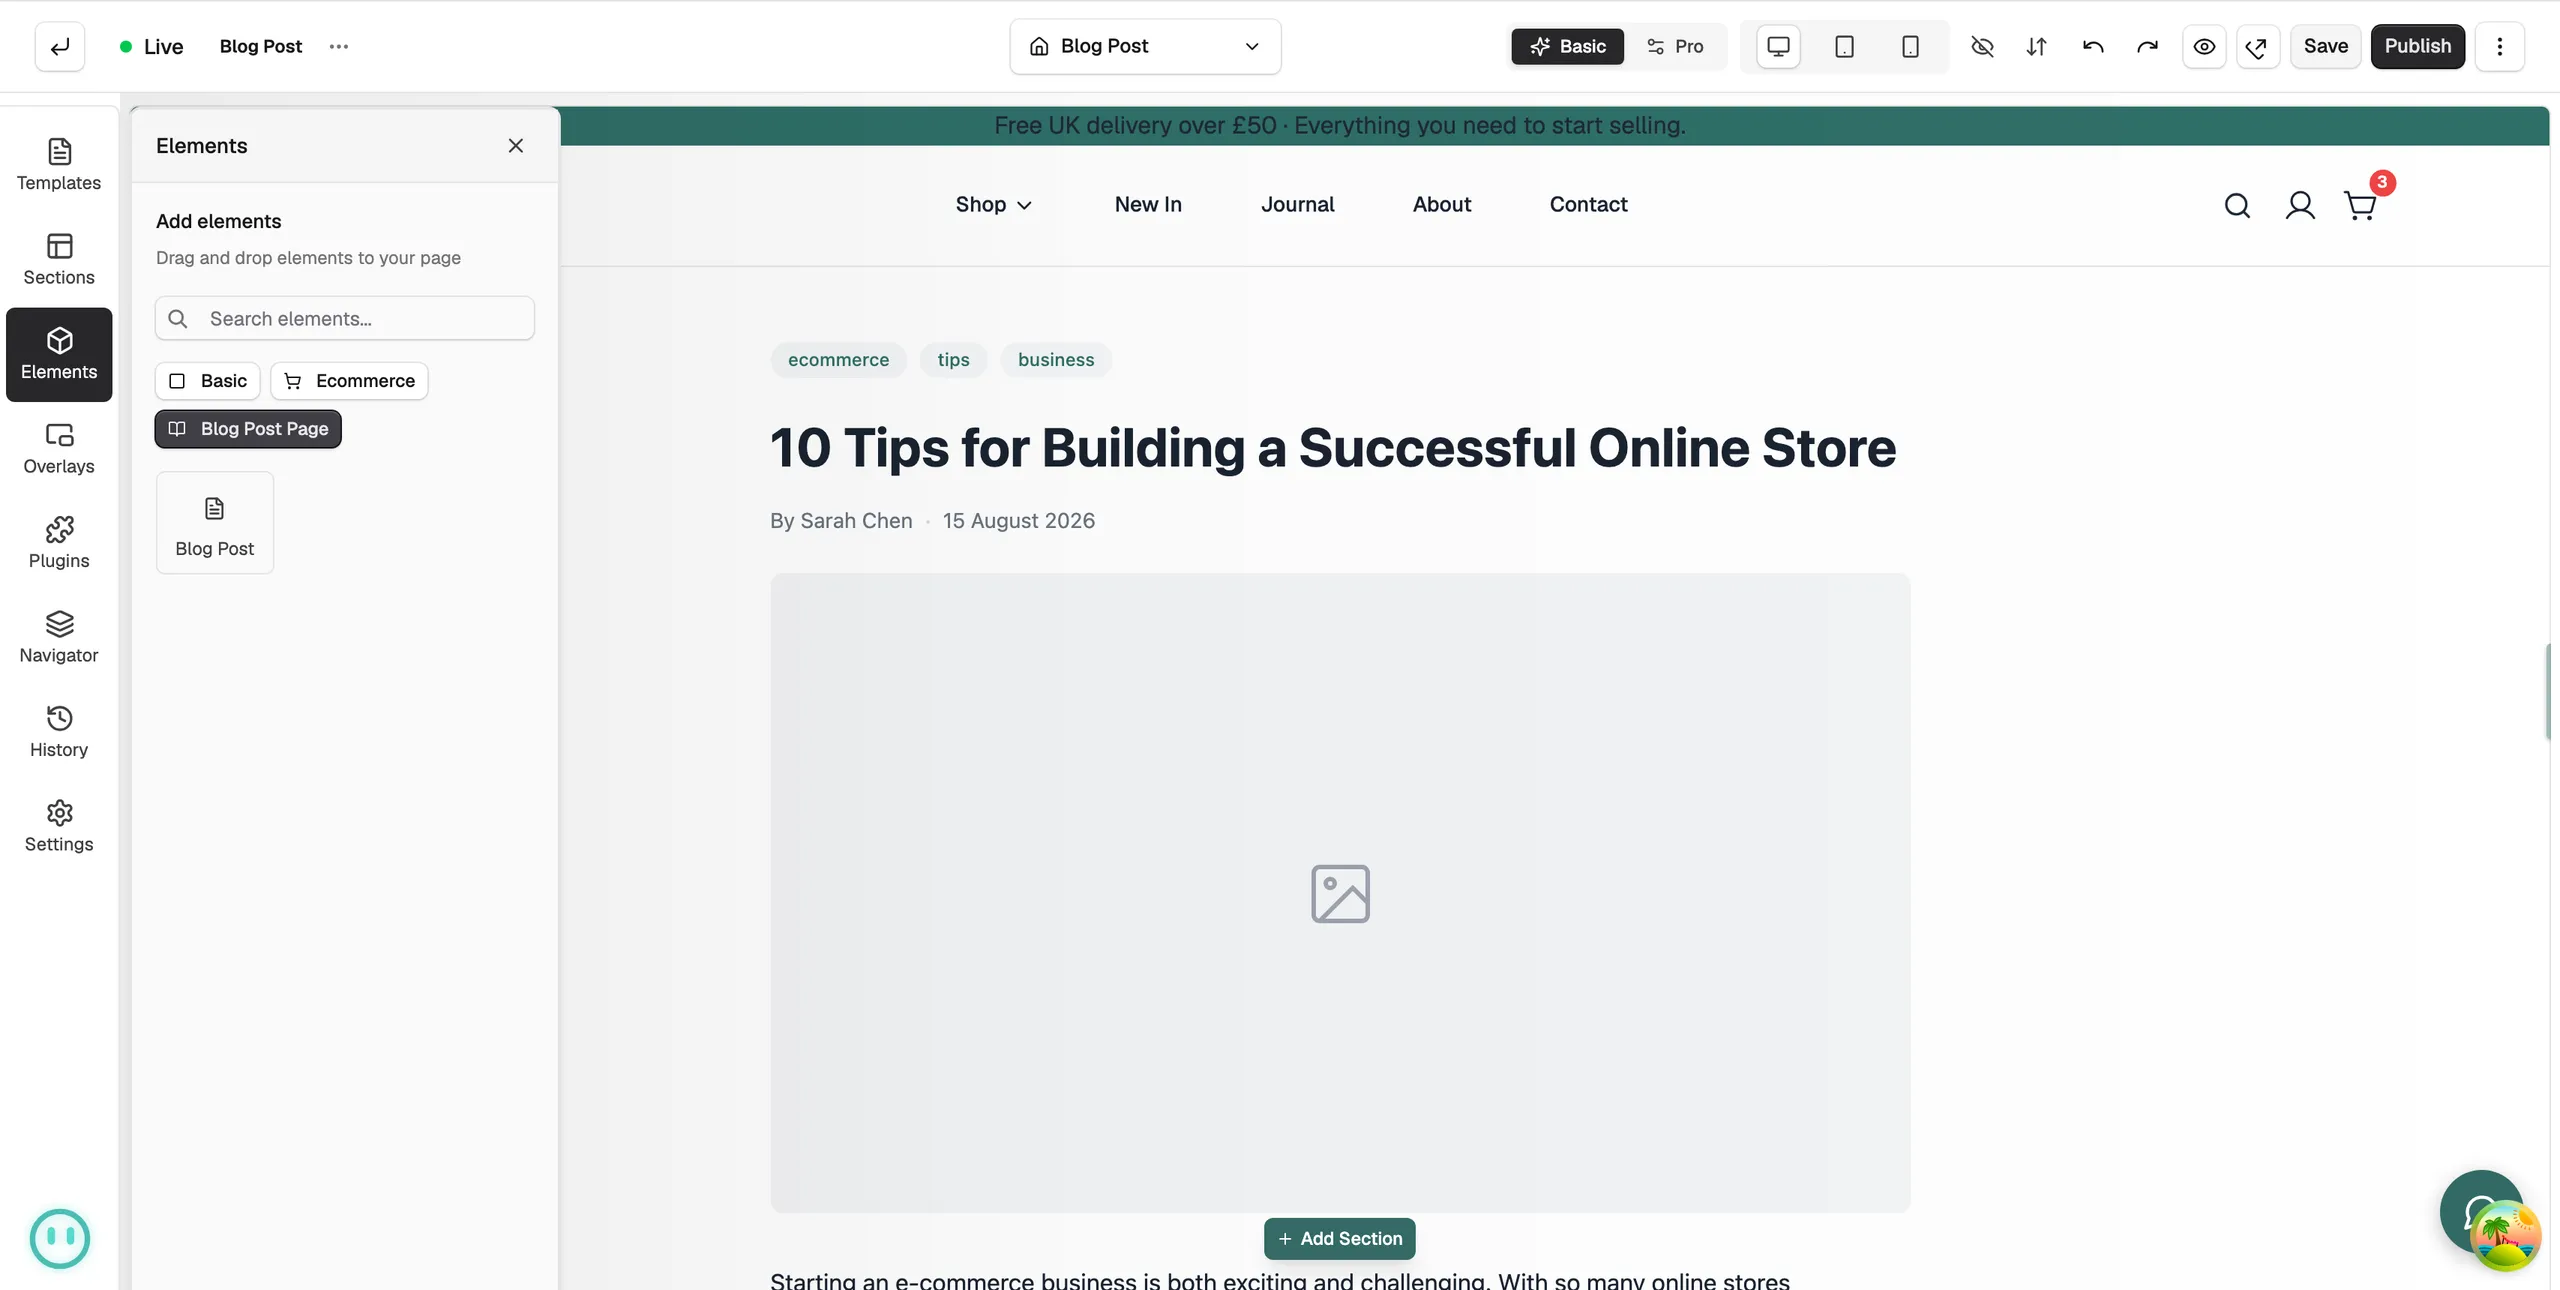
- The Blog Post Page group of elements only appears while you are editing a blog post template.
- You write the posts themselves under Blog Posts, not in the page builder.
Open a blog template
- From your Orbit dashboard, go to Storefront, then Templates.
- Click the Blogs List tab for the list of posts, or the Blog Post tab for a single post.
- Click the template row. It opens in the page builder.
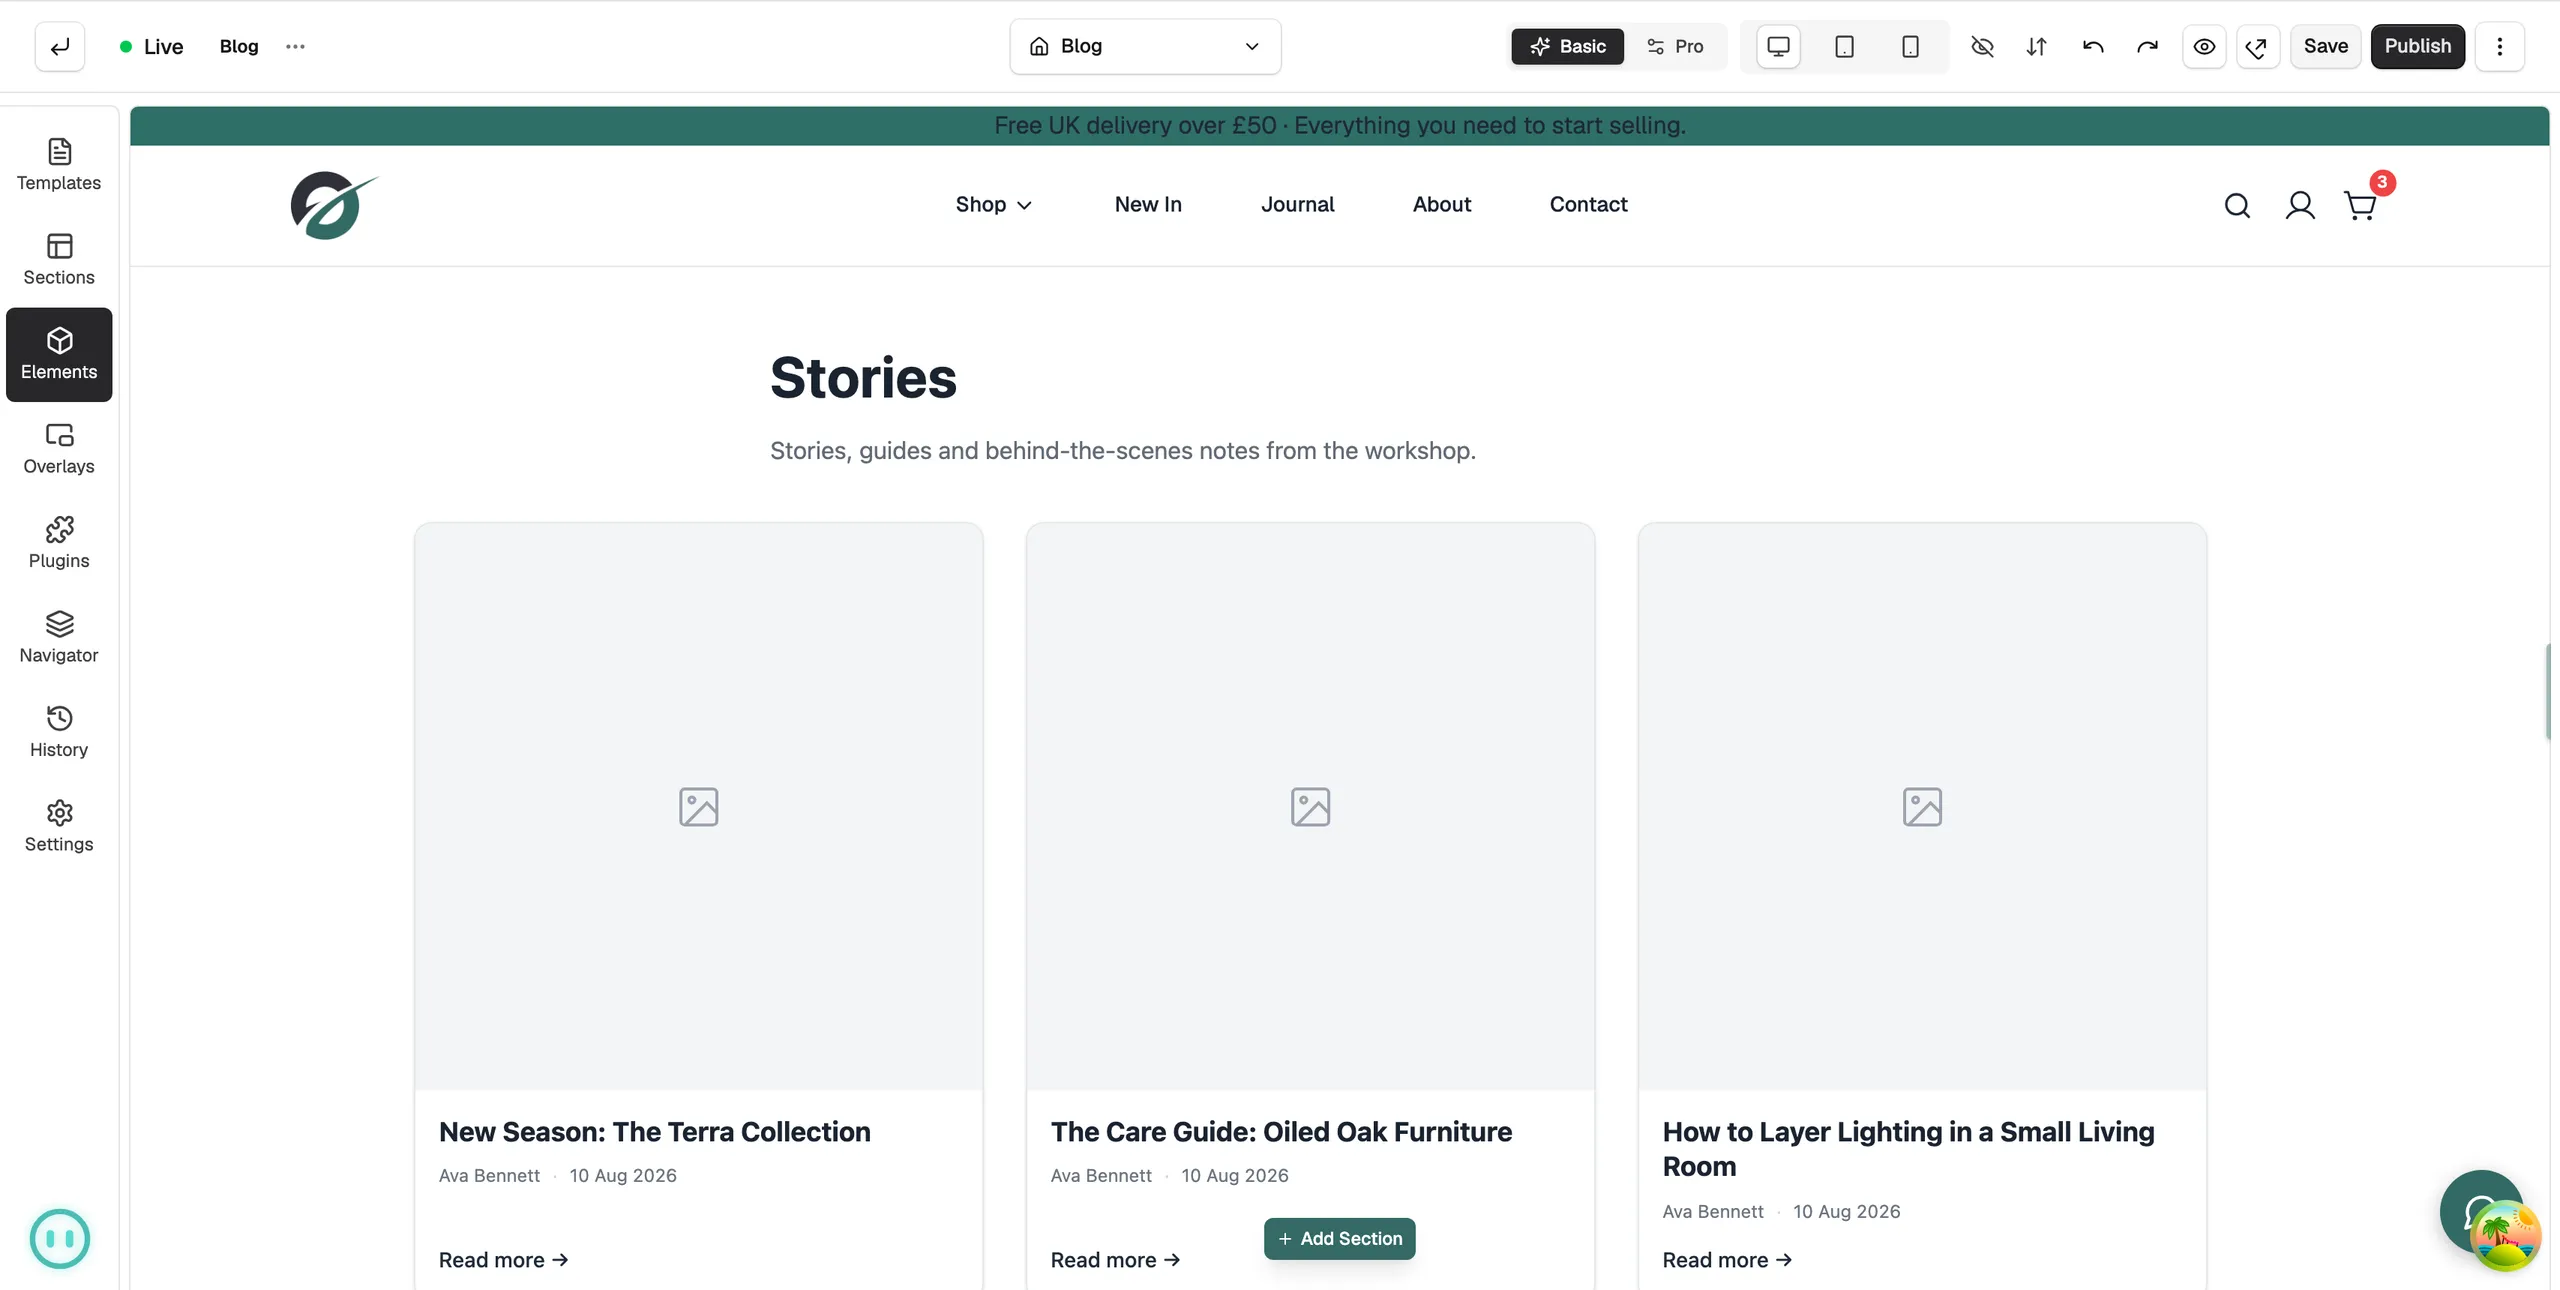
Design the list of posts
- In the toolbox on the far left, click Elements.
- Open the Ecommerce group and find Blog Listing, or search for it.
- Drag it onto the canvas.
- Click it and open the Content tab to set how posts are shown: a grid or a list, how many to show, how they are sorted, and which parts of each card appear.
See Adding a blog listing for every setting.
Design the post template
- Open your blog post template in the page builder.
- Click Elements, then the Blog Post Page chip.
- Drag Blog Post onto the canvas. It shows the post a visitor opened, with its title, picture, text, author and tags.
- Add anything you want around it, such as a heading, a newsletter signup or a Blog Listing of more posts.
Blog Post settings
Click the Blog Post element and open the Content tab.
- Layout: Max Width sets how wide the text runs, and Content Alignment puts it in the centre or on the left.
- Display Options: switches for Featured Image, Title, Content, Excerpt, Author, Date, Tags and Back to Blog Link.
- Date format: Relative, Short or Long. It shows when Date is on.
- Back link text: the wording of the link back to your blog. It shows when Back to Blog Link is on.
The Design tab holds Typography and Meta & Tag Colours.
Note: Saving keeps your work as a draft. Click Publish when you are ready for readers to see the new design.
Related guides
Was this helpful?
0 people found this helpful