Migrating purchasing from Stocky
Import your Stocky suppliers and purchase orders into Orbit Purchasing, choose how open and completed orders land, and check the skipped rows.
If your buying lives in Stocky, you do not have to retype it. Orbit Purchasing reads a Stocky CSV export and creates your suppliers and purchase orders from it. You will find it under Operations > Purchasing.
Considerations
- Purchasing is part of the Enterprise plan. On other plans the Operations section does not appear.
- Stocky exports one row per order line. Rows that share a purchase order number become one purchase order in Orbit.
- Importing orders as closed history never touches your stock. Importing them as drafts does not either, until you receive them.
- Rows with no purchase order number, no SKU or no quantity are skipped, and the import tells you which ones and why.
- Forecasting rules do not come across. You set your reorder points again in Orbit.
1. Export your data from Stocky
- In Stocky, export your suppliers as a CSV.
- Export your purchase orders as a CSV.
- Keep both files. They are your copy of your purchasing history.
- Stop editing in Stocky while you import. A moving target gives you mismatched counts.
2. Import your purchase orders
- Go to Operations > Purchasing, then open the Import from Stocky tab.
- Under What are you importing?, choose Purchase orders. Run the import again later for Suppliers, and for Supplier catalogs if you want each supplier's costs and their own SKUs.
- Under How should they be imported?, choose Open POs → drafts for orders still on their way. They arrive as drafts you can mark as ordered and receive in Orbit.
- Choose Completed POs → closed history for orders that are already finished. Those are records for your archive and never touch stock.
- Click + Add file and choose your Stocky CSV. Upload and preview becomes available.
- Click Upload and preview. Orbit tells you how many rows it found and how it will import them.
- Under Receive location, pick where this stock arrives. This matters when you hold the same SKU in more than one place.
- Check the mapping table. Orbit matches your file's columns to its own fields, and every field marked Required turns green once it is matched.
- To change one, open the list beside that field and pick another column from your file, or Not mapped.
- Read the sample rows below the table. They show your real data in Orbit's fields.
- Click the import button at the bottom. It names the number of rows it is importing.
Note: Shopify announced that Stocky closes on 31 August 2026. If you can still reach your Stocky data, export it now.
3. Check what was skipped
The last step of the import says how many suppliers and purchase orders were created and how many rows were skipped. Below that, the Skipped rows table gives the row number, what was in it and the reason it was skipped, such as a missing purchase order number, a missing SKU, or a missing or invalid quantity.
Fix those rows in your spreadsheet and click Import another file to bring them in.
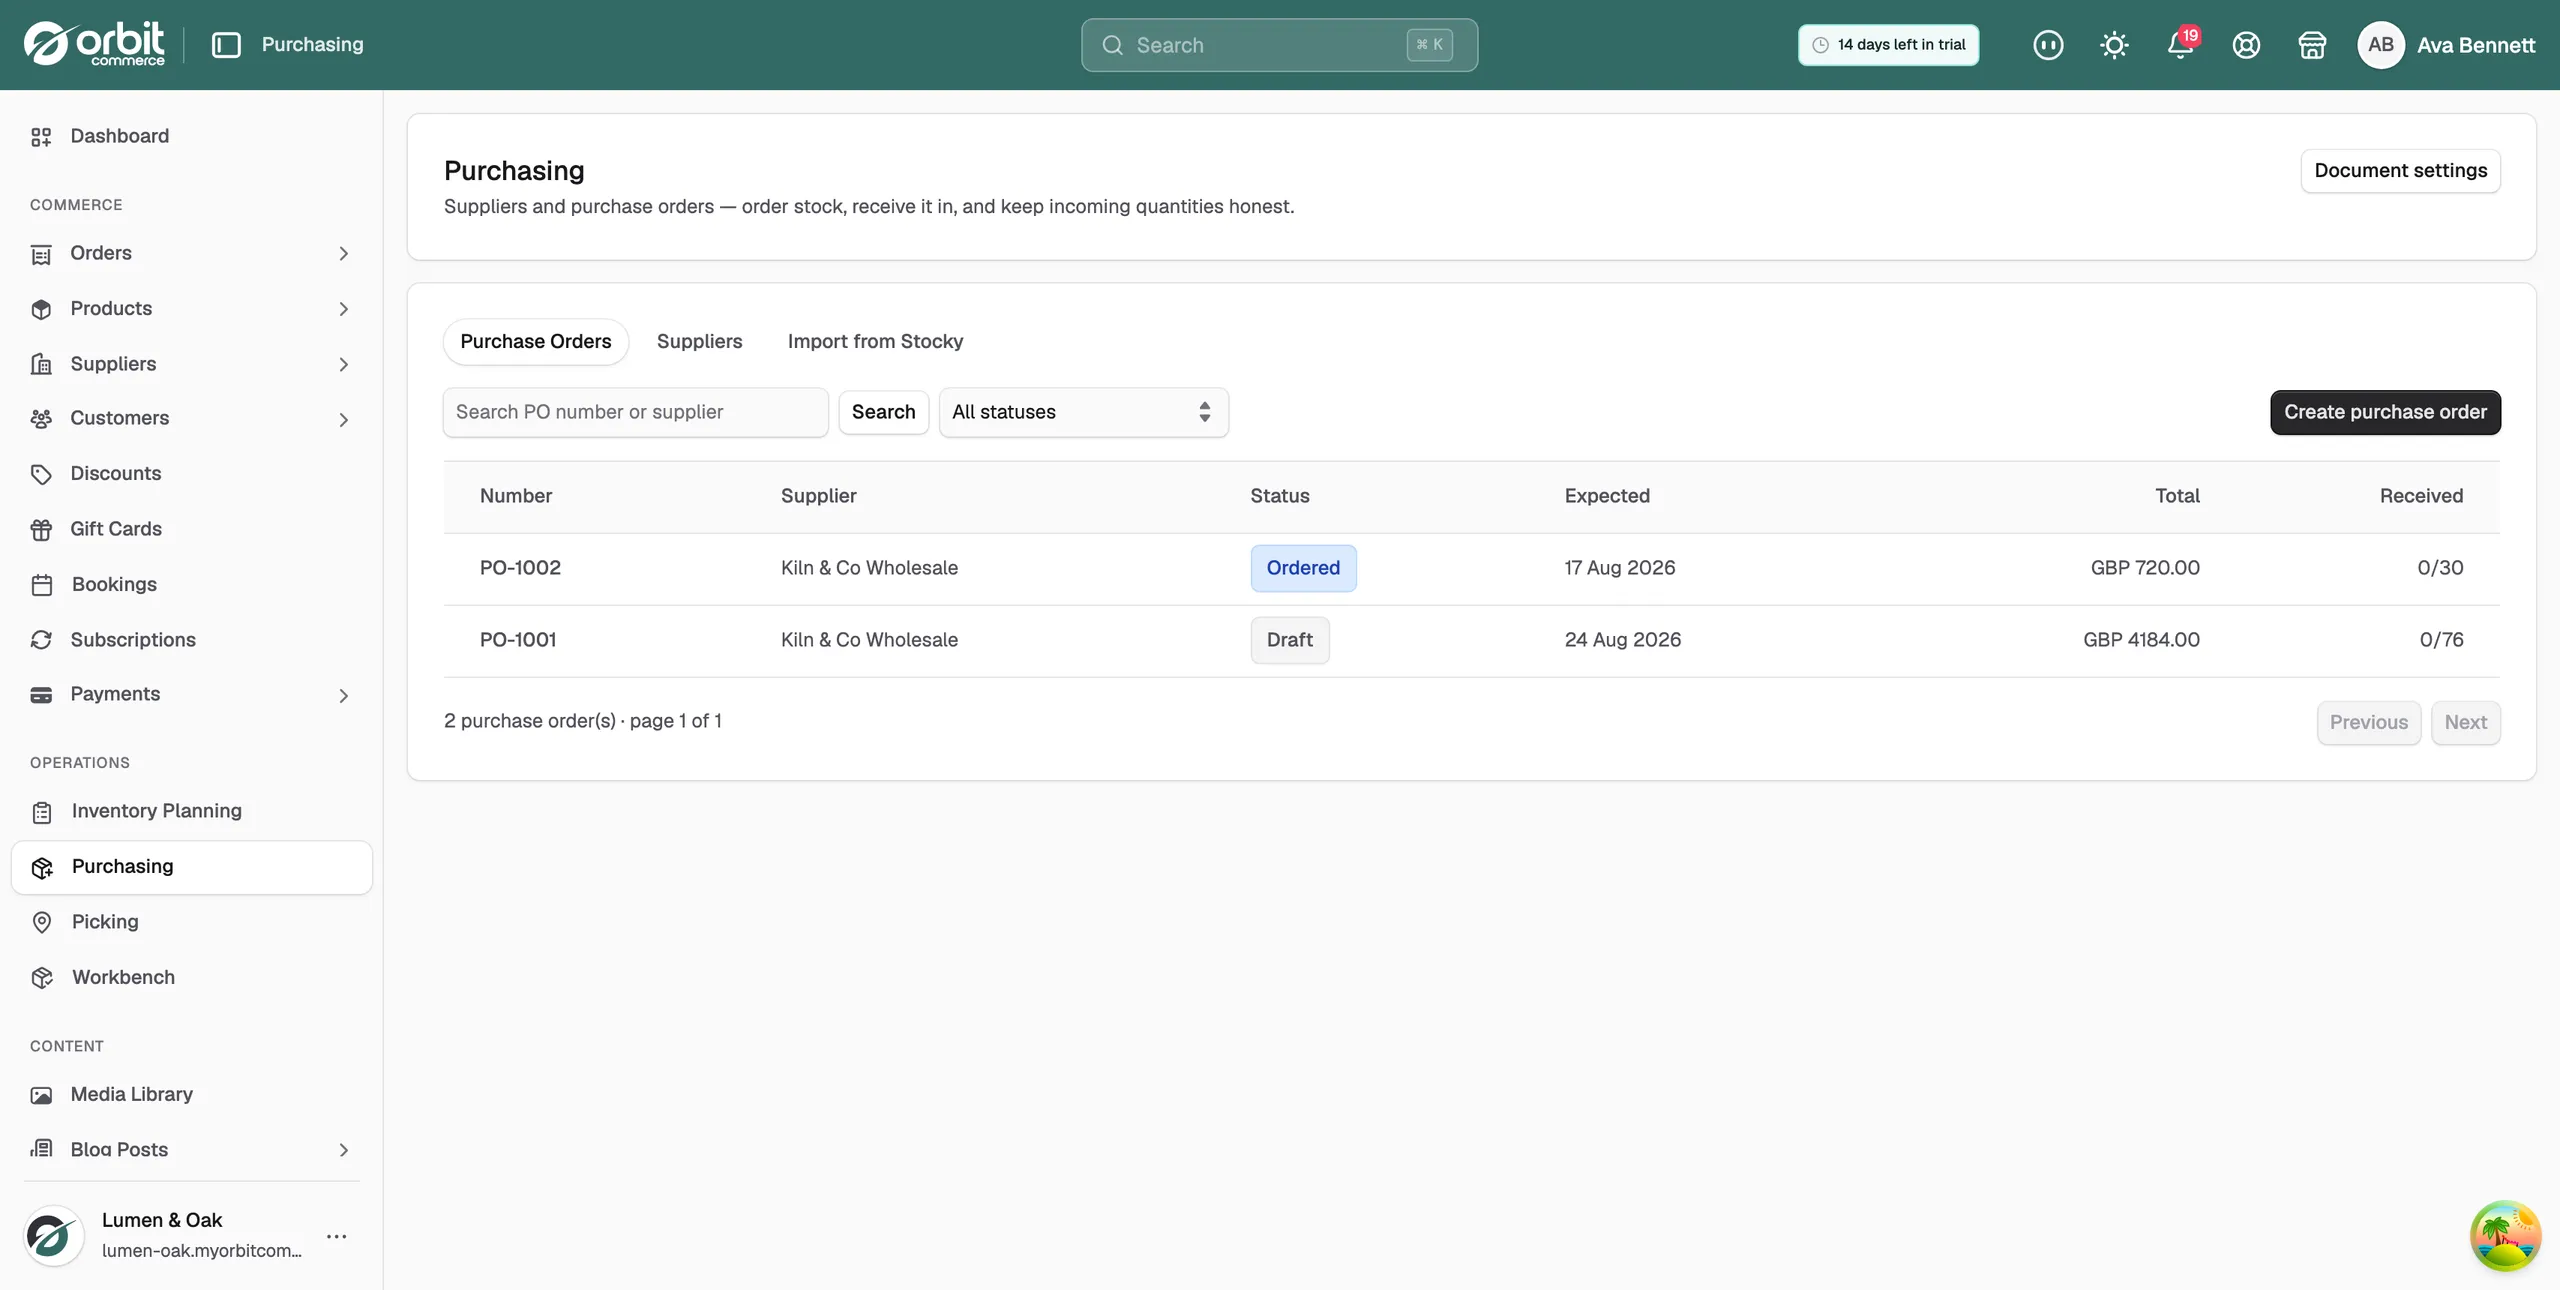
4. Finish off in Orbit
- Open a few suppliers and purchase orders and compare them with Stocky before you delete anything over there.
- Set your reorder points and safety stock in Inventory Planning.
- Put bin locations on your items as you go, so your pick lists come out in shelf order.
Related guides
Was this helpful?
0 people found this helpful