Fixing image upload problems
Formats, size limits and your image allowance, plus what to do when an image uploads but never appears on the product.
An image will not upload, or it uploads and then does not appear on the product, or it appears and looks wrong. Each of those is a different problem. Find yours below.
The file will not upload
The tile shows Upload failed, or the file is skipped with a message.
- Check the format. Use PNG, JPG, WebP or GIF. A message reading Unsupported file type means the format is not one of those. HEIC, the iPhone default, and TIFF both need converting first.
- Check the size. A message reading Exceeds max size tells you the limit. Export the photo at web size, around 2000 to 3000 pixels on the long edge, rather than straight out of the camera.
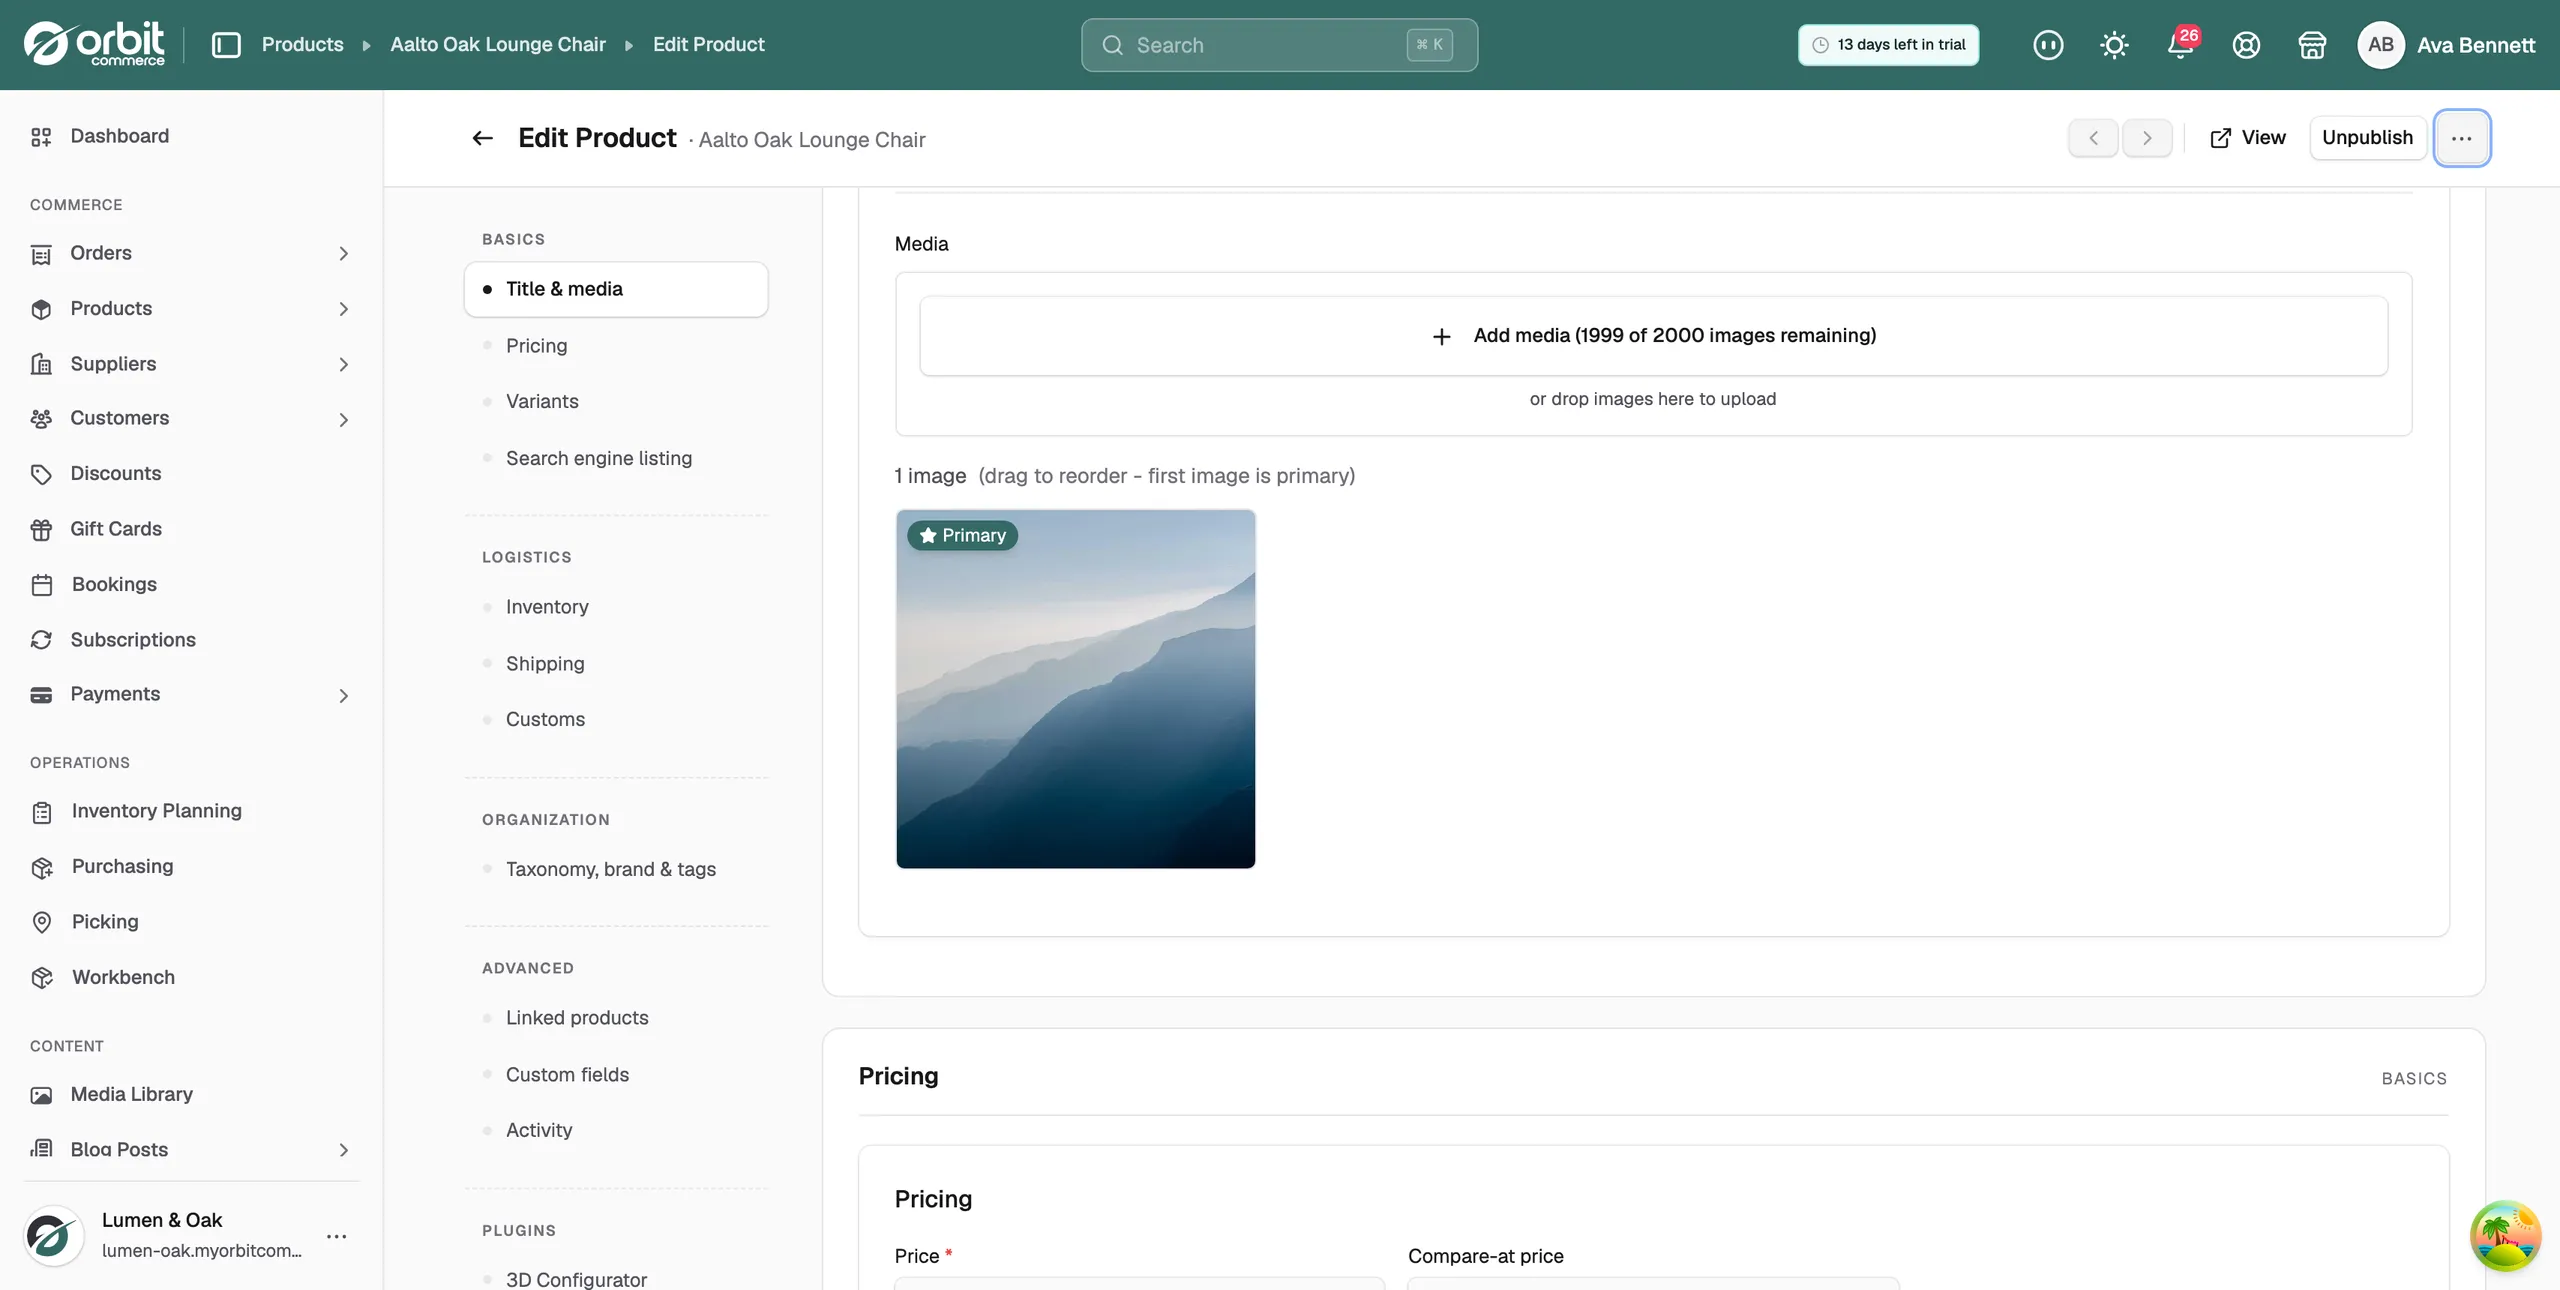
- Check your allowance. The Add media button shows how many images you have left, for example 1999 of 2000 images remaining. At the limit, delete media you no longer use.
- Upload in smaller batches. A large batch on a weak connection can stop partway through without saying which file failed.
The image uploaded but is not on the product
An upload puts the file in your media library. It is not on a product until you add it there.
- From your Orbit dashboard, go to Products and open the product.
- Click Title & media in the menu on the left.
- Click Add media.
- Open the Media library tab, tick the image you uploaded, and click Add selected media.
- Click Save.
Images from an import did not arrive
An import that brings images in by web address fetches each one while the import runs.
- Open one of the image addresses from your file in a private browser window. If it does not load for you, it did not load for the import either.
- Check whether the site holding the images blocks other sites from using them. Many do, and the import is skipped with no image.
- If the old site has been taken down, the images are gone. Upload them from your computer instead.
The image looks wrong on the storefront
- Cropped oddly: your storefront crops images to one shape so the catalogue lines up. Upload square images and most of this goes away.
- Blurry on a high resolution screen: upload at roughly twice the size it is displayed at. The storefront scales down cleanly, but it cannot scale up.
- The old image still shows: check in a private browser window before you upload it again. Browsers hold on to images.
Tip: Rename files before you upload them, for example oak-chair-side.webp. It makes the library searchable and gives you a head start on alt text.
If it still does not work
Contact support with the file itself, its size and format, and the message you saw. If a whole batch failed, send one file from the batch rather than all of them.
Related guides
Was this helpful?
0 people found this helpful