Setting your return window and return reasons
Set how many days customers have to request a return, auto-approve small returns, and add, edit or disable the reasons they can pick.
When a customer asks to return something, they pick a reason from a list. You manage that list on the Return Reasons page in Settings. The same page sets your return window, the number of days after delivery that a return can be requested, and lets you auto-approve small returns.
Considerations
- Orbit creates eight standard reasons for you the first time the page loads. You do not start with an empty list.
- The return window counts from delivery. If delivery is not tracked, it counts from the order date. Leave it empty and returns never close.
- Reasons are never deleted for good. Deactivating one keeps it in the list marked Inactive.
- A reason you add appears at the top of the list.
Open Return Reasons
- From your Orbit dashboard, go to Settings.
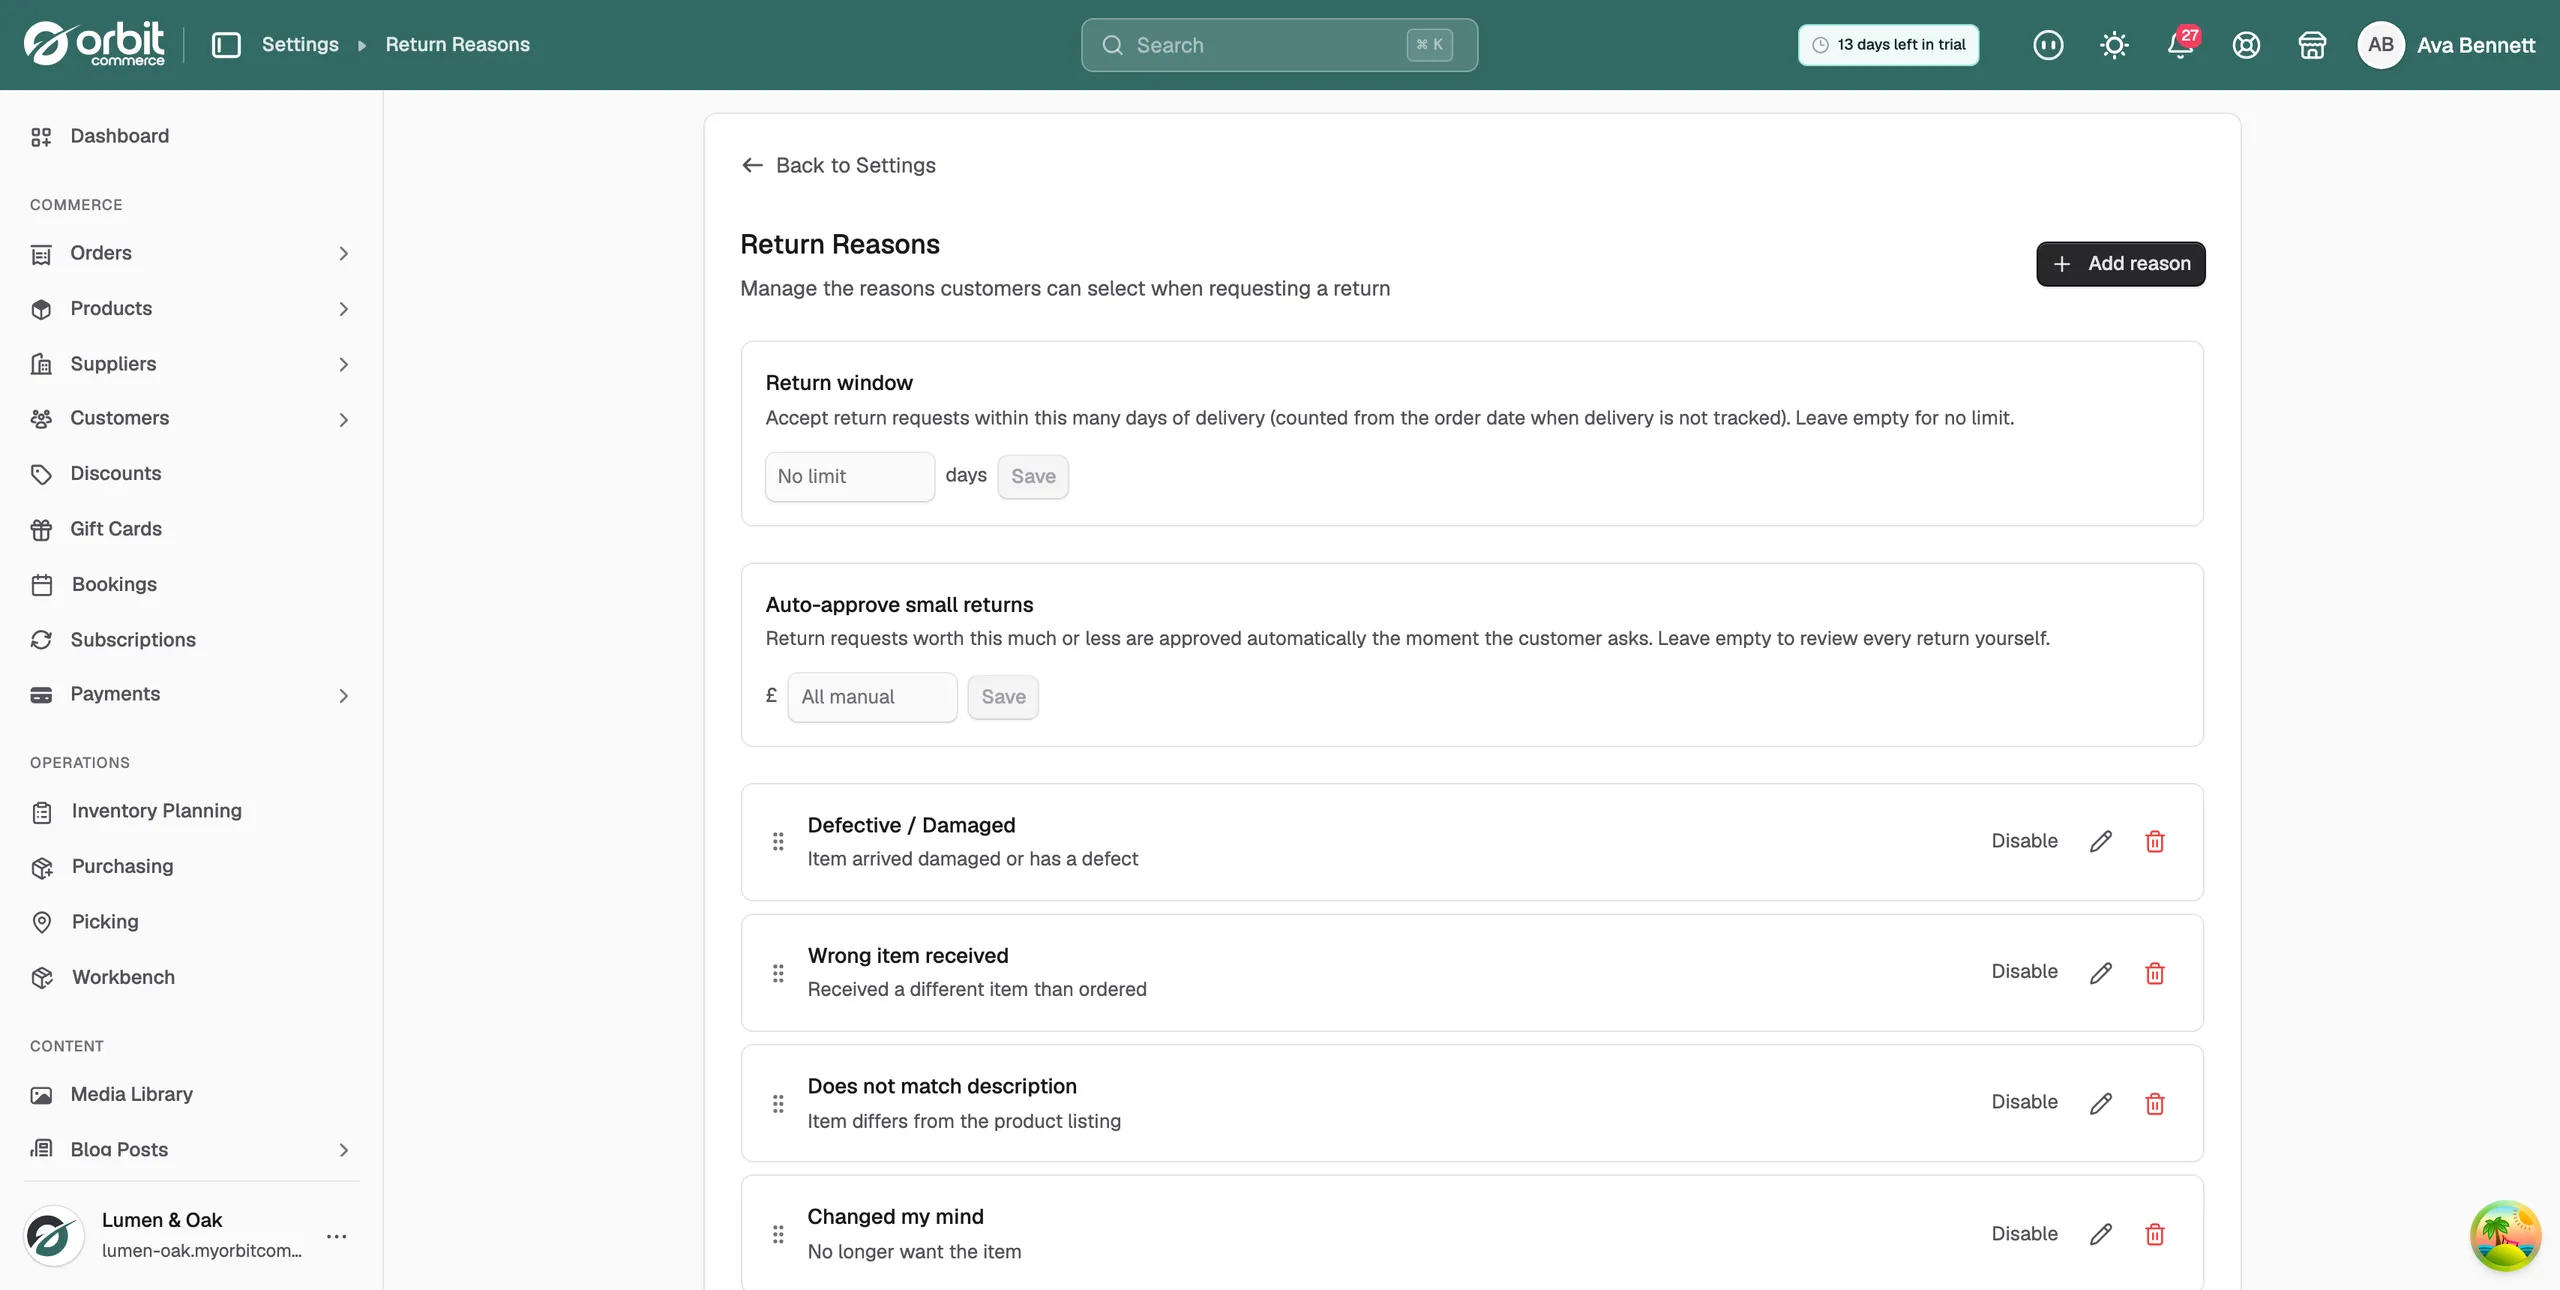
- Under Selling, click Return Reasons. The Return window card is at the top, then Auto-approve small returns, then the list of reasons.
Set your return window
- In the Return window card, type the number of days, for example 28. The box reads No limit while it is empty.
- Click Save. The button is grey until you change the number. The message Returns now close 28 days after delivery appears, and the deadline is live straight away.
To remove the limit, clear the box and click Save. The message reads Return window removed. Returns never close.
Auto-approve small returns
- In the Auto-approve small returns card, type an amount in pounds. Return requests worth this much or less are approved the moment the customer asks. The box reads All manual while it is empty.
- Click Save. The message Returns under £20 will auto-approve confirms it, using your amount.
To review every return yourself again, clear the box and click Save.
The standard reasons
Orbit sets up these eight reasons for you:
- Defective / Damaged
- Wrong item received
- Does not match description
- Changed my mind
- Size / Fit issue
- Better price found
- Arrived too late
- Other
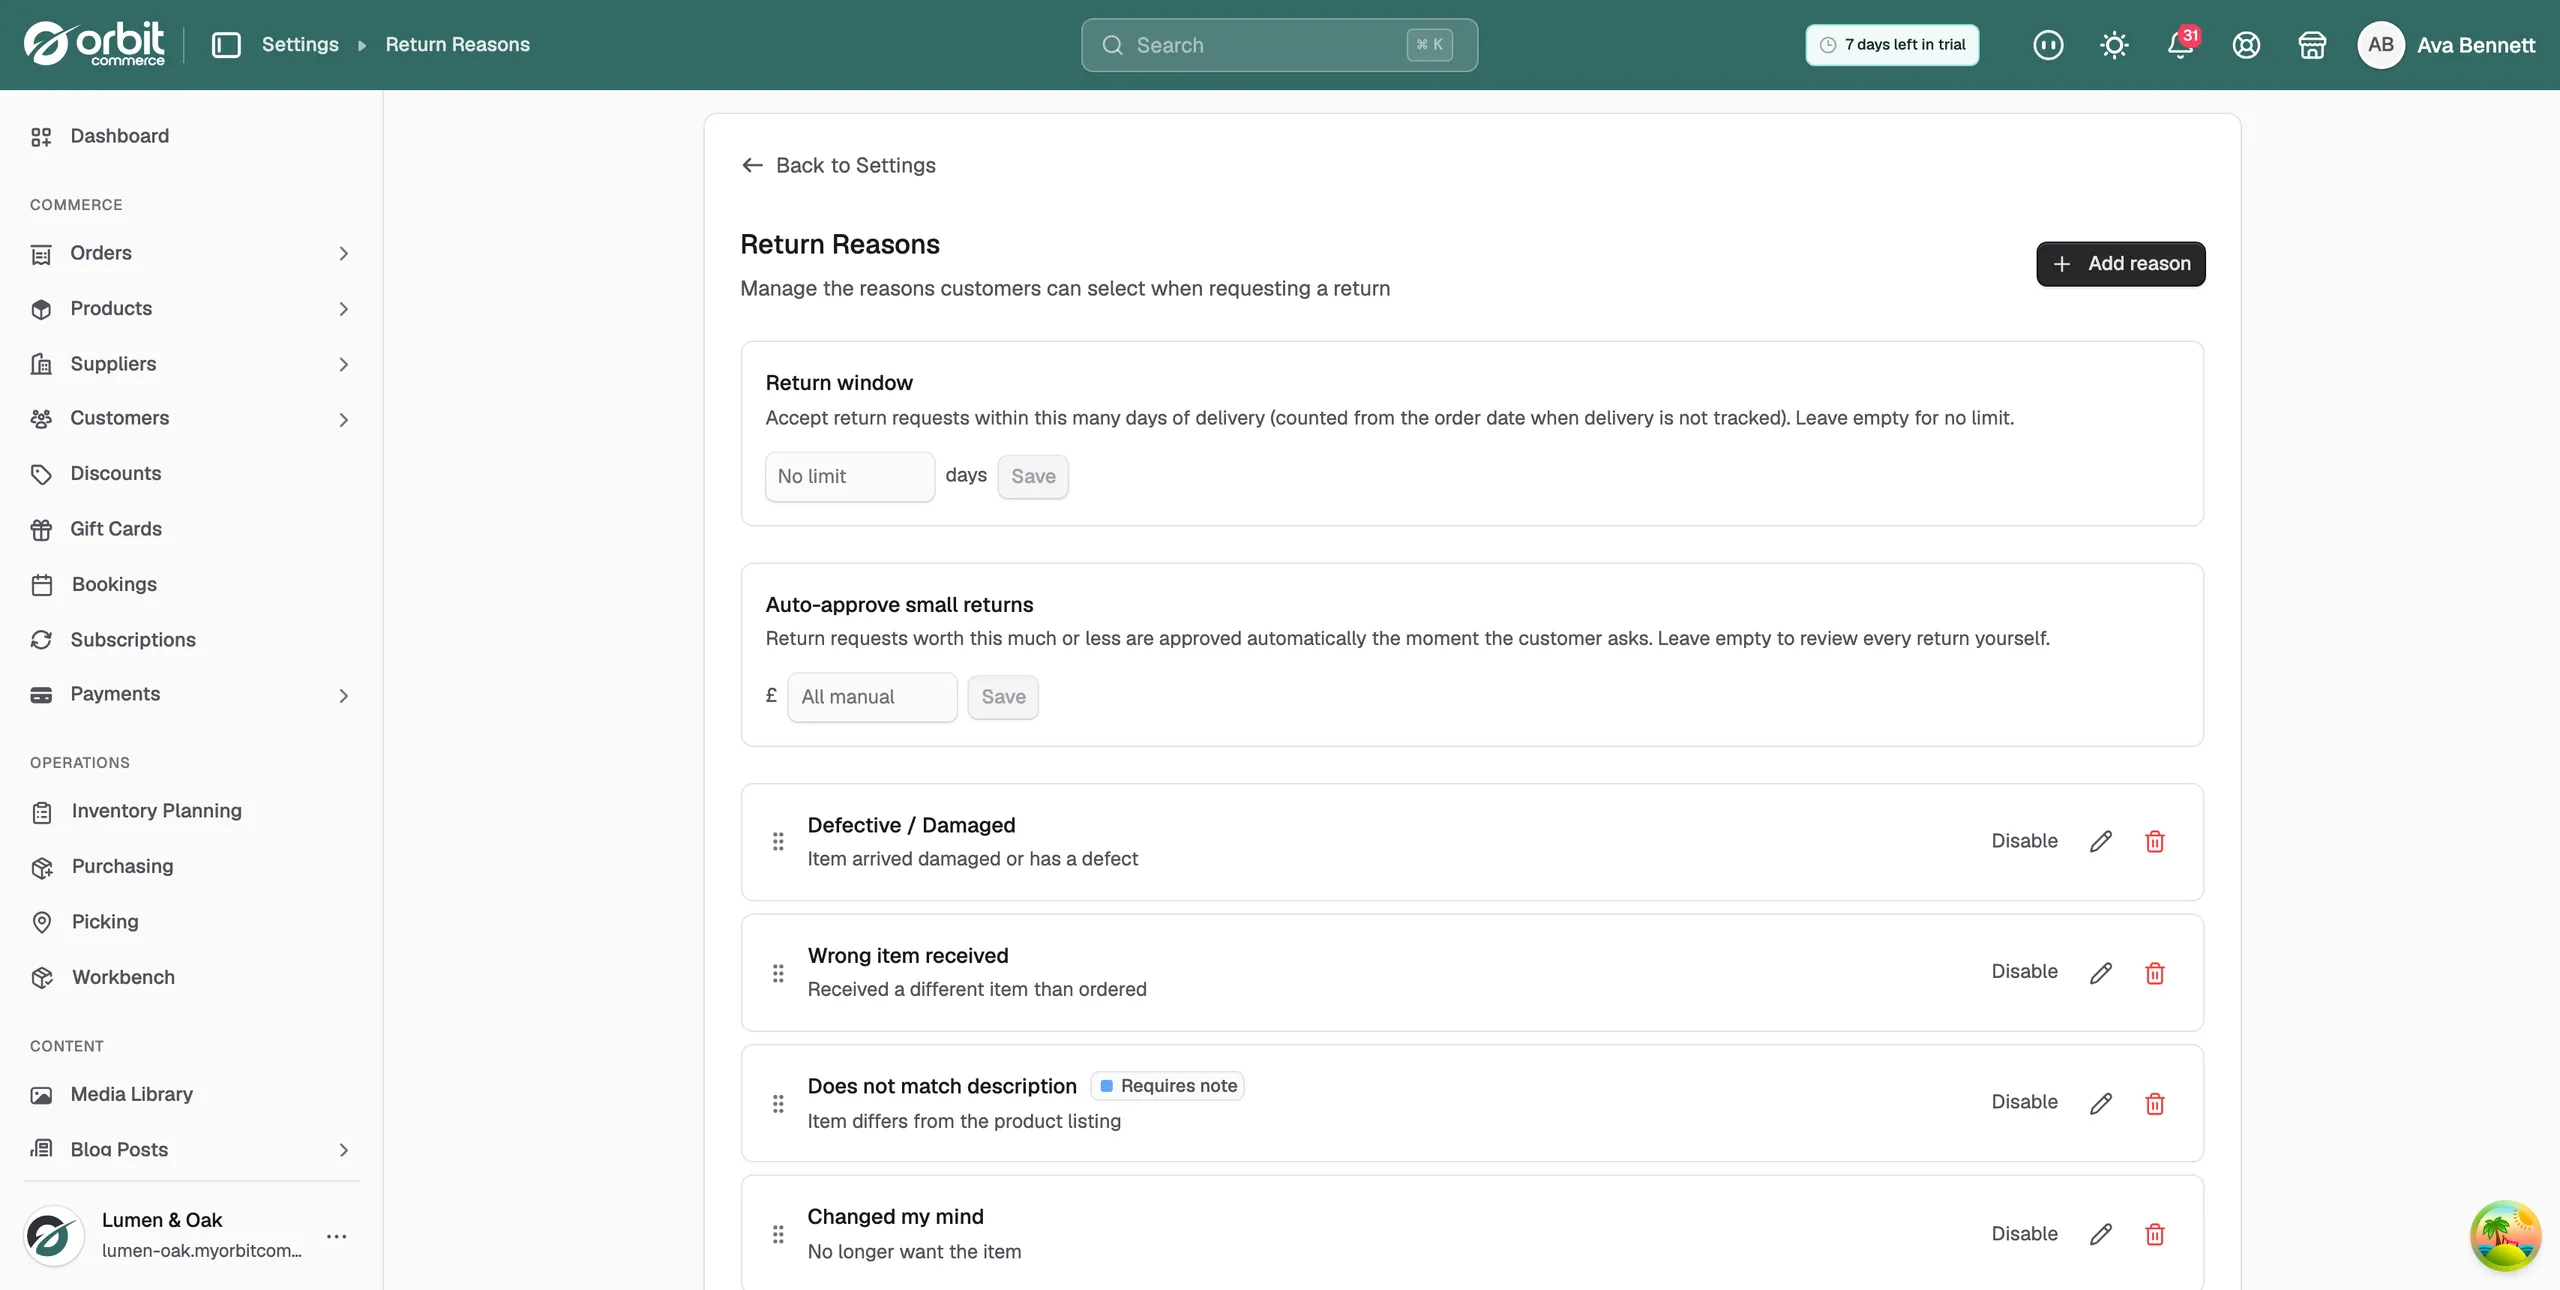
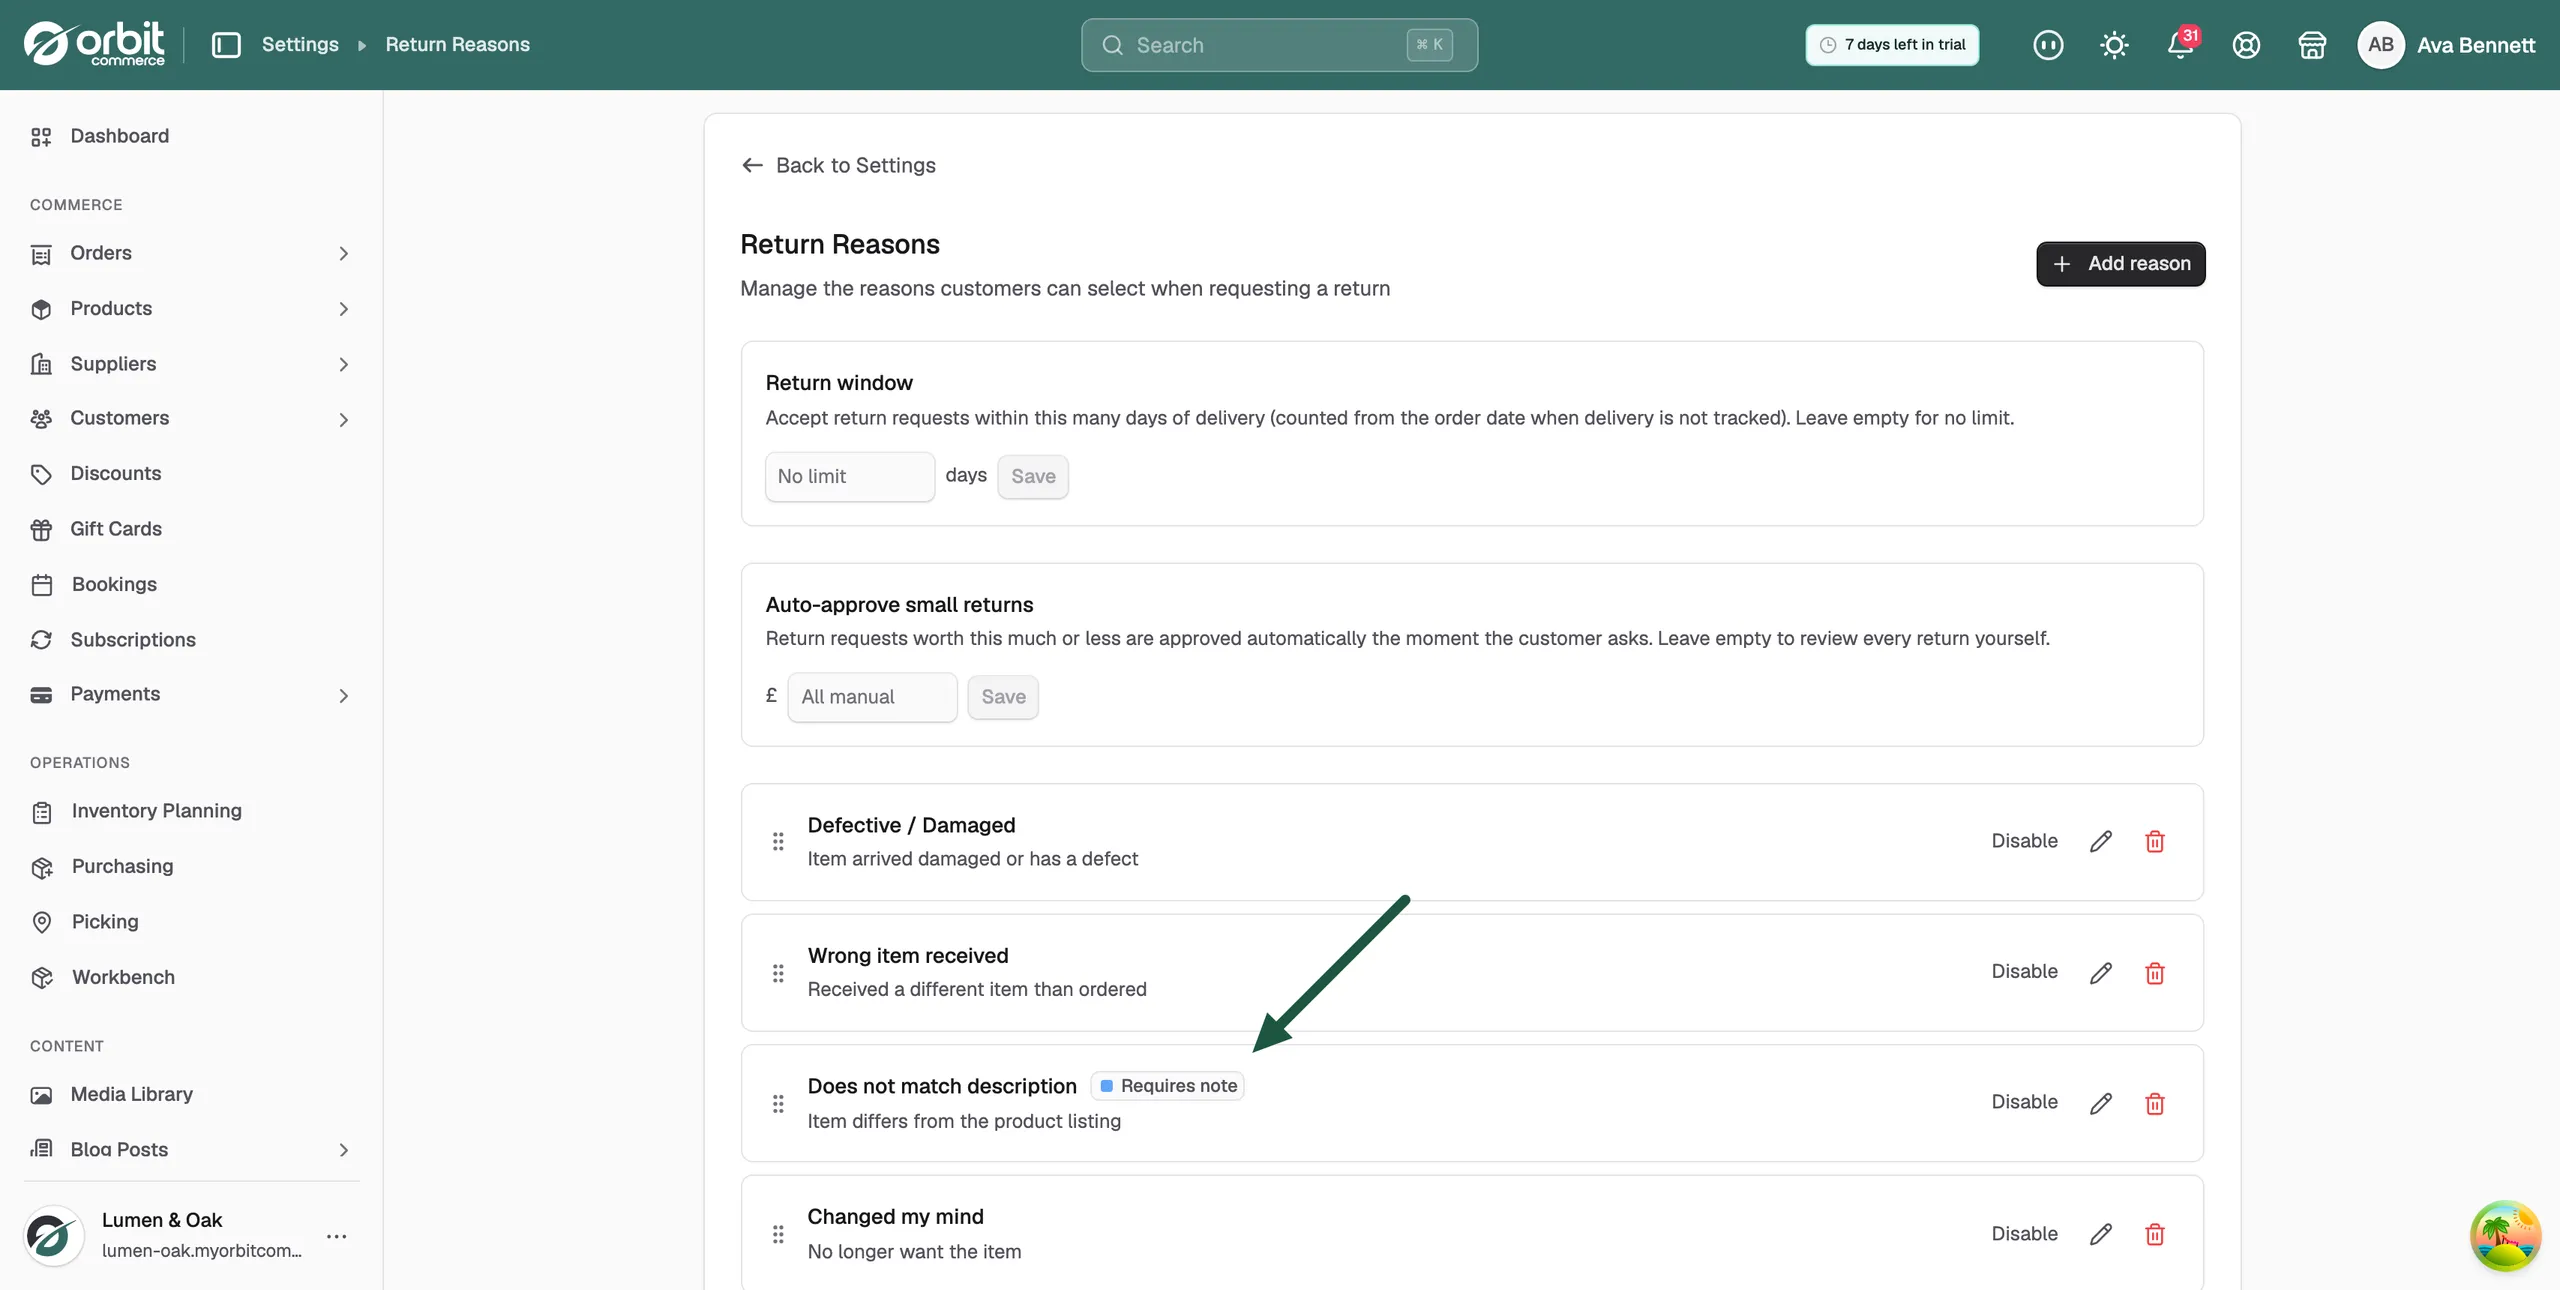
Each row shows the reason's label, its description if it has one, and badges: Requires note if the switch is on, Inactive if it is disabled.
Add a return reason
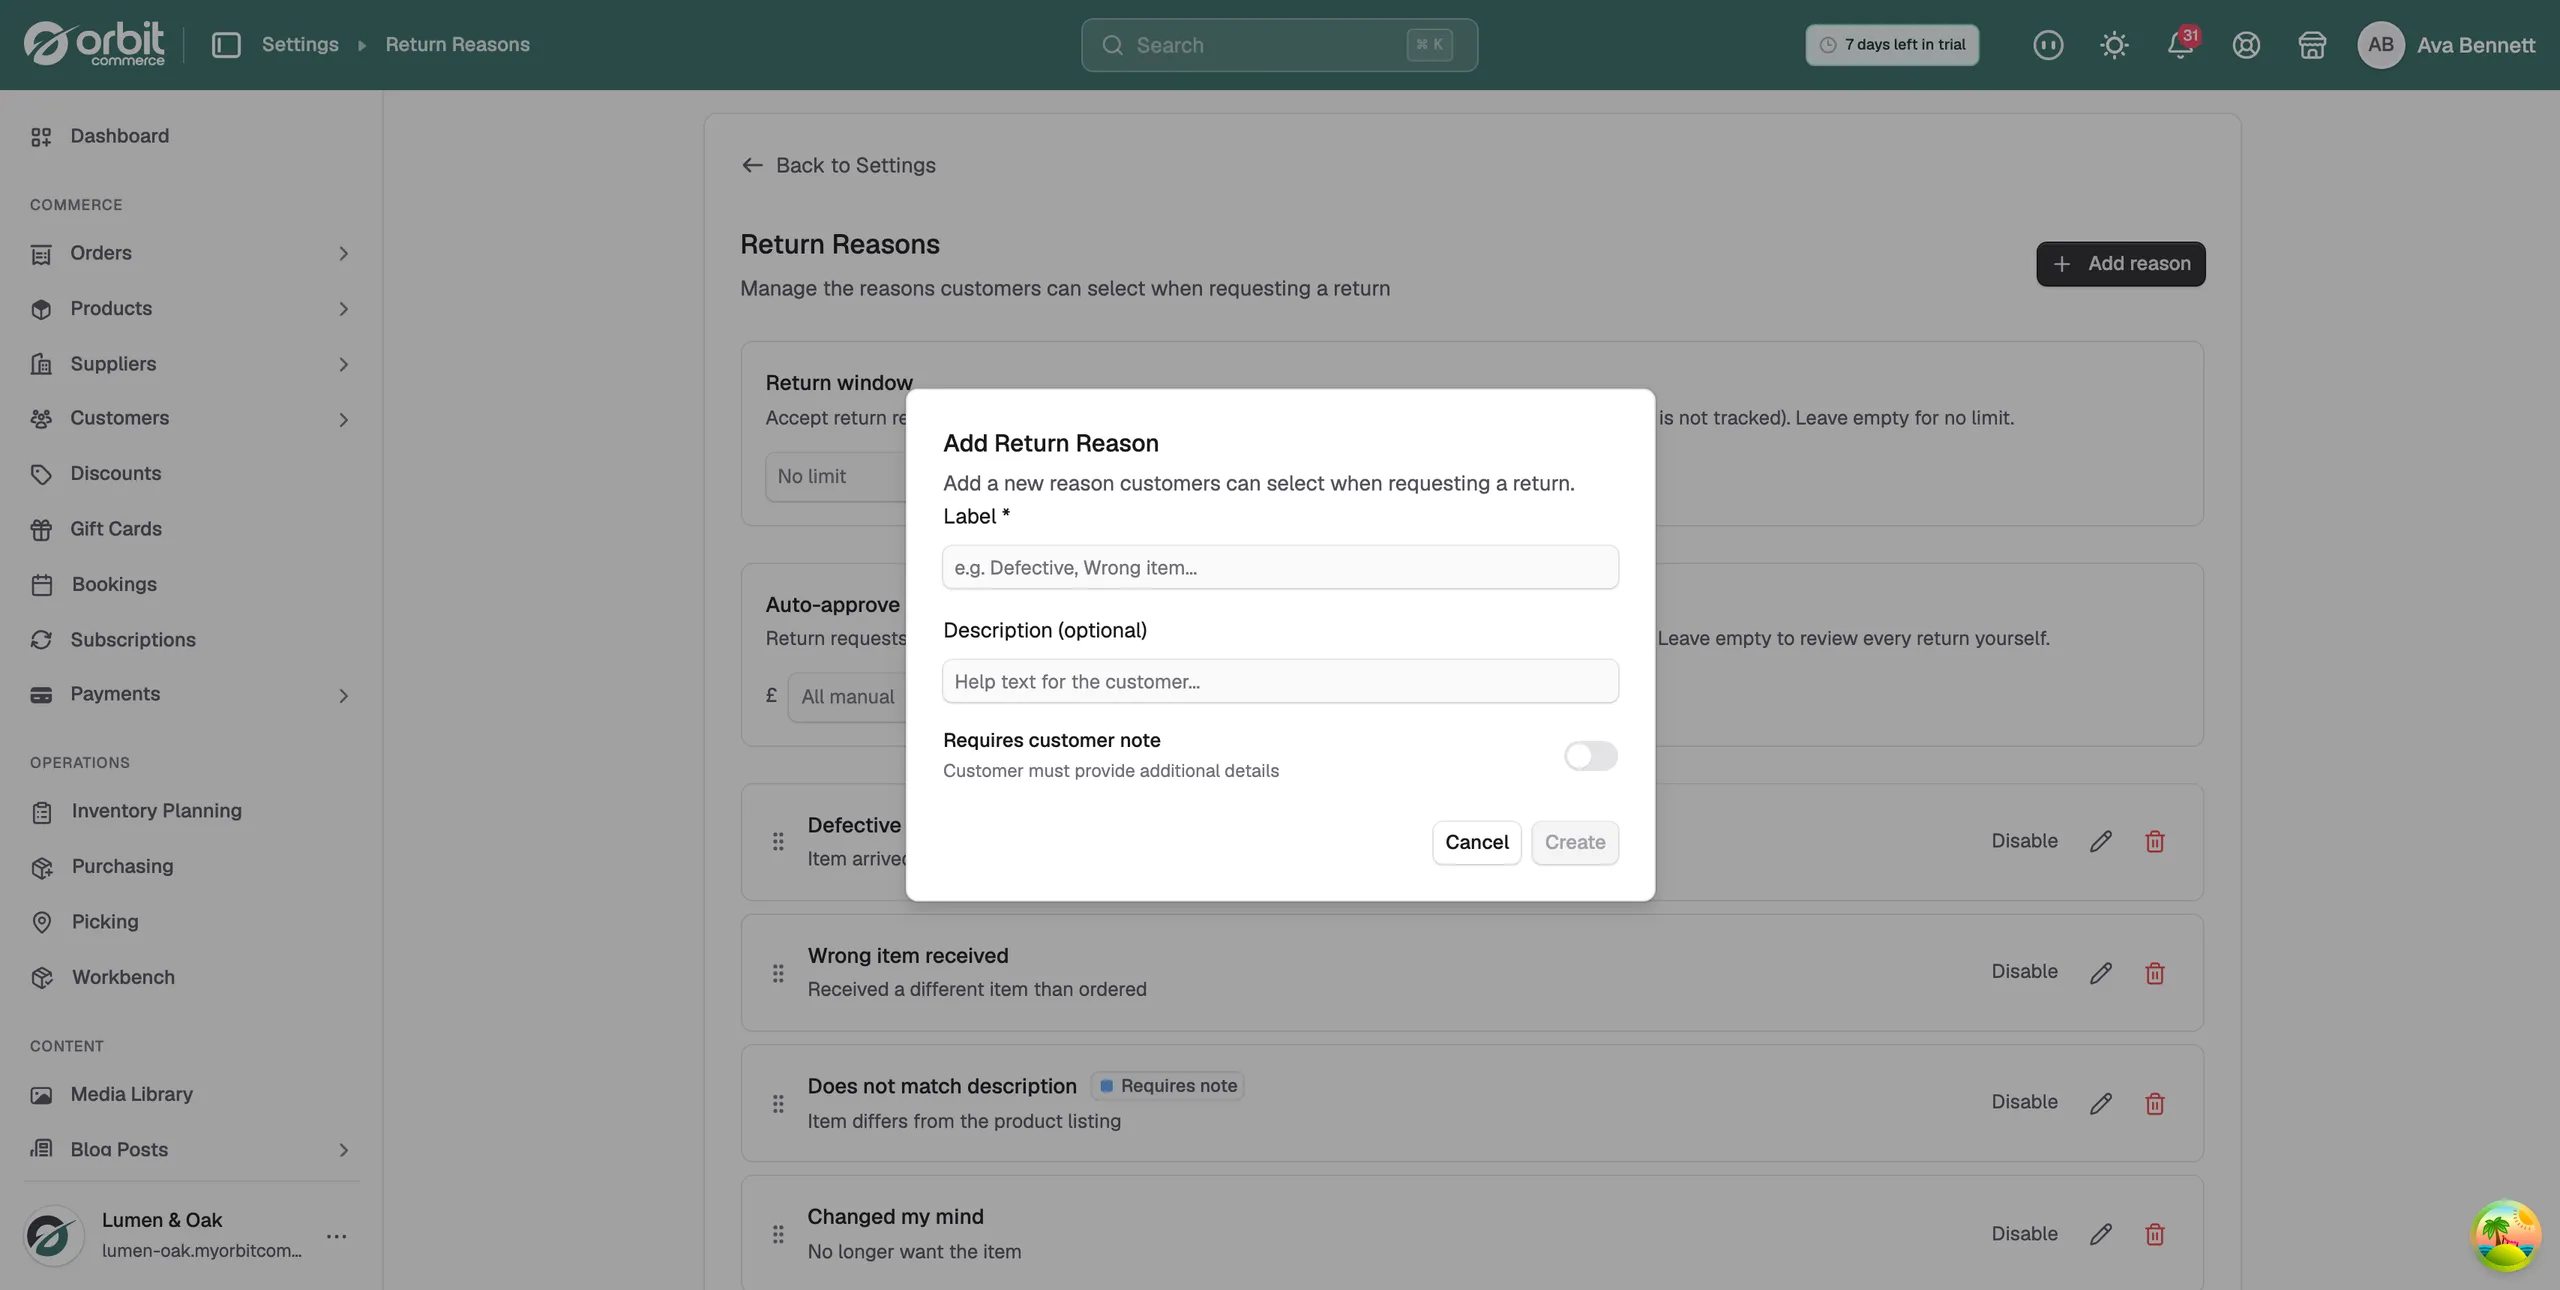
- Click Add reason. The Add Return Reason window opens.
- In Label, type the name your customers will see, for example Missing parts. Keep it short and written from their point of view.
- In Description (optional), say what this reason covers.
- Switch on Requires customer note if you want the reason flagged with a Requires note badge for your team.
- Click Create. The button stays grey until the label has text. The message Return reason created appears and the new reason sits at the top of the list.
Edit a return reason
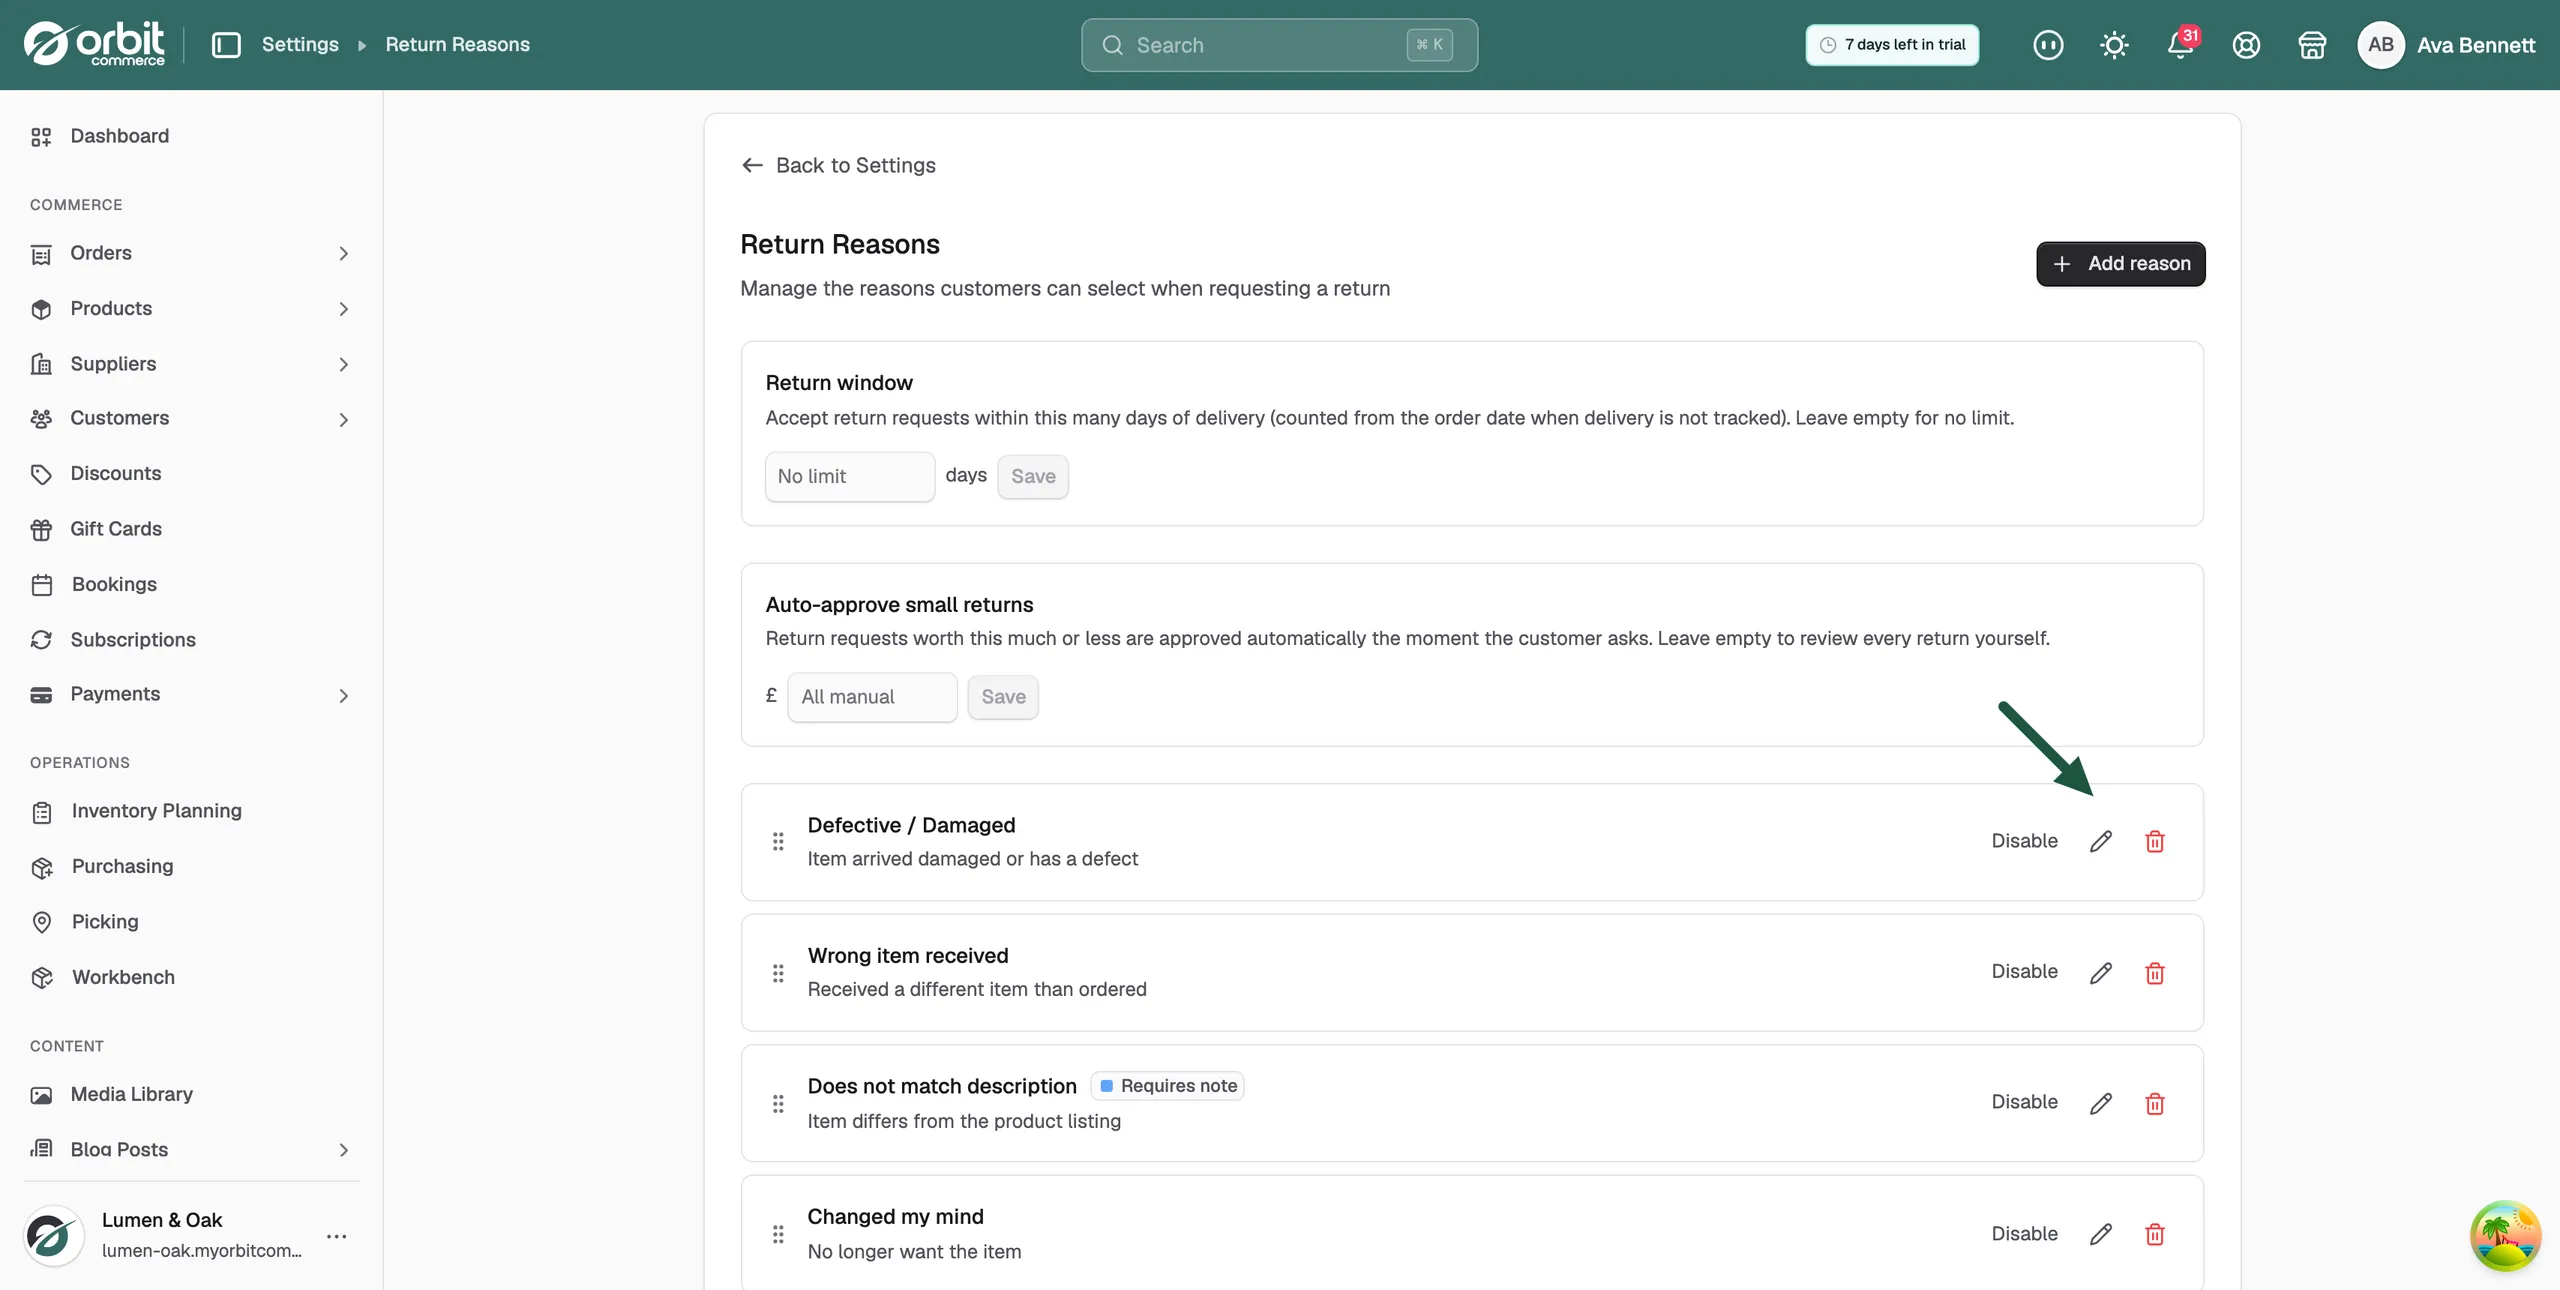
- Find the reason in the list and click the pencil icon. The Edit Return Reason window opens.
- Change the label, description or the Requires customer note switch.
- Click Update. The message Return reason updated appears.
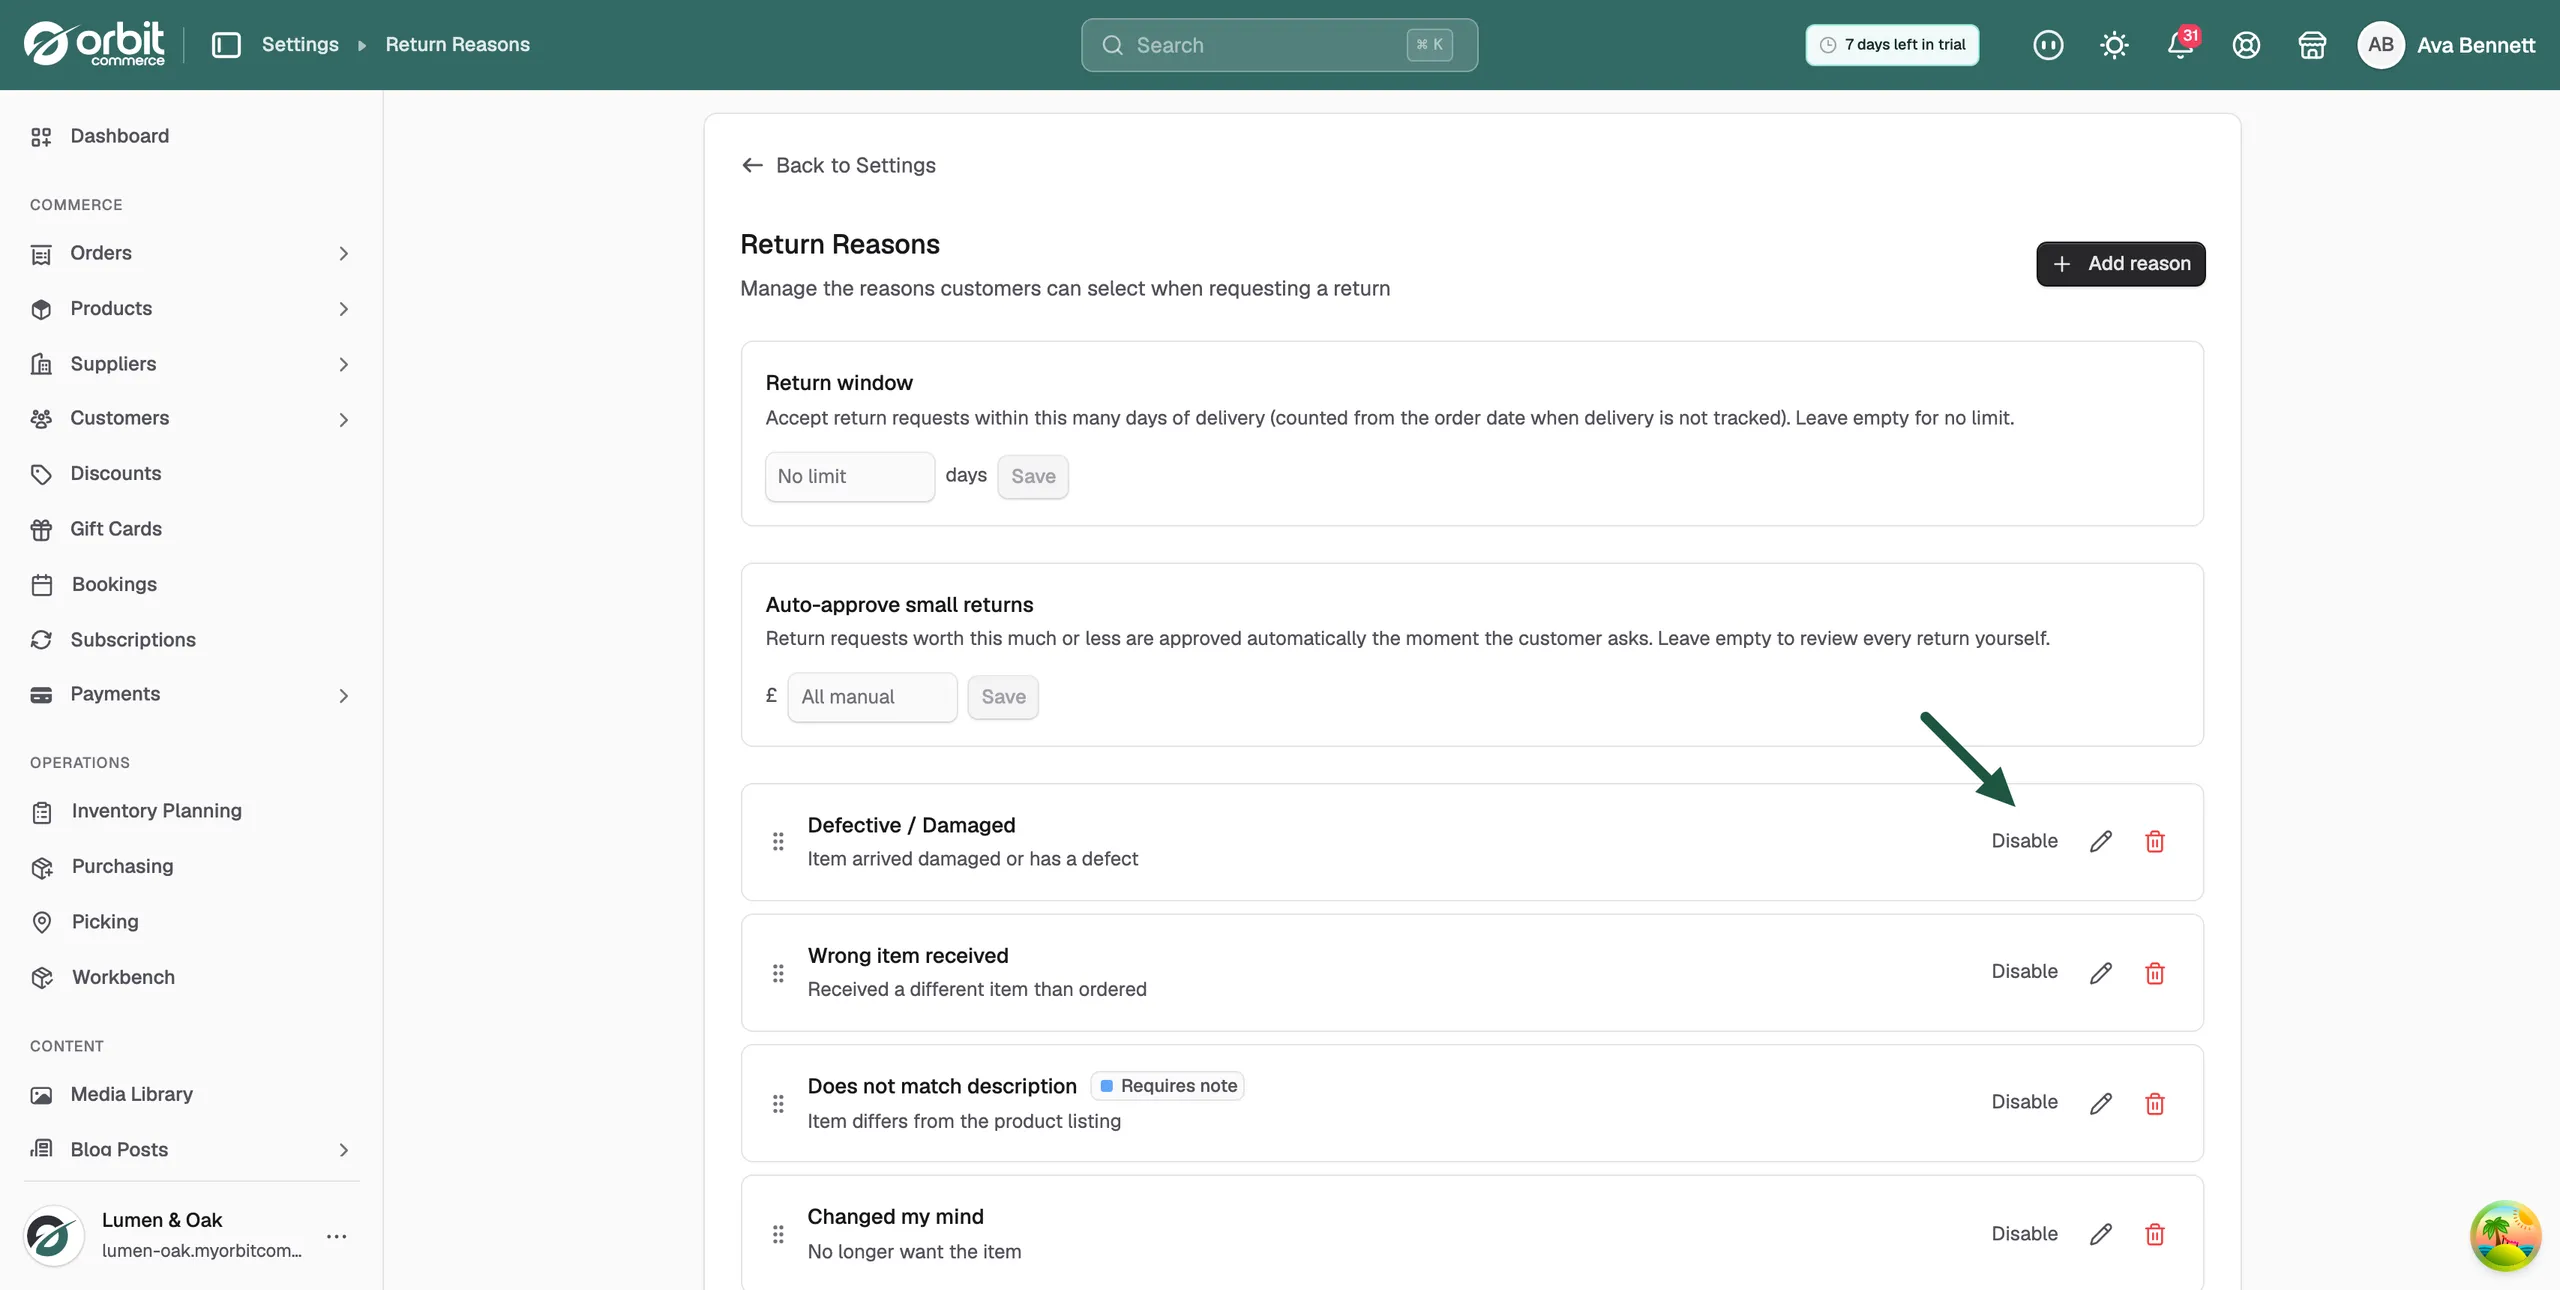
Disable or enable a return reason
- Find the reason in the list.
- Click Disable. The row fades and gains an Inactive badge.
- To bring it back, click Enable.
Deactivate a return reason
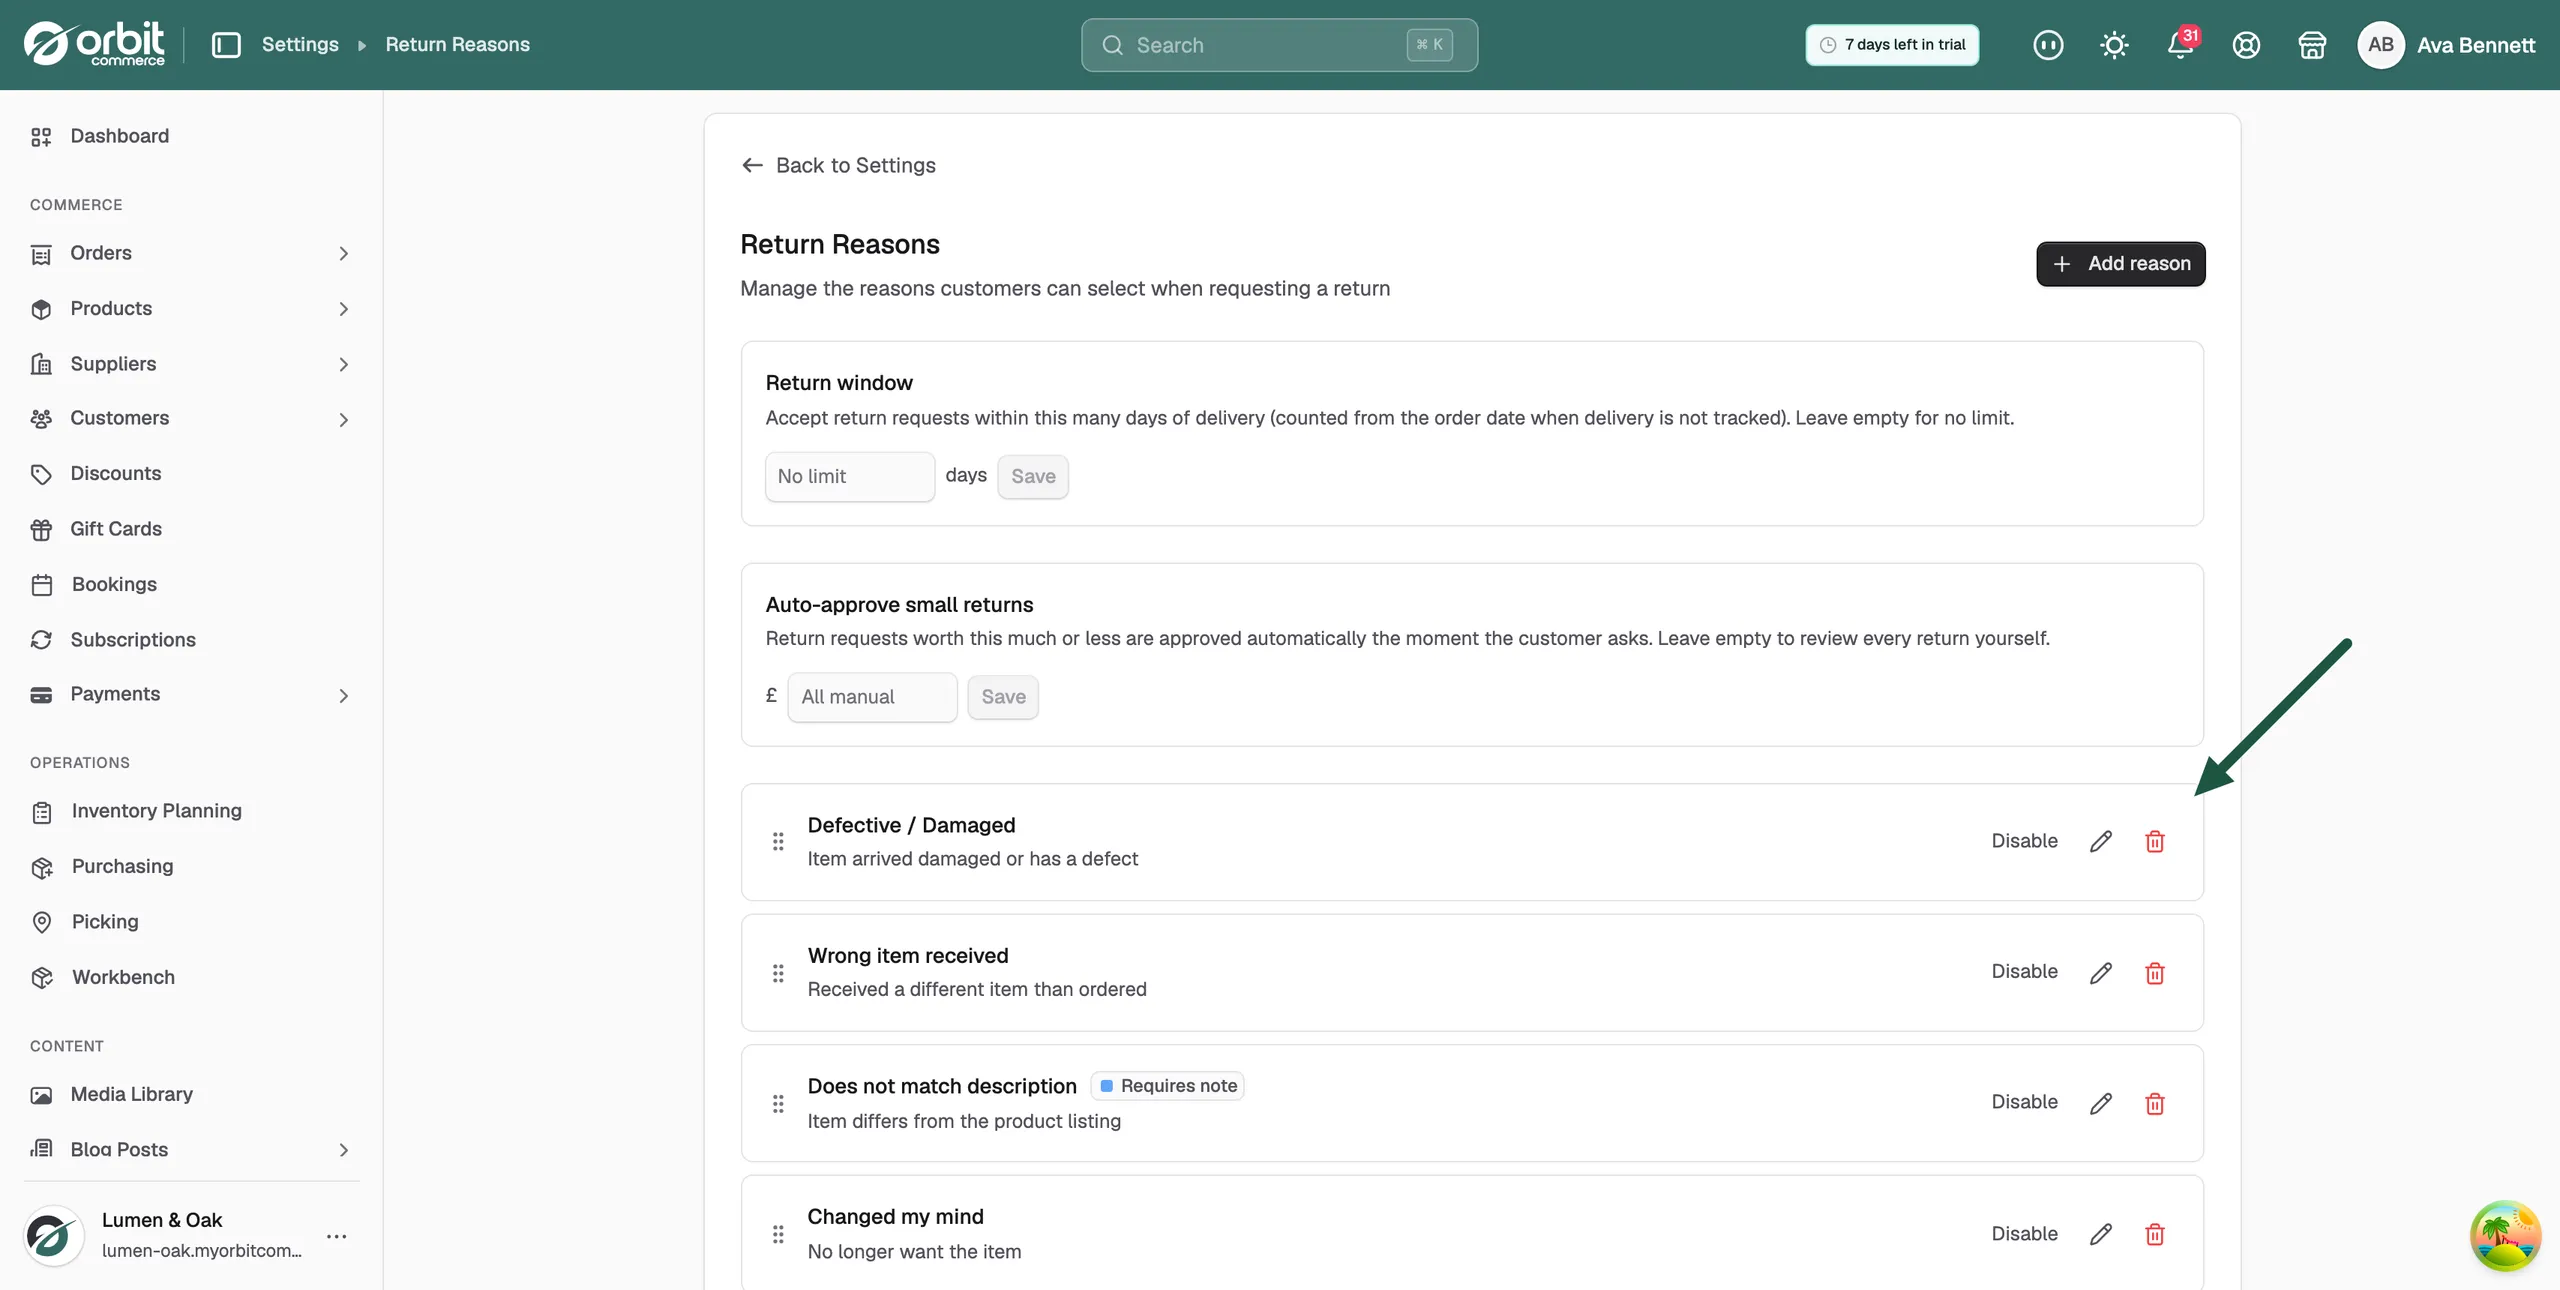
The bin icon does not delete the reason. It deactivates it, the same as Disable, after asking you to confirm.
- Find the reason and click the red bin icon.
- In the Deactivate return reason prompt, click Deactivate. The message Return reason deactivated appears and the reason is marked Inactive.
Requires customer note
Switch on Requires customer note for reasons where your team needs more detail, such as Defective / Damaged, Wrong item received, Does not match description and Other. The reason then carries a Requires note badge in your list. Of the standard reasons, only Other has it on to begin with.
Related guides
Was this helpful?
0 people found this helpful