Processing a return
Work a return from request to close: approve or decline it, receive the goods, decide what happens to the stock, then complete the return.
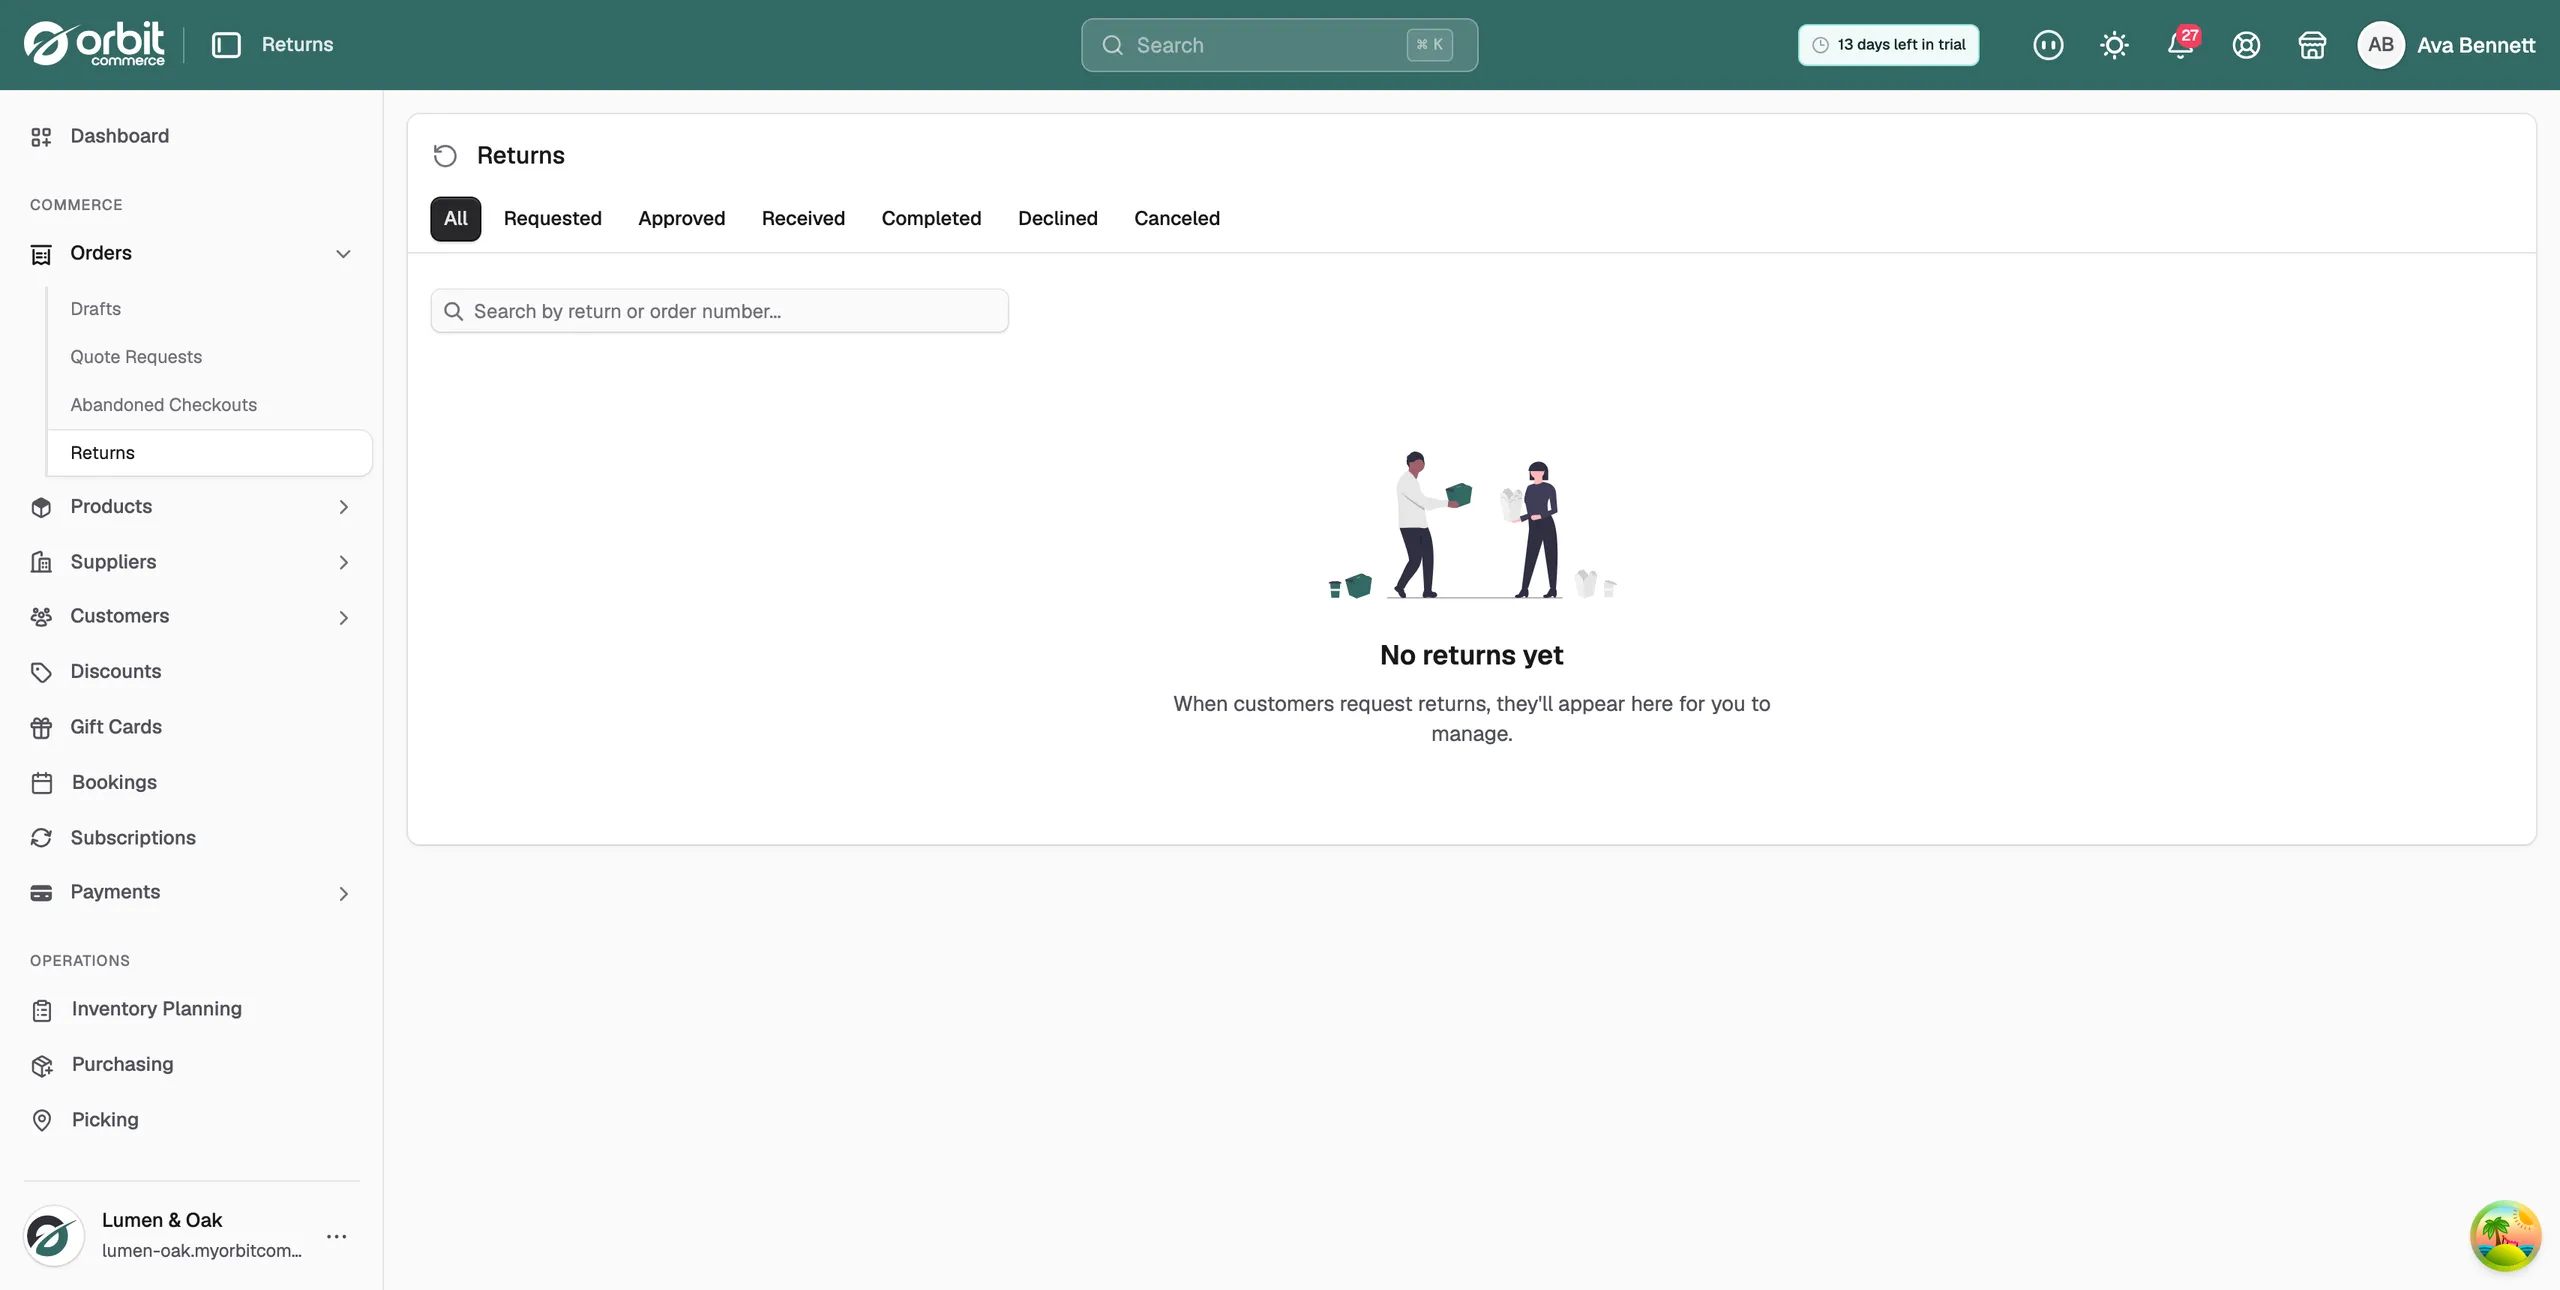
When a customer asks to send something back, the request lands in your Returns list. You work through it there: approve or decline the request, mark the goods as received, decide what happens to the stock, then close the return. For the list itself and what each column shows, see Managing returns.
Considerations
- A return is resolved as a Refund or an Exchange. The customer picks this when they raise the request.
- Completing a refund return moves no money. It records the refund total on the return. You pay the customer from the payment section of the order.
- Completing an exchange creates the replacement order and settles any difference.
- Stock only comes back when you choose Restock for an item.
- A completed return cannot be reopened.
Open a return
- From your Orbit dashboard, go to Orders, then Returns.
- Use the status tabs above the list to narrow it, or type a return or order number in the search box.
- Click the return you want. The return page opens with the return number and its status at the top.
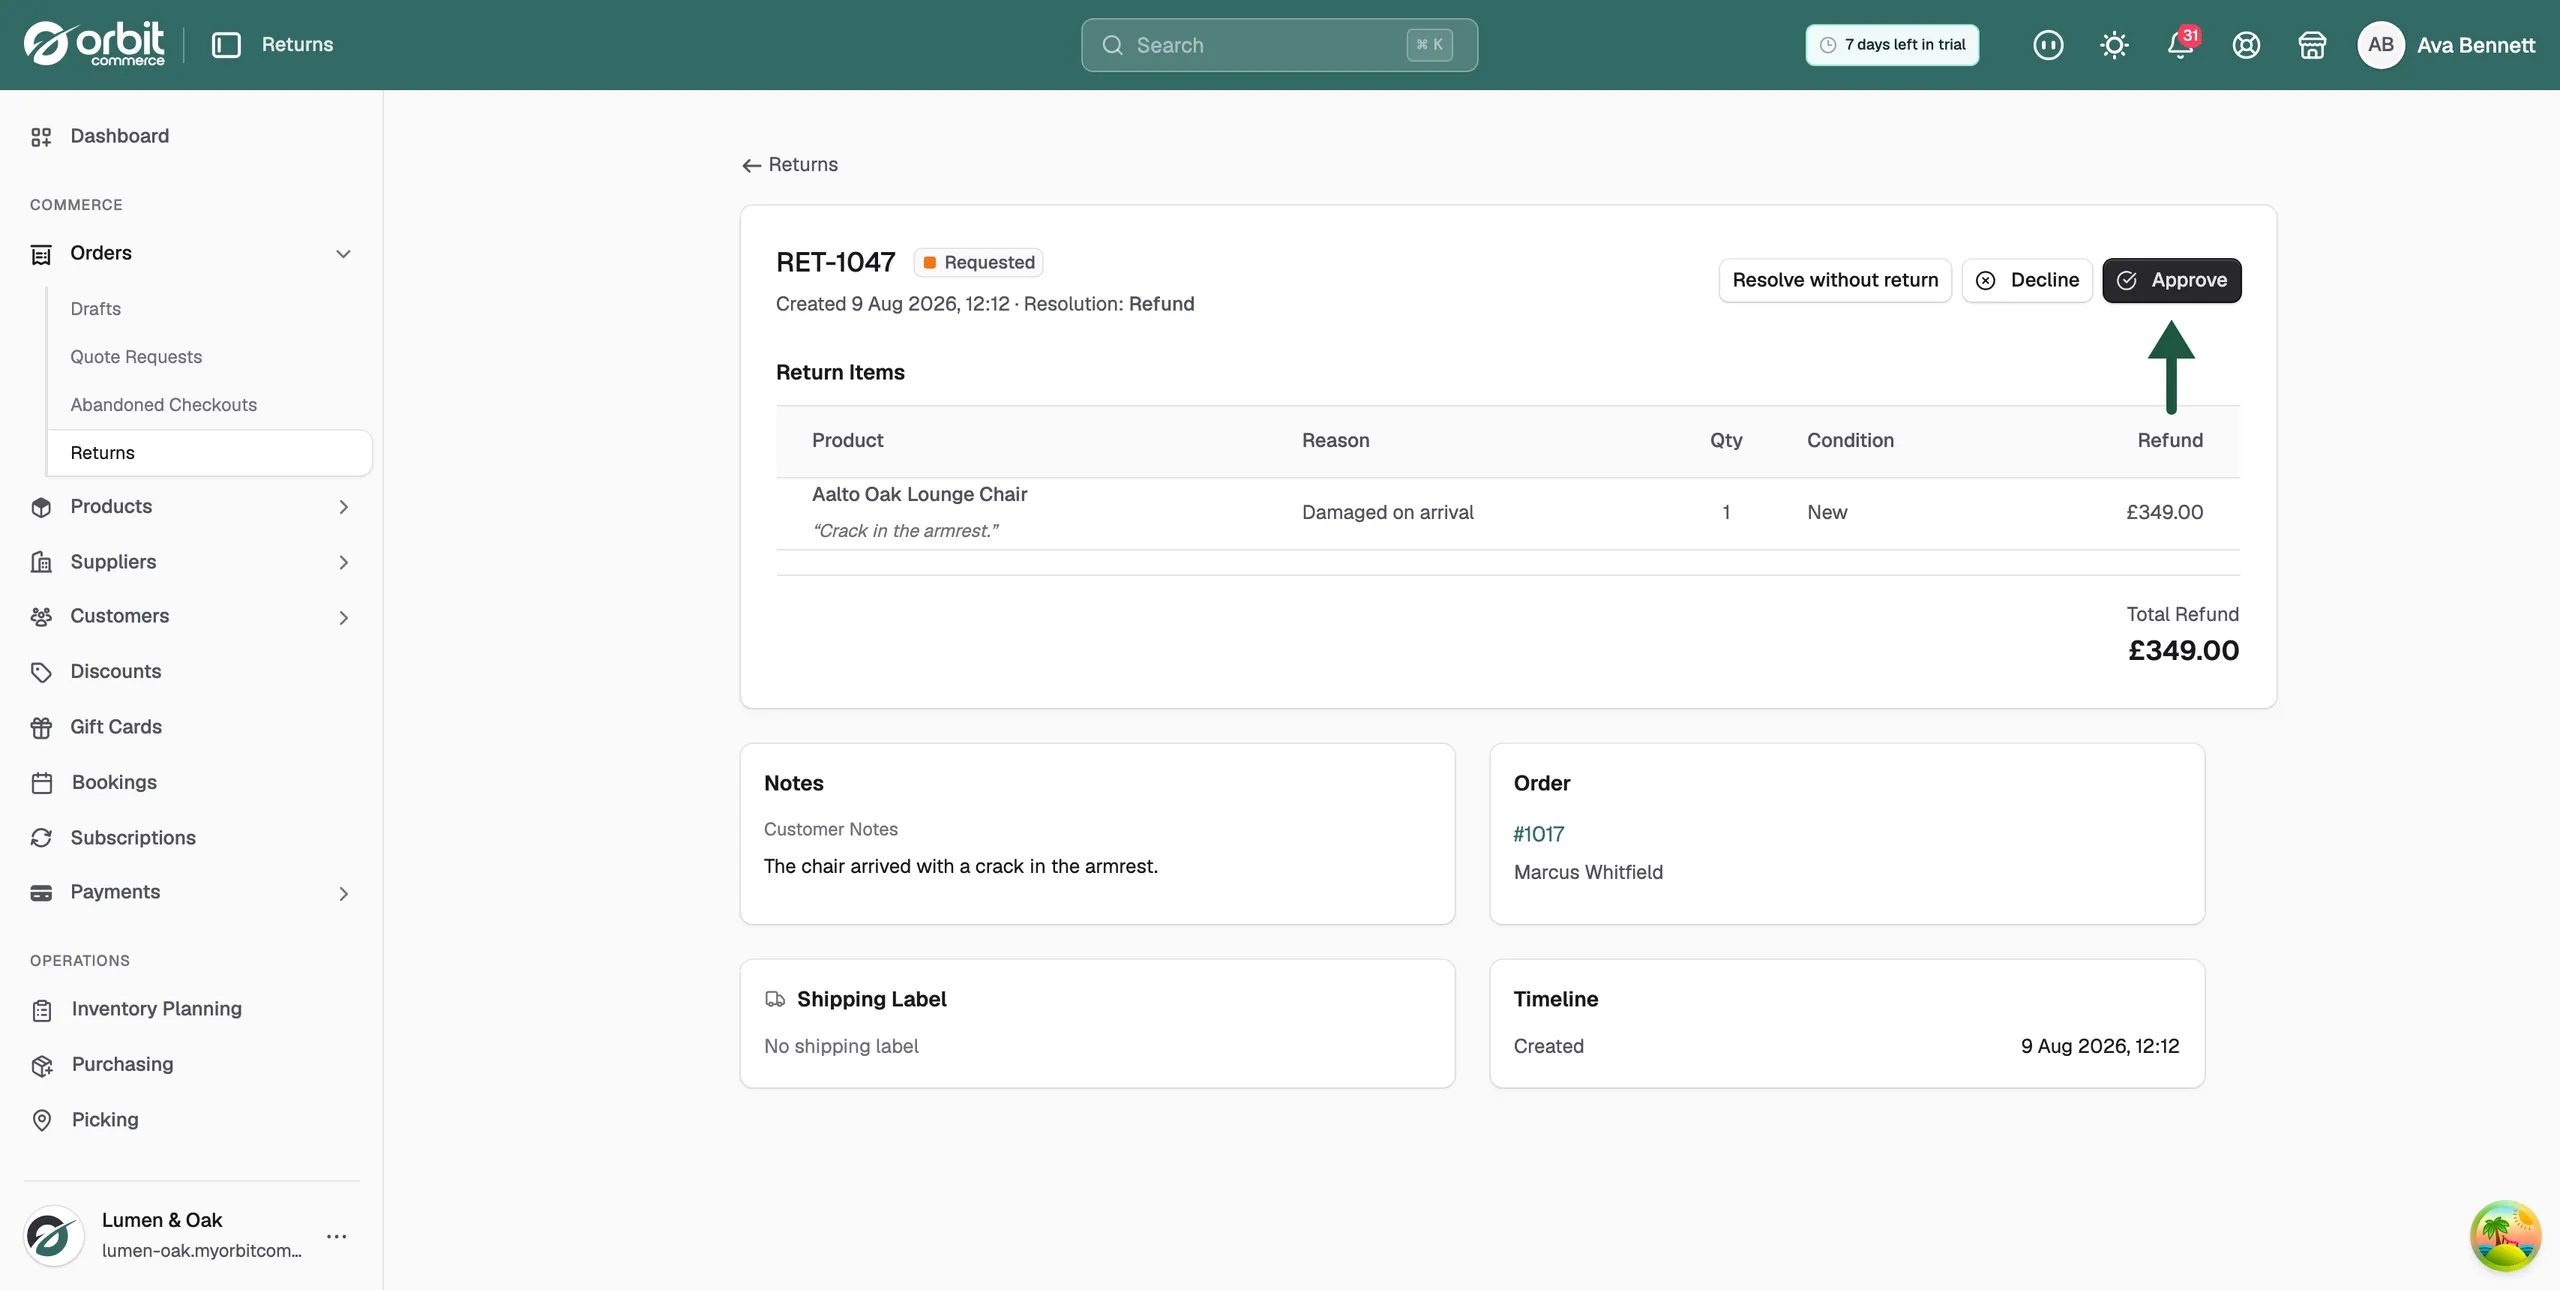
Note: The buttons at the top of a return page depend on its status. A requested return offers Approve and Decline. An approved one offers Receive Items. A completed one offers nothing.
Approve a return
- Open a return with the status Requested.
- Read the items, the reasons and the customer's note.
- Click Approve. The Approve Return window opens.
- Add anything your team needs to know under Store Notes (optional). The customer does not see this.
- Under Return Shipping Label (optional), fill in any of Tracking Number, Tracking URL and Label URL (downloadable). A tracking number on its own is enough. Leave all three blank if you are not sending a label.
- Click Approve Return. The status becomes Approved and your notes and tracking details are saved on the return page.
Decline a return
- Open a return with the status Requested.
- Click Decline.
- Type a Reason for declining. This reason is shared with the customer.
- Add Store Notes (optional) for your own records.
- Click Decline Return. The return does not go any further.
Close a return without the items coming back
Use this when the customer keeps the item, such as a low value product that costs more to post than to replace. It is offered on refund returns that are requested or approved.
- Click Resolve without return.
- Type why you are doing it. A reason is required.
- Click Resolve return, or Keep return open to back out.
The return closes as completed with nothing received. No stock changes and no refund is issued, so settle any refund from the order.
Receive the returned items
- Open the approved return once the parcel arrives.
- Click Receive Items. The Receive Return Items window opens with a row for each item.
- Set the Condition of each item: New, Used or Damaged.
- If you pick Damaged, an Adjusted Refund Amount (optional) field appears. Type the figure you will actually refund for that line.
- Set What happens to it for each item: Restock, Quarantine or Write off. Choosing Damaged moves the line to Quarantine for you.
- Add Store Notes (optional) if you need to.
- Click Mark as Received. The status becomes Items Received and the Total Refund on the page updates to any figures you adjusted.
What each stock choice does
- Restock: the unit goes straight back into sellable stock. Pick this only for items you would send to the next customer.
- Quarantine: the unit stays on your shelf but off sale. Pick this for items that need cleaning, testing or repackaging first.
- Write off: the unit leaves your stock for good. Pick this for goods you cannot sell again.
Condition and stock choice are separate on purpose. A used item can still be restocked as an open box unit, and a new item can be quarantined while you inspect it.
Complete the return
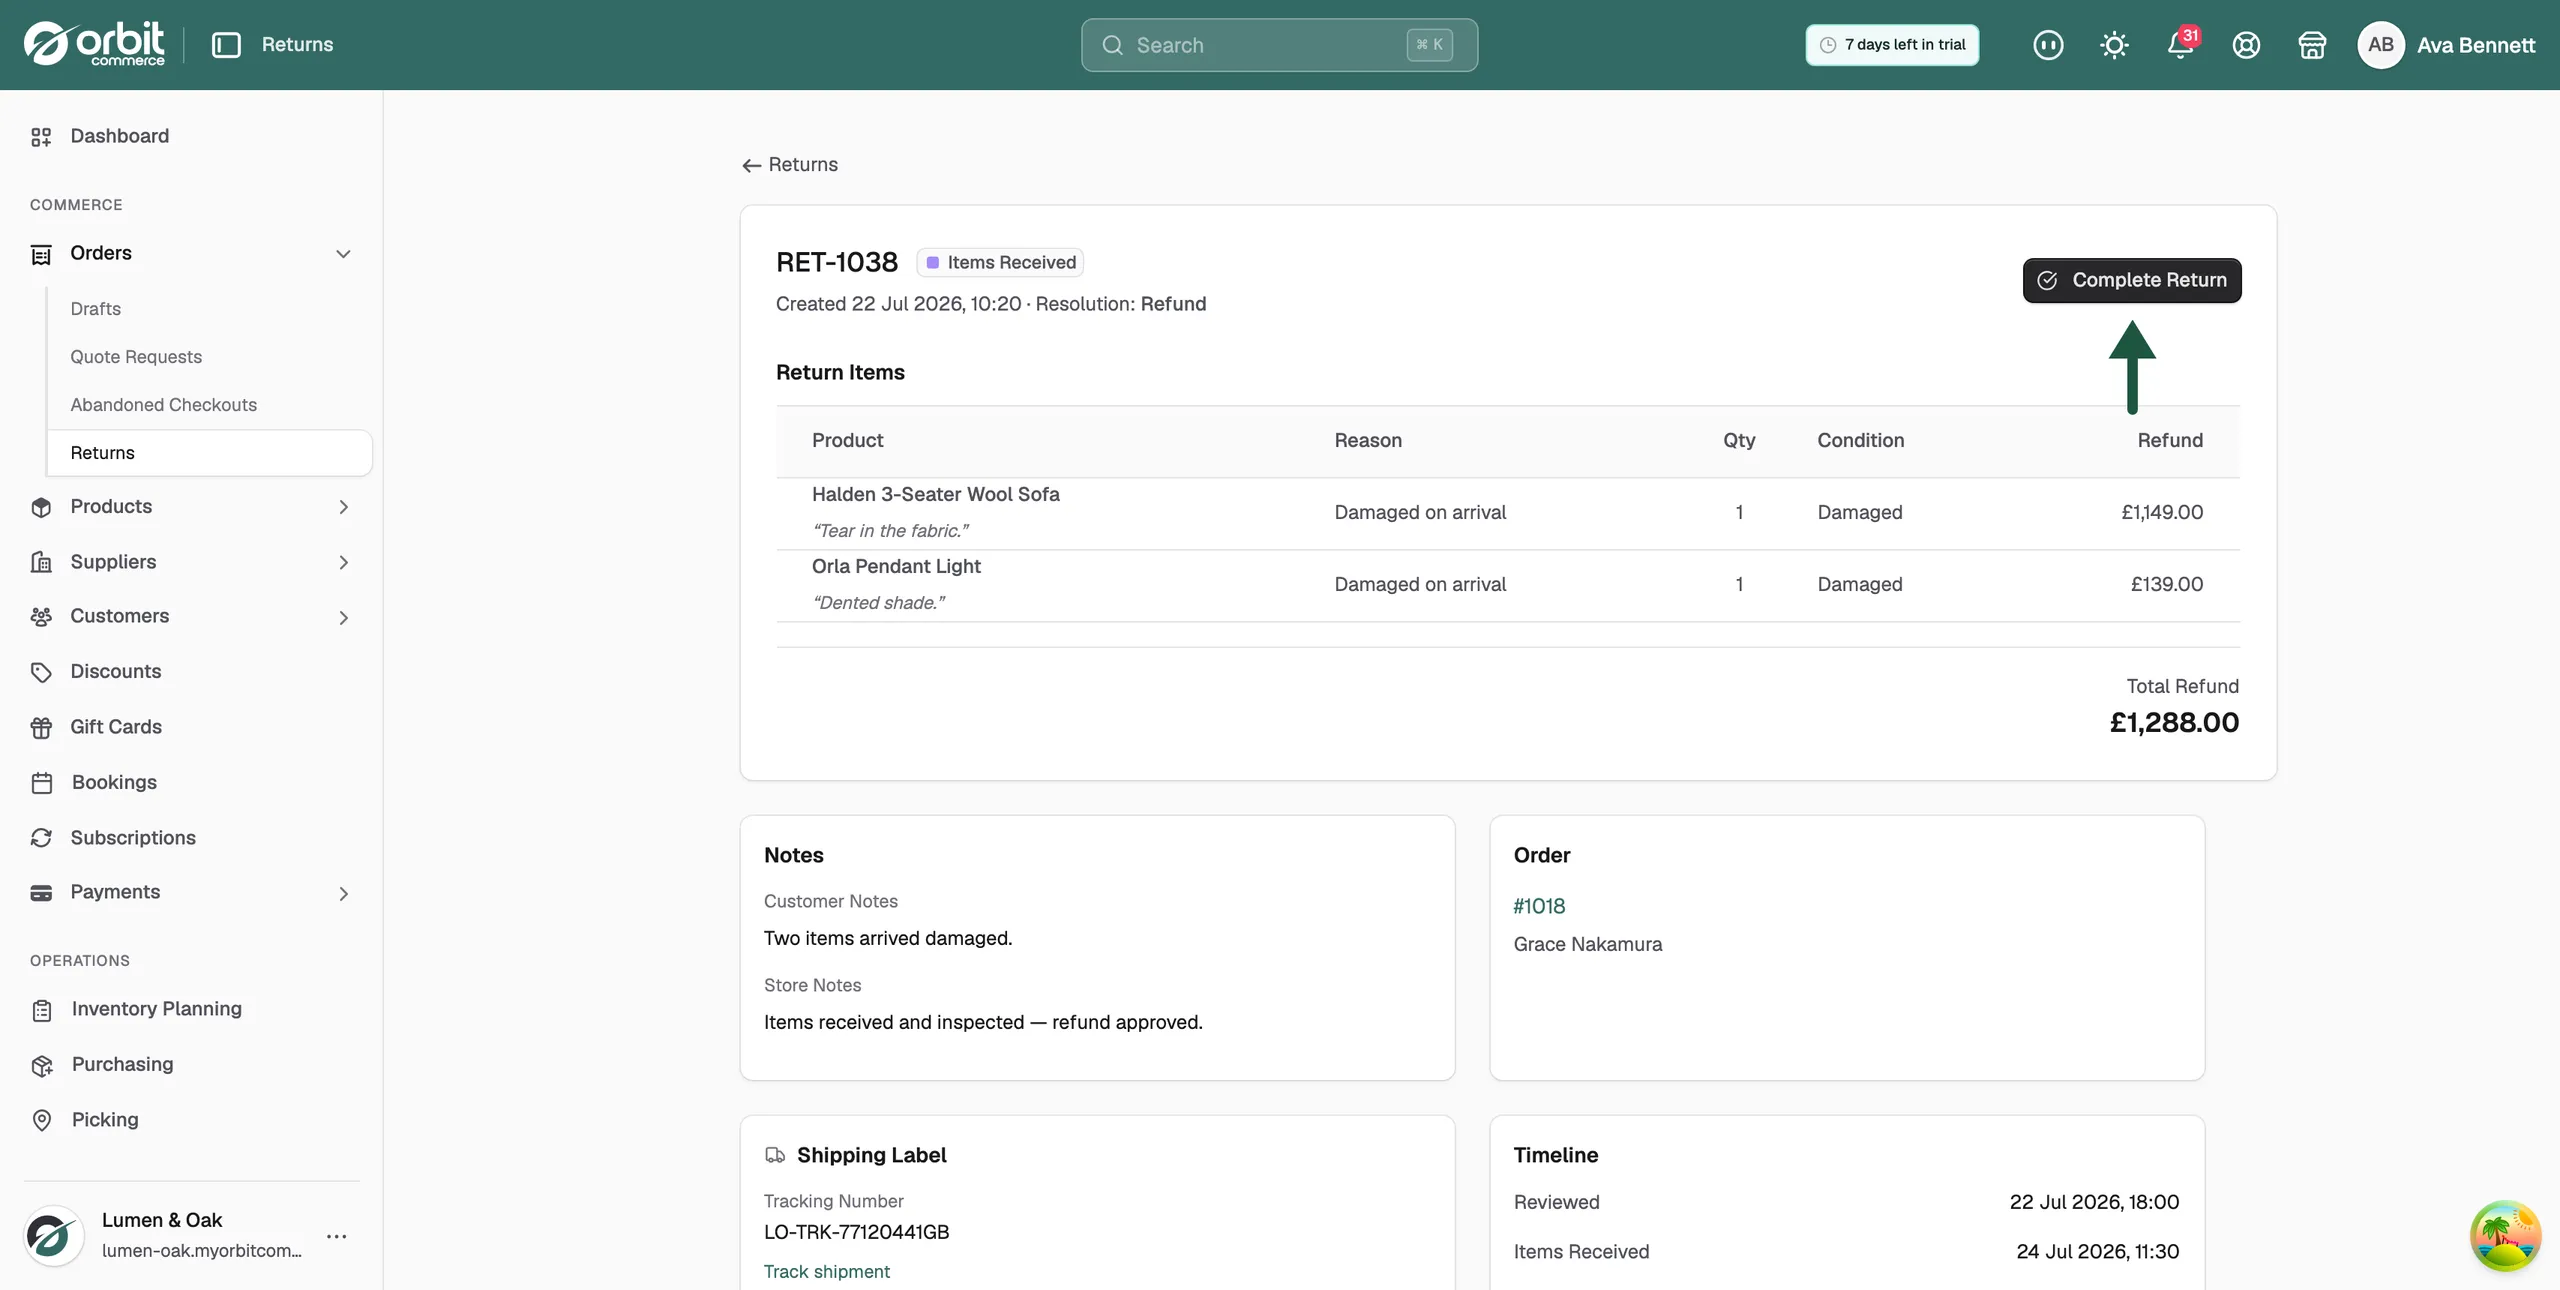
- Open the return once its status is Items Received.
- Click Complete Return. A window shows the refund total that will be recorded.
- Click Complete Return again to confirm. The status becomes Completed and no buttons are left.
- For a refund return, go to the order and issue the refund from its payment section if you have not already.
On an exchange the buttons read Complete Exchange and Complete & Settle. Completing it creates the replacement order and settles the difference.
Warning: Completing a refund return does not pay the customer. Check the order's payment section afterwards so the money actually goes back.
What is on the return page
- Return Items: the items coming back, with Product, Reason, Qty, Condition and Refund, and a Total Refund underneath. An exchange return adds an Exchange column for the replacement.
- Notes: Customer Notes from the shopper and Store Notes from your team.
- Order: a link back to the order the return came from.
- Shipping Label: the Tracking Number you entered, with Track shipment and Download label links when you gave those URLs. It reads No shipping label if you left all three blank.
- Timeline: Reviewed, Items Received and Created, with the date and time of each.
Return statuses
- Requested: the customer has raised it and it is waiting for you.
- Approved: you accepted it, so the customer can send the items back.
- Items Received: the goods have arrived and you have logged their condition. The list shows this as Received.
- Completed: the return is closed. Nothing more can be done to it.
- Declined: you turned the request down.
- Canceled: the request was cancelled before it was completed.
Related guides
Was this helpful?
0 people found this helpful