Building forms with Form Builder
Install the free Form Builder plugin, build a form from drag-and-drop fields, choose where submissions go, and place the form on a page.
2 min read2viewsUpdated 16 September 2026Orbit Commerce
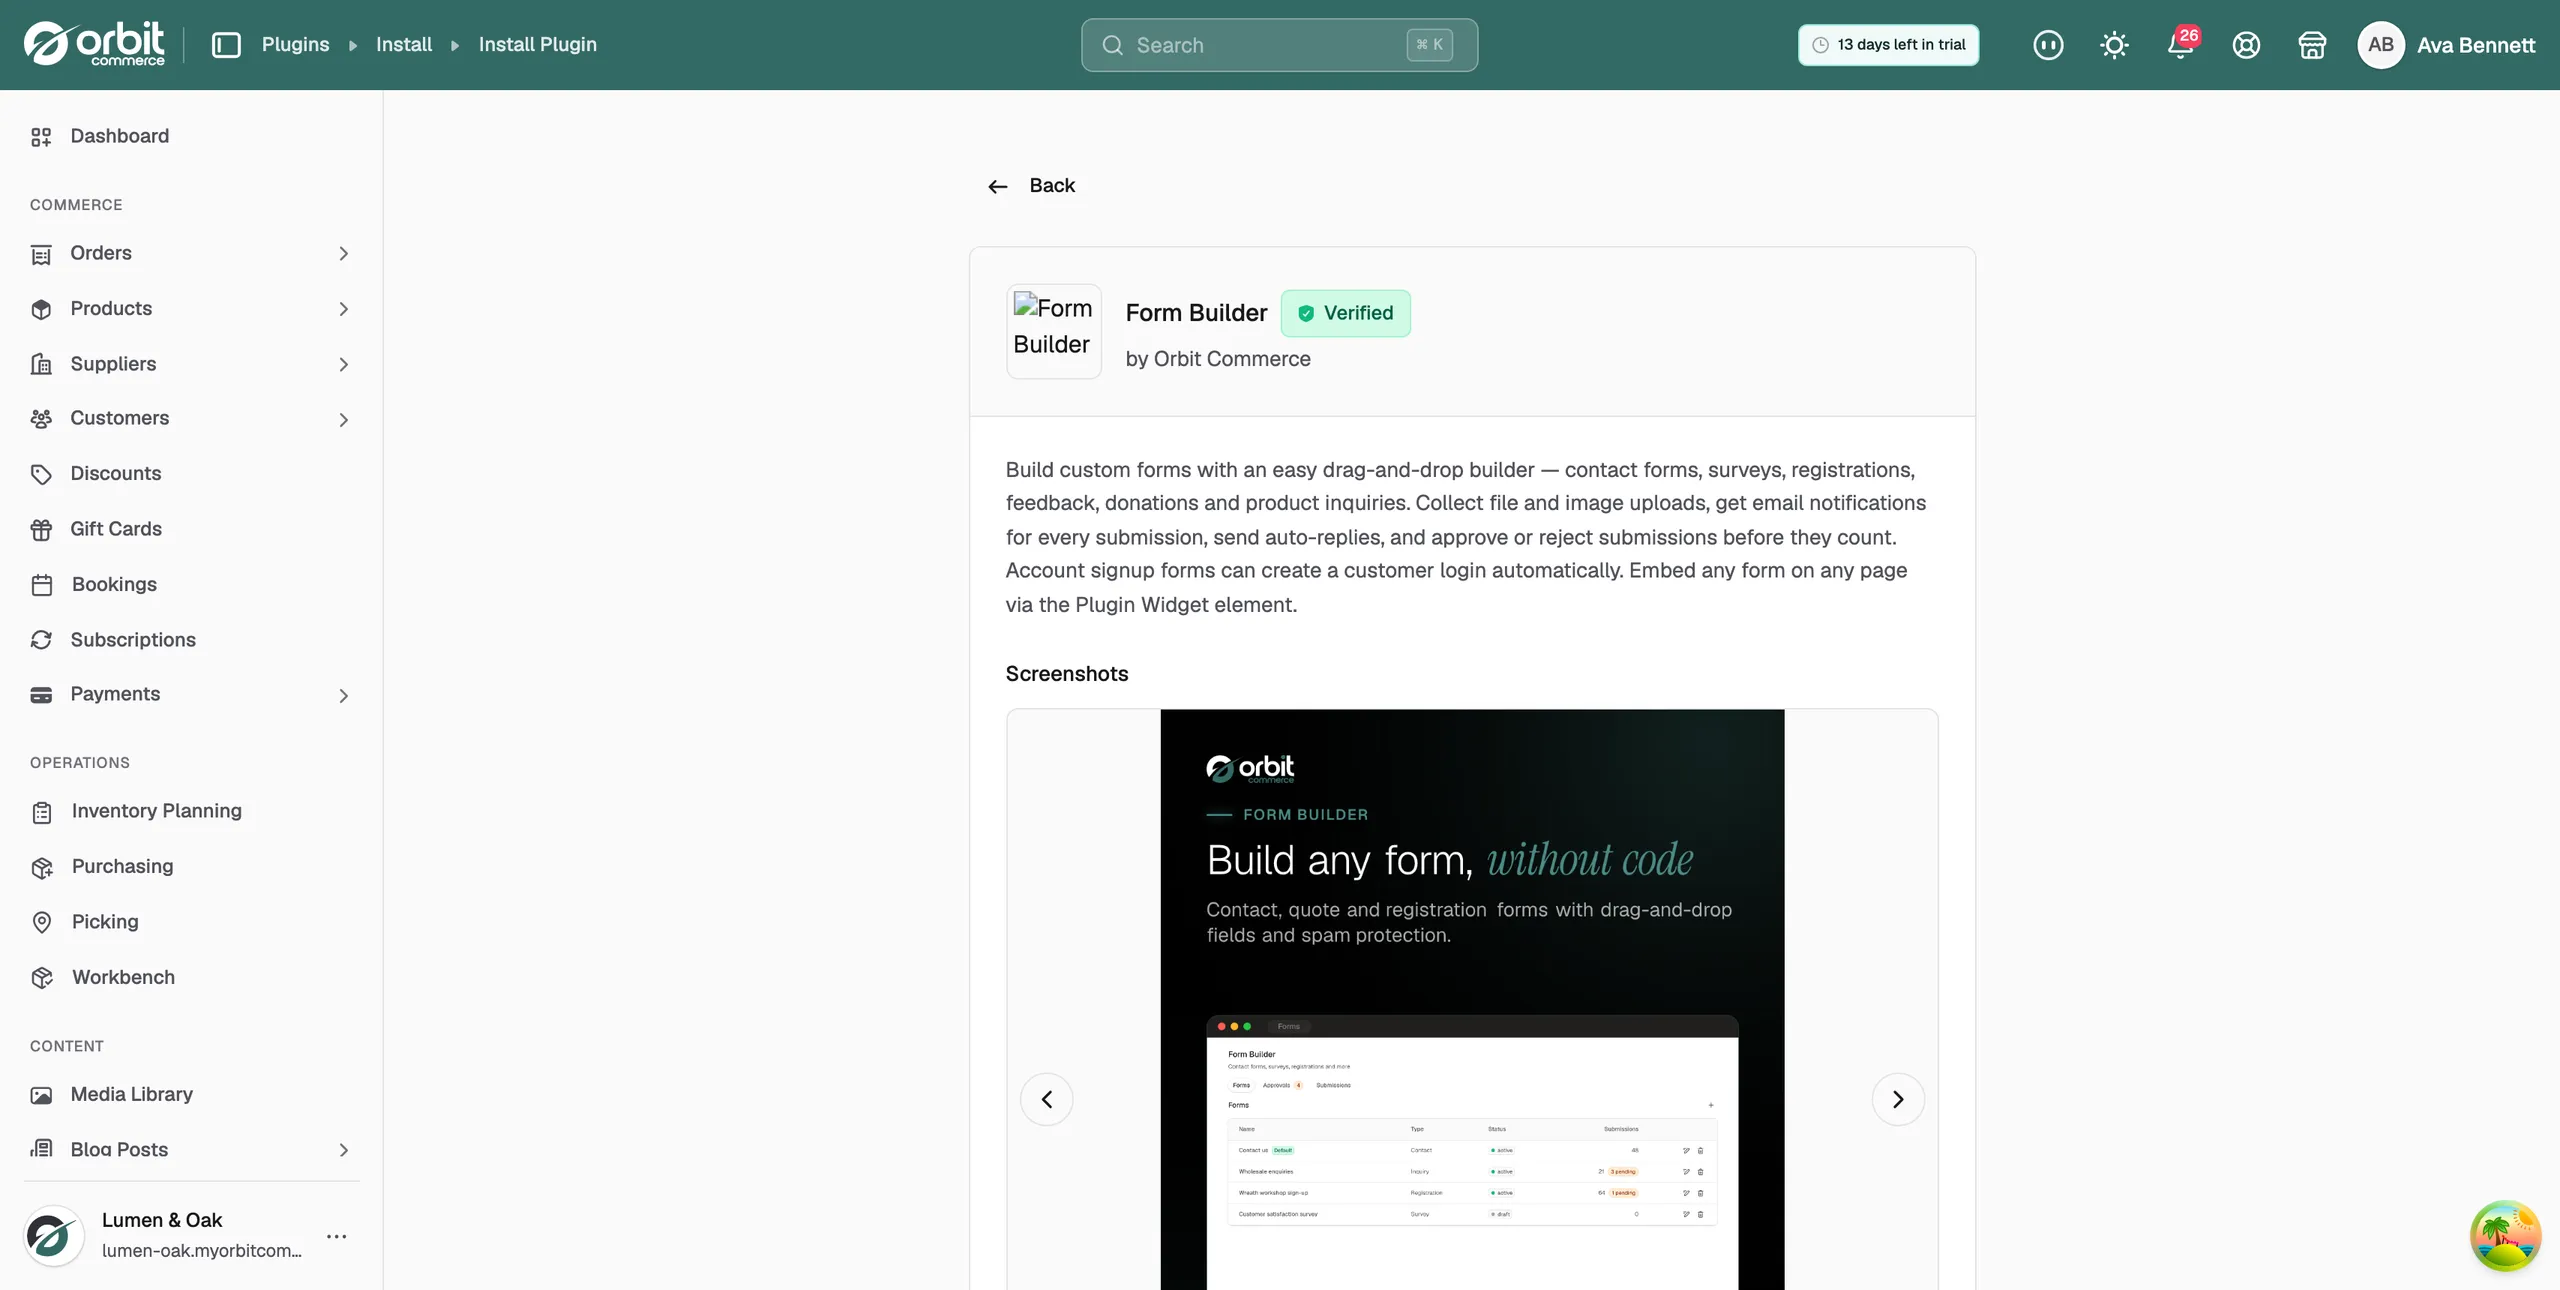
The Form Builder plugin adds forms to your storefront: contact forms, surveys, trade account applications, competition entries and file uploads. Submissions are collected in your Orbit dashboard. The plugin is free and you install it from Plugins.
Considerations
- Each field's label becomes a column in your submissions. Name fields clearly.
- Every extra field costs you completions. Ask only for what you will act on.
Install Form Builder
- From your Orbit dashboard, go to Plugins.
- Find Form Builder and install it. The full steps are in Installing and managing plugins.
- Under My Plugins, click Open on the Form Builder row.
Build a form
- In Form Builder, create a new form.
- Drag the fields you need into the form: text, email, dropdowns, checkboxes and file upload.
- Give each field a clear name. These names become the columns in your submissions.
- Set where submissions go. Every form has its own inbox in the dashboard, and you can add an email notification as well.
Tip: Send one test submission yourself and check the notification email arrives. A form that collects but never notifies is a complaint box nobody reads.
Add the form to a page
- Open the page in the page builder.
- Add the page builder's form element and drop it where you want the form.
- Pick the form you built and save the page.
Forms worth building
- Trade account application: company name, VAT number and references. When you approve one, tag the customer so your trade rules pick them up. See Adding tags to a customer.
- Contact form: add a subject dropdown so you can sort submissions by topic later.
- Made-to-order enquiry: include a file upload for the customer's room photo or brief.
Related guides
Was this helpful?
0 people found this helpful