Building calculators with Calculator Builder
Create a calculator from a template or from scratch, add inputs and a formula, capture leads from the results, and add it to a page.
The Calculator Builder plugin lets you build interactive calculators for your storefront. Visitors enter their numbers and get an instant answer. If you ask for it, they can leave their email to receive the full result, which gives you a lead.
Considerations
- The plugin is free.
- Once installed, it appears in the left menu as Calculators.
- A calculator only appears on your storefront once you publish it and add it to a page with the page builder.
What merchants build with it
- Quantity calculators: "How many boxes of tiles do I need?" Square metres in, boxes out.
- Price estimators: dimensions and options in, a rough price out. Good for made-to-order products.
- Savings calculators: show what switching to you costs or saves, for consumables and subscriptions.
Install the plugin
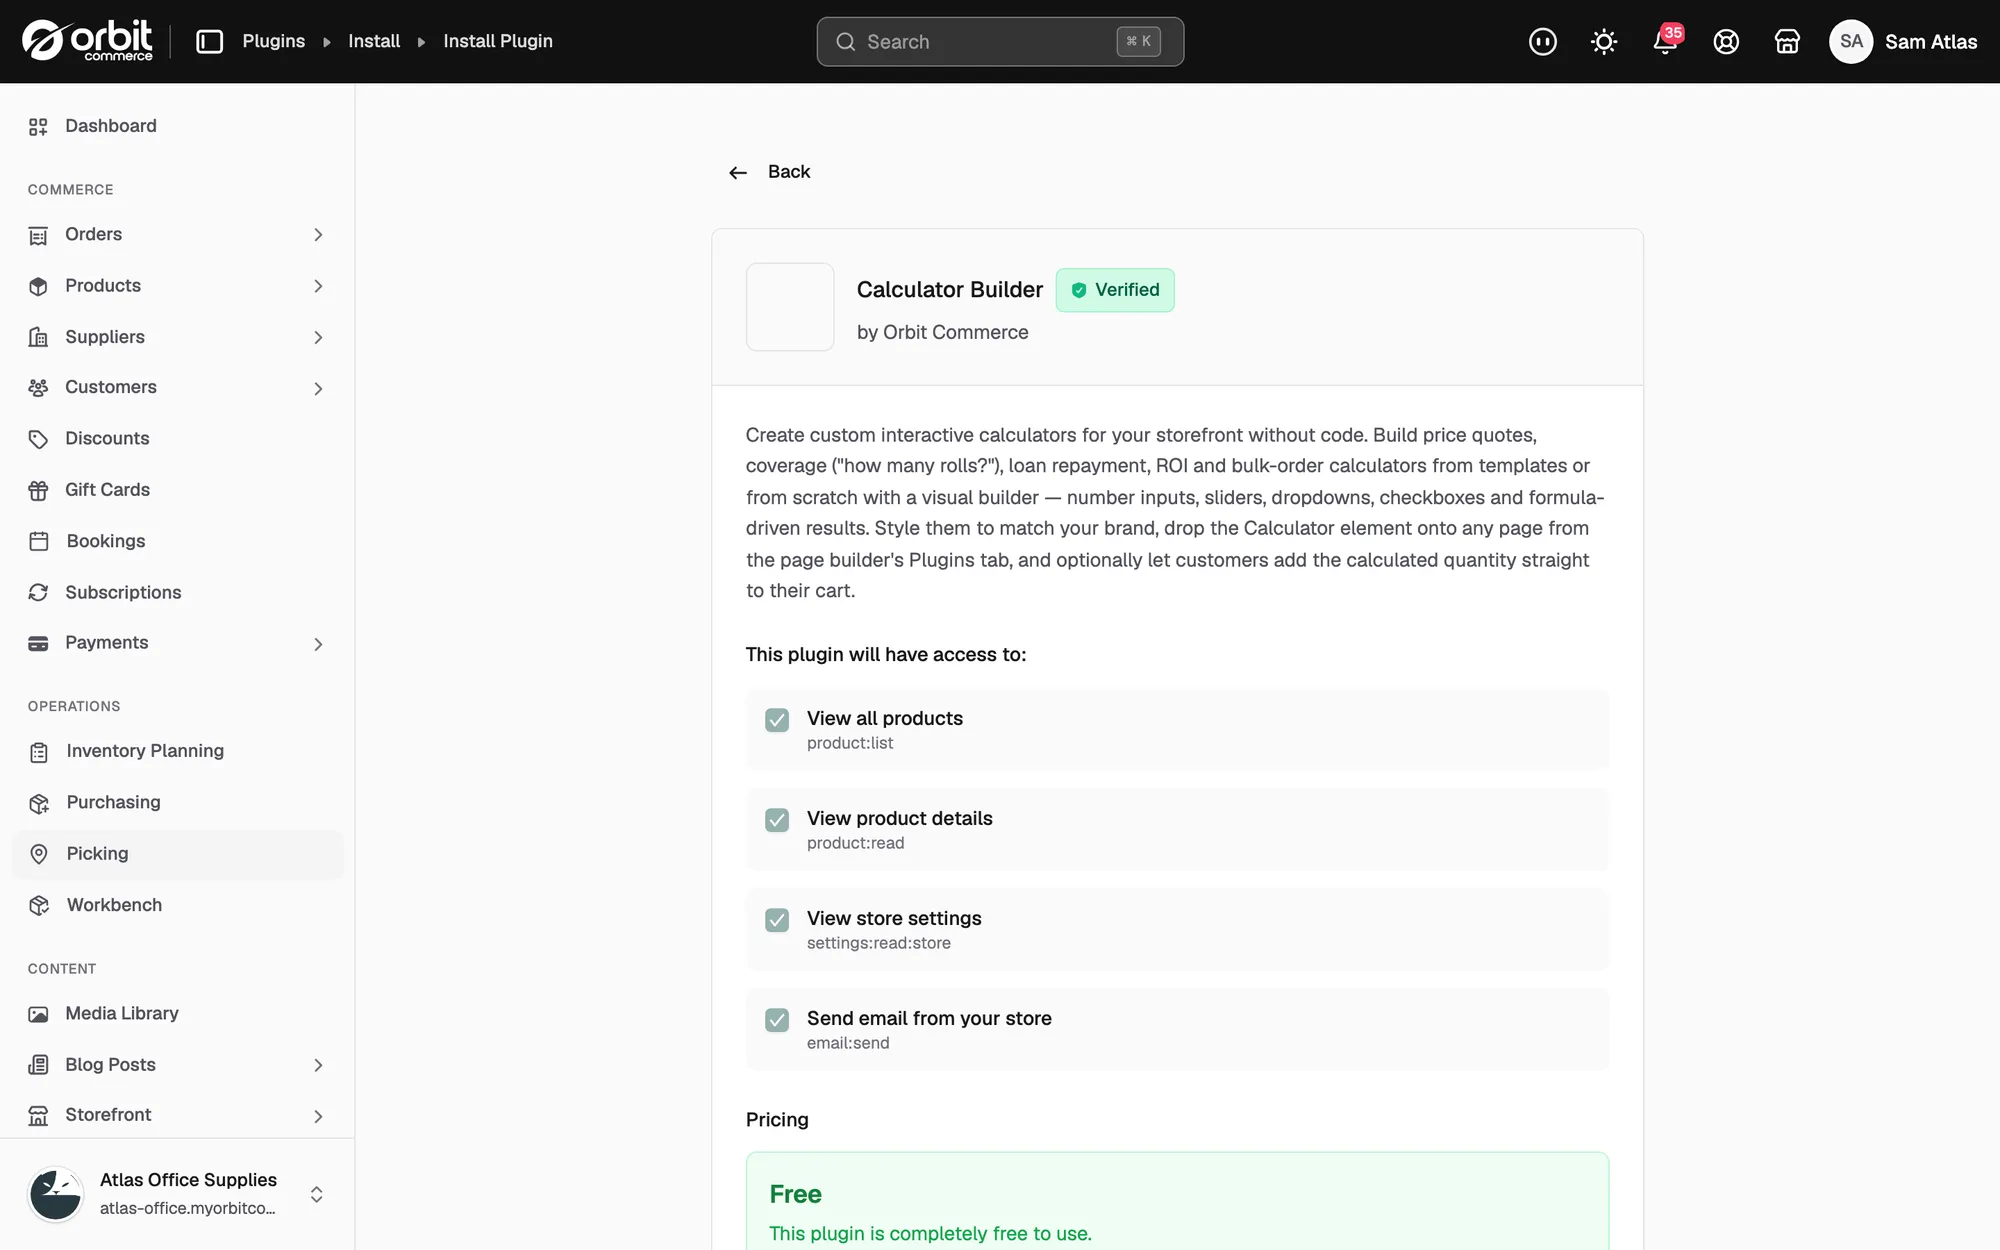
- From your Orbit dashboard, go to Plugins.
- Find Calculator Builder and install it. The full steps are in Installing and managing plugins.
Create a calculator
- From your Orbit dashboard, go to Calculators.
- Click New calculator.
- Enter a Calculator name, for example Wallpaper calculator.
- Pick a starting point. Blank calculator starts empty. The templates give you a working calculator to edit, such as Price quote, Coverage / how many do I need?, Installation / service quote, Loan repayment, ROI calculator and Bulk order / unit price.
- Click Create calculator. The builder opens.
Build the calculator
The builder has a list of elements on the left, a canvas in the middle and a panel on the right with Element, Design and Settings tabs. Click an element on the canvas to edit it in the Element tab.
- Add inputs from the left: Number input, Slider, Dropdown, Radio group, Checkbox, Text input or Date. Give each one a Label and a Variable name to use in formulas.
- Add a Result element. In its Formula field, write the sum that turns the inputs into the answer, using the variable names.
- Add layout elements if you need them: Heading, Text, Image, Separator, Button or Step break. A Step break splits the calculator into a multi-step wizard.
- Use the Design tab to match the calculator to your store's fonts and colours.
- Click Preview and enter Test values to try it as a customer would. Test values are not saved.
- Click Publish. To take a calculator off your storefront later, click Unpublish.
Collect leads from results
- In the builder, find Email results (lead capture) in the right-hand panel.
- Switch on Let visitors email themselves the results. You can also switch on Also ask for their name and Include the inputs + results breakdown.
- To get a copy of every lead, switch on Email me each submission (lead) and enter your email address.
- Click Publish to save the change.
Leads are listed under Submissions for that calculator. They appear there when visitors email themselves results.
Add the calculator to a page
- Open the page in the page builder.
- Drop the calculator onto the page where you want it to show. See Adding a plugin widget.
- Save the page.
Tip: Ask one clear question per calculator, such as "What will my room cost?" A twelve-input form puts people off. End every result with a next step: the matching product, a quote request link or a booking.
Related guides
Was this helpful?
0 people found this helpful