Adding a divider
Add a horizontal line between sections, with an optional icon or label in the middle. Covers the size, content and style settings.
2 min read3viewsUpdated 16 September 2026Orbit Support Team
The Divider element adds a horizontal line to your page. Use it to separate sections and give your content a clear break. You can put an icon or a short label in the middle of the line.
Add the element
- From your Orbit dashboard, go to Storefront, then Pages, and open the page you want to edit.
- In the toolbox on the far left, click Elements.
- Open the Basic group and find Divider, or search for it.
- Drag it onto the canvas and drop it where you want it.
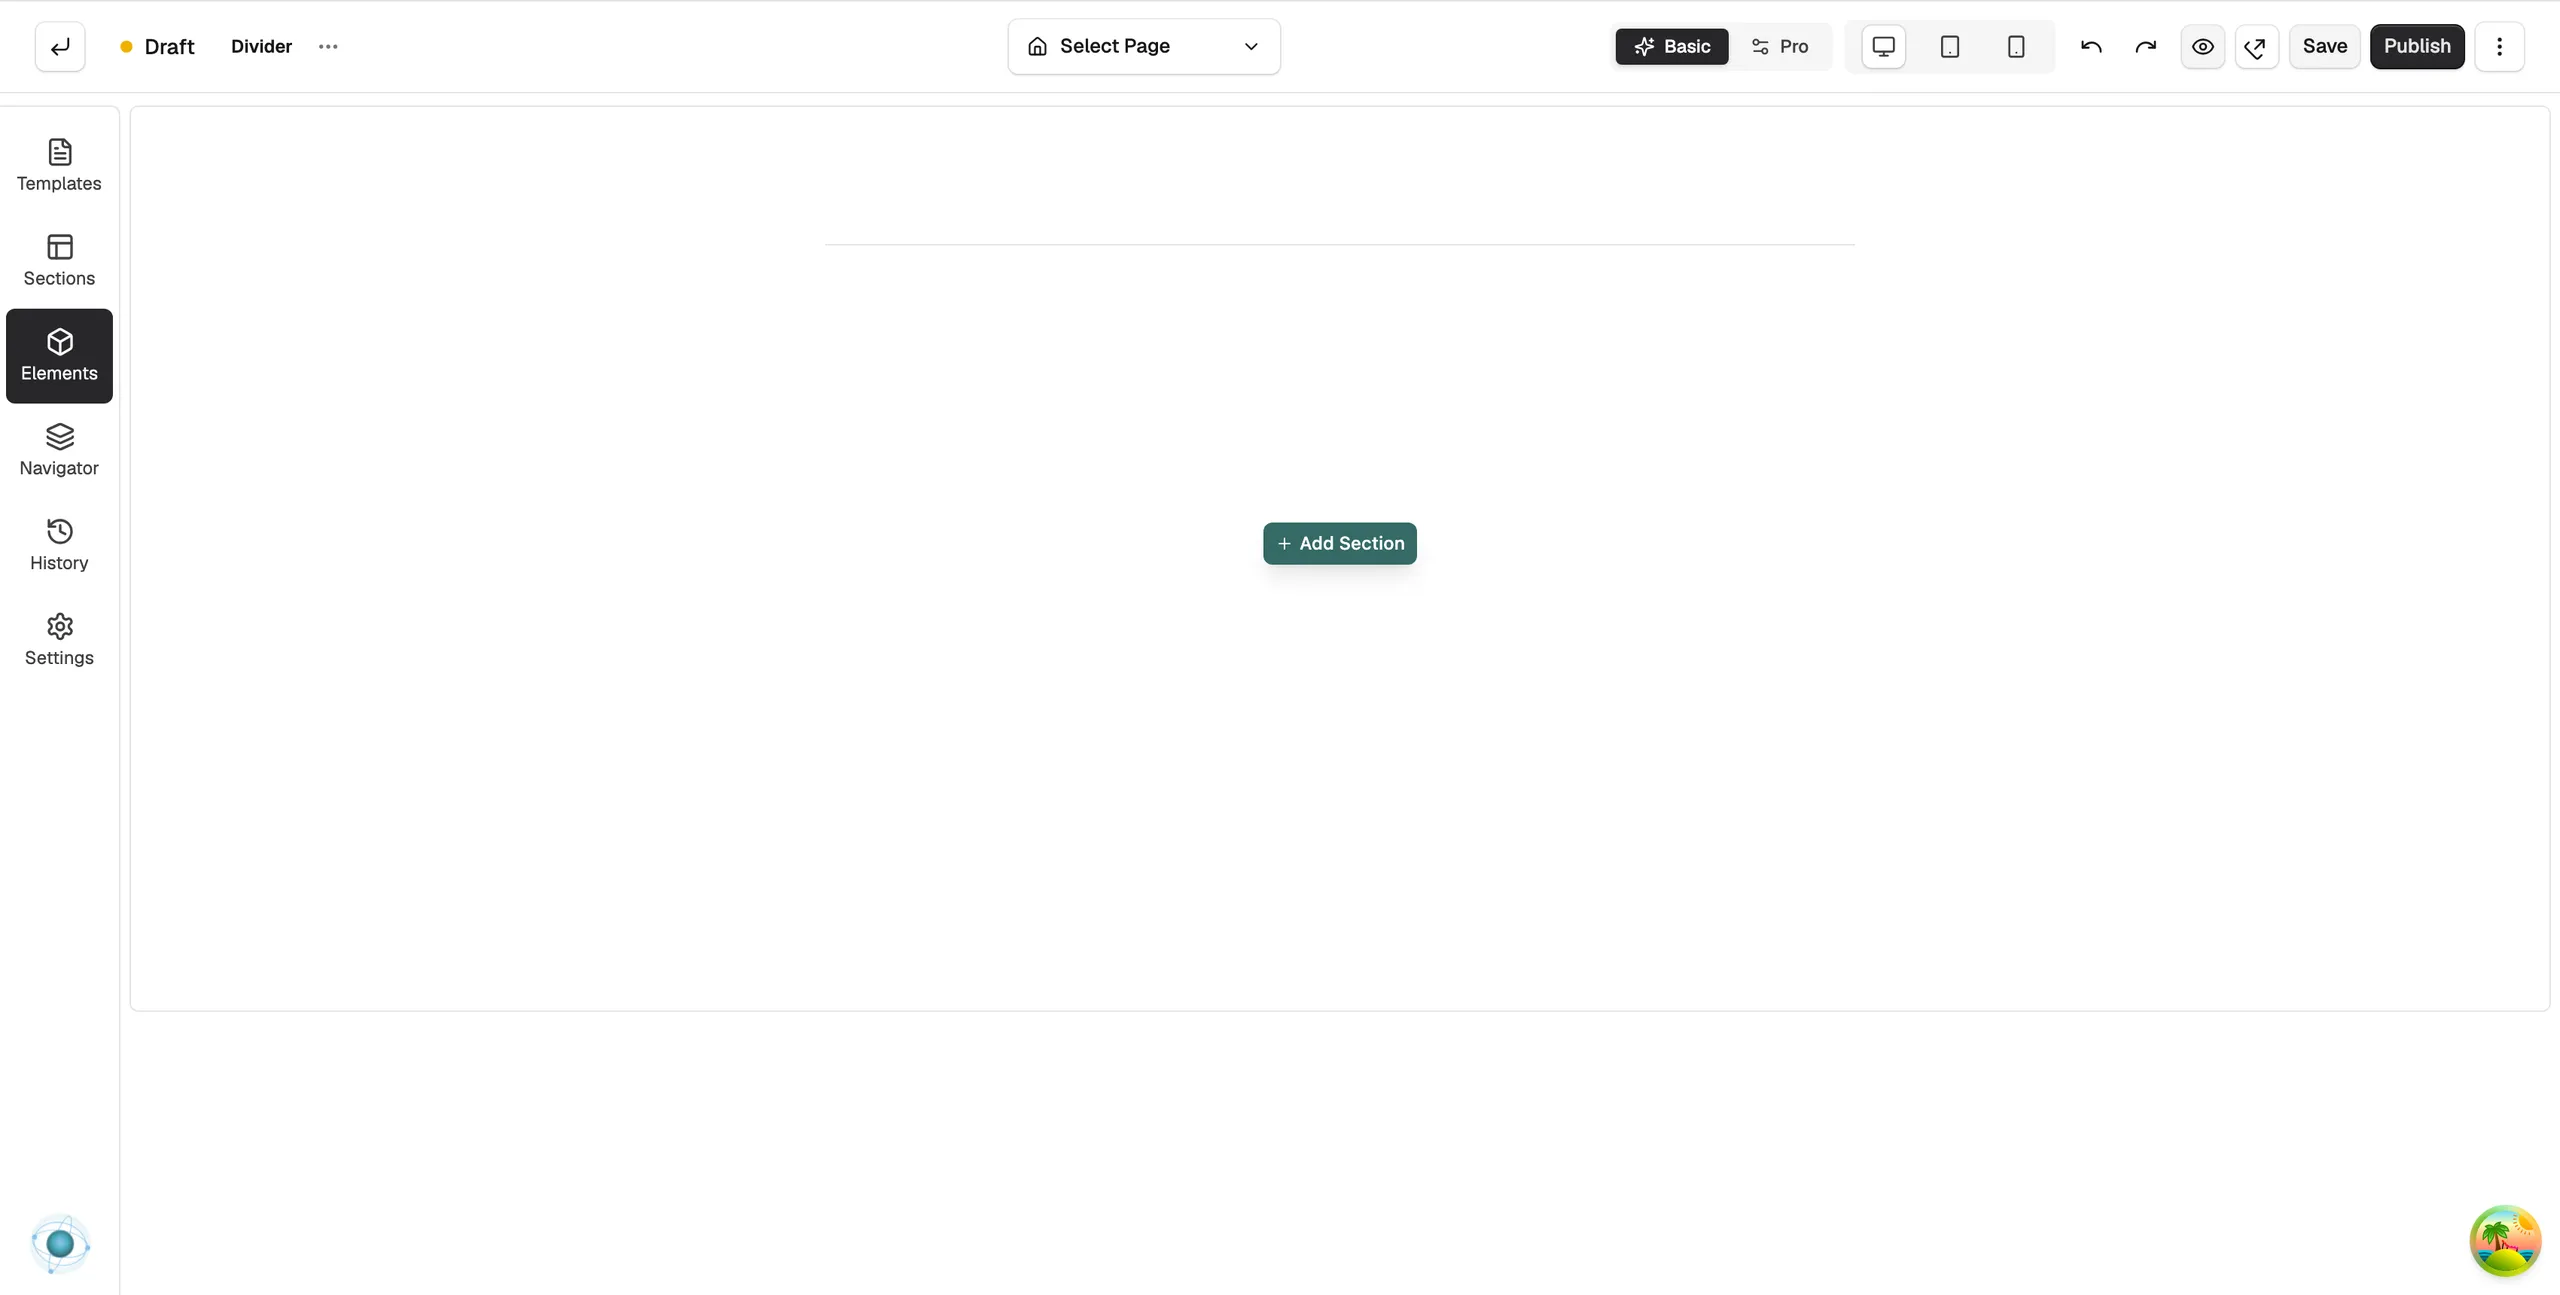
Settings
Click the divider on the canvas and open the Content tab. The settings sit in two groups.
Size
- Width: how far the line stretches across its space, as a percentage.
- Height: the thickness of the line, from 1 to 20 pixels.
- Alignment: where the line sits when it is narrower than its space: Left, Center or Right.
- Content Spacing: the gap between the line and the icon or text in the middle.
Content
- Type: None for a plain line, Icon to show an icon, or Text to show a label.
- Text: the label shown in the line. Only shows when Type is Text.
- Icon: pick an icon. Only shows when Type is Icon.
- Content Position: where the icon or text sits along the line: Left, Center or Right.
On the Design tab, Line Style sets the line to Solid, Dotted, Dashed, Double, Zigzag or Curly. You can also set Opacity, Line Colour, the text typography, and the Icon Size and Icon Colour. Use the Spacing controls for the space above and below the divider.
Related guides
Was this helpful?
0 people found this helpful