Adding a countdown timer
Show a live countdown to a sale, launch or offer deadline. Covers adding the element, setting the target date and choosing which units to show.
2 min read27viewsUpdated 25 September 2026Orbit Support Team
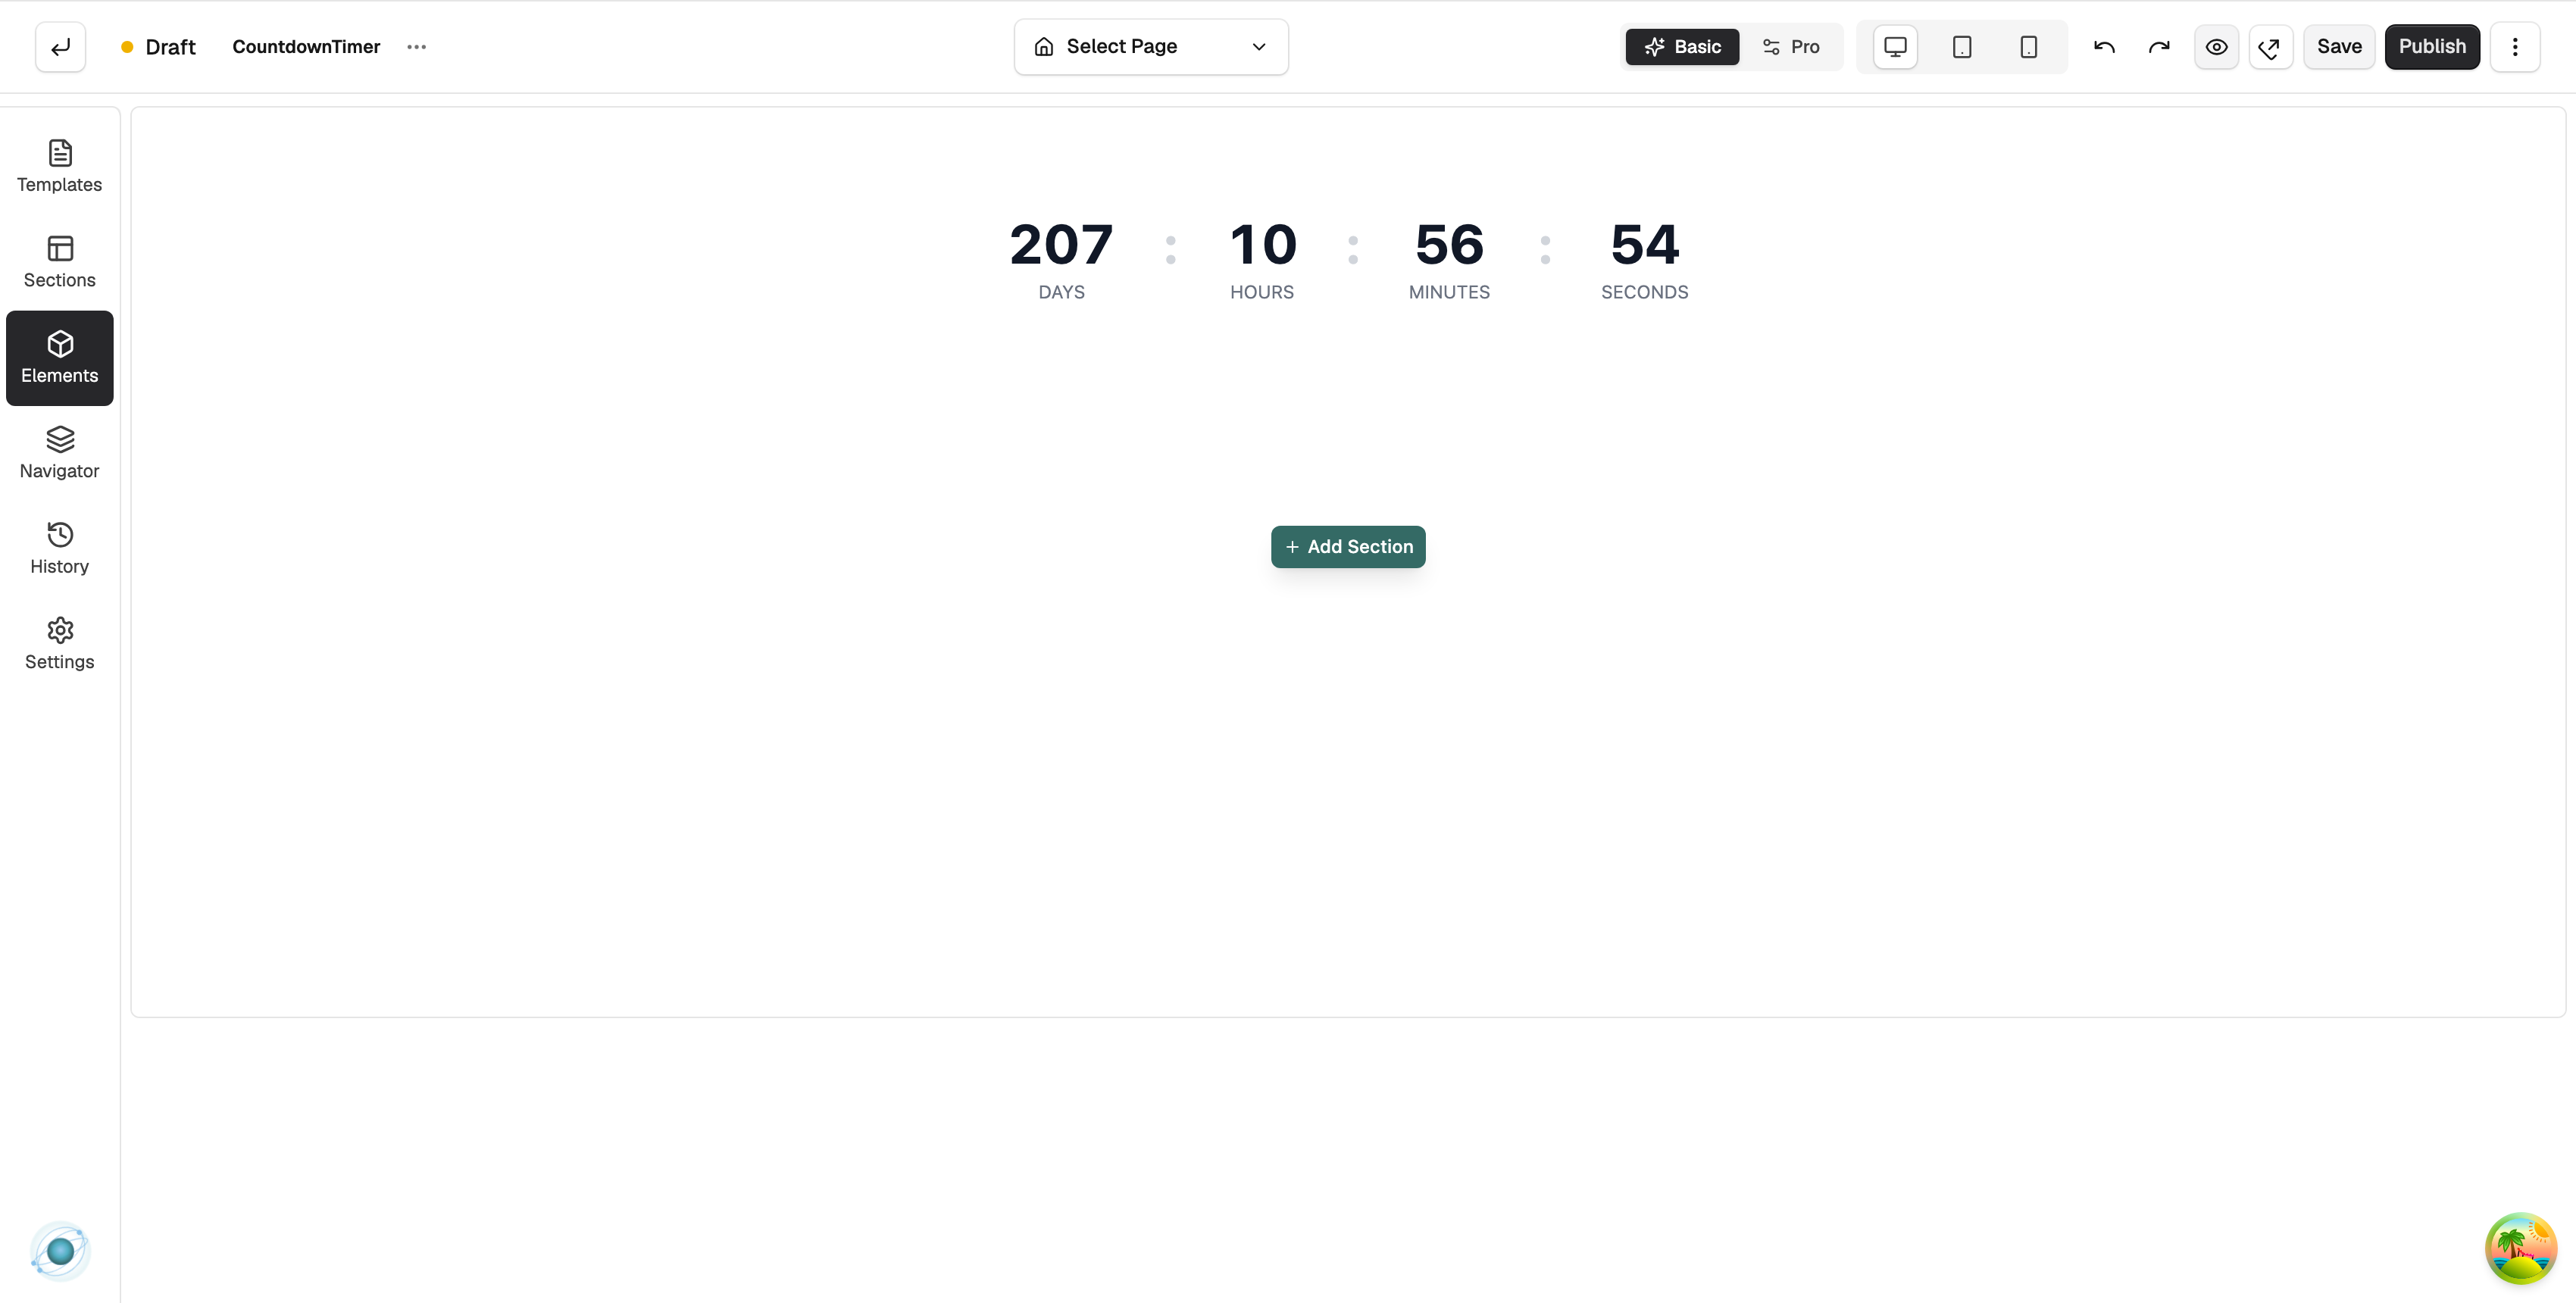
The Countdown Timer element shows a live countdown to a date and time you set. Use it for a sale, a product launch or the end of an offer.
Considerations
- The Advance group only shows when the builder is in Pro mode. Use the Basic and Pro toggle in the toolbar.
- When the target date is reached, the timer stops and shows your expired message. Remove or update the element after the event.
Add the element
- From your Orbit dashboard, go to Storefront, then Pages, and open the page you want to edit.
- In the toolbox on the far left, click Elements.
- Open the Advance group and find Countdown Timer, or search for it.
- Drag it onto the canvas and drop it where you want it.
Set the date
- Click the timer on the canvas. The settings panel opens on the right.
- On the Content tab, under Countdown, click Target Date and pick the date and time.
- In Expired Message, type what to show once the countdown ends, such as Time is up!
Settings
Countdown
- Target Date: the date and time the timer counts down to.
- Expired Message: the words shown once the countdown has finished.
Display Units
- Show Days, Show Hours, Show Minutes, Show Seconds: turn each unit on or off.
- Show Labels: show the words Days, Hours and so on under each number.
The Design tab has Digit Typography, Label Typography and Appearance, which covers the separator colour, background colour, gap, border radius and alignment.
Related guides
Was this helpful?
0 people found this helpful