Adding a brand list
Add a Brand List element, upload the logos of the brands you stock, and set each brand's name and link.
2 min read3viewsUpdated 17 September 2026Orbit Support Team
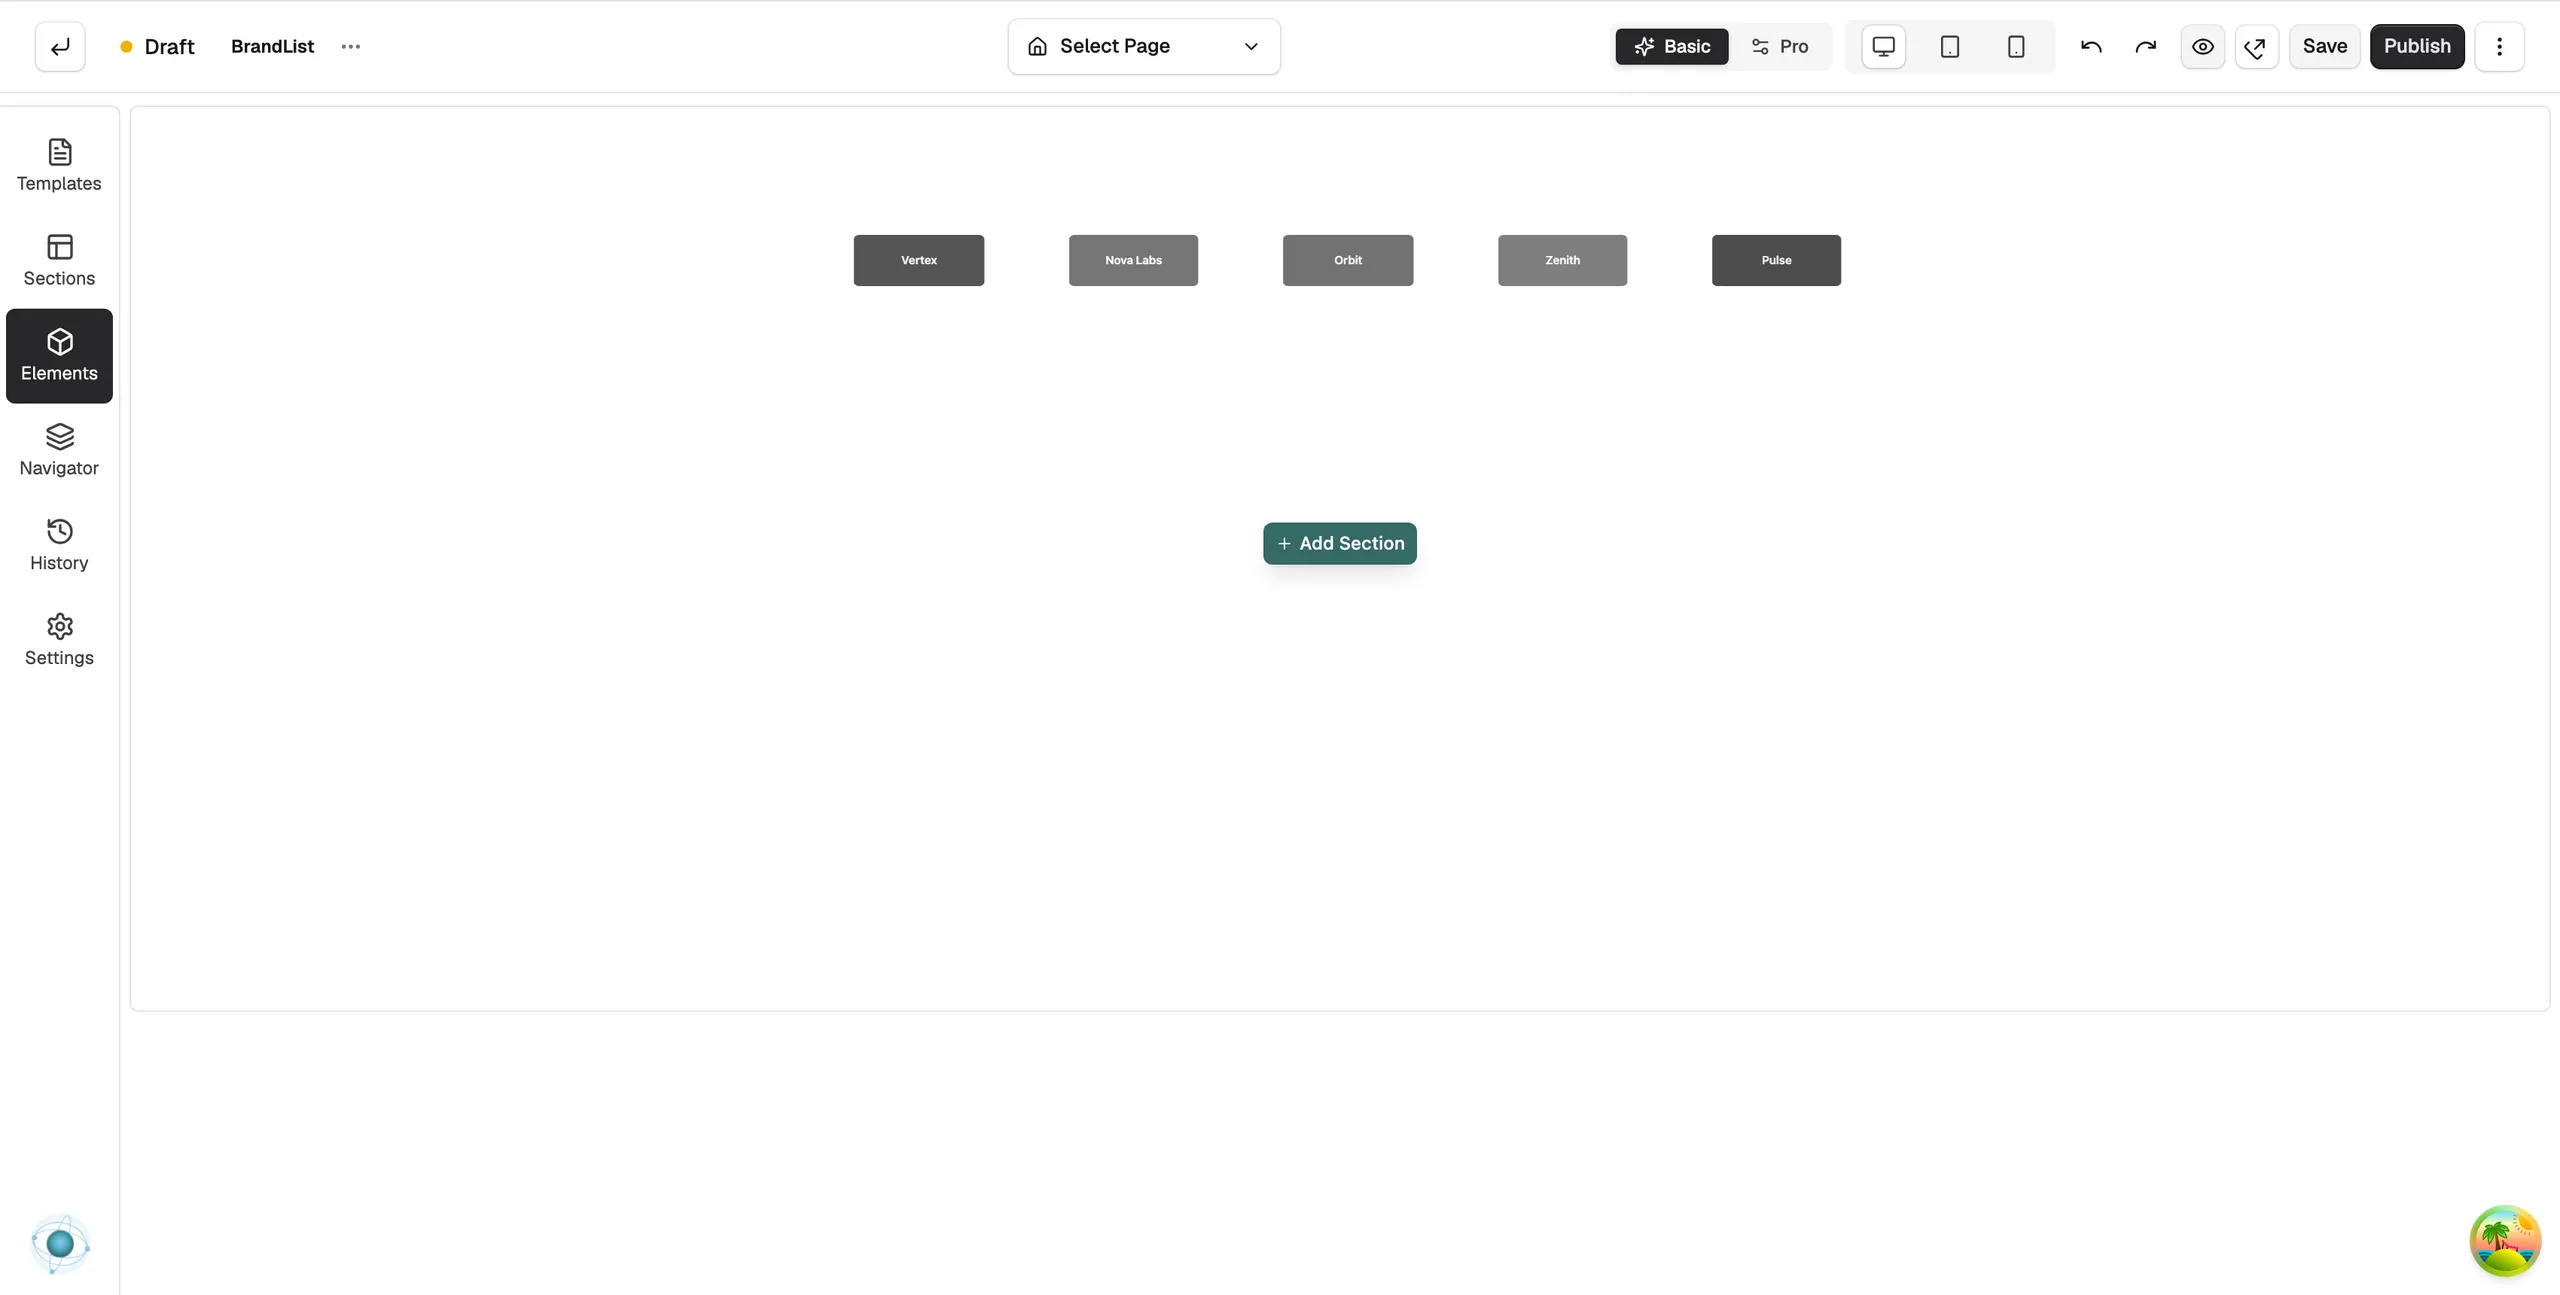
The Brand List element shows a row of brand logos in a carousel that scrolls on its own. Use it to show the brands you stock or the partners you work with. Each logo can link to a page.
Considerations
- This element does not read the brands you set on your products. You add each logo by hand.
Add the element
- Open the page in the page builder.
- In the toolbox on the far left, click Elements.
- Click the Basic group, or search for Brand List.
- Drag Brand List onto the canvas and drop it where you want it.
- Click the element on the canvas to open its settings, then click the Content tab.
Add brand logos
- Under Brands, click Add Brand. The Add Brand Logos window opens.
- Pick one or more logos from your media library, or upload new ones. Each image becomes a brand in the list.
- Click Edit on a brand to set its Brand Name, Alt Text and Link URL.
- Use Move up and Move down to change the order, or Remove to take a brand out.
- Click Save at the top right.
Tip: To swap a logo, click its thumbnail in the list, or click Change Image in the edit form.
Content settings
- Brands: the list of logos, with the edit, reorder and remove controls above.
- Show Brand Name: under Display. Shows each brand's name with its logo.
Design settings
The Design tab has Layout, Slider, Style, Brand Name and Typography groups. For the Design and Advance tabs in full, see Using the element settings panel.
Related guides
Was this helpful?
0 people found this helpful