Adding a before and after slider
Add a Before After element, set the two images and their labels, and choose where the slider handle starts.
2 min read3viewsUpdated 16 September 2026Orbit Support Team
The Before After element shows two images on top of each other with a handle customers can drag. Use it to show a change, such as before and after using a product.
Add the element
- Open the page in the page builder.
- In the toolbox on the far left, click Elements.
- Click the Advance group, or search for Before After.
- Drag Before After onto the canvas and drop it where you want it.
- Click the element on the canvas to open its settings, then click the Content tab.
Note: The Advance group only shows in Pro mode. If you cannot see it, click Pro at the top of the editor first.
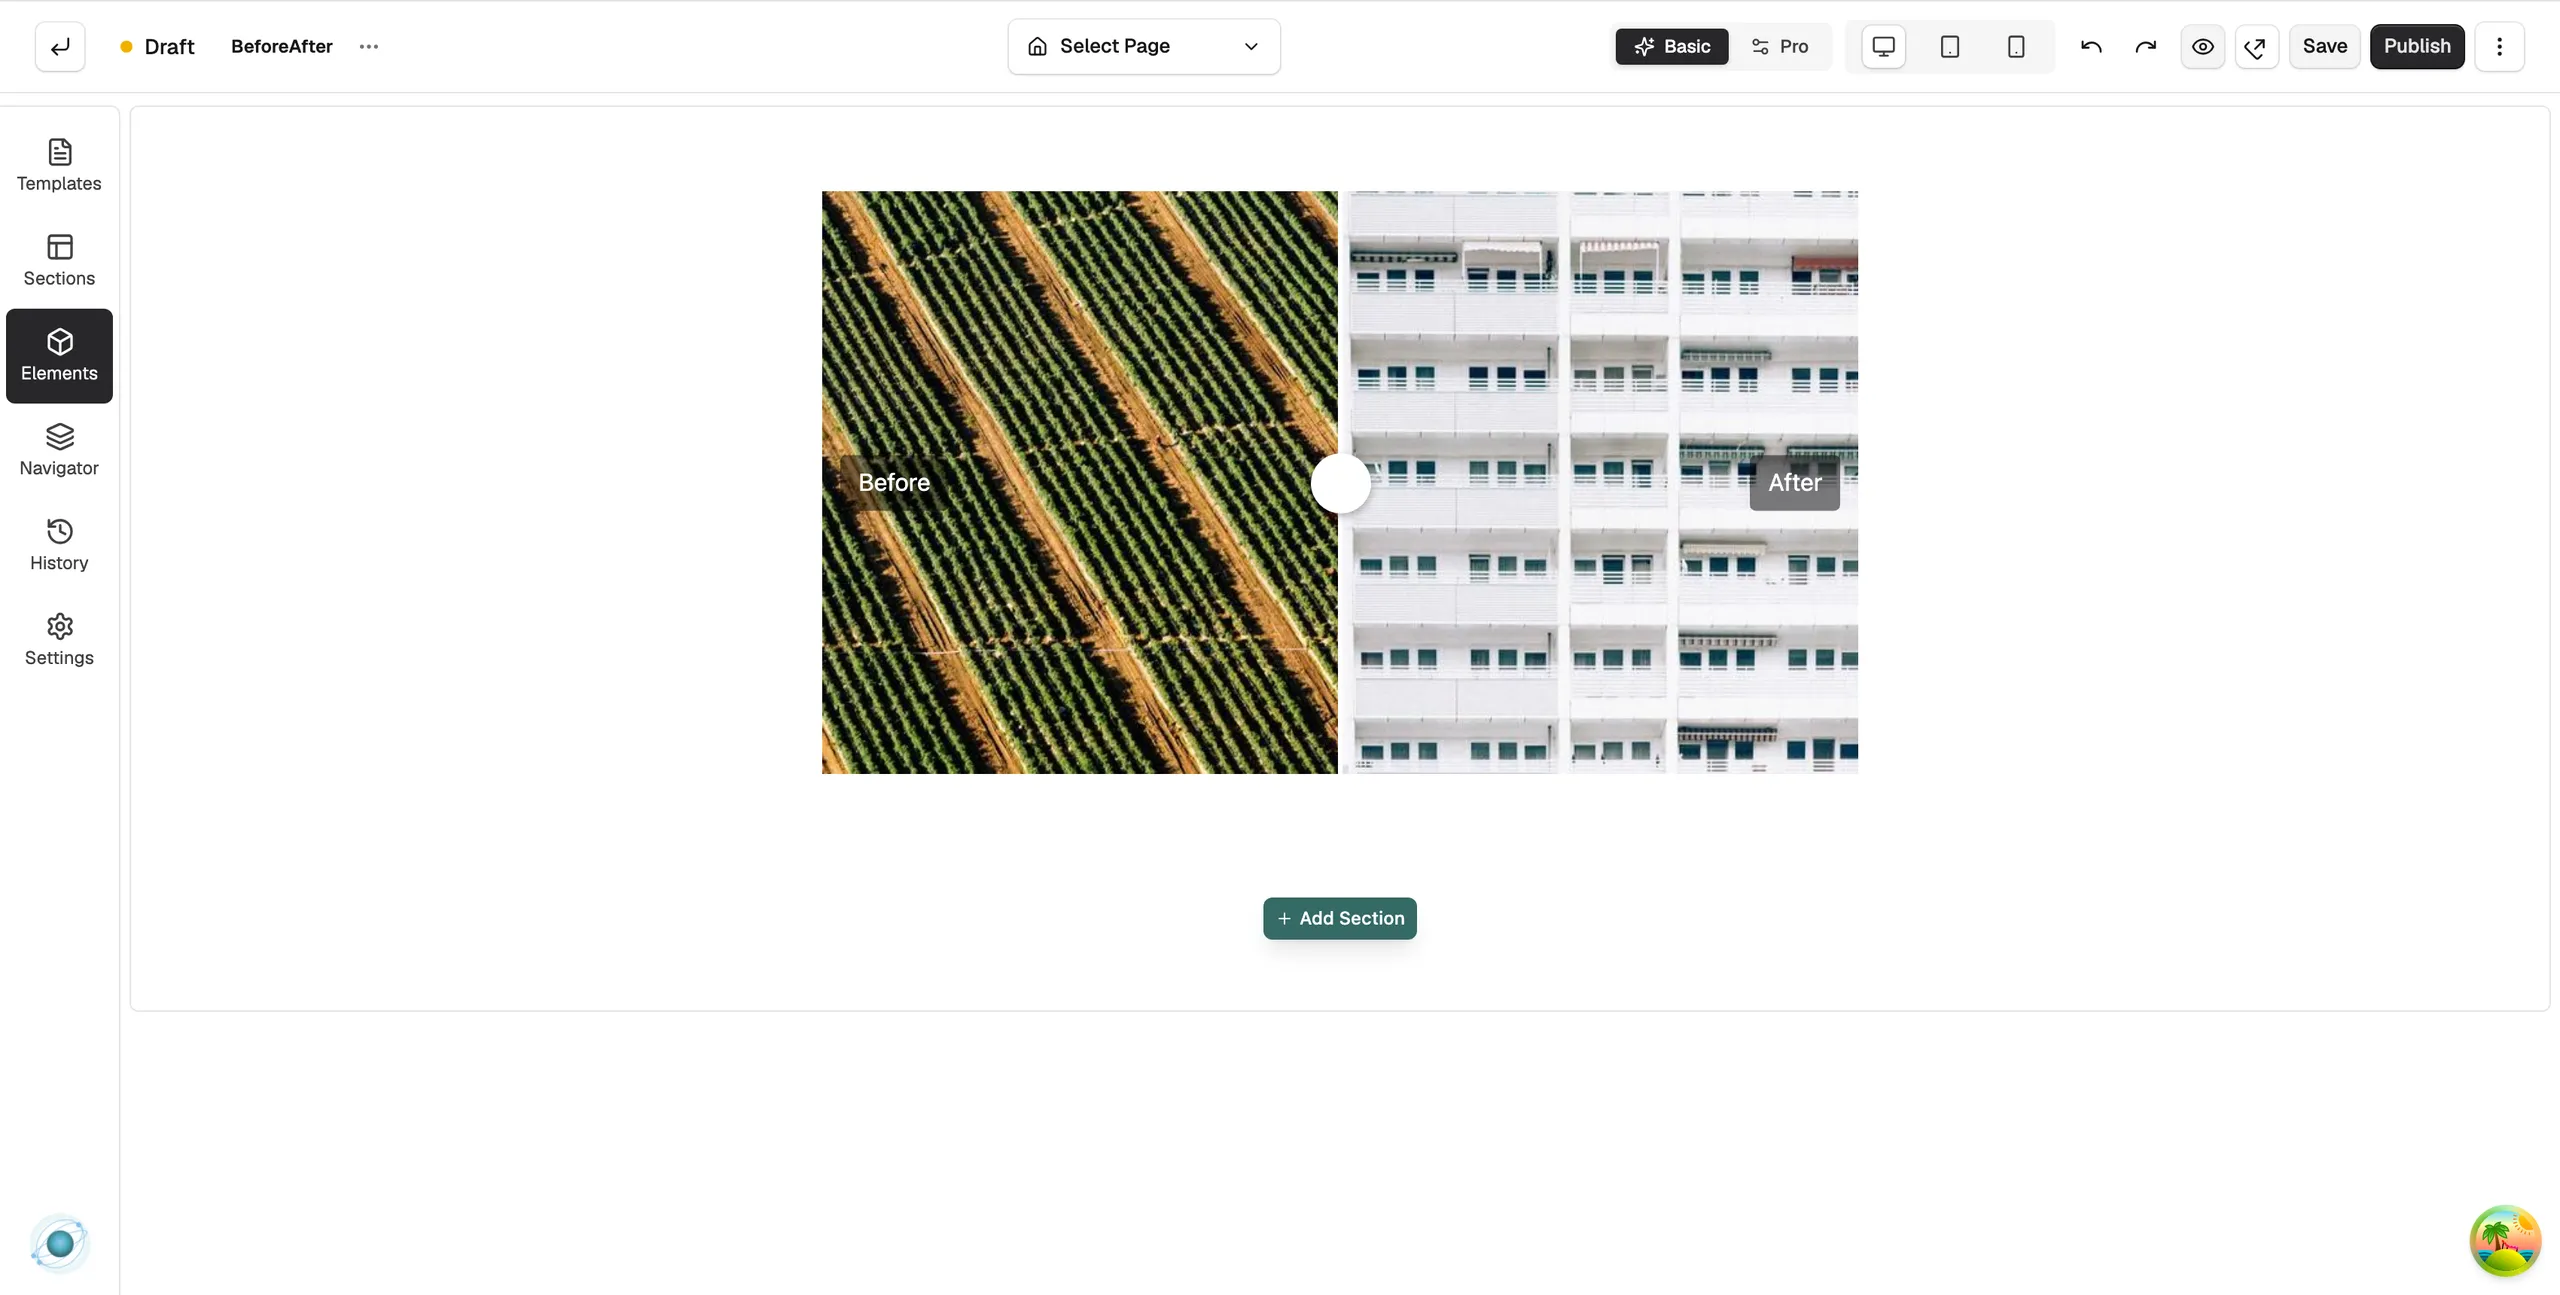
Content settings
Before Image and After Image
Each side has the same two fields.
- Image Source: paste an image address, or click Browse to pick an image from your media library.
- Alt Text: a short description of the image for screen readers and search engines.
Labels
- Show Labels: Shown or Hidden.
- Before Label: the words over the before side, such as Before.
- After Label: the words over the after side, such as After.
Slider
- Initial Position: where the handle sits when the page loads, from 0 to 100 per cent across the images.
Tip: Use two images of the same size and framing. The effect only works when the two line up.
Design settings
The Design tab has Handle, Labels and Typography groups, plus the spacing settings every element shares. For the Design and Advance tabs in full, see Using the element settings panel.
Related guides
Was this helpful?
0 people found this helpful