Using the Media Library
The Media Library holds your store images on one tab and your downloadable product files on another. Here is what each tab does.
The Media Library holds the files your store uses. It sits under Content in the sidebar, and it is two libraries behind one menu item. The Media tab holds the images on your site. The Digital Assets tab holds the files customers buy and download.
Open the Media Library
- From your Orbit dashboard, go to Content.
- Click Media Library.
- Pick the tab you need: Media or Digital Assets.
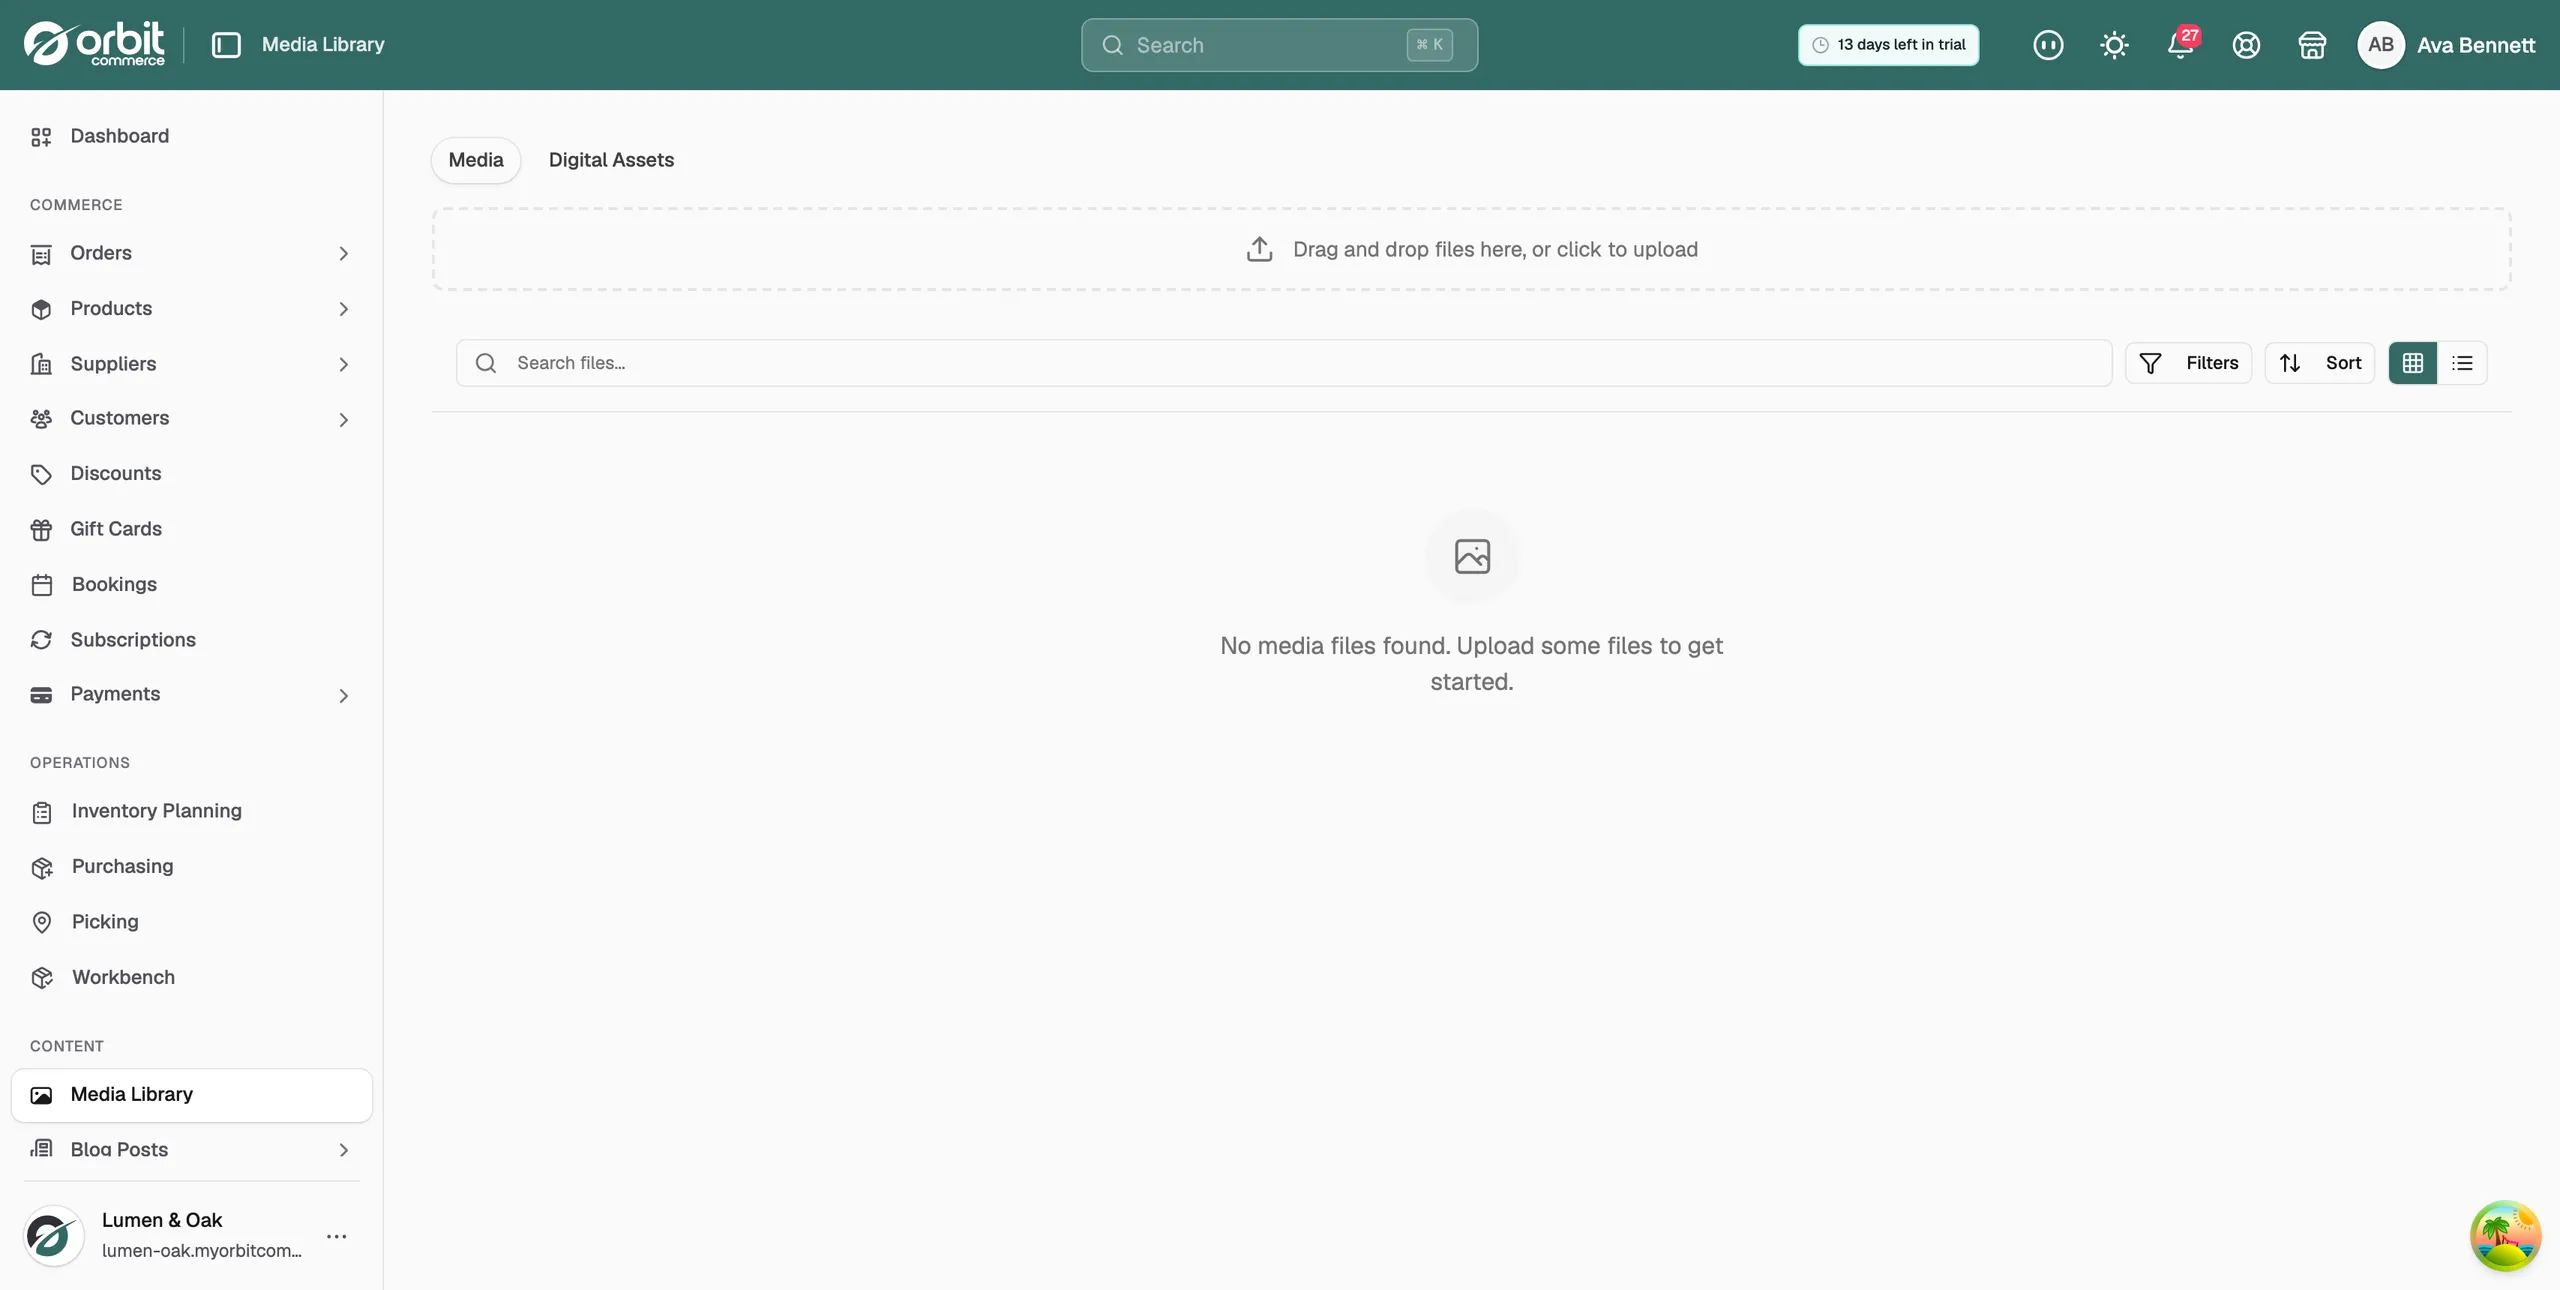
The Media tab
Your store images live here: product photos, blog images, banners and anything the page builder uses. Each row is one file.
- File name: the name of the uploaded file.
- Alt Text: the description used by screen readers and search engines.
- Date added: when the file was uploaded.
- Size: how big the file is.
- References: where the file is used, such as a product or a product variant.
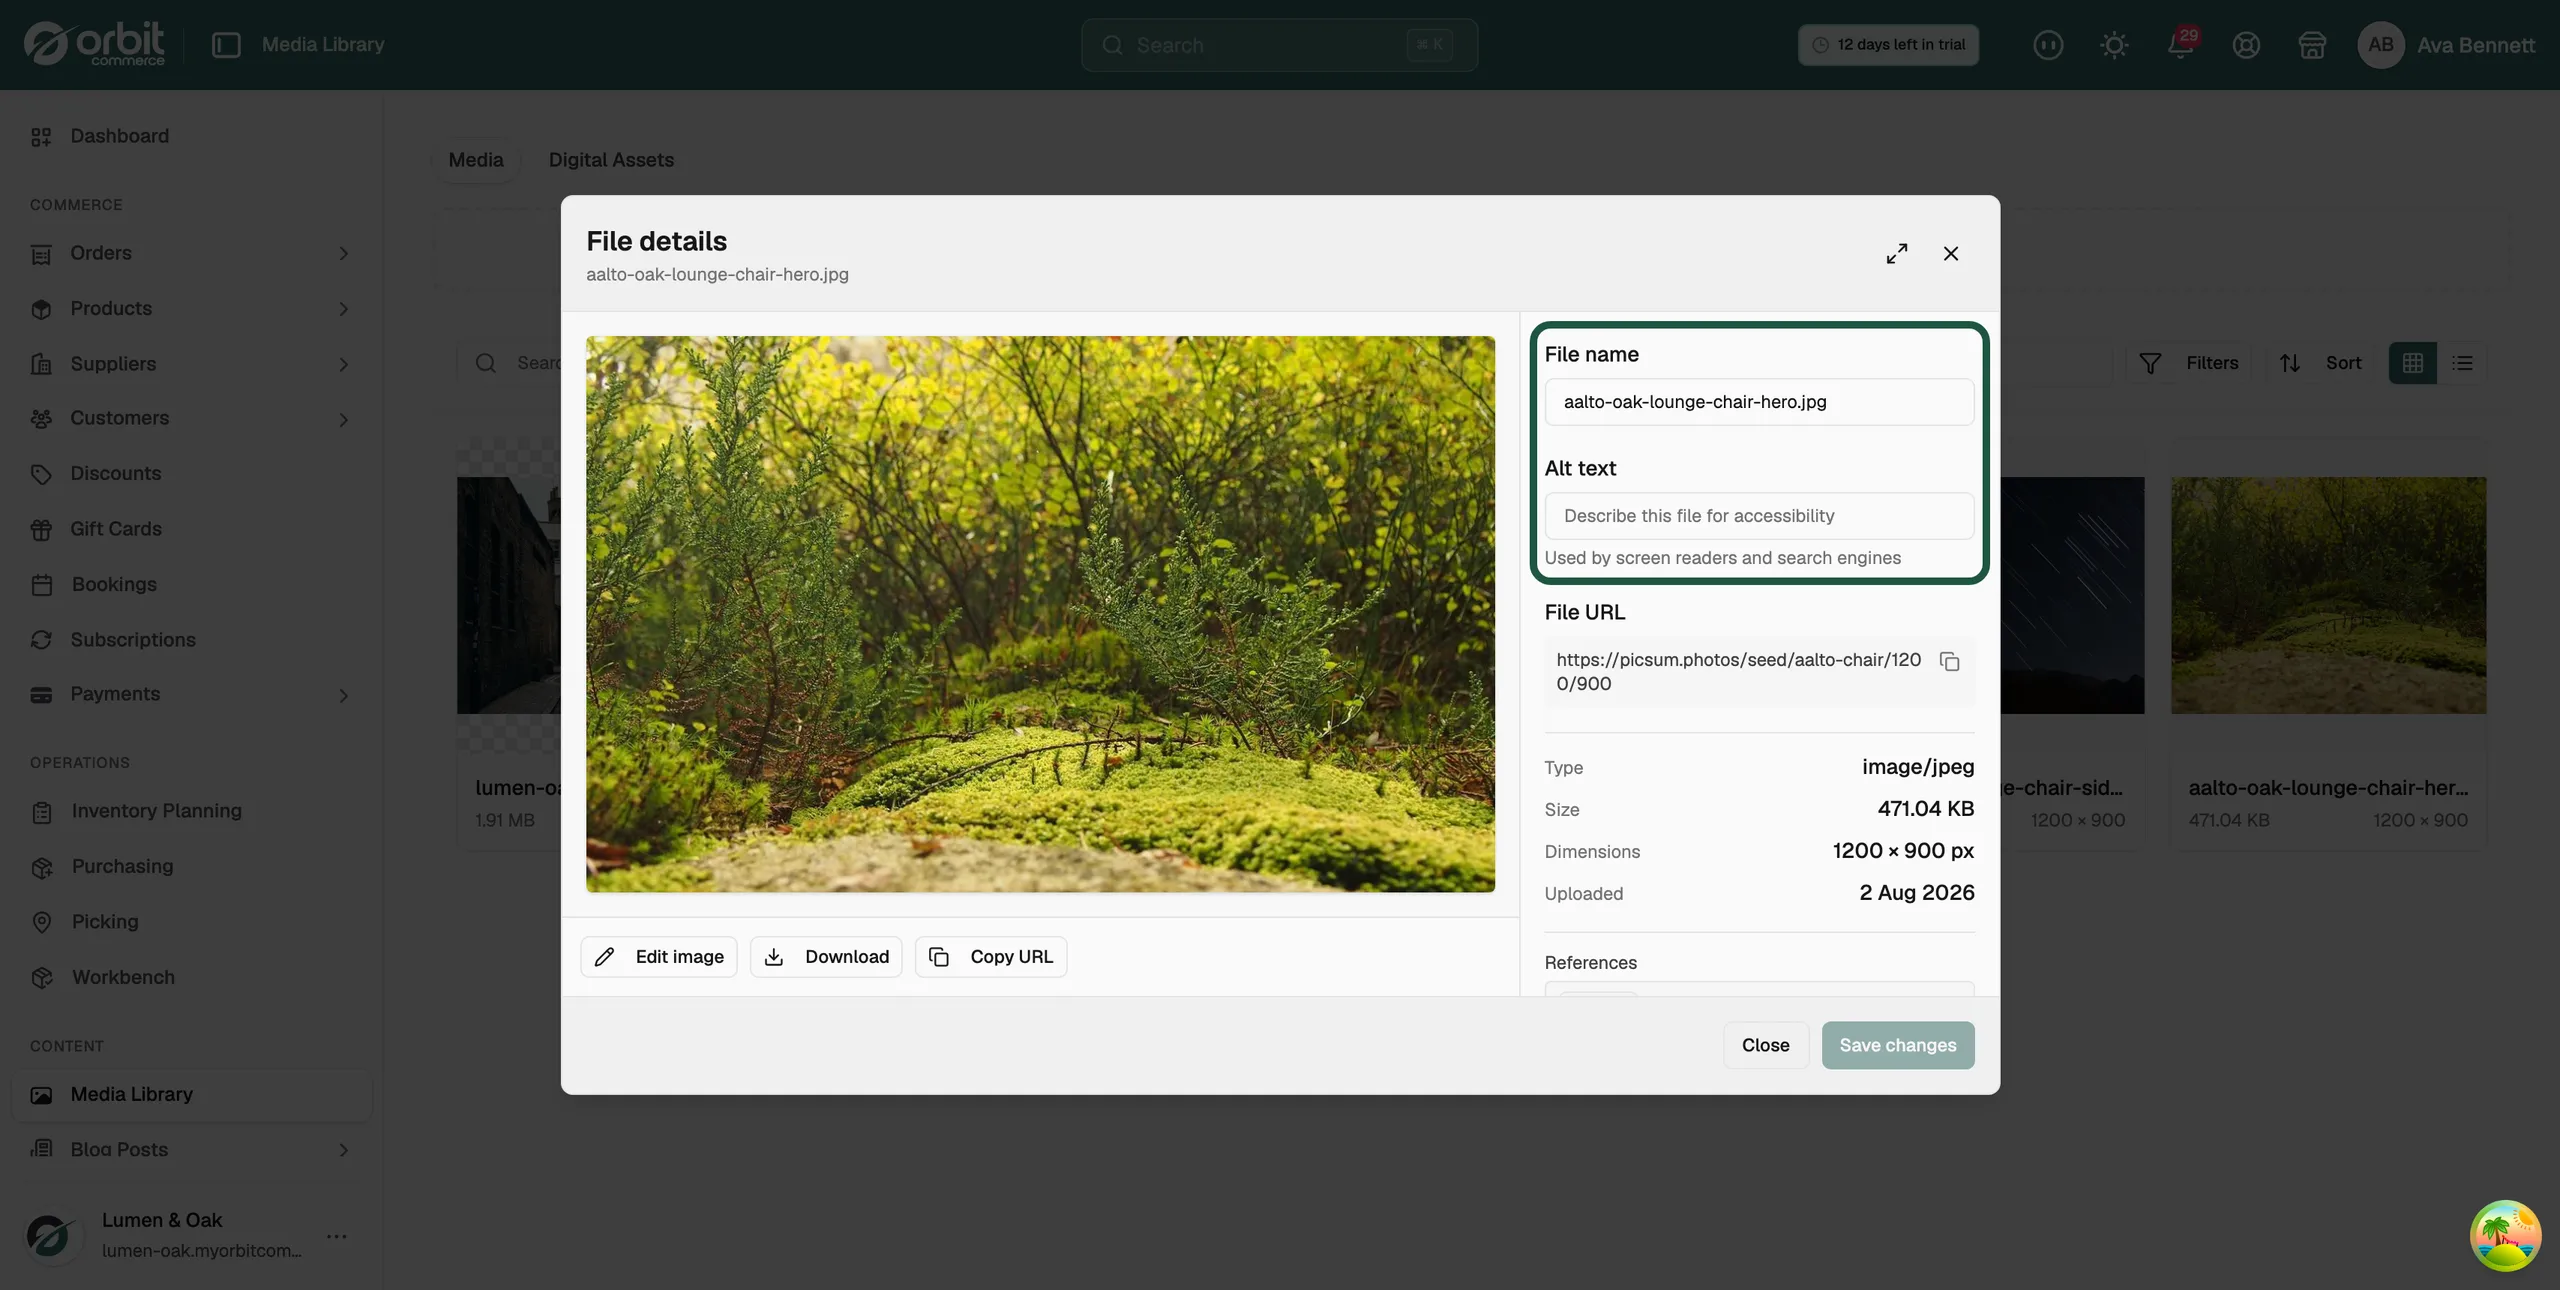
Rename a file or add alt text
- Click the file to open it.
- Change File Name to something you will recognise later.
- Fill in Alt Text with a short description of the picture.
- Save your change.
Copy a link to a file or download it
- Open the file from the Media Library.
- Click the copy icon next to File URL, or click Copy URL below the preview. You can then paste the link wherever you need it.
- Click Download below the preview to save the file to your computer.
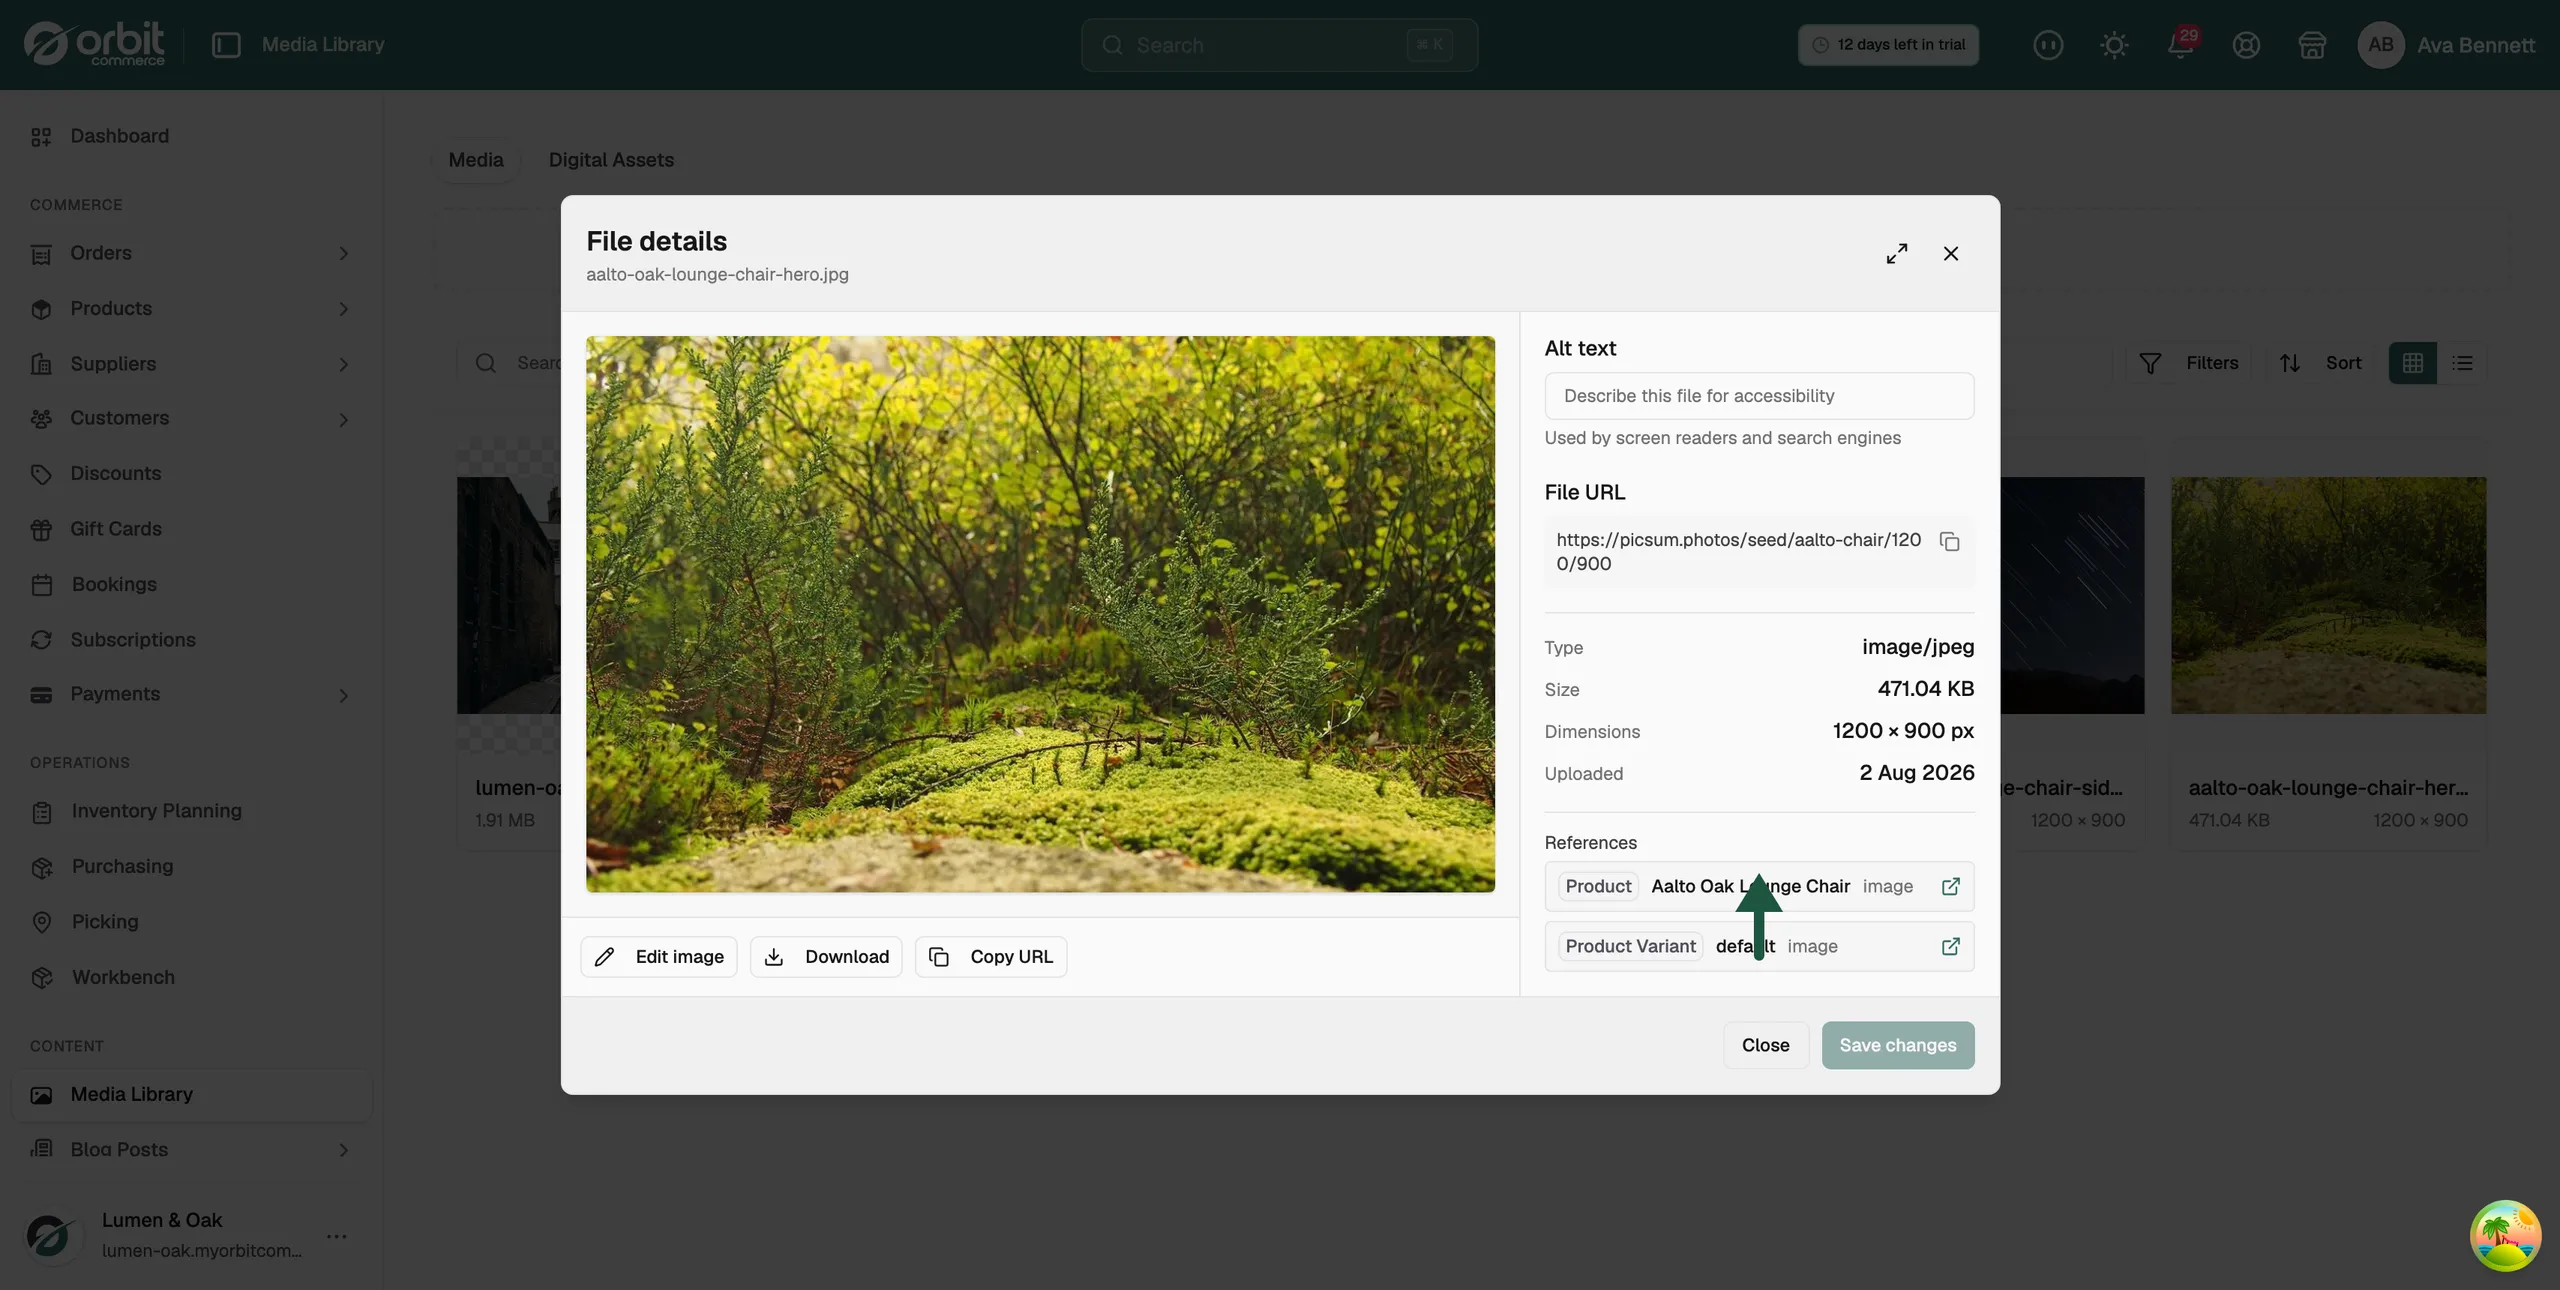
Check references, then delete
- Open the file and read its References section. It names each place the file is used, such as one product and one product variant.
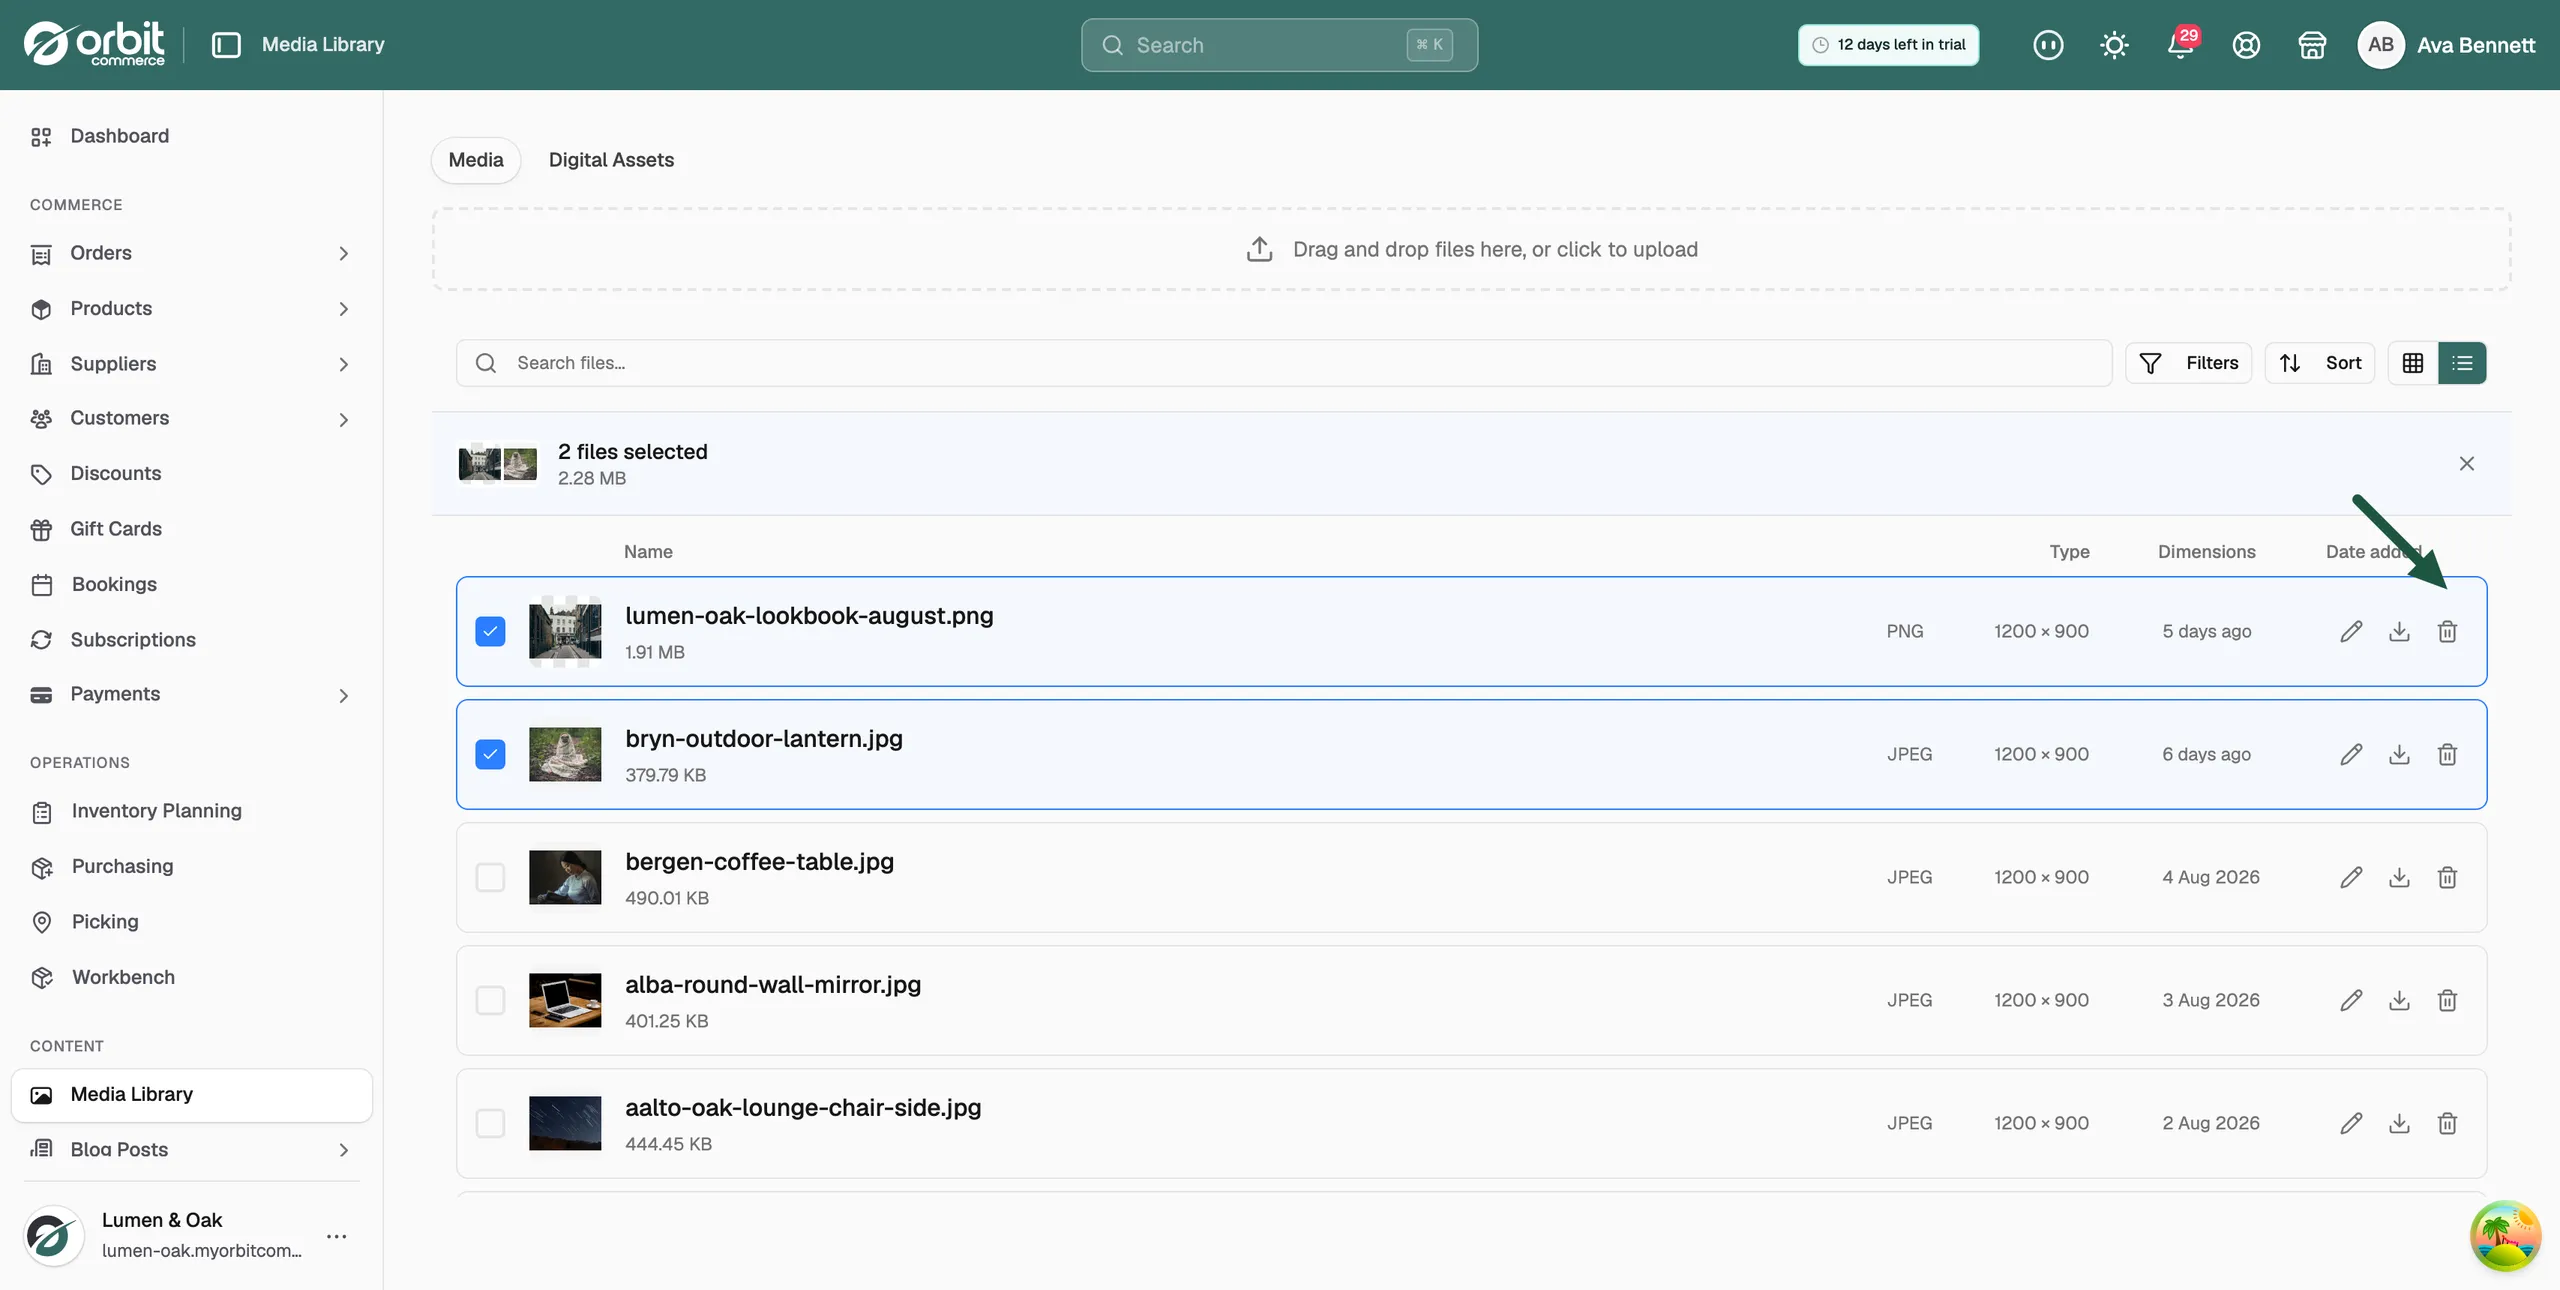
- If nothing is using it, go back to the list and tick the checkbox beside the file.
- Click the trash icon beside the file.
Warning: Deleting a file that is still in use removes it from the product, blog post or storefront section that shows it. Check References first.
The Digital Assets tab
This tab is your store's downloadable file library. You upload a file once and attach it to one or more products.
- On the Digital Assets tab, click Upload assets.
- Pick your file. A document shows a plain tile rather than a preview.
- Click Add selected media. The file joins the library, newest first.
Above the table you can filter by All assets, Linked only or Unlinked only, and by file type. Each row has a menu with Download, Link to product and Delete.
Note: A file uploaded here starts Unlinked. Link to product does not attach it. To attach a file, open the product and use Pick from library.
Guides for this section
- Adding product images and alt text: how images reach a product, and what to write in the alt text.
- Attaching files to a digital product: picking a file from the library, and setting download limits and expiry.
- Adding license keys to a digital product: the keys that go out with a downloadable file.
Was this helpful?
0 people found this helpful