Moving stock between locations
Create a transfer, ship it, and receive it at the other end, so your stock figures stay right while goods are on the road.
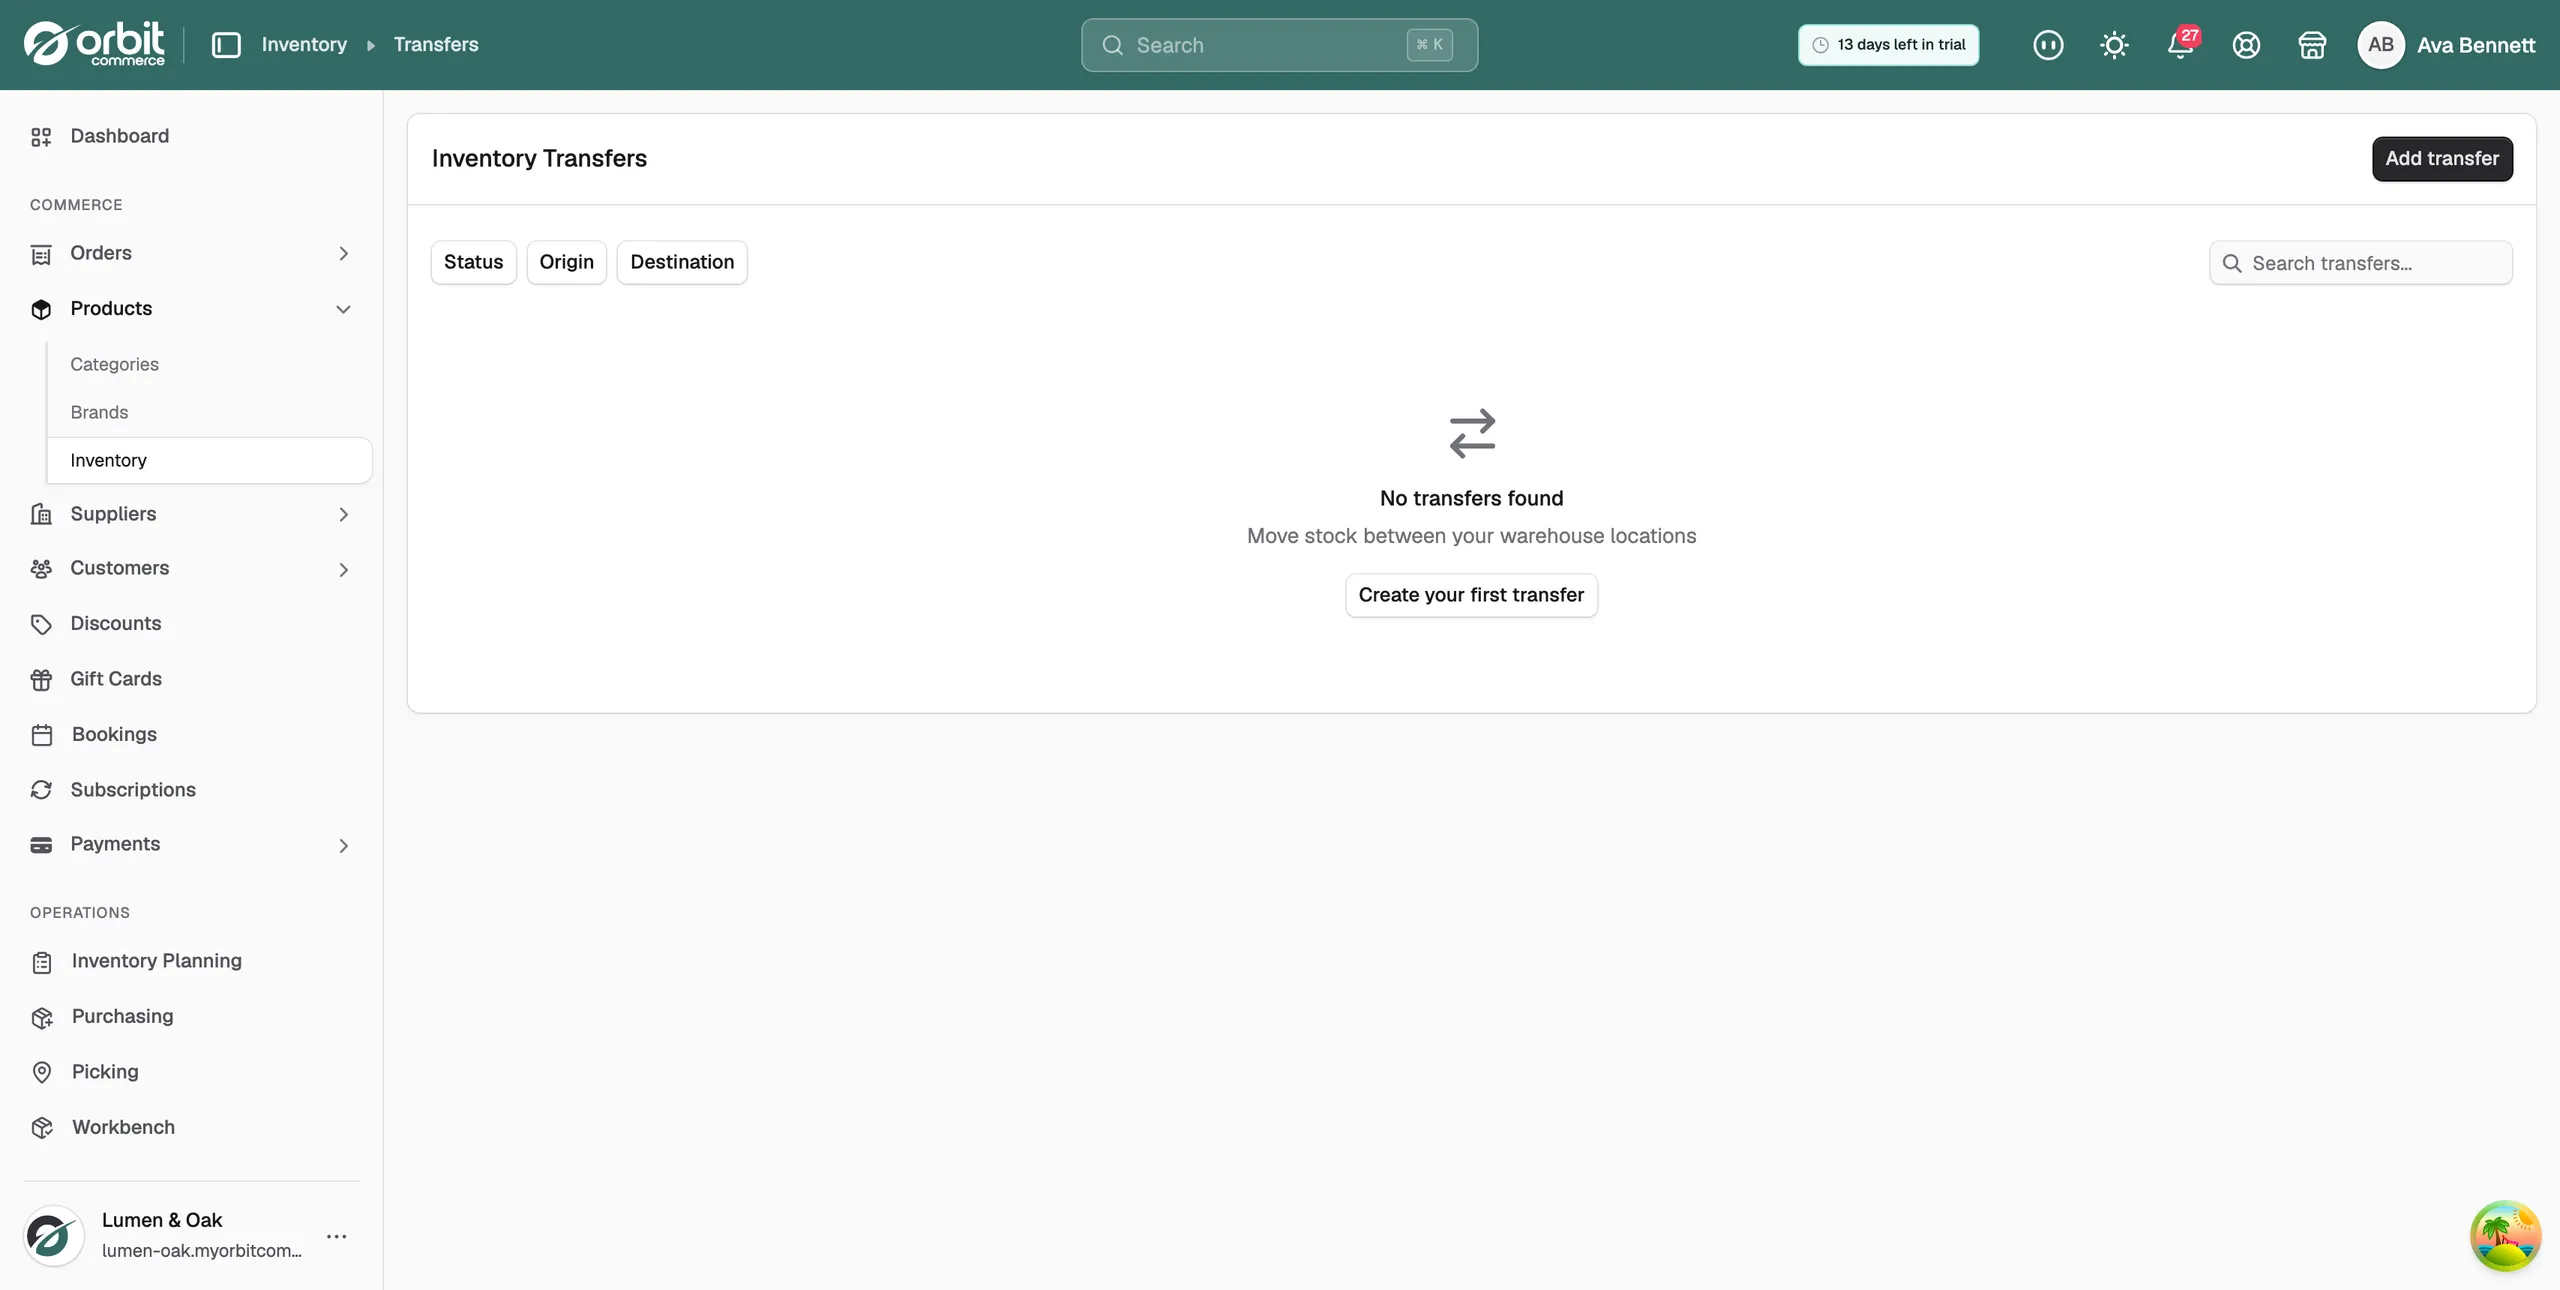
A transfer moves stock from one of your locations to another and keeps your figures right while the goods are on the road. You create it, ship it, then receive it at the other end. You will find transfers under Products > Inventory.
Considerations
- You need at least two locations before you can create a transfer. See Setting up stock locations.
- You can only add items that are already held at the origin location.
- Stock leaves the origin when you click Ship, not when you create the transfer.
- While stock is in transit it cannot be sold from either location.
- A transfer can be cancelled while it is a draft or pending. Once it has shipped, it cannot.
Create a transfer
- From your Orbit dashboard, go to Products > Inventory.
- Click Transfers. The Inventory Transfers page opens.
- Click Add transfer. If this is your first one, click Create your first transfer.
- Under Locations, choose the Origin Location. This is where the stock is now.
- Choose the Destination Location. It must be different from the origin.
- Under Items, search by product name, SKU or barcode. The list shows only stock held at the origin.
- Click the product you are moving. It is added to the table with a Transfer Qty of 1.
- Change Transfer Qty to the number you are sending. The At Origin column shows how much you hold, so you do not send more than you have.
- Search again to add more products.
- Under Notes, add anything the person receiving the stock needs to know.
- Click Save as Draft to finish later, or Save & Submit to create it and submit it in one step.
What the statuses mean
- Draft: created but not submitted. You can still change the items, quantities and locations.
- Pending: submitted and ready to ship. No stock has moved yet.
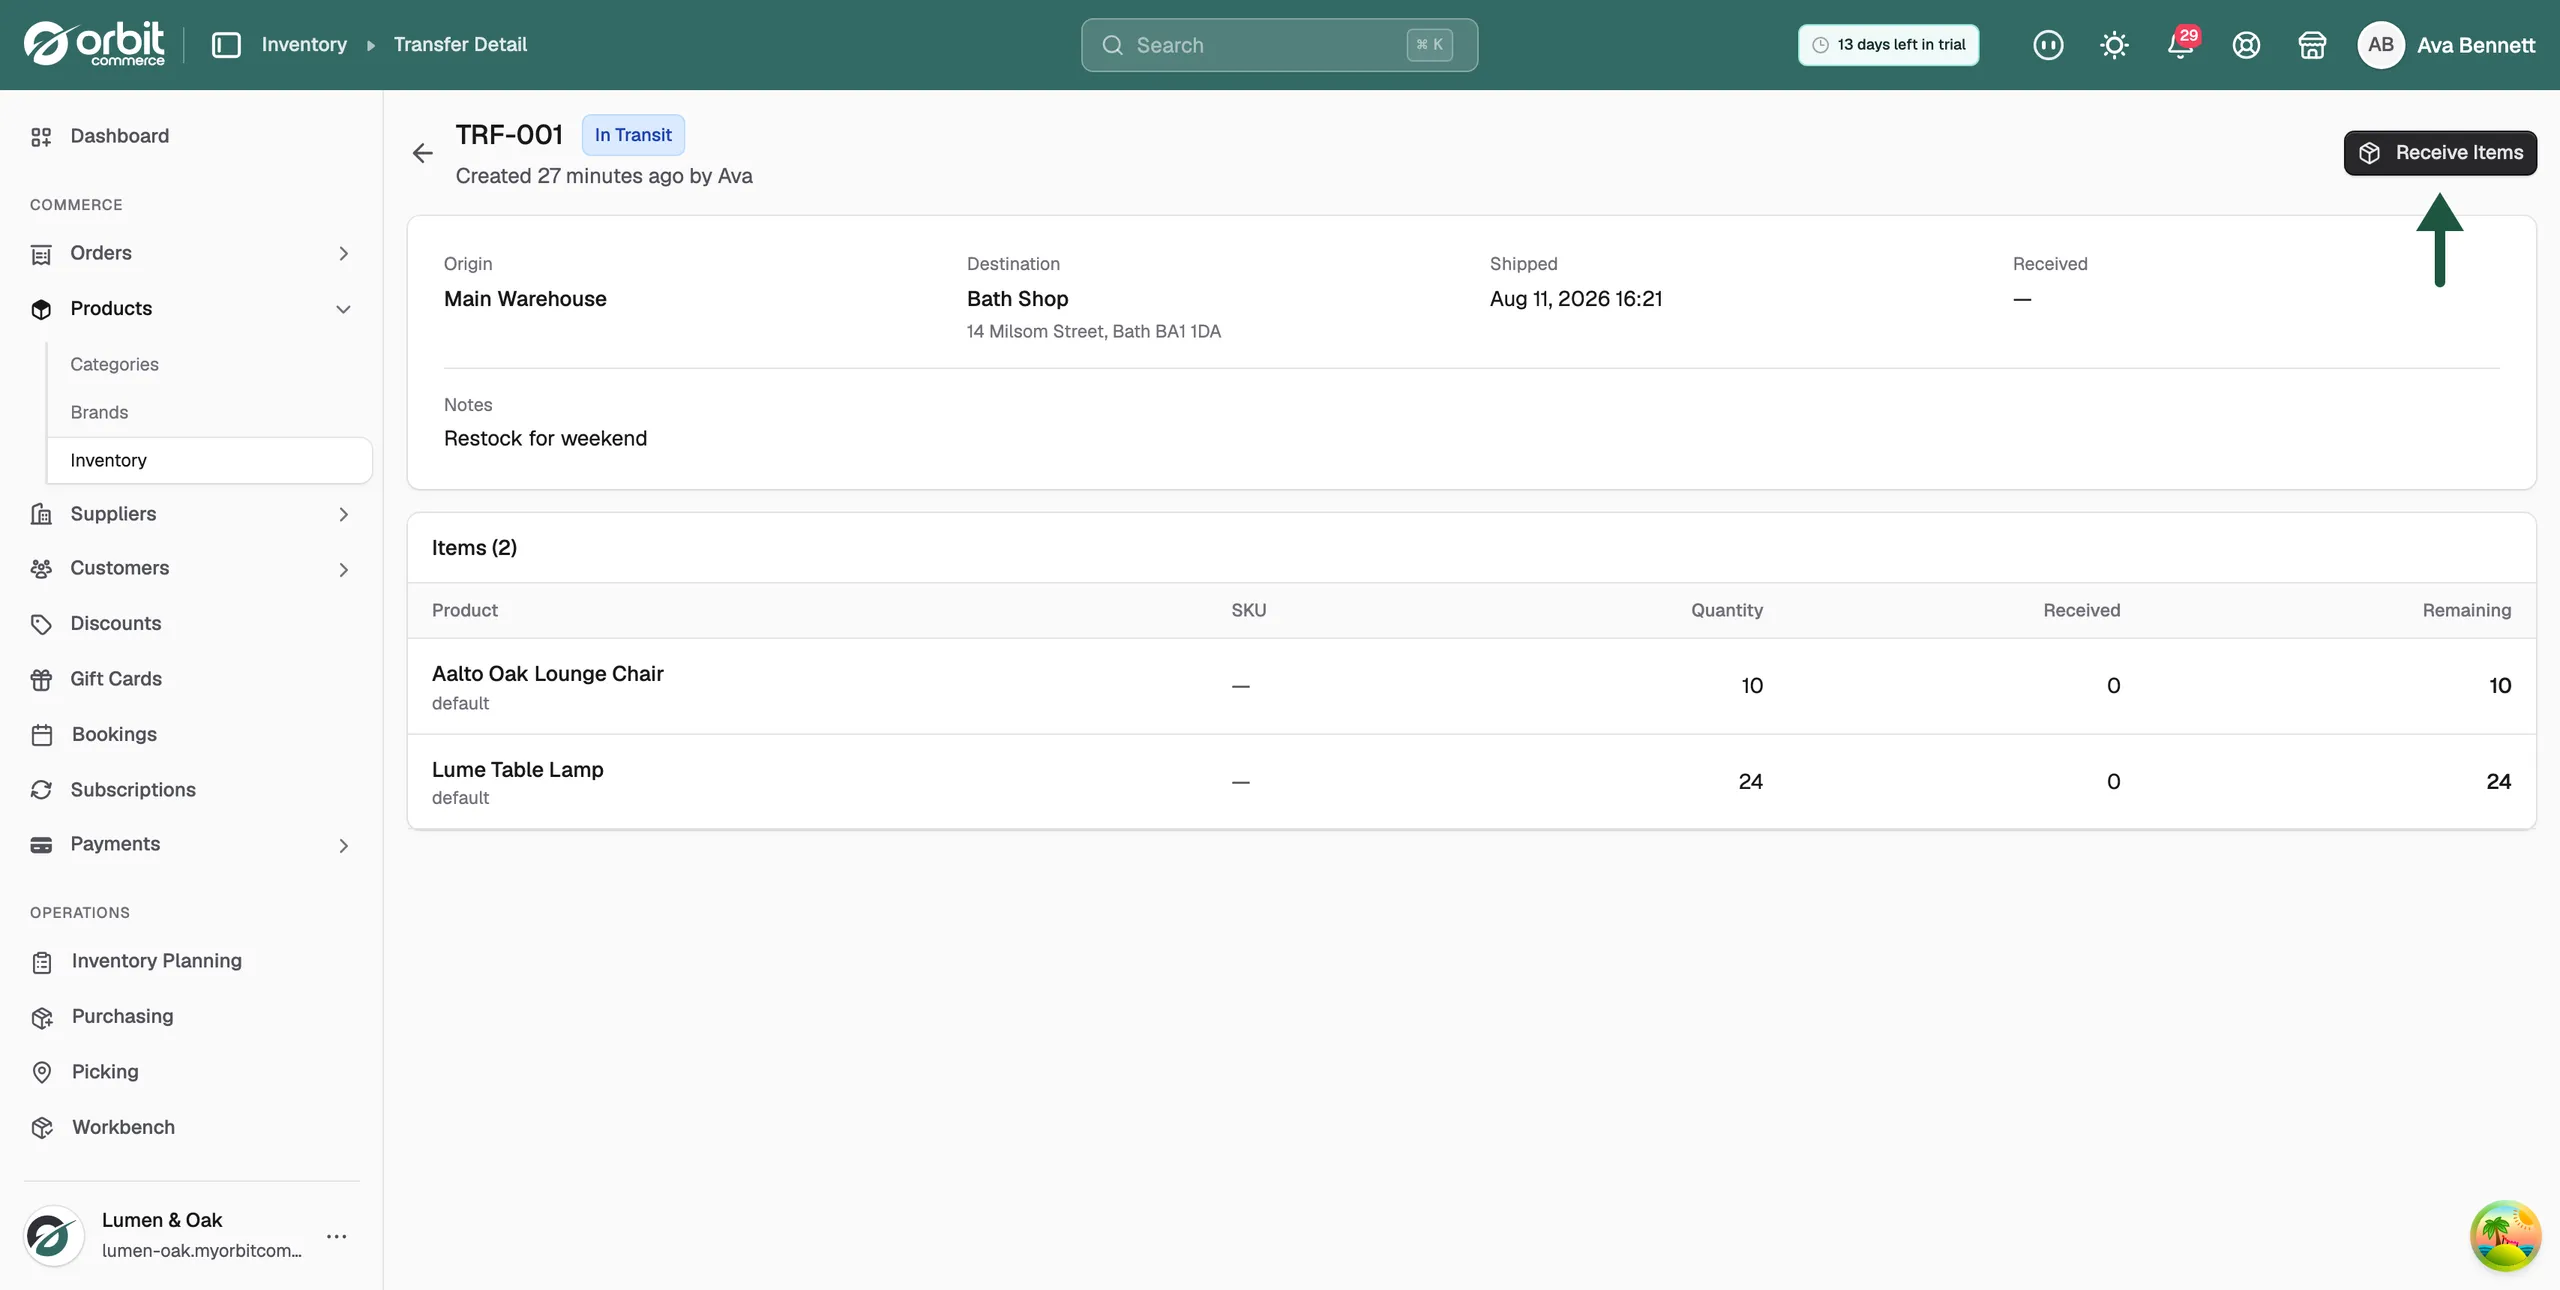
- In Transit: shipped from the origin and on its way. The stock has left the origin.
- Partially Received: some of the items have arrived, and the rest are still to come.
- Received: every item has arrived at the destination.
- Canceled: the transfer was cancelled before it shipped.
Ship a transfer
- On the Inventory Transfers page, click the transfer to open it.
- If it is still a draft, click Submit. The status changes to Pending.
- When the stock goes out, click Ship.
Orbit takes the items off the origin location and confirms with Transfer shipped. The status changes to In Transit and the Shipped date is filled in.
Receive the stock
- Open the transfer when the goods arrive.
- Click Receive Items.
- In the Receive column, type the quantity that arrived for each item. The Remaining column shows what is still outstanding.
- Click Receive Items to confirm.
The stock is added to the destination location. If everything arrived, the transfer is marked Received. If only part of it arrived, it is marked Partially Received and you can receive the rest later.
Note: Receive transfers promptly. Stock in transit cannot be sold from either location, so a product can show as out of stock while it sits on a van.
Cancel a transfer
- Open a transfer that is still a draft or pending.
- Click Cancel Transfer.
- Click Cancel Transfer again to confirm, or Keep Transfer to go back.
Warning: Cancelling cannot be undone, and a transfer that has shipped cannot be cancelled. Check the items and quantities before you click Ship.
Find a transfer
- Go to Products > Inventory, then click Transfers.
- Type a transfer number in the search box.
- Or narrow the list with the Status, Origin and Destination filters.
- Active filters appear as pills above the table. Click Clear all to remove them.
The table shows the Transfer #, the Status, the Origin and Destination, the number of Items and when it was Created.
Related guides
Was this helpful?
0 people found this helpful