Inventory | Stock Locations
Stock locations in Orbit allow you to record the warehouses, shops, and third-party fulfilment centres where you hold stock. Each location keeps its own stock levels, so you always know how much of a product is held where.
Stock locations in Orbit allow you to record the warehouses, shops, and third-party fulfilment centres where you hold stock. Each location keeps its own stock levels, so you always know how much of a product is held where.
A stock location can be anything you store inventory in — a main warehouse, a retail shop, or a 3PL (third-party logistics) provider that holds and ships stock on your behalf. Setting up your locations lets you track stock accurately and move it between them as your needs change.
Accessing Stock Locations
To access your stock locations:
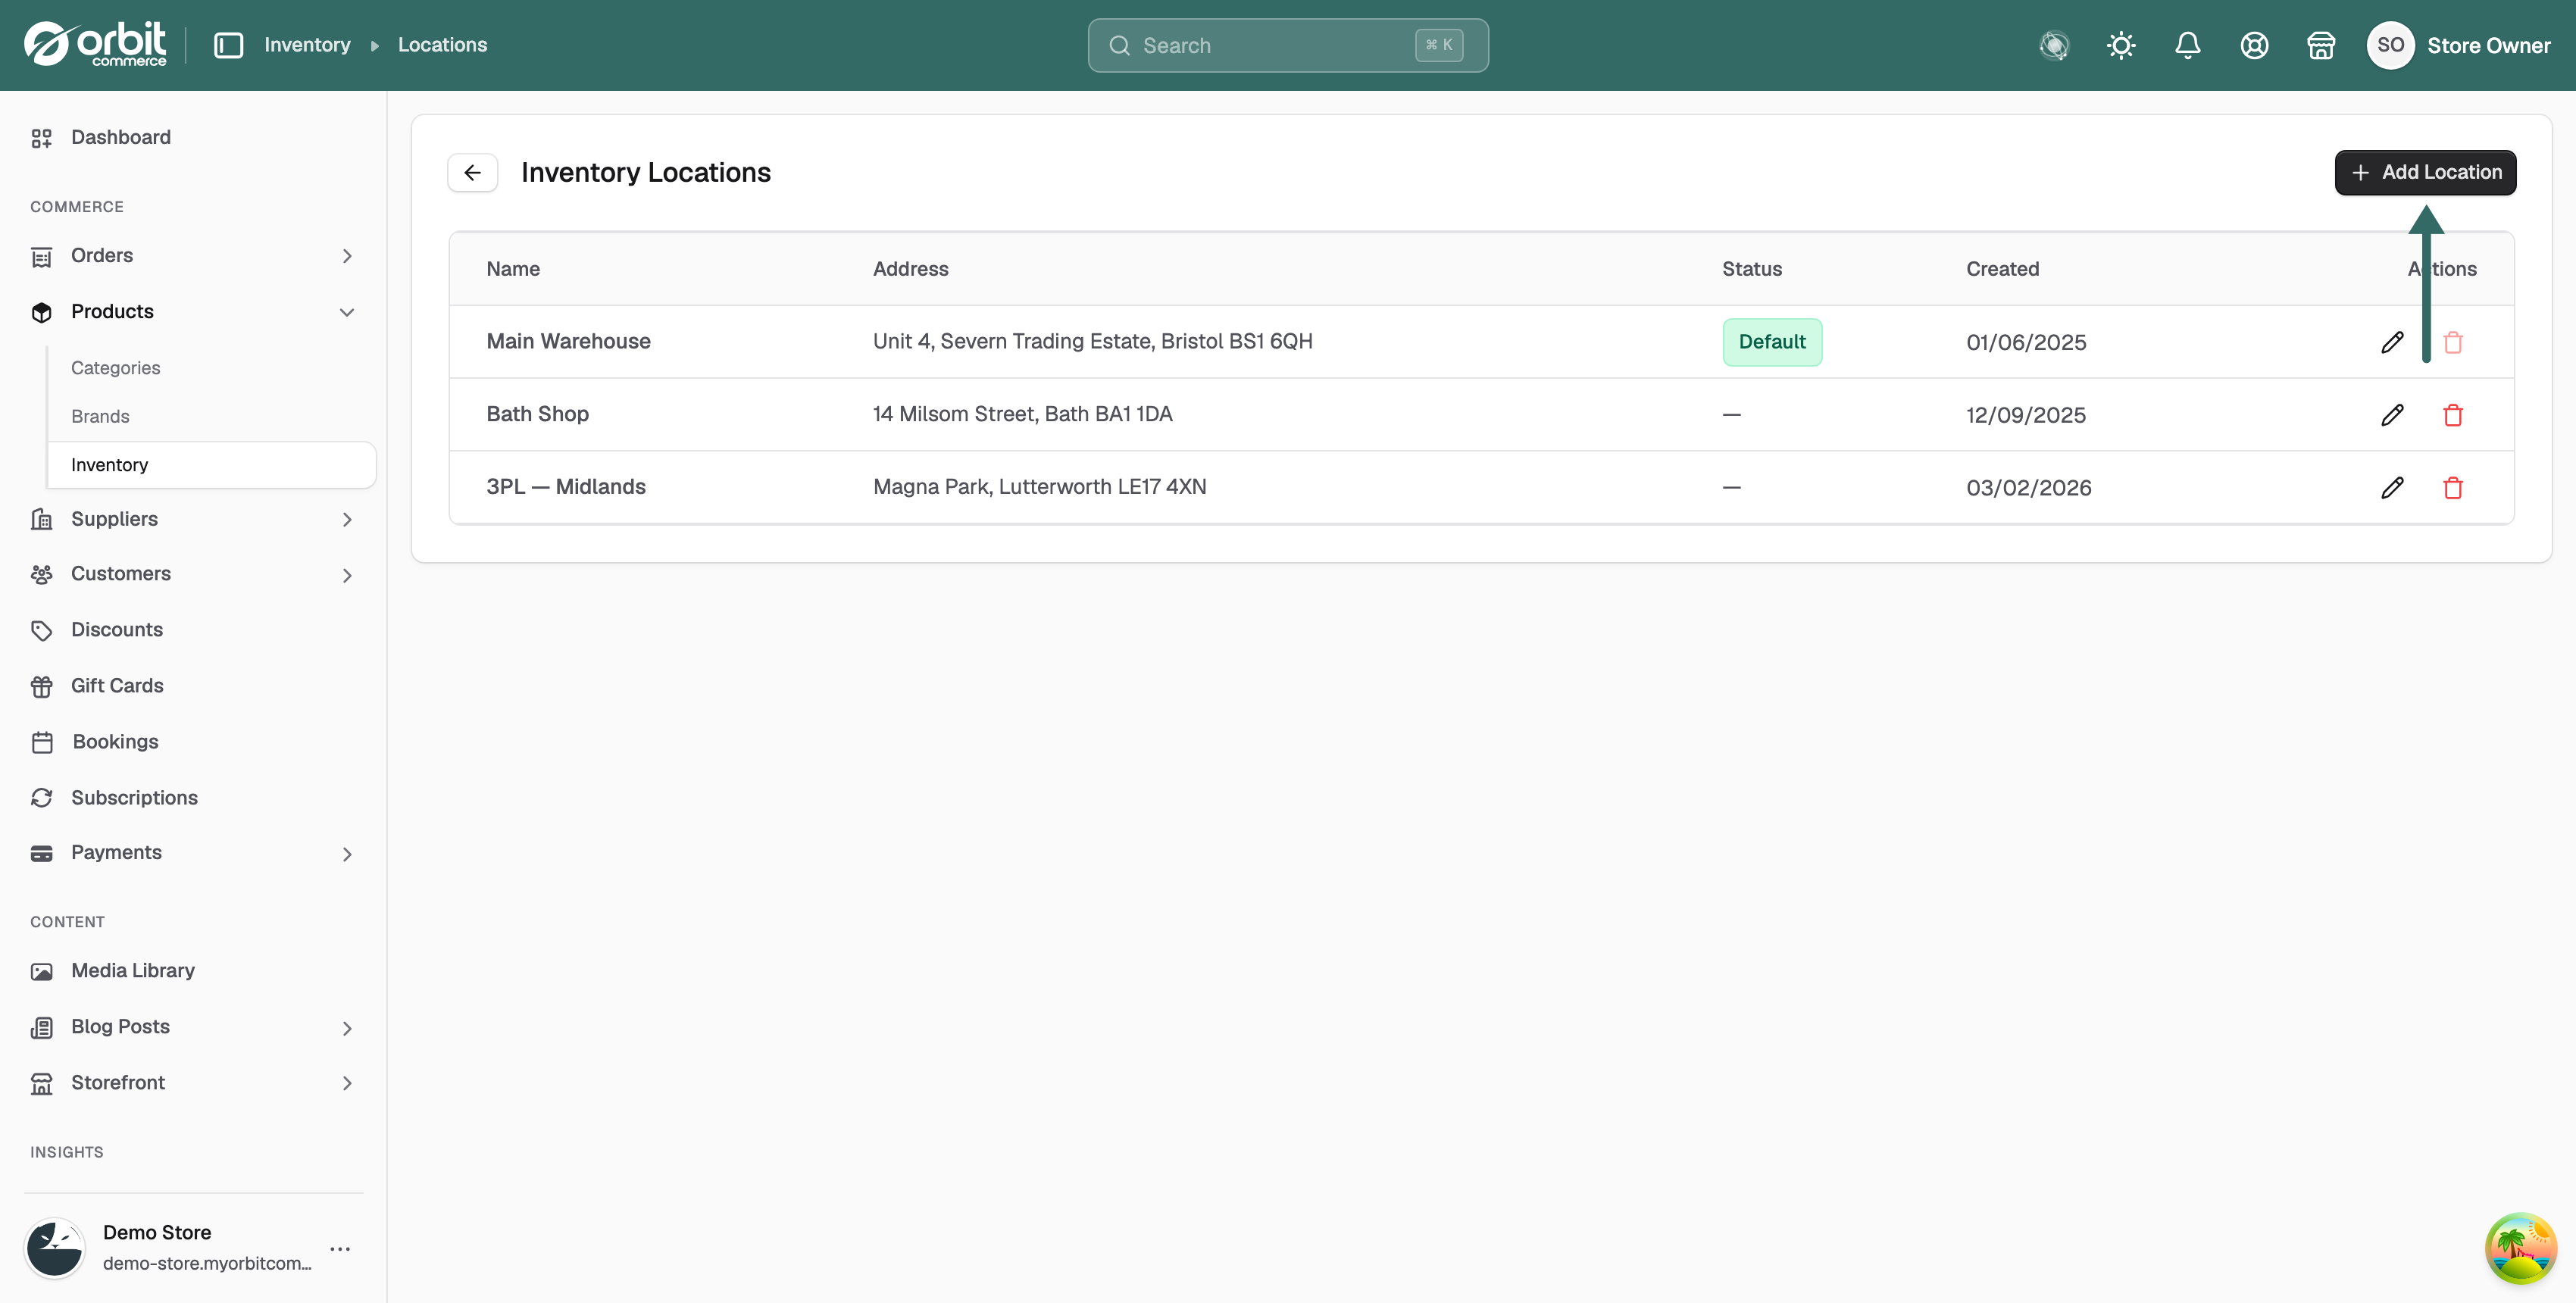
From the left-hand menu, go to Inventory.
Select Locations.
The Inventory Locations page will open, showing a list of every location you have set up.
Locations overview
Each location is shown as a row in the table, with the following columns:
Name — the name you have given the location, such as Main Warehouse or Bath Shop.
Address — the postal address of the location, if you have added one.
Status — shows a Default badge against your default location; other locations show a dash.
Created — the date the location was added.
Actions — edit or delete the location.
Adding a location
To add a new stock location:
Click Add Location in the top right of the page.
Enter a Name for the location. This is the only required field.
Enter the Address. As you type, Orbit suggests matching addresses you can select to fill this in automatically. This field is optional.
Tick Set as default location if you want this to be your default location.
Click Create to save the location.
The new location will appear in the list straight away.
Setting a default location
One location is always marked as your default. The default is shown with a Default badge in the Status column, and is used as the standard location for holding and fulfilling stock.
To change your default, tick Set as default location when adding a new location, or edit an existing location and tick the same option. Setting a new default automatically removes the badge from the previous one. You cannot unset the default directly — instead, set another location as default to move it.
Editing a location
To edit a location, click the pencil icon in the Actions column. You can update the name, address, and default setting, then click Update to save your changes.
Deleting a location
To delete a location, click the bin icon in the Actions column and confirm. Be careful when deleting locations, as any stock levels recorded against them will be affected. Your default location cannot be deleted — its delete option is greyed out. To remove it, set another location as default first.
How locations work with stock
Stock levels in Orbit are held per location, so a single product can have different quantities in different places. When you receive or count stock, you do so against a specific location, and when an order is fulfilled, stock is taken from the location it ships from.
If you hold the same product in more than one location, you can use stock transfers to move quantities between them — for example, sending stock from your main warehouse to a shop. Keeping your locations set up correctly means your stock levels and transfers stay accurate across the business.
If you have any questions, please contact us at support@orbitcommerce.net
Was this helpful?
0 people found this helpful