Managing inventory
Check stock for every product and location on the Inventory page. Correct a count, view stock history, add locations, and move stock between them.
The Inventory page lists the stock you hold for every product and variant, at every location. You can search it, correct a count, see what changed, and set up locations and transfers. You open it from your Orbit dashboard under Products > Inventory.
Considerations
- Orbit creates one location for you, called Main Warehouse. All stock sits there until you add another location.
- Orbit works out Available for you: On Hand minus Committed minus Unavailable.
- A change you make in the table is not saved until you click Save changes.
- Nothing on this page undoes a saved change. To fix a mistake, make another adjustment.
- To turn tracking on or off for a product, or to allow backorders, use the product editor. See Tracking stock and allowing backorders.
What the columns mean
- Product: the product name, with the variant name under it.
- SKU: the product's SKU, if it has one.
- Location: where this stock is held.
- Unavailable: stock you cannot sell, such as damaged items or safety stock.
- Committed: stock reserved for orders you have not fulfilled yet.
- Available: stock customers can buy right now.
- On Hand: all the stock at that location, including committed and unavailable stock.
- Incoming: stock on its way from purchase orders or transfers.
Some plans also show a Bin column. It holds the shelf or bin position within the location.
Find a product
- From your Orbit dashboard, go to Products > Inventory.
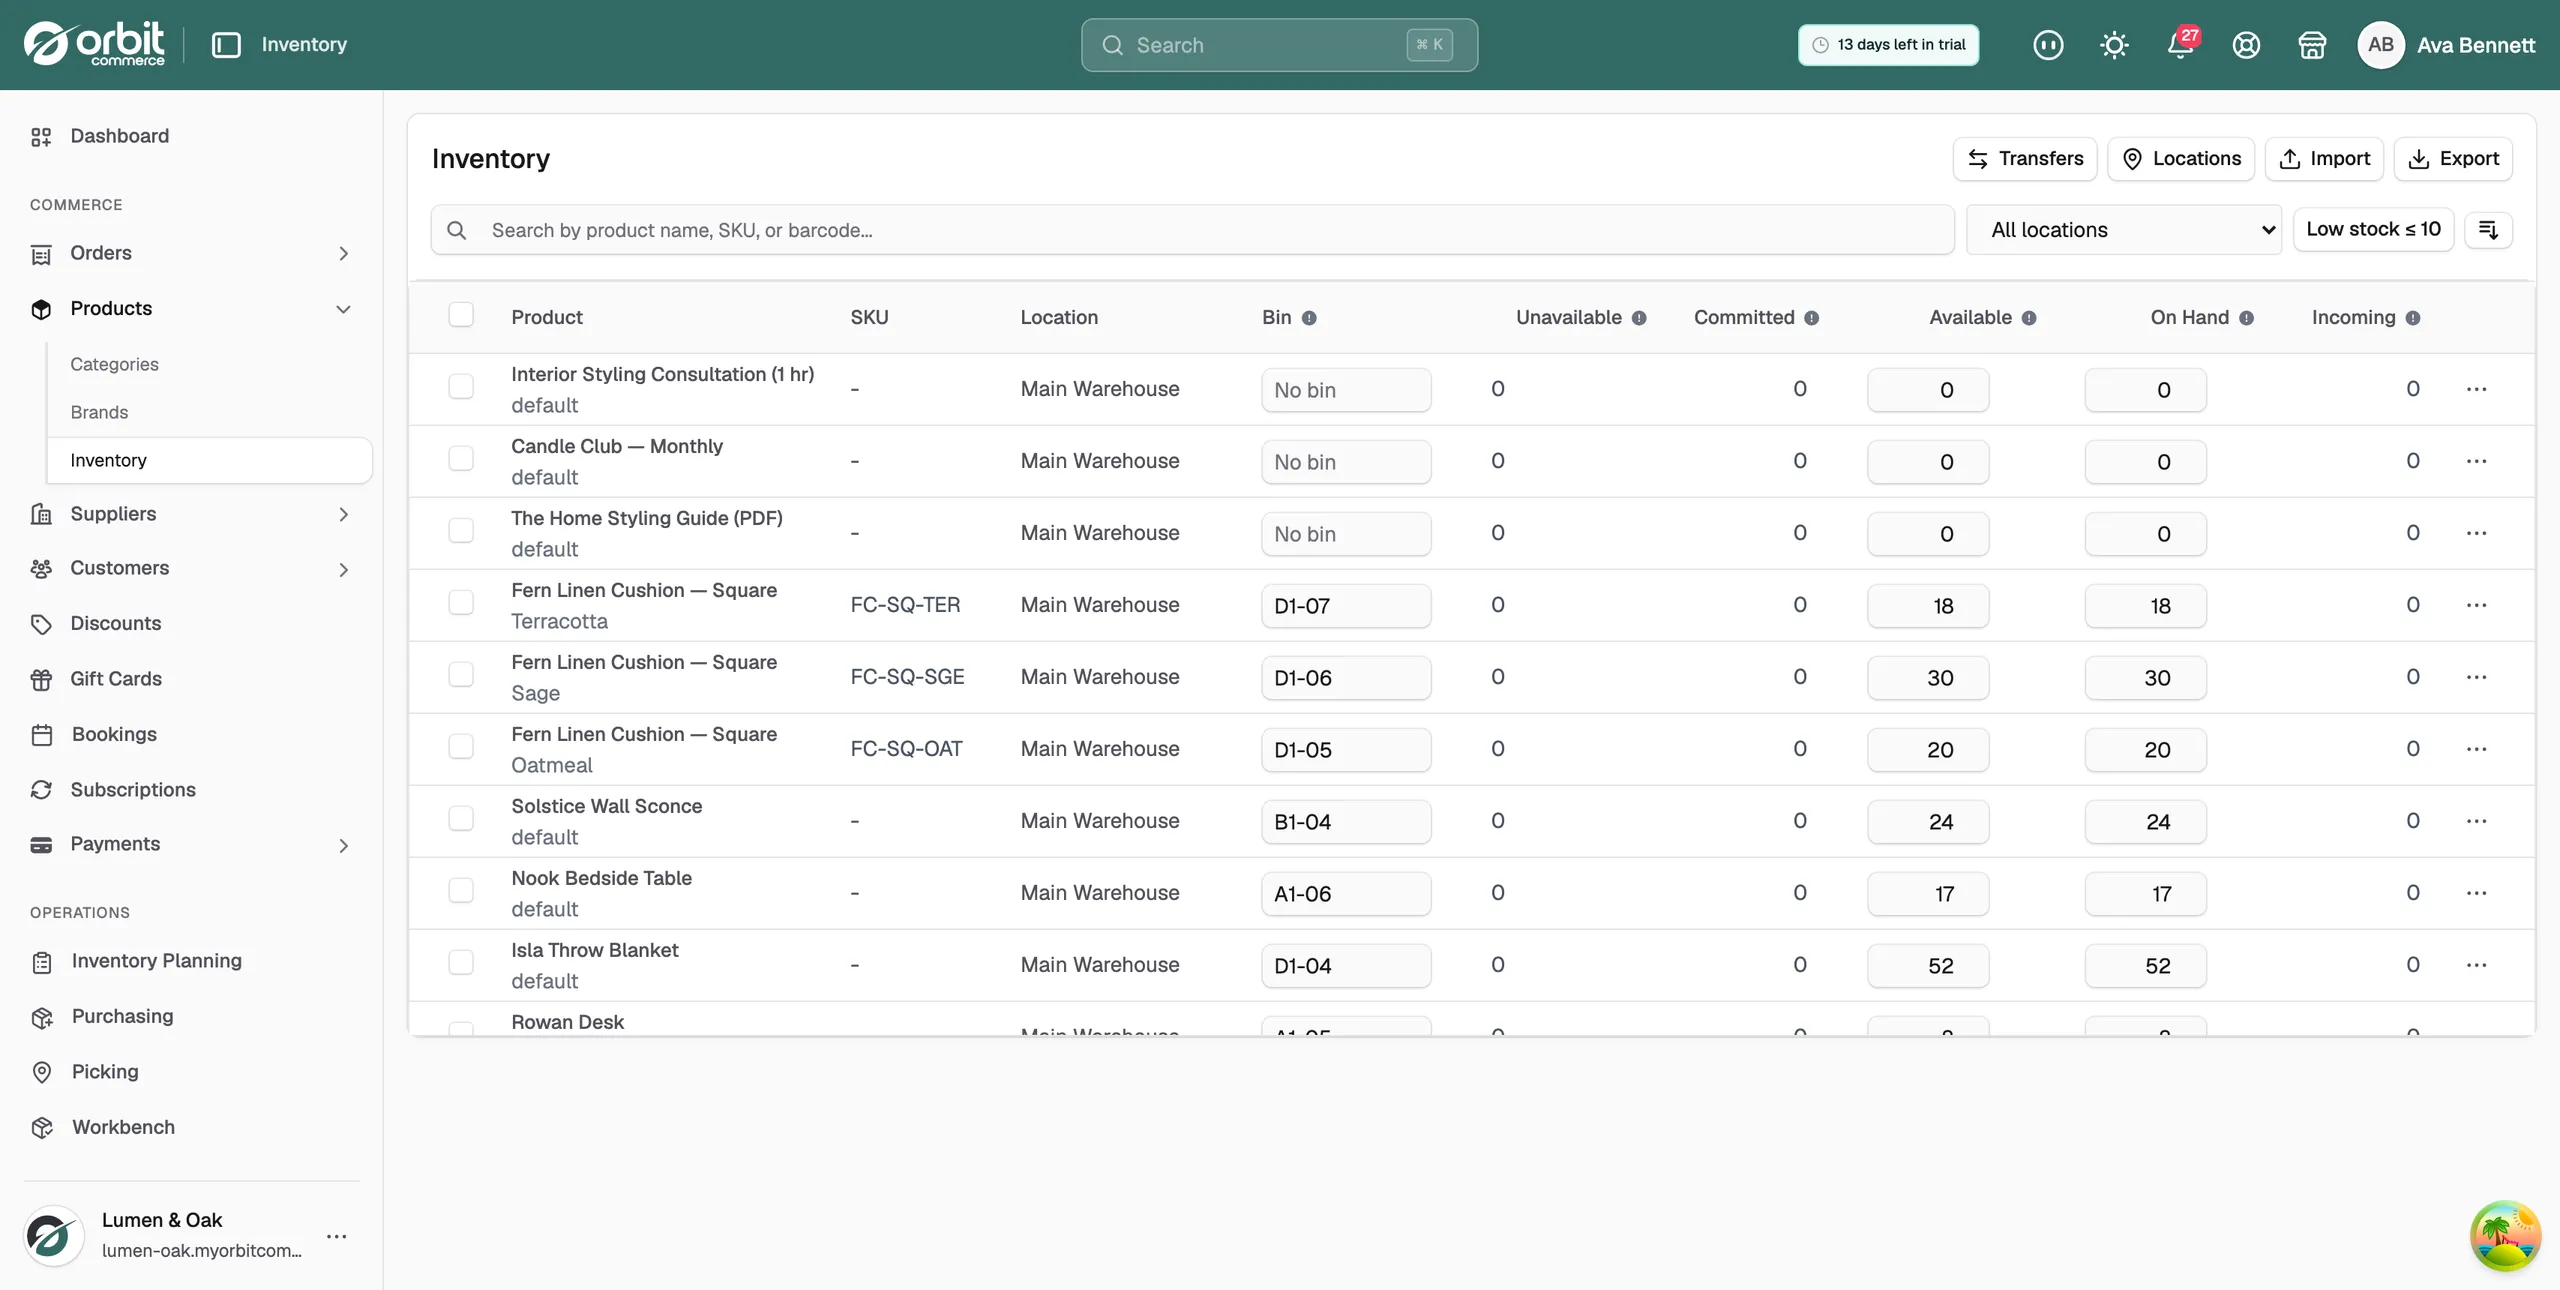
- Type a product name, SKU or barcode in the search box.
- To see one location only, choose it from All locations.
- To see products with ten or fewer available, click Low stock ≤ 10. Click it again to turn it off.
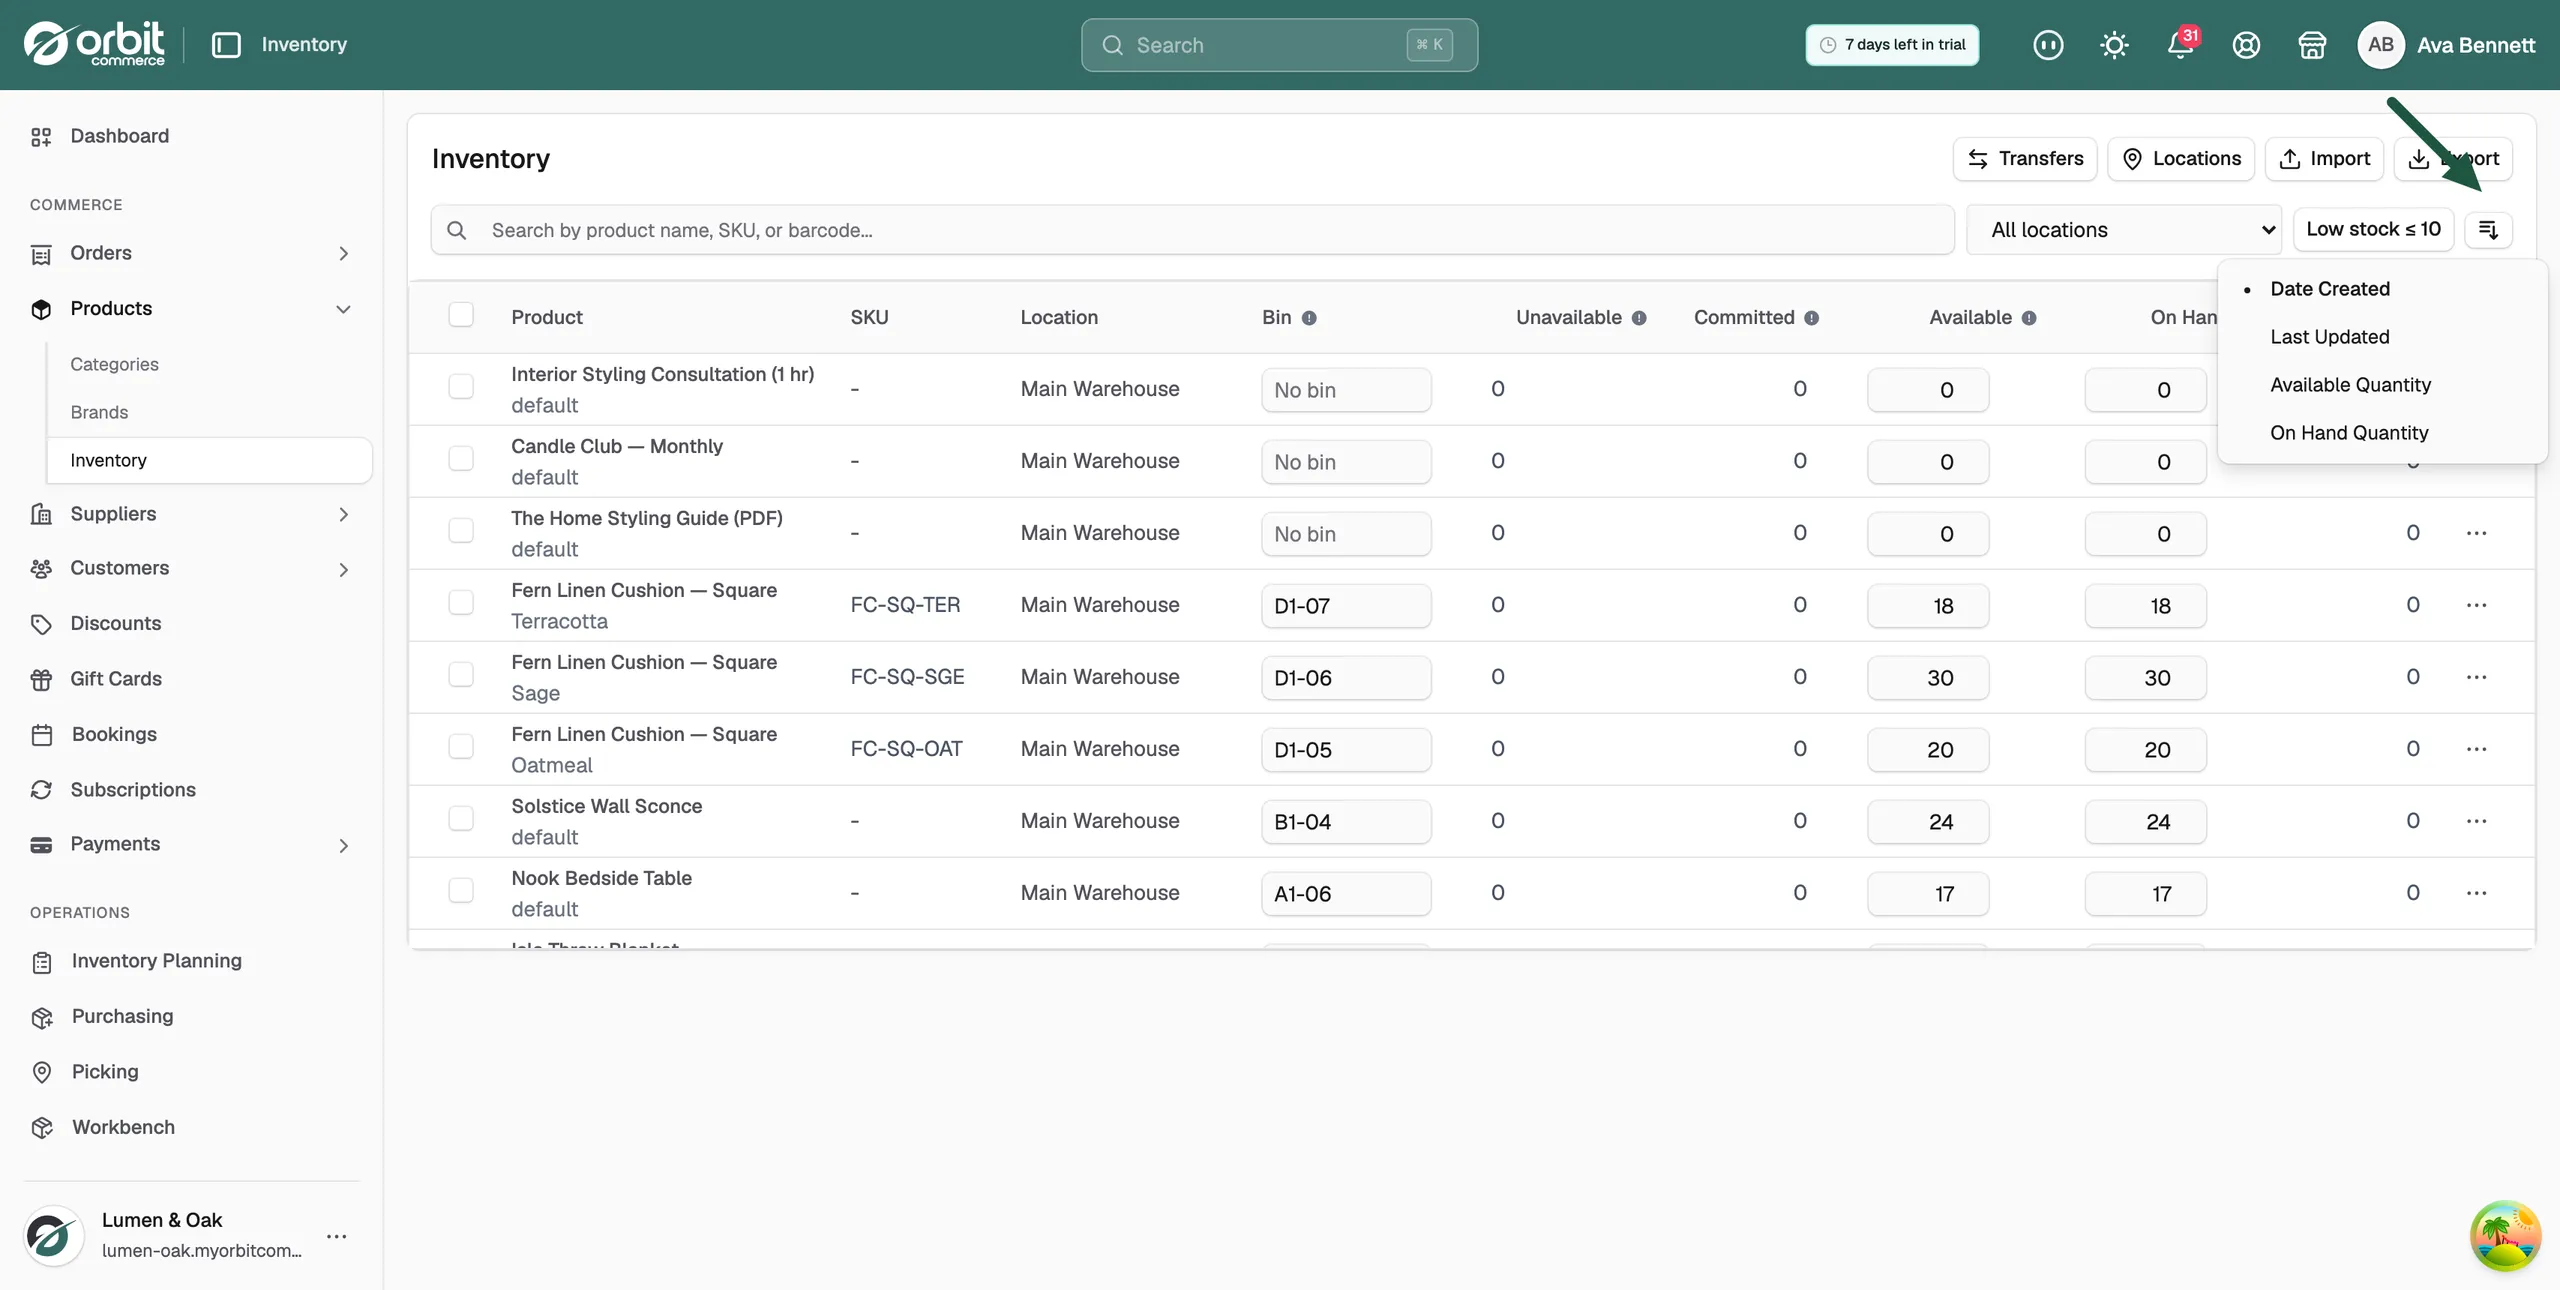
- To change the order, click the sort button on the right. Choose Date Created, Last Updated, Available Quantity or On Hand Quantity.
Correct a stock count
Use this when you have counted the shelf and the number in Orbit is wrong.
- From your Orbit dashboard, go to Products > Inventory.
- Find the row for the product and location.
- Point at the row. An arrow appears beside the Available and On Hand numbers.
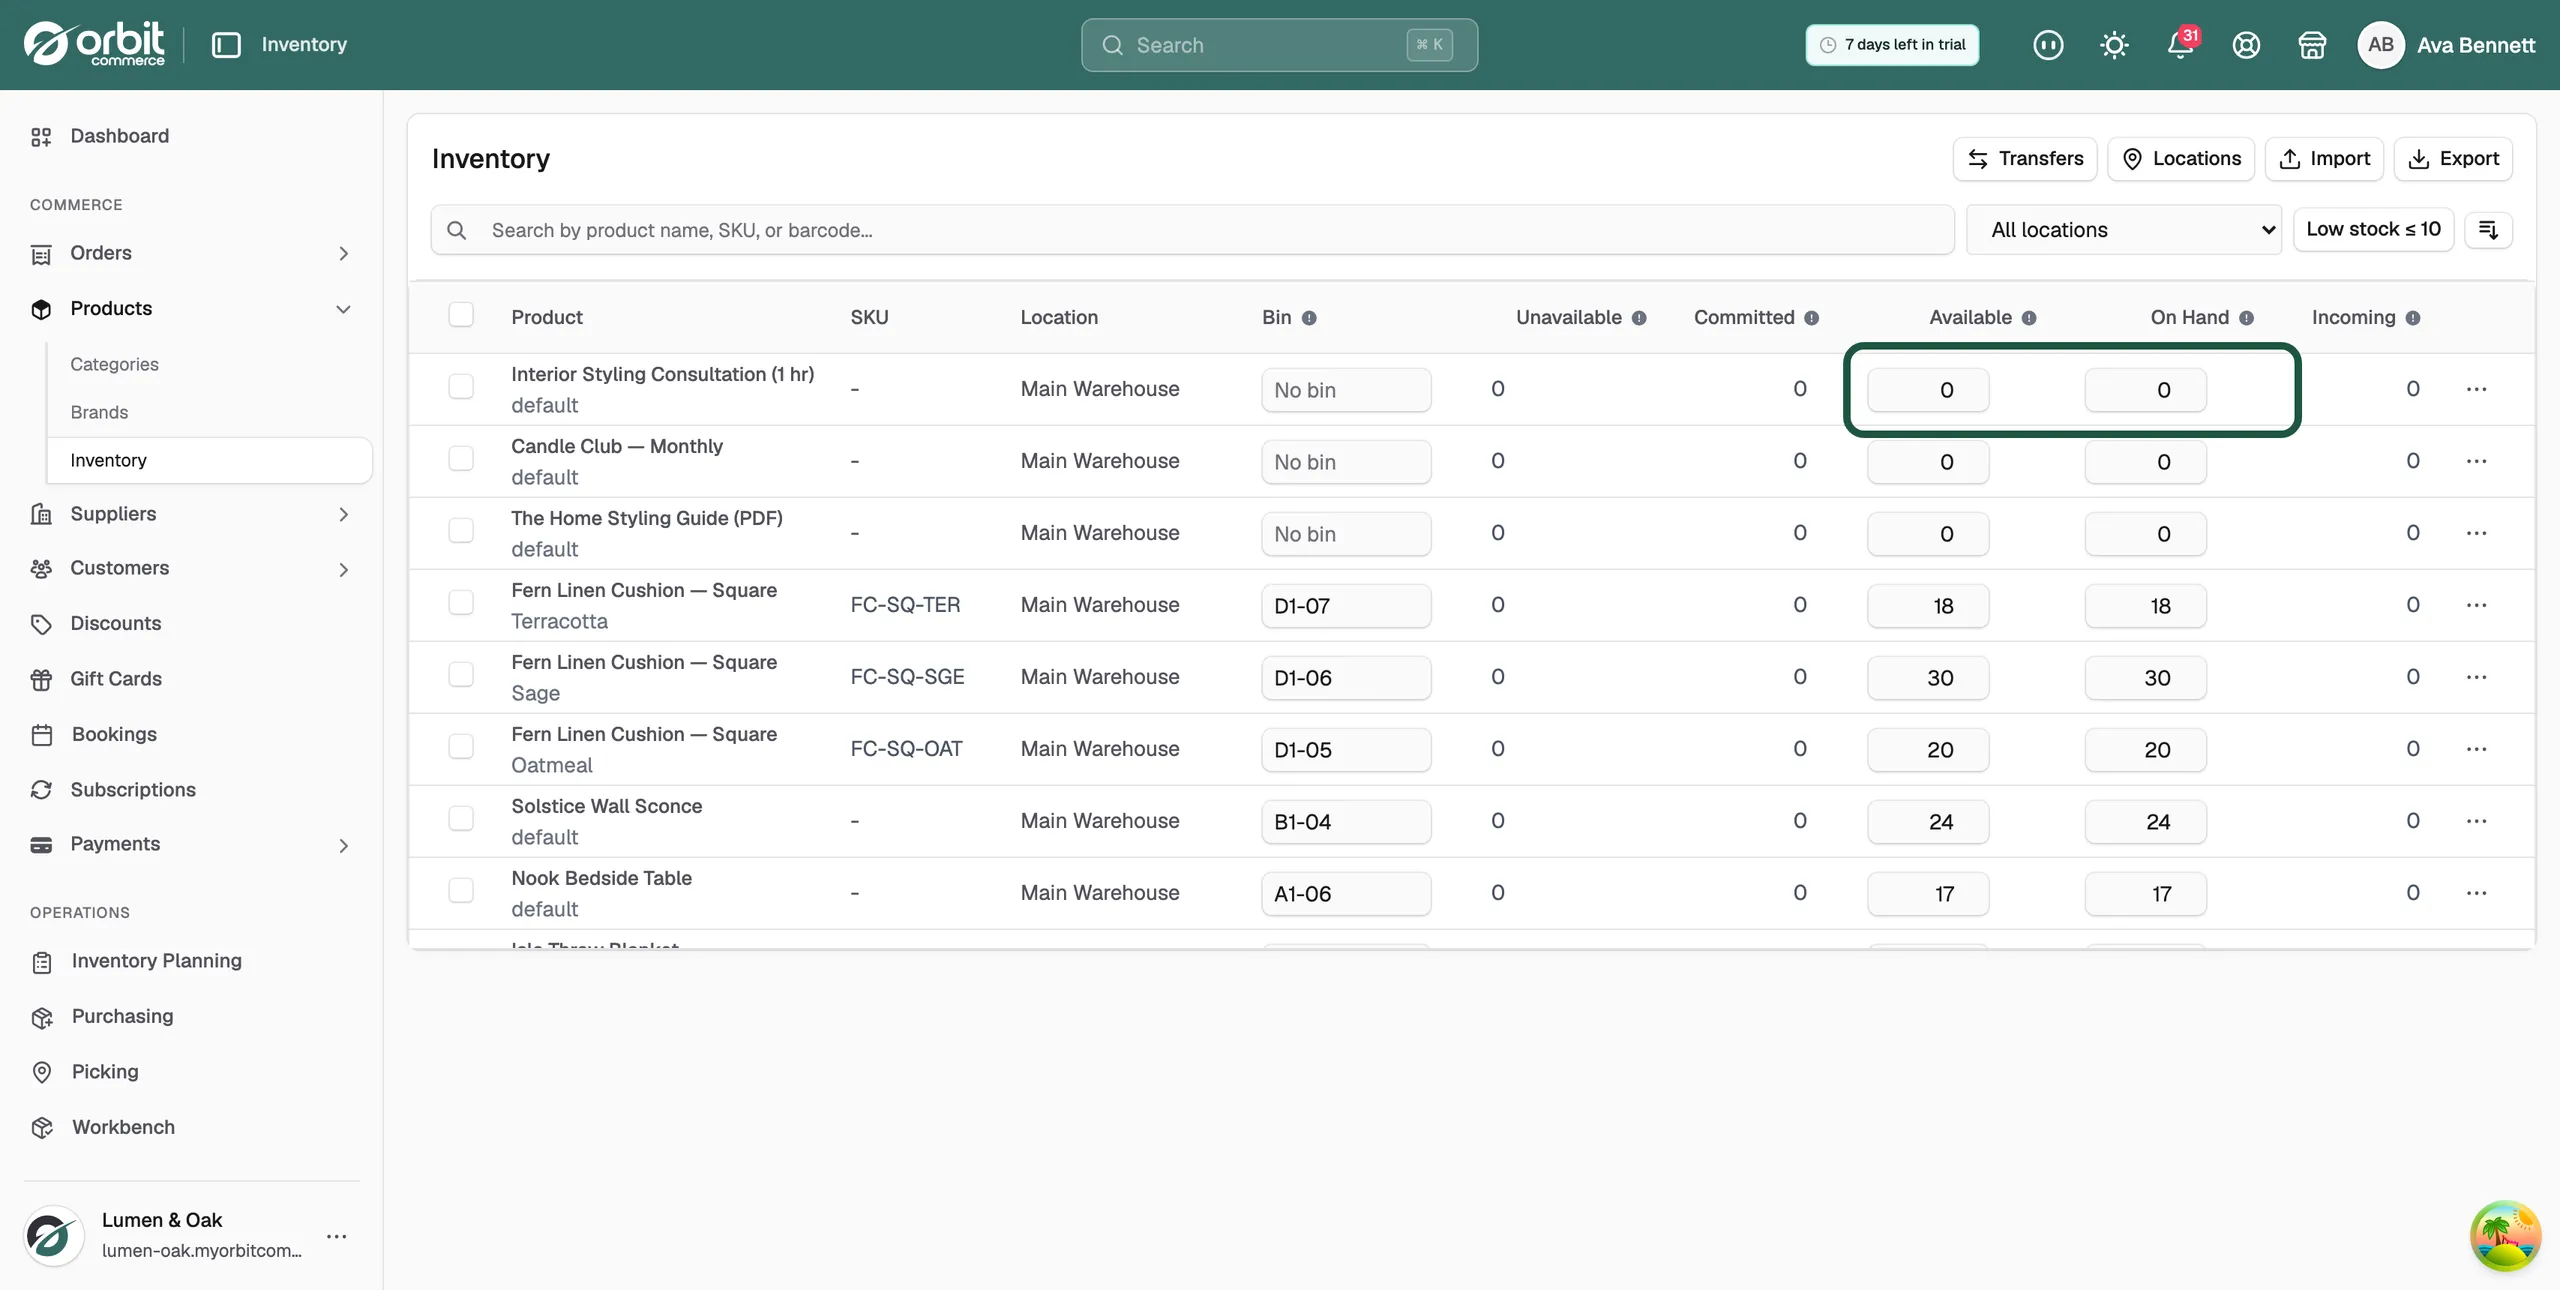
- Click the arrow beside Available.
- Under Mode, choose Set to replace the number with your count. Choose Add to change it by an amount instead.
- In Quantity, type the number.
- Under Reason, choose why it changed, such as Count. The reason is kept in the stock history.
- Click Save. The row shows the new number. An orange bar above the table says 1 item with unsaved changes.
- Click Save changes. Orbit confirms with Inventory adjusted.
You can change the On Hand number the same way.
Warning: Discard changes only works before you click Save changes. A saved change cannot be undone. To fix a mistake, make another adjustment.
View stock history
- From your Orbit dashboard, go to Products > Inventory.
- Find the product row.
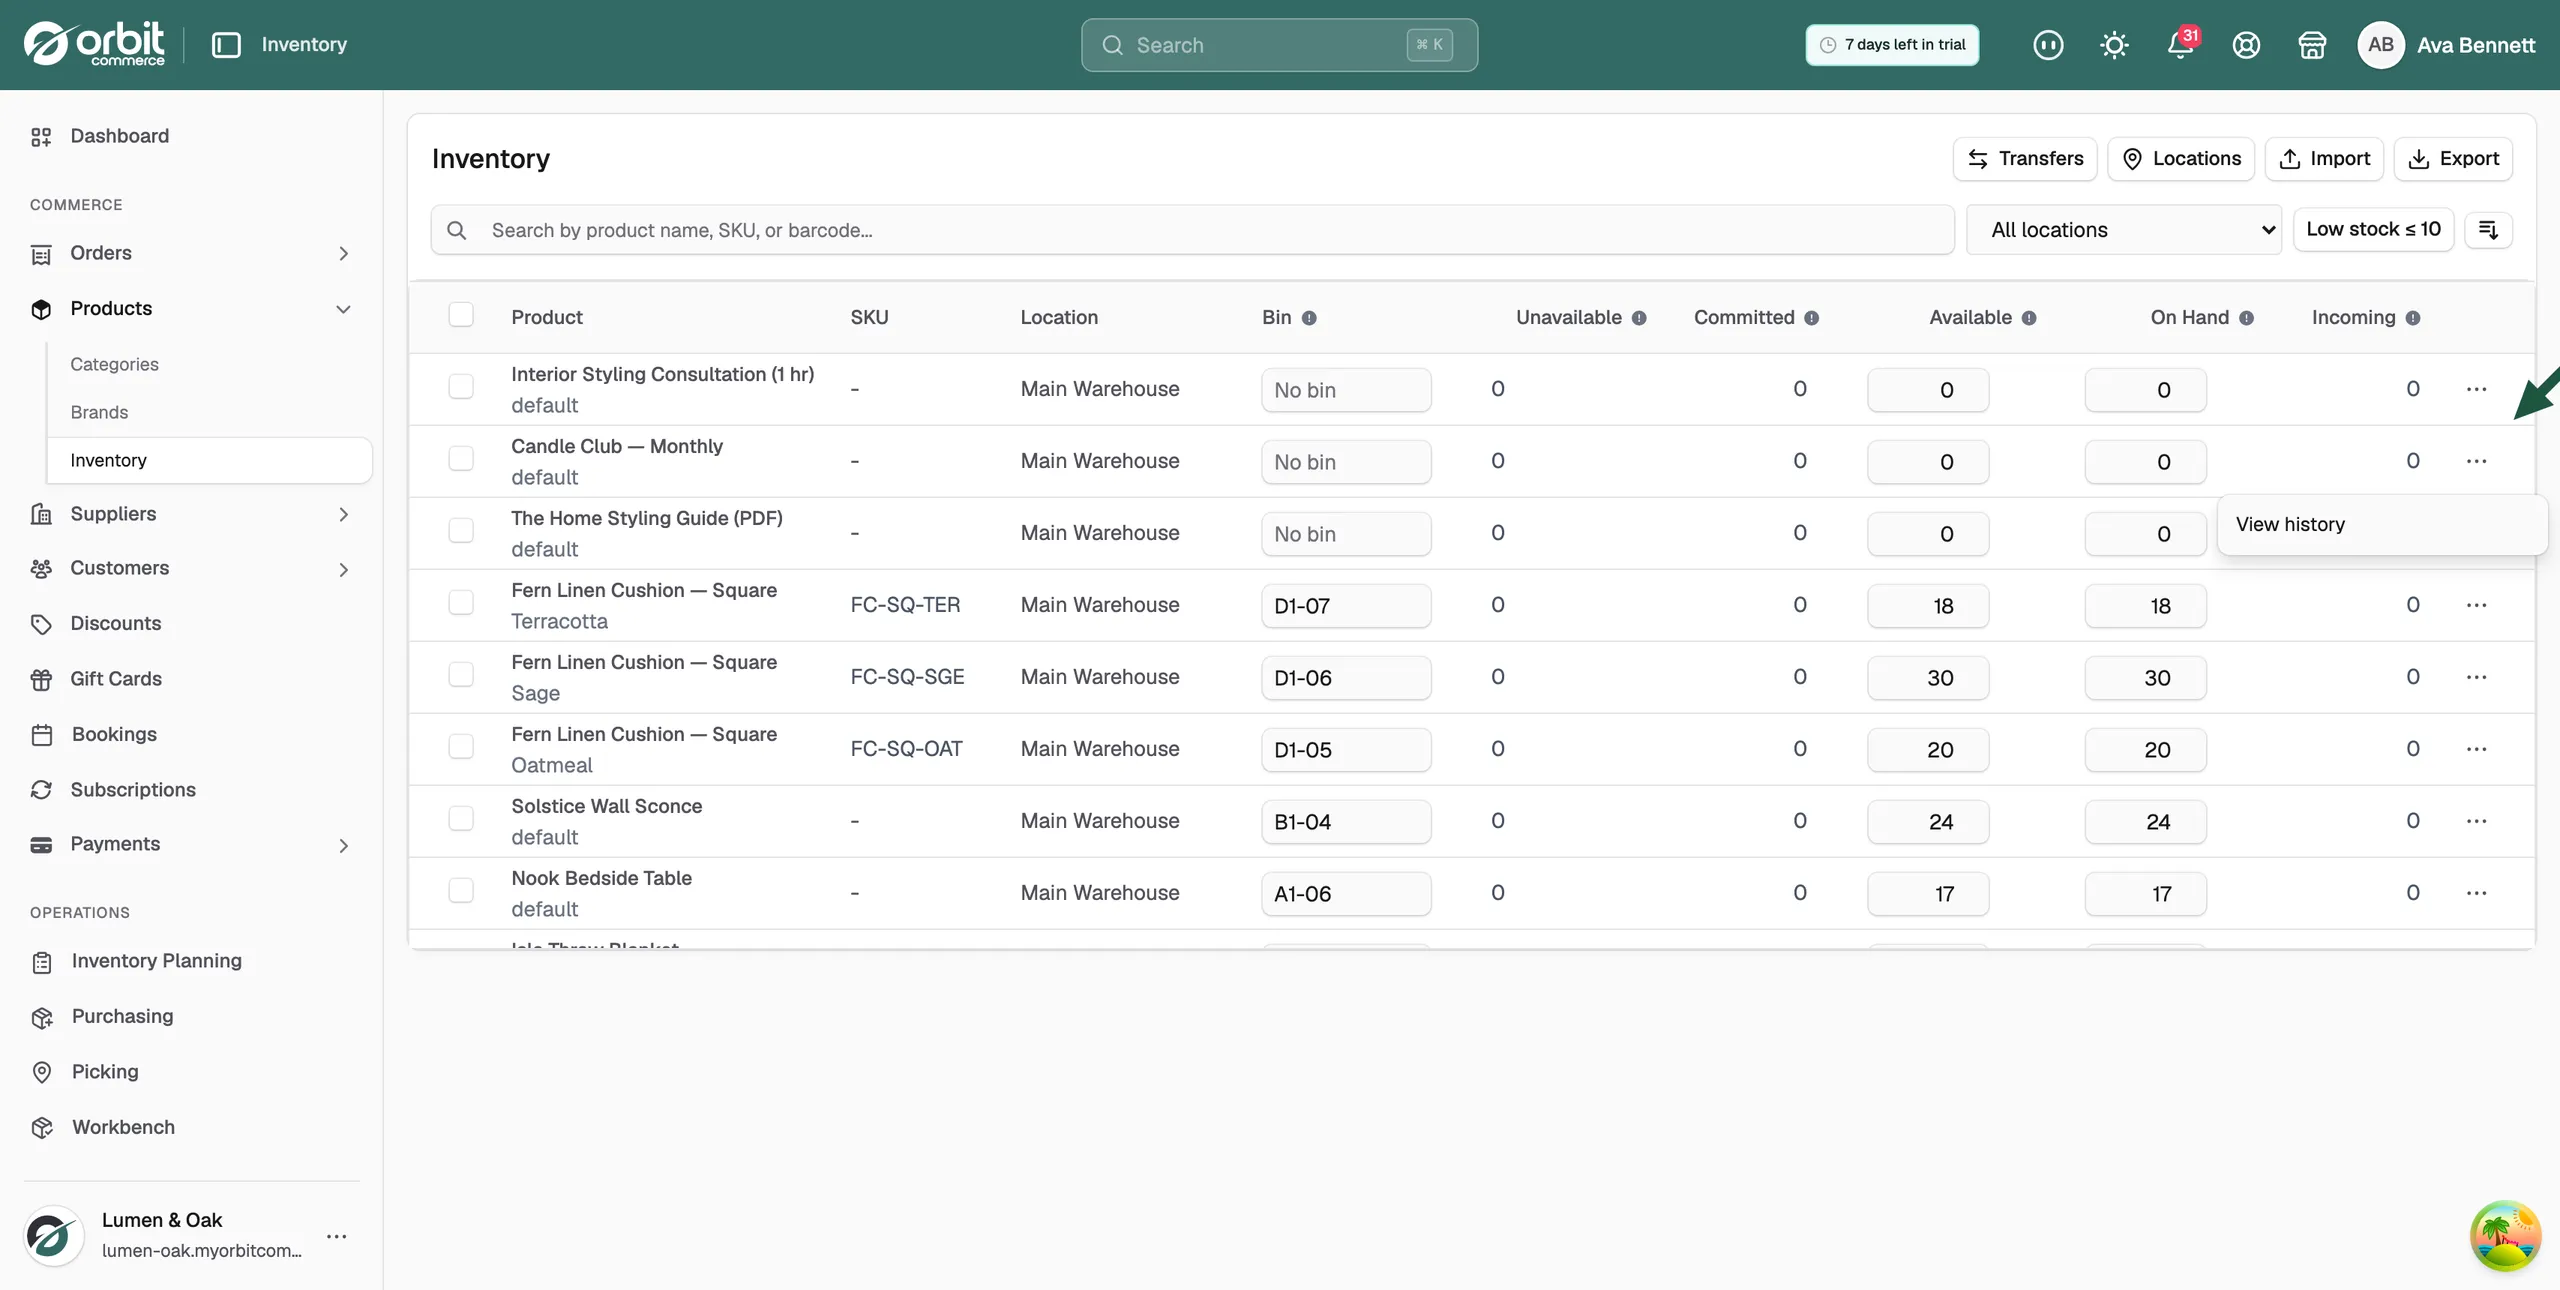
- Click the three dots at the end of the row.
- Choose View history.
The Movement History window lists every change, newest first. Each row shows the date, the type of change, the quantity, the number before and after, and the reason under Notes. Use Movement Type to show one kind of change. Click Export to download the list.
Add a location
Add a location for each place you keep stock, such as a shop, a stockroom or a second warehouse.
- From your Orbit dashboard, go to Products > Inventory.
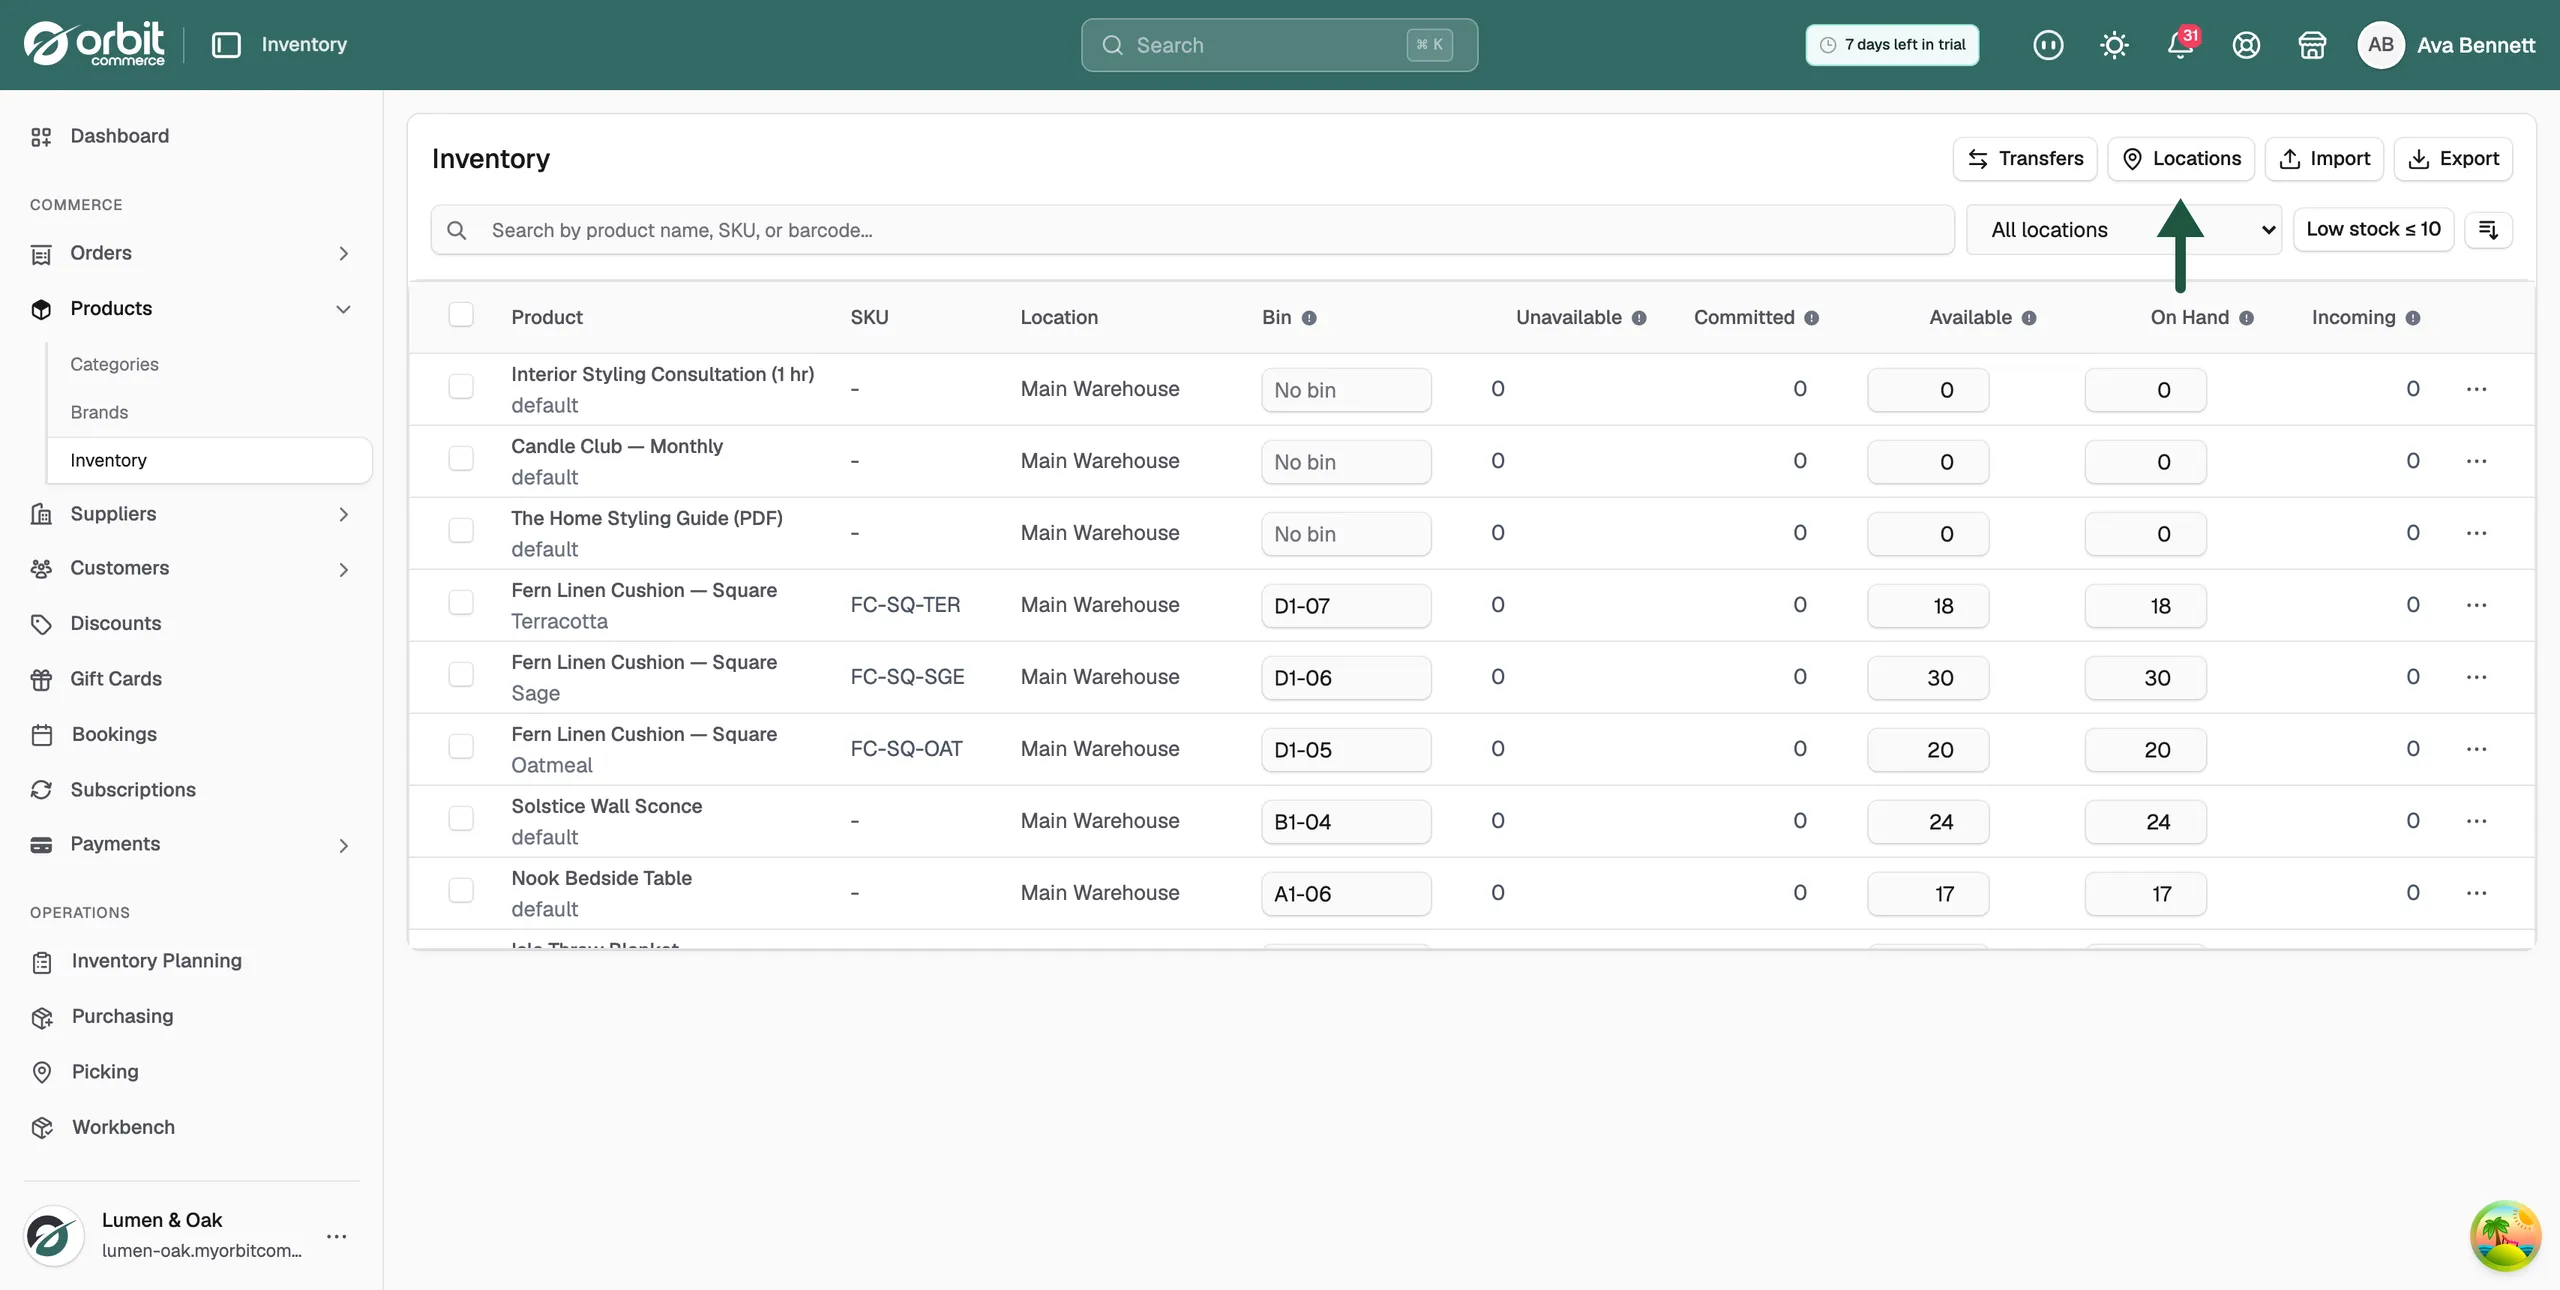
- Click Locations.
- Click Add Location.
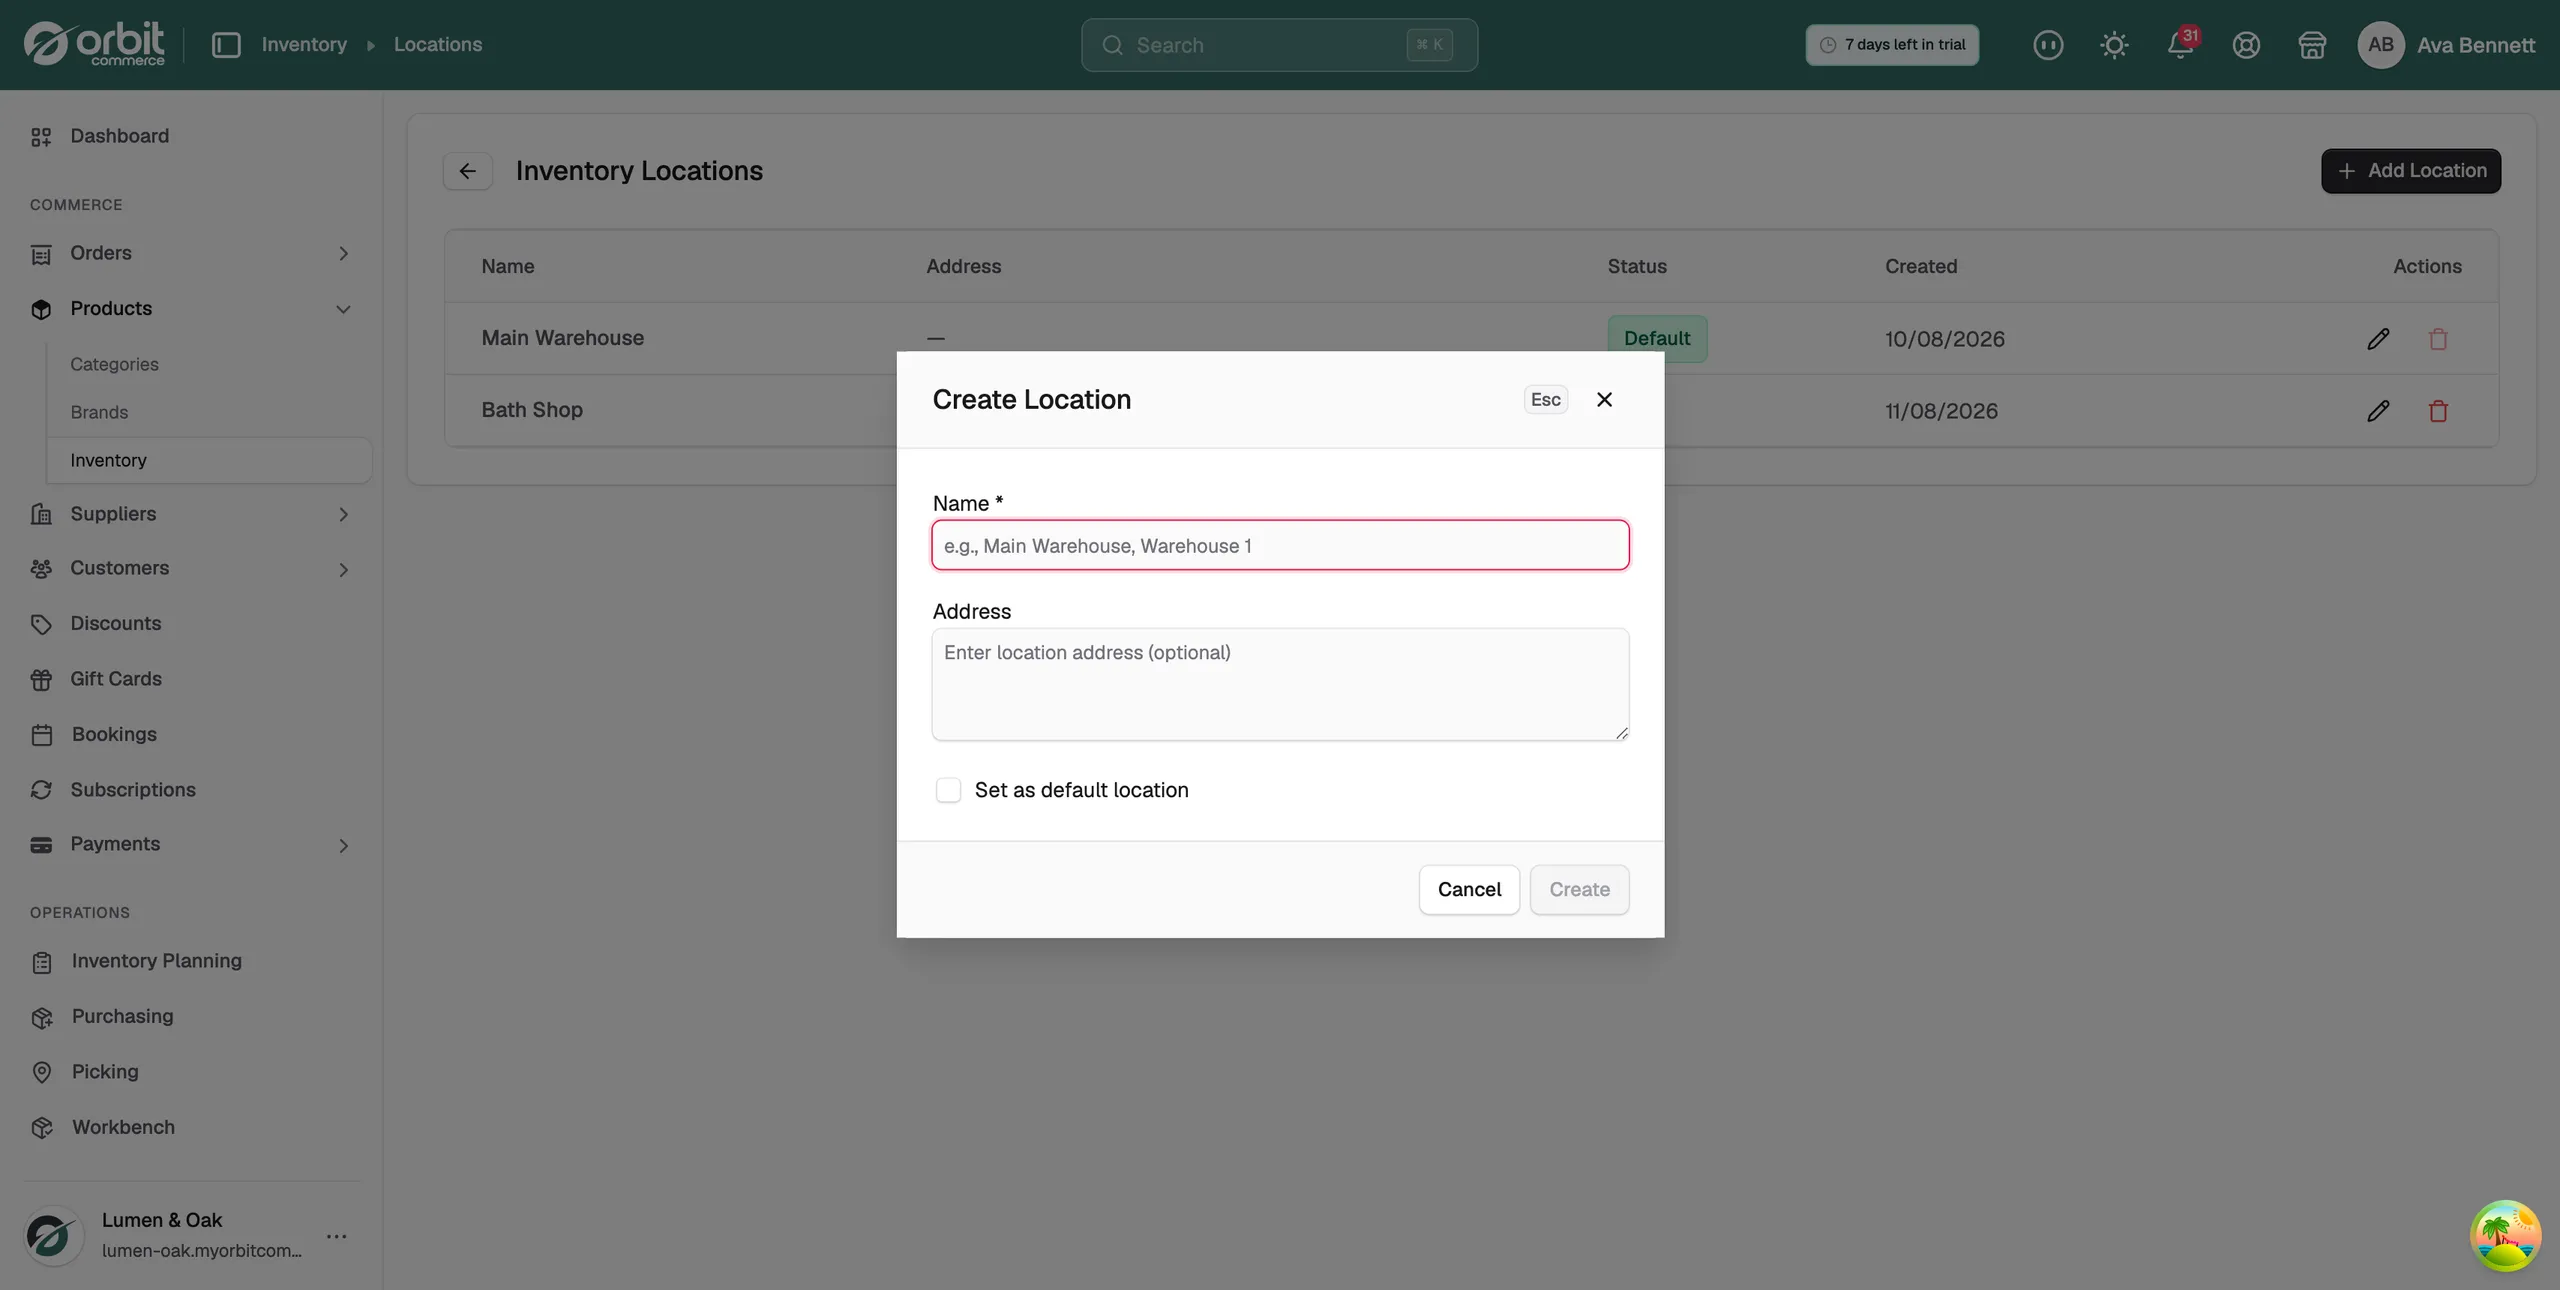
- Enter a Name.
- Add an Address if you want one. Orbit suggests addresses as you type.
- Tick Set as default location to make this your default. Orbit keeps one default, so this replaces the old one.
- Click Create. The location appears in the list.
Edit or delete a location
- On the Inventory Locations page, find the location.
- Click the pencil icon to change its name, address or default setting. Then click Update.
- Click the bin icon to delete it.
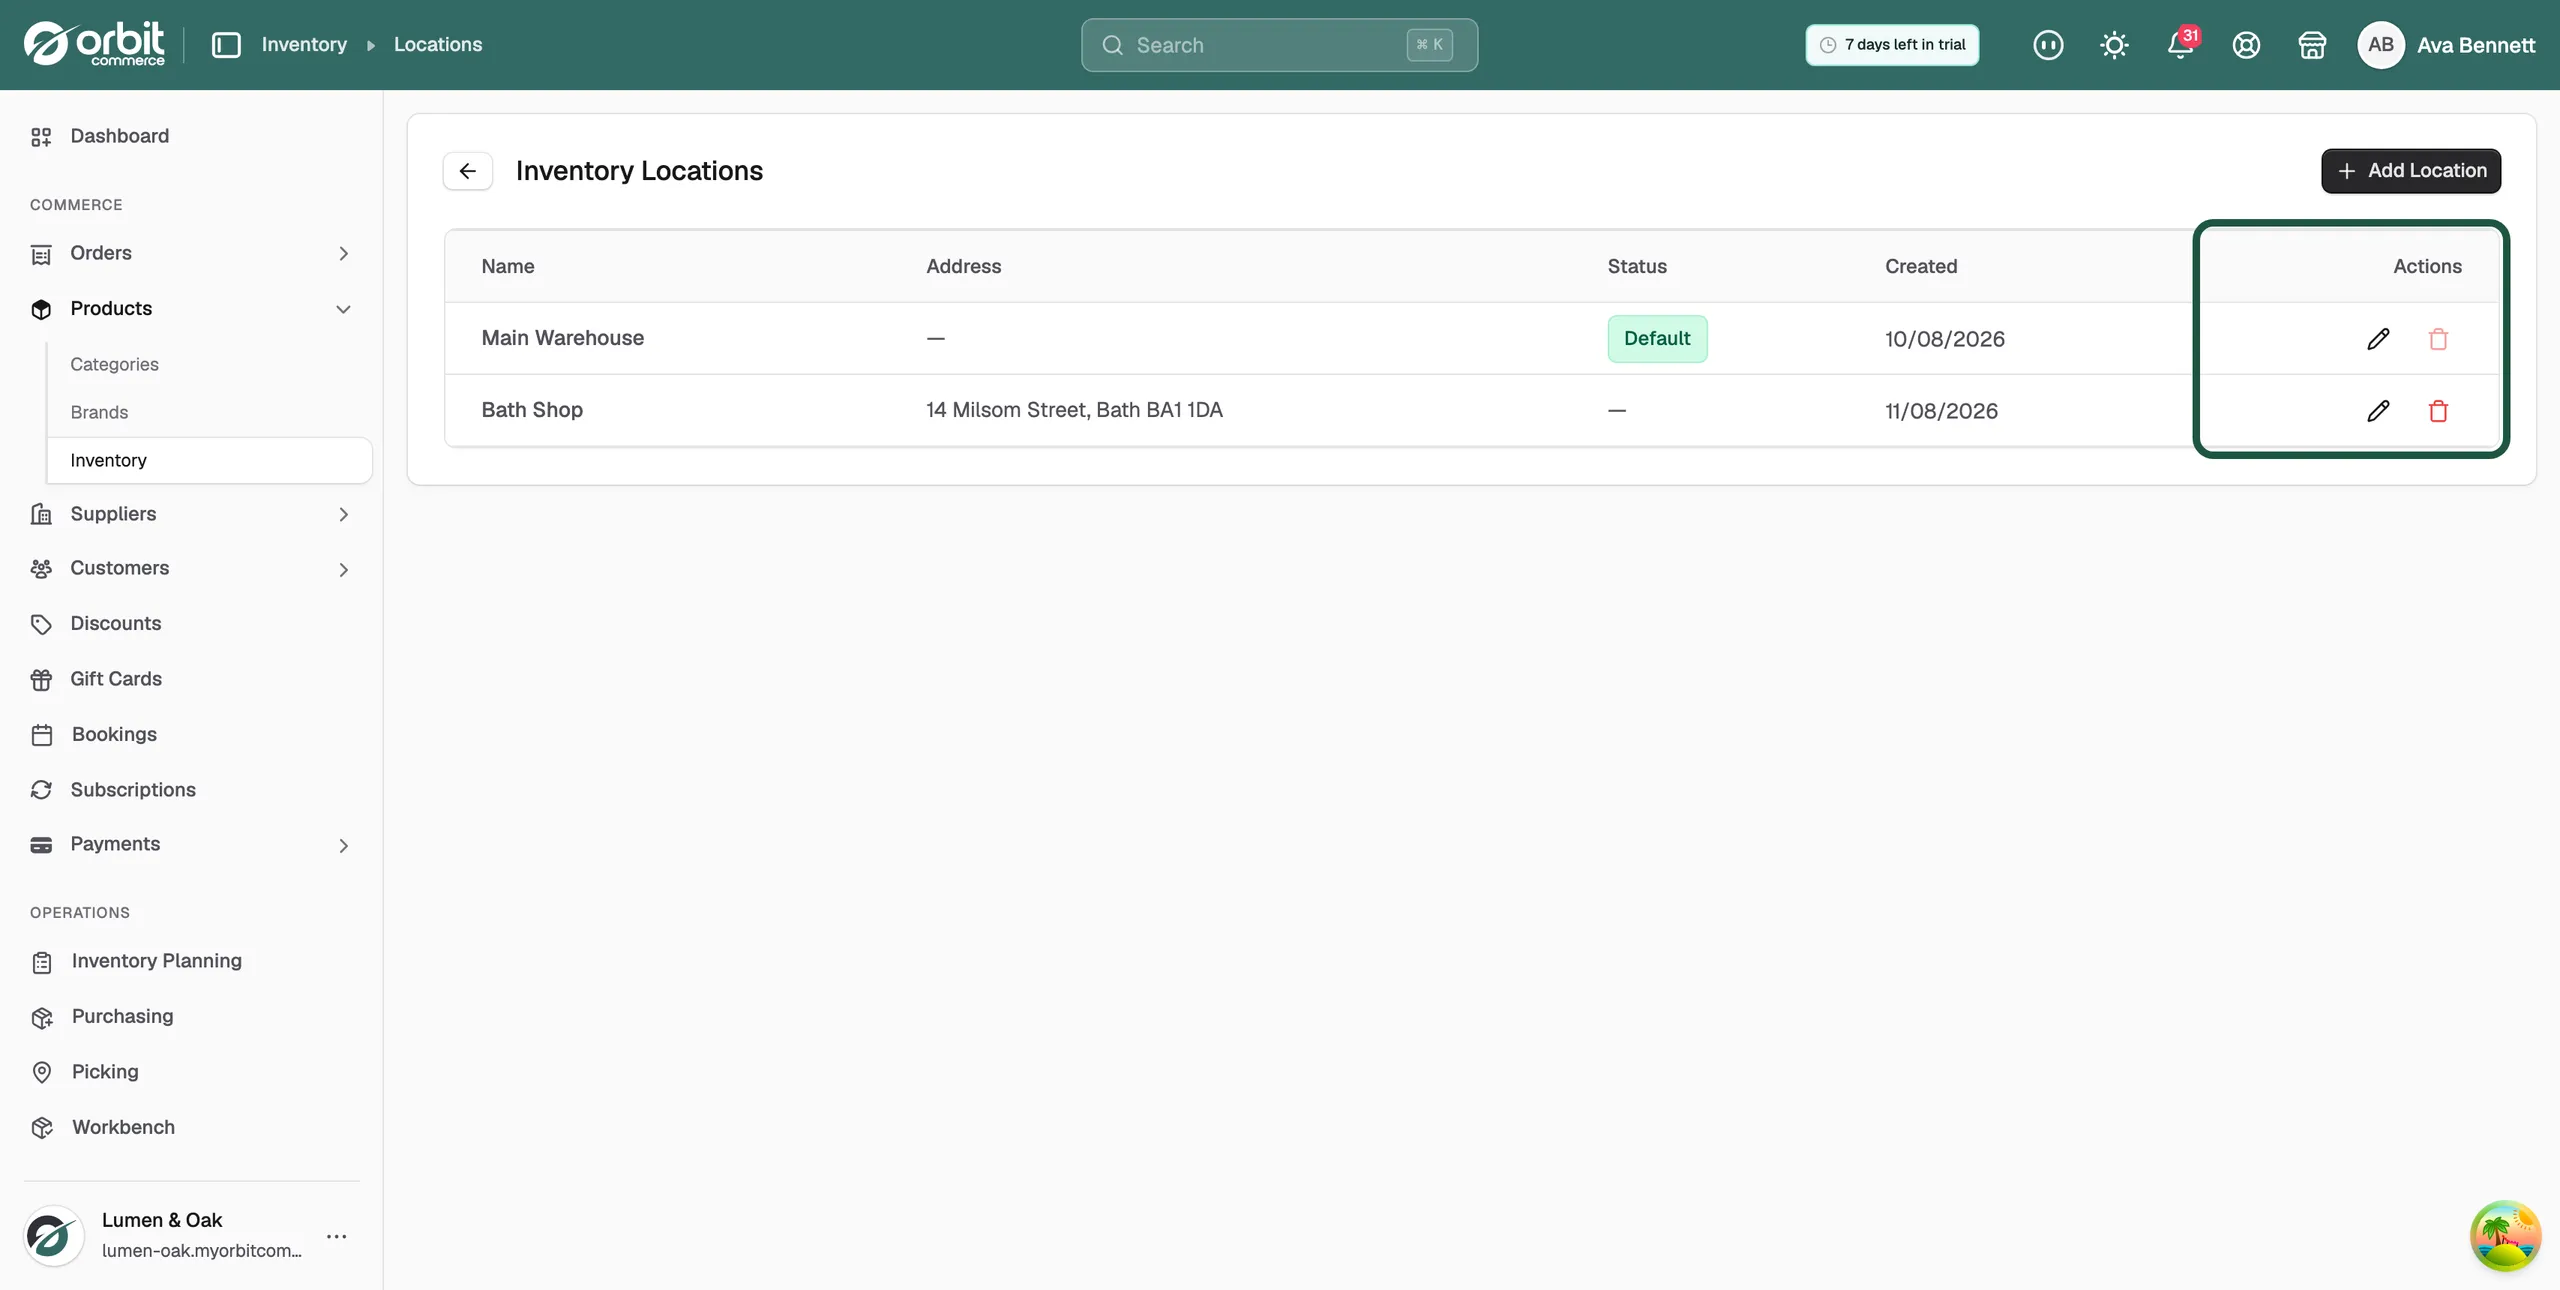
Note: You cannot delete the default location. Make another location the default first.
Move stock between locations
A transfer moves stock from one location to another.
- From your Orbit dashboard, go to Products > Inventory.
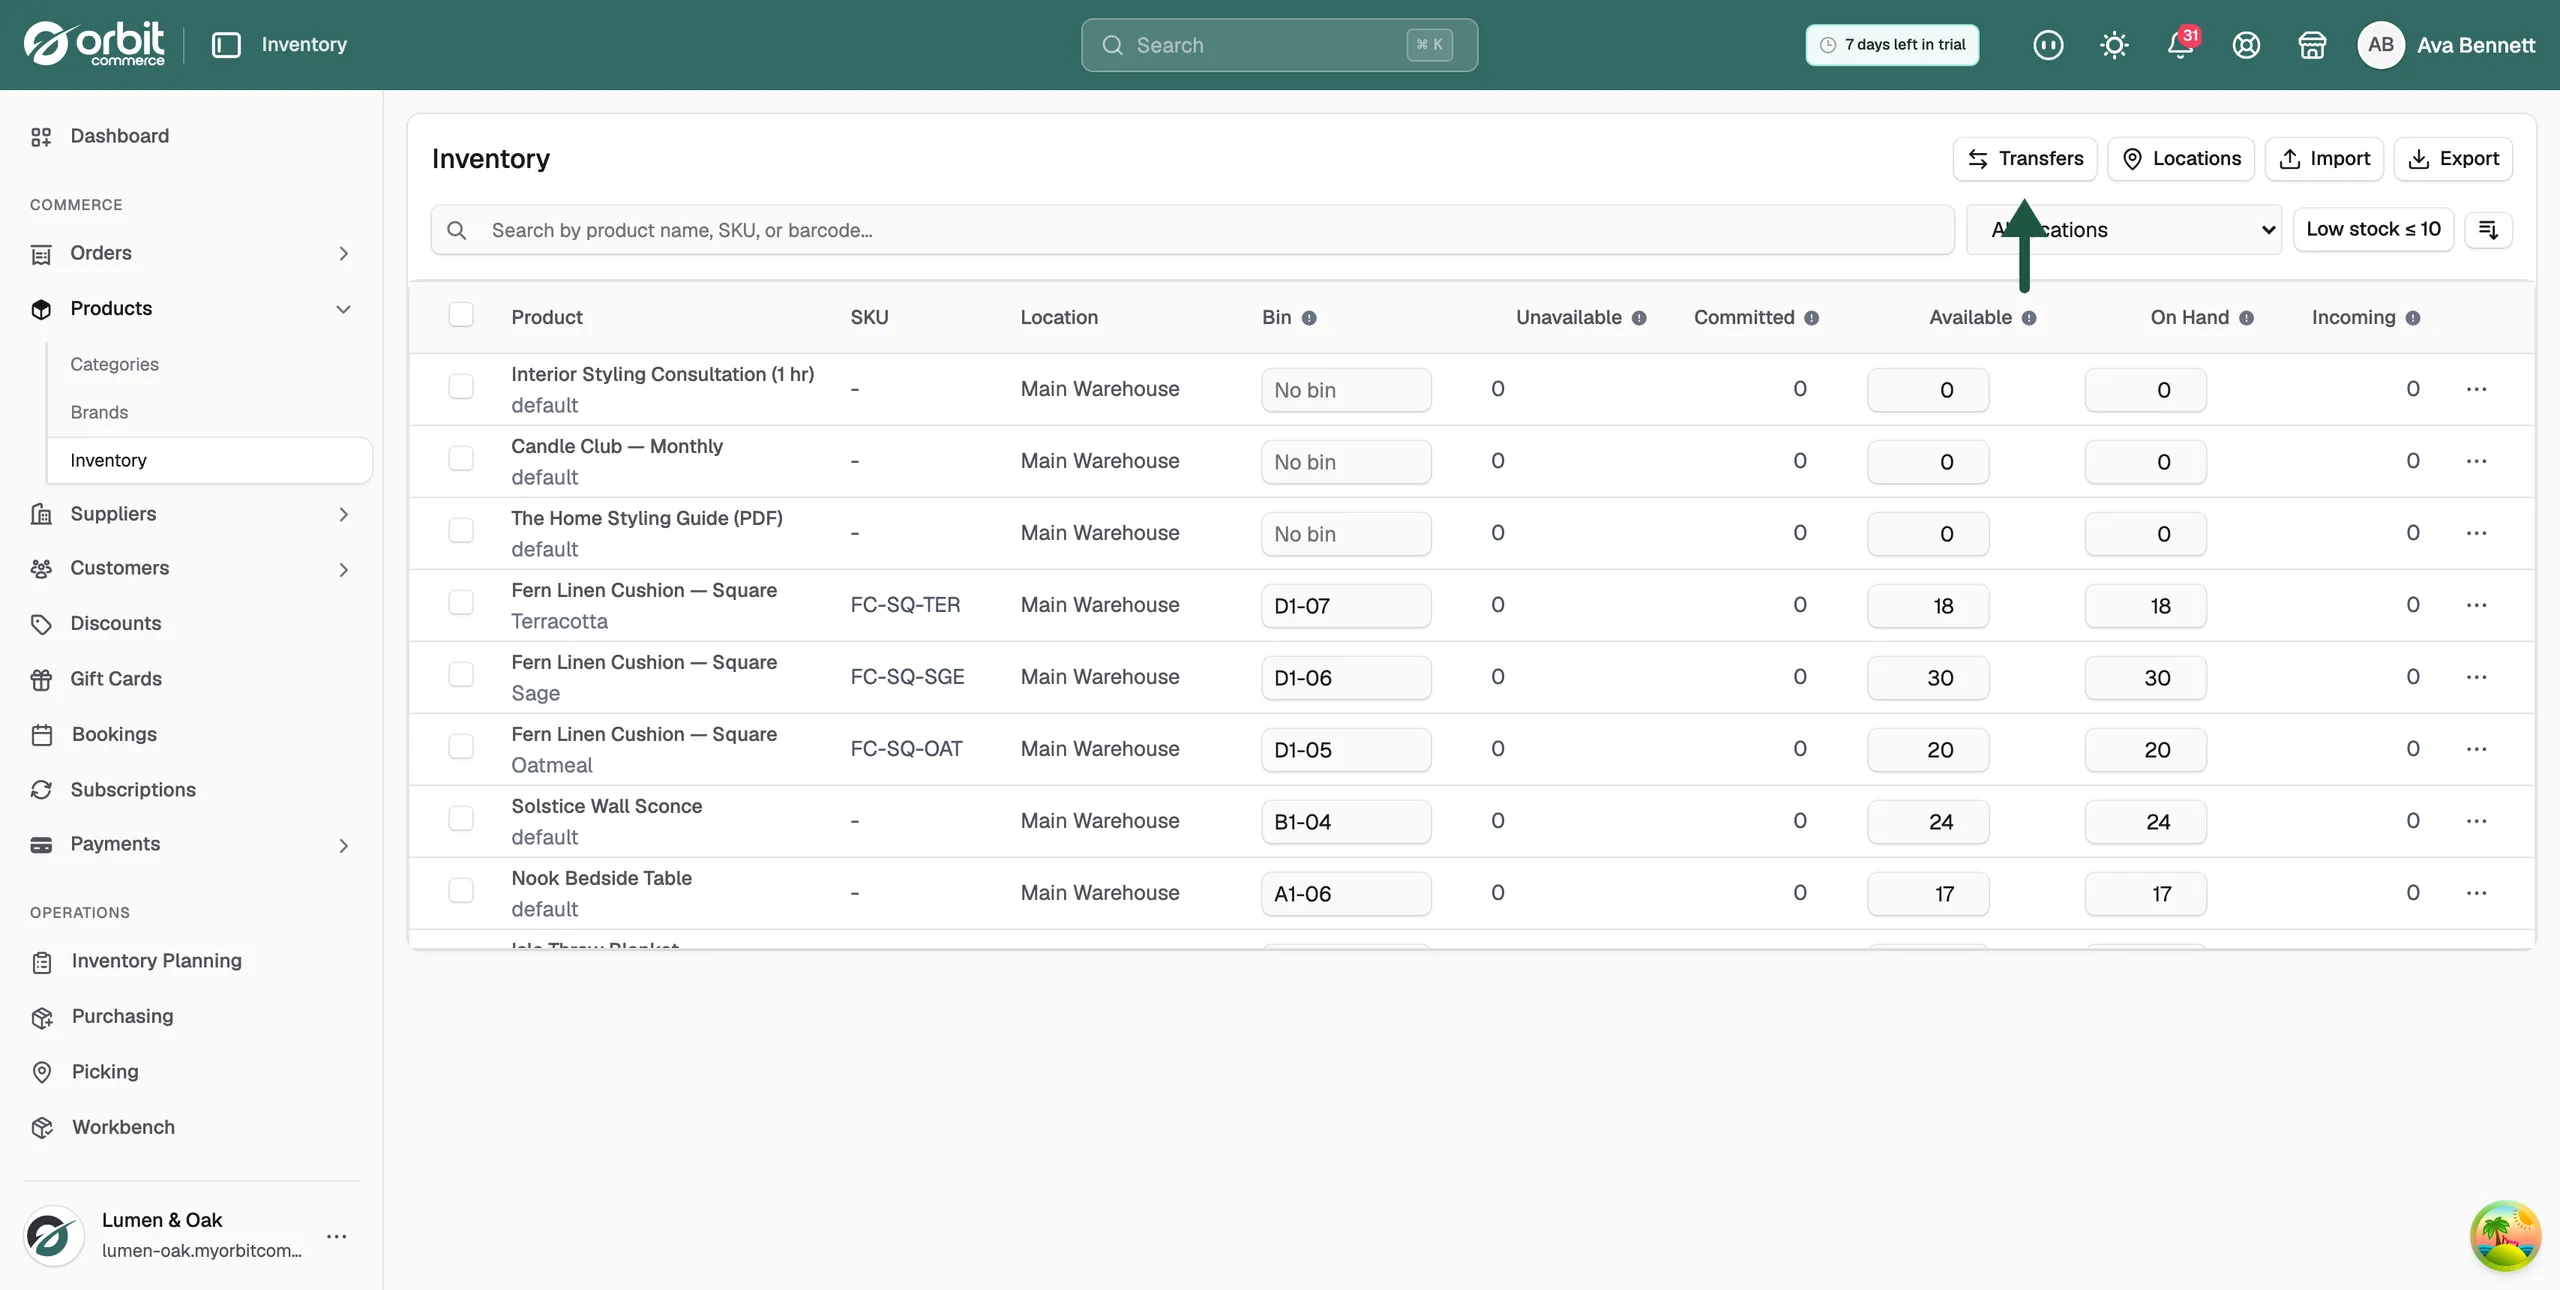
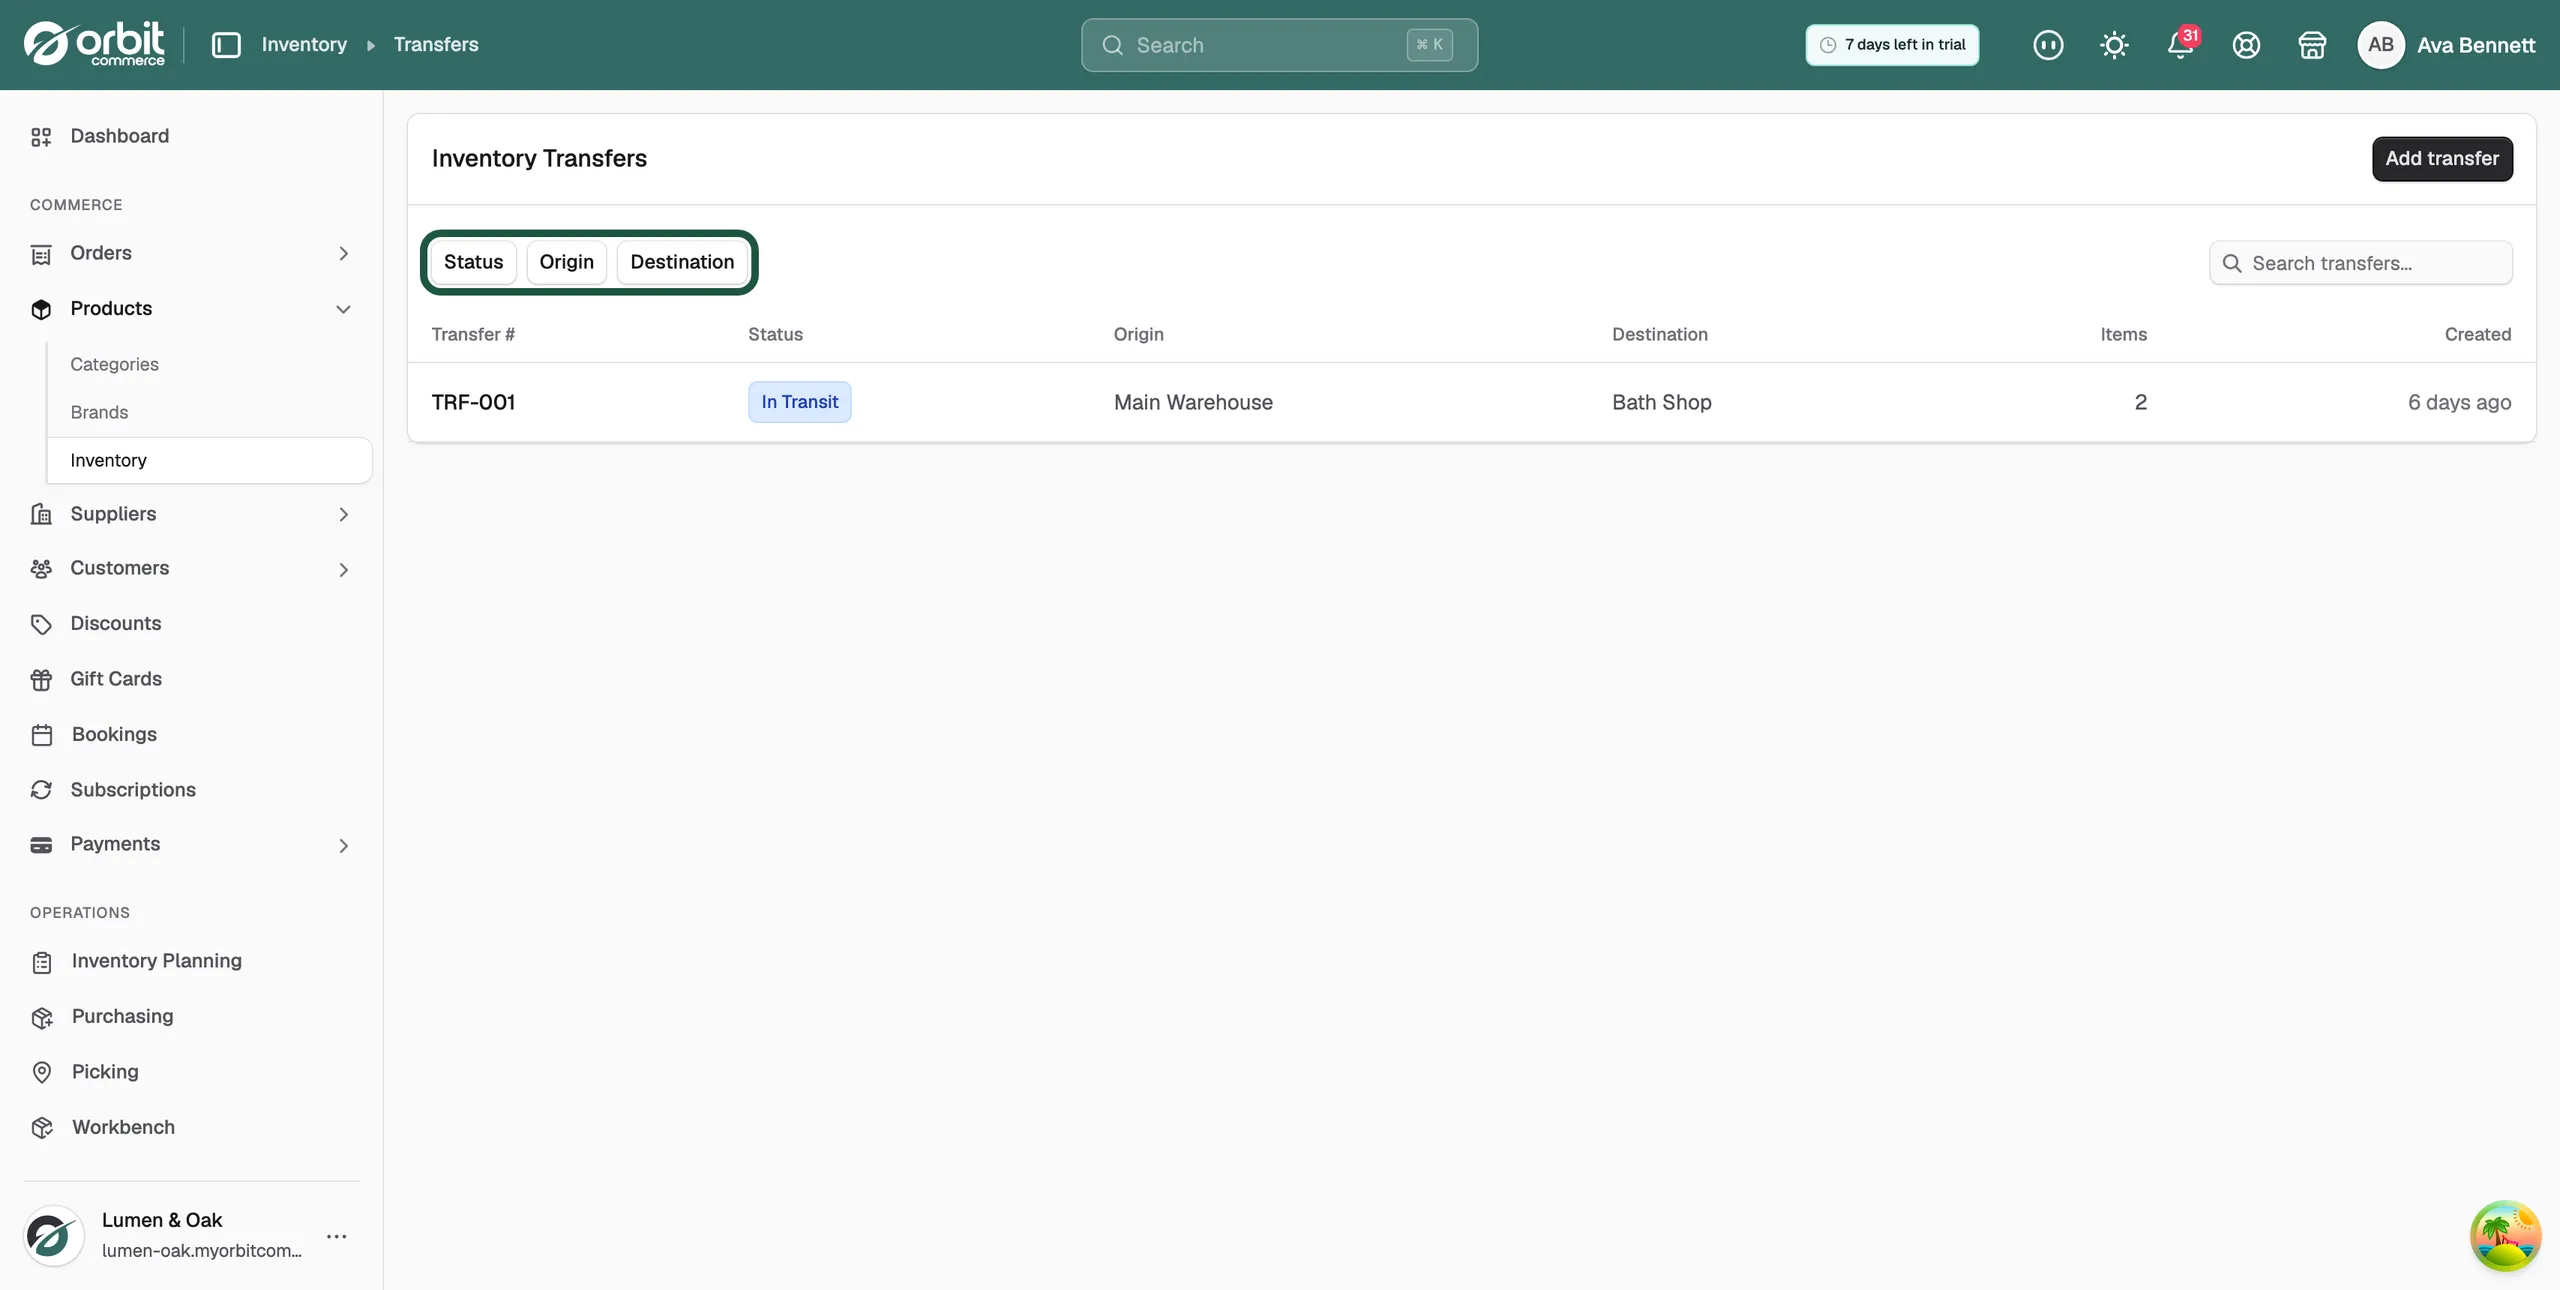
- Click Transfers.
- Click Add transfer. If you have no transfers yet, click Create your first transfer.
- Choose the Origin Location. This is where the stock is now.
- Choose the Destination Location.
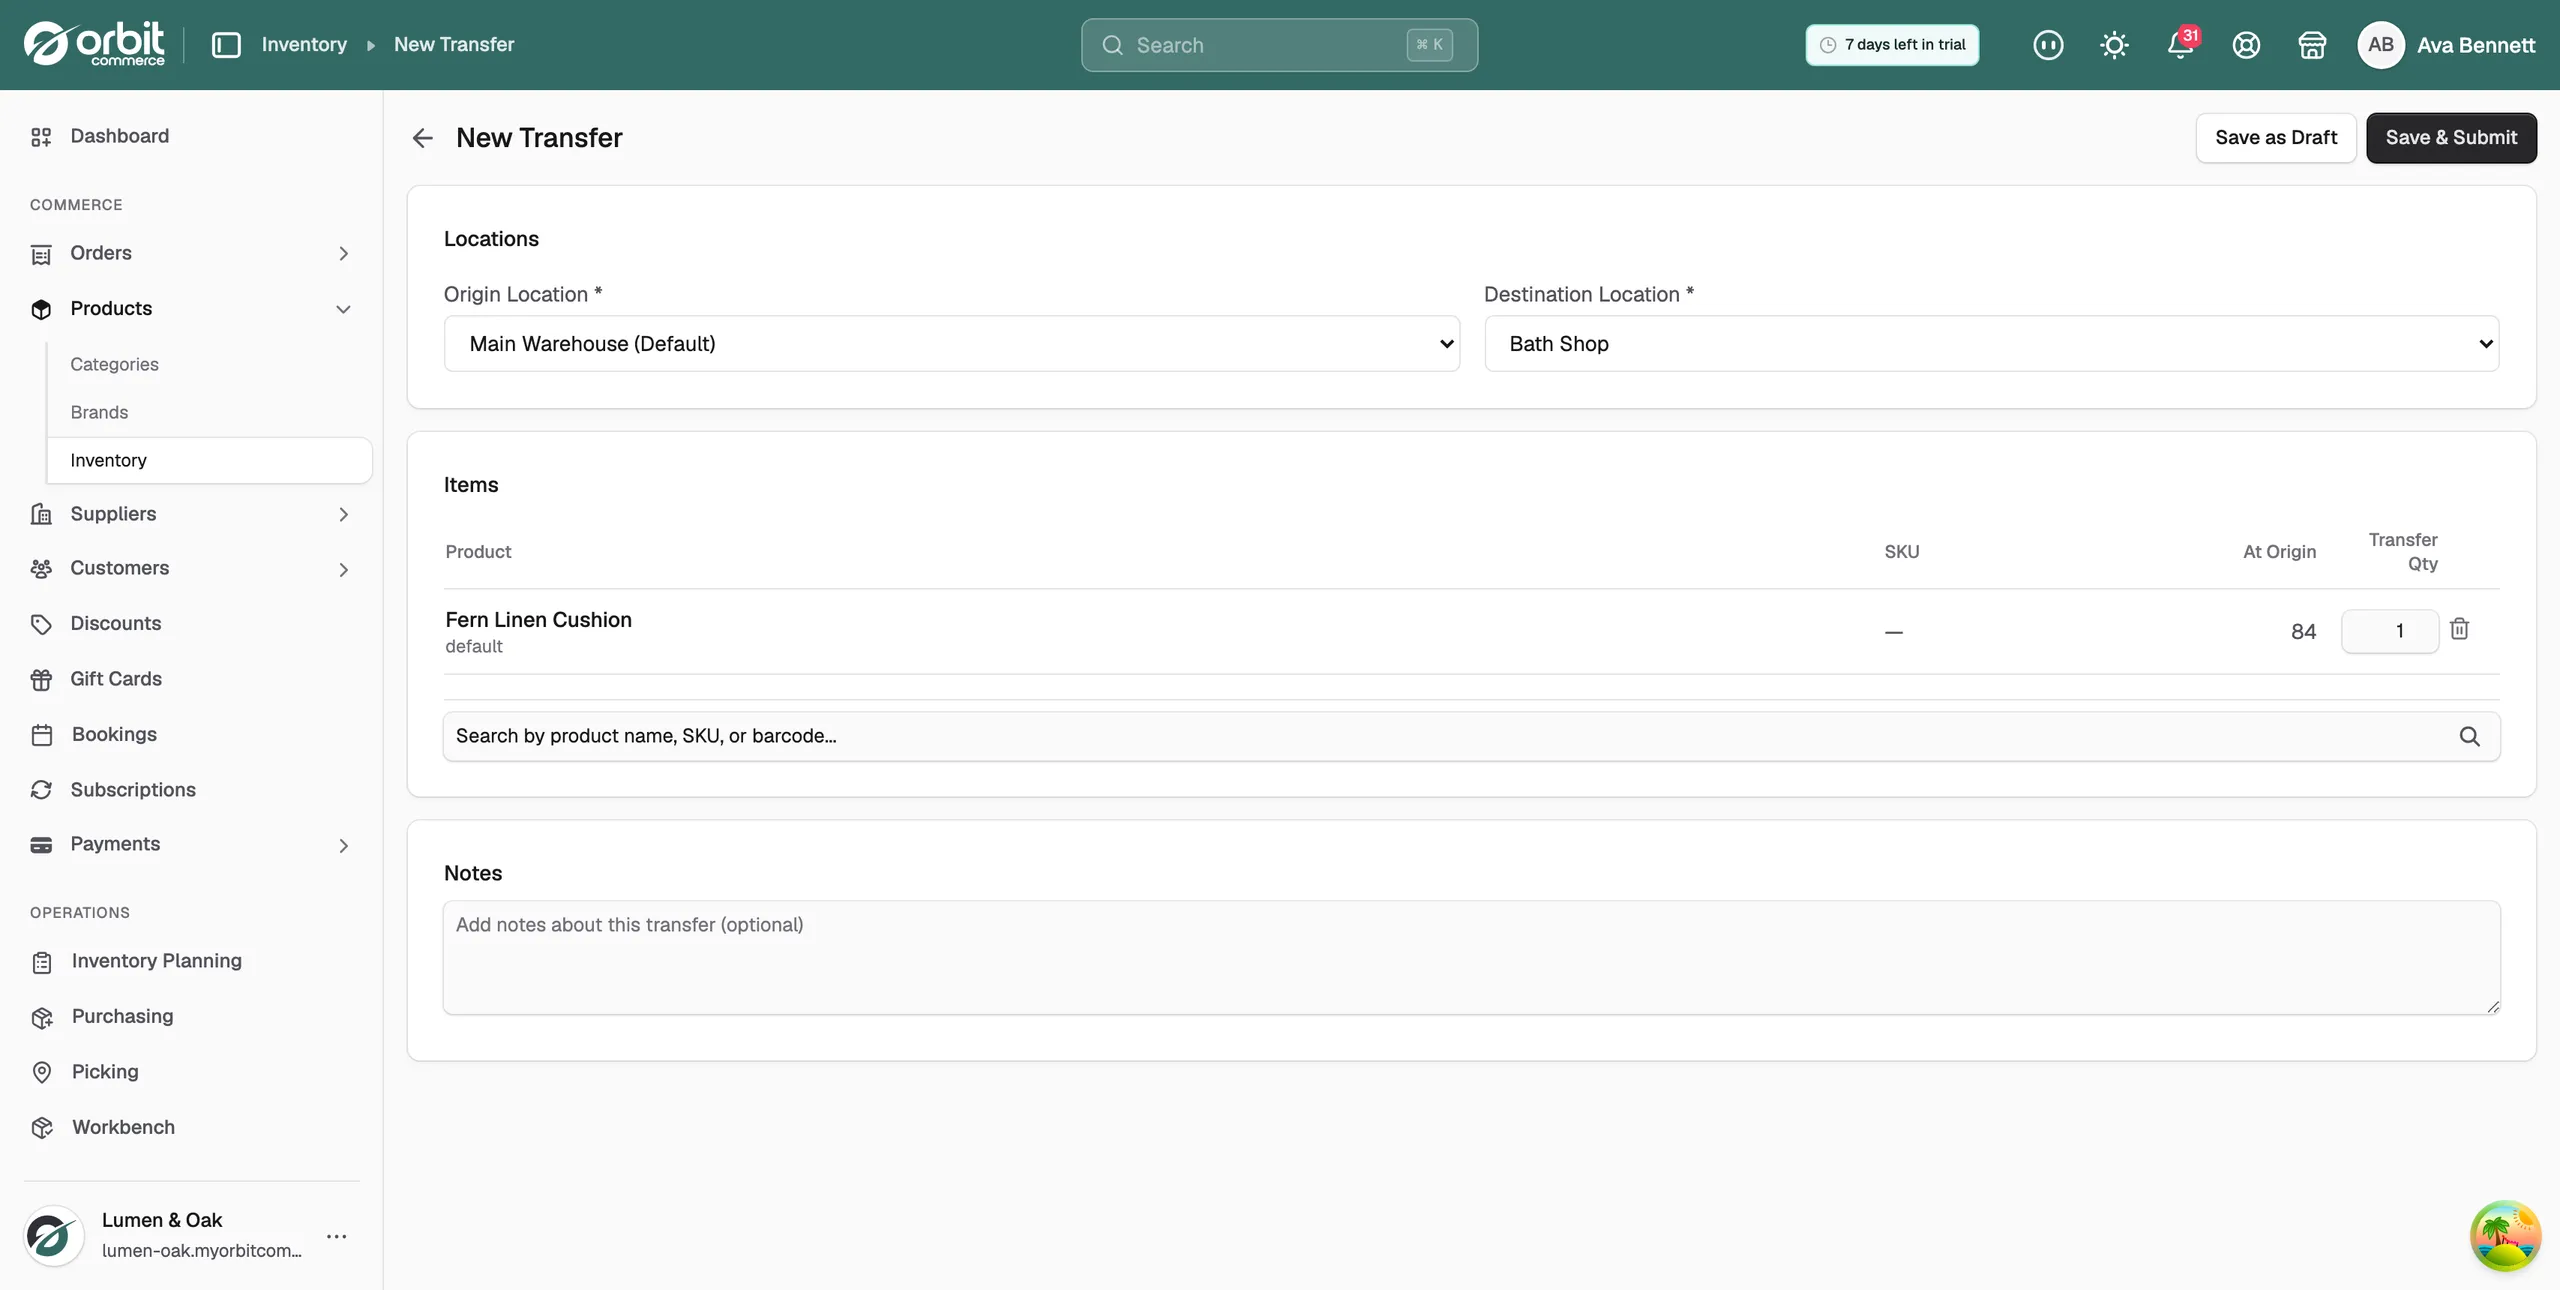
- Under Items, search by product name, SKU or barcode and pick the product. It is added with a Transfer Qty of 1.
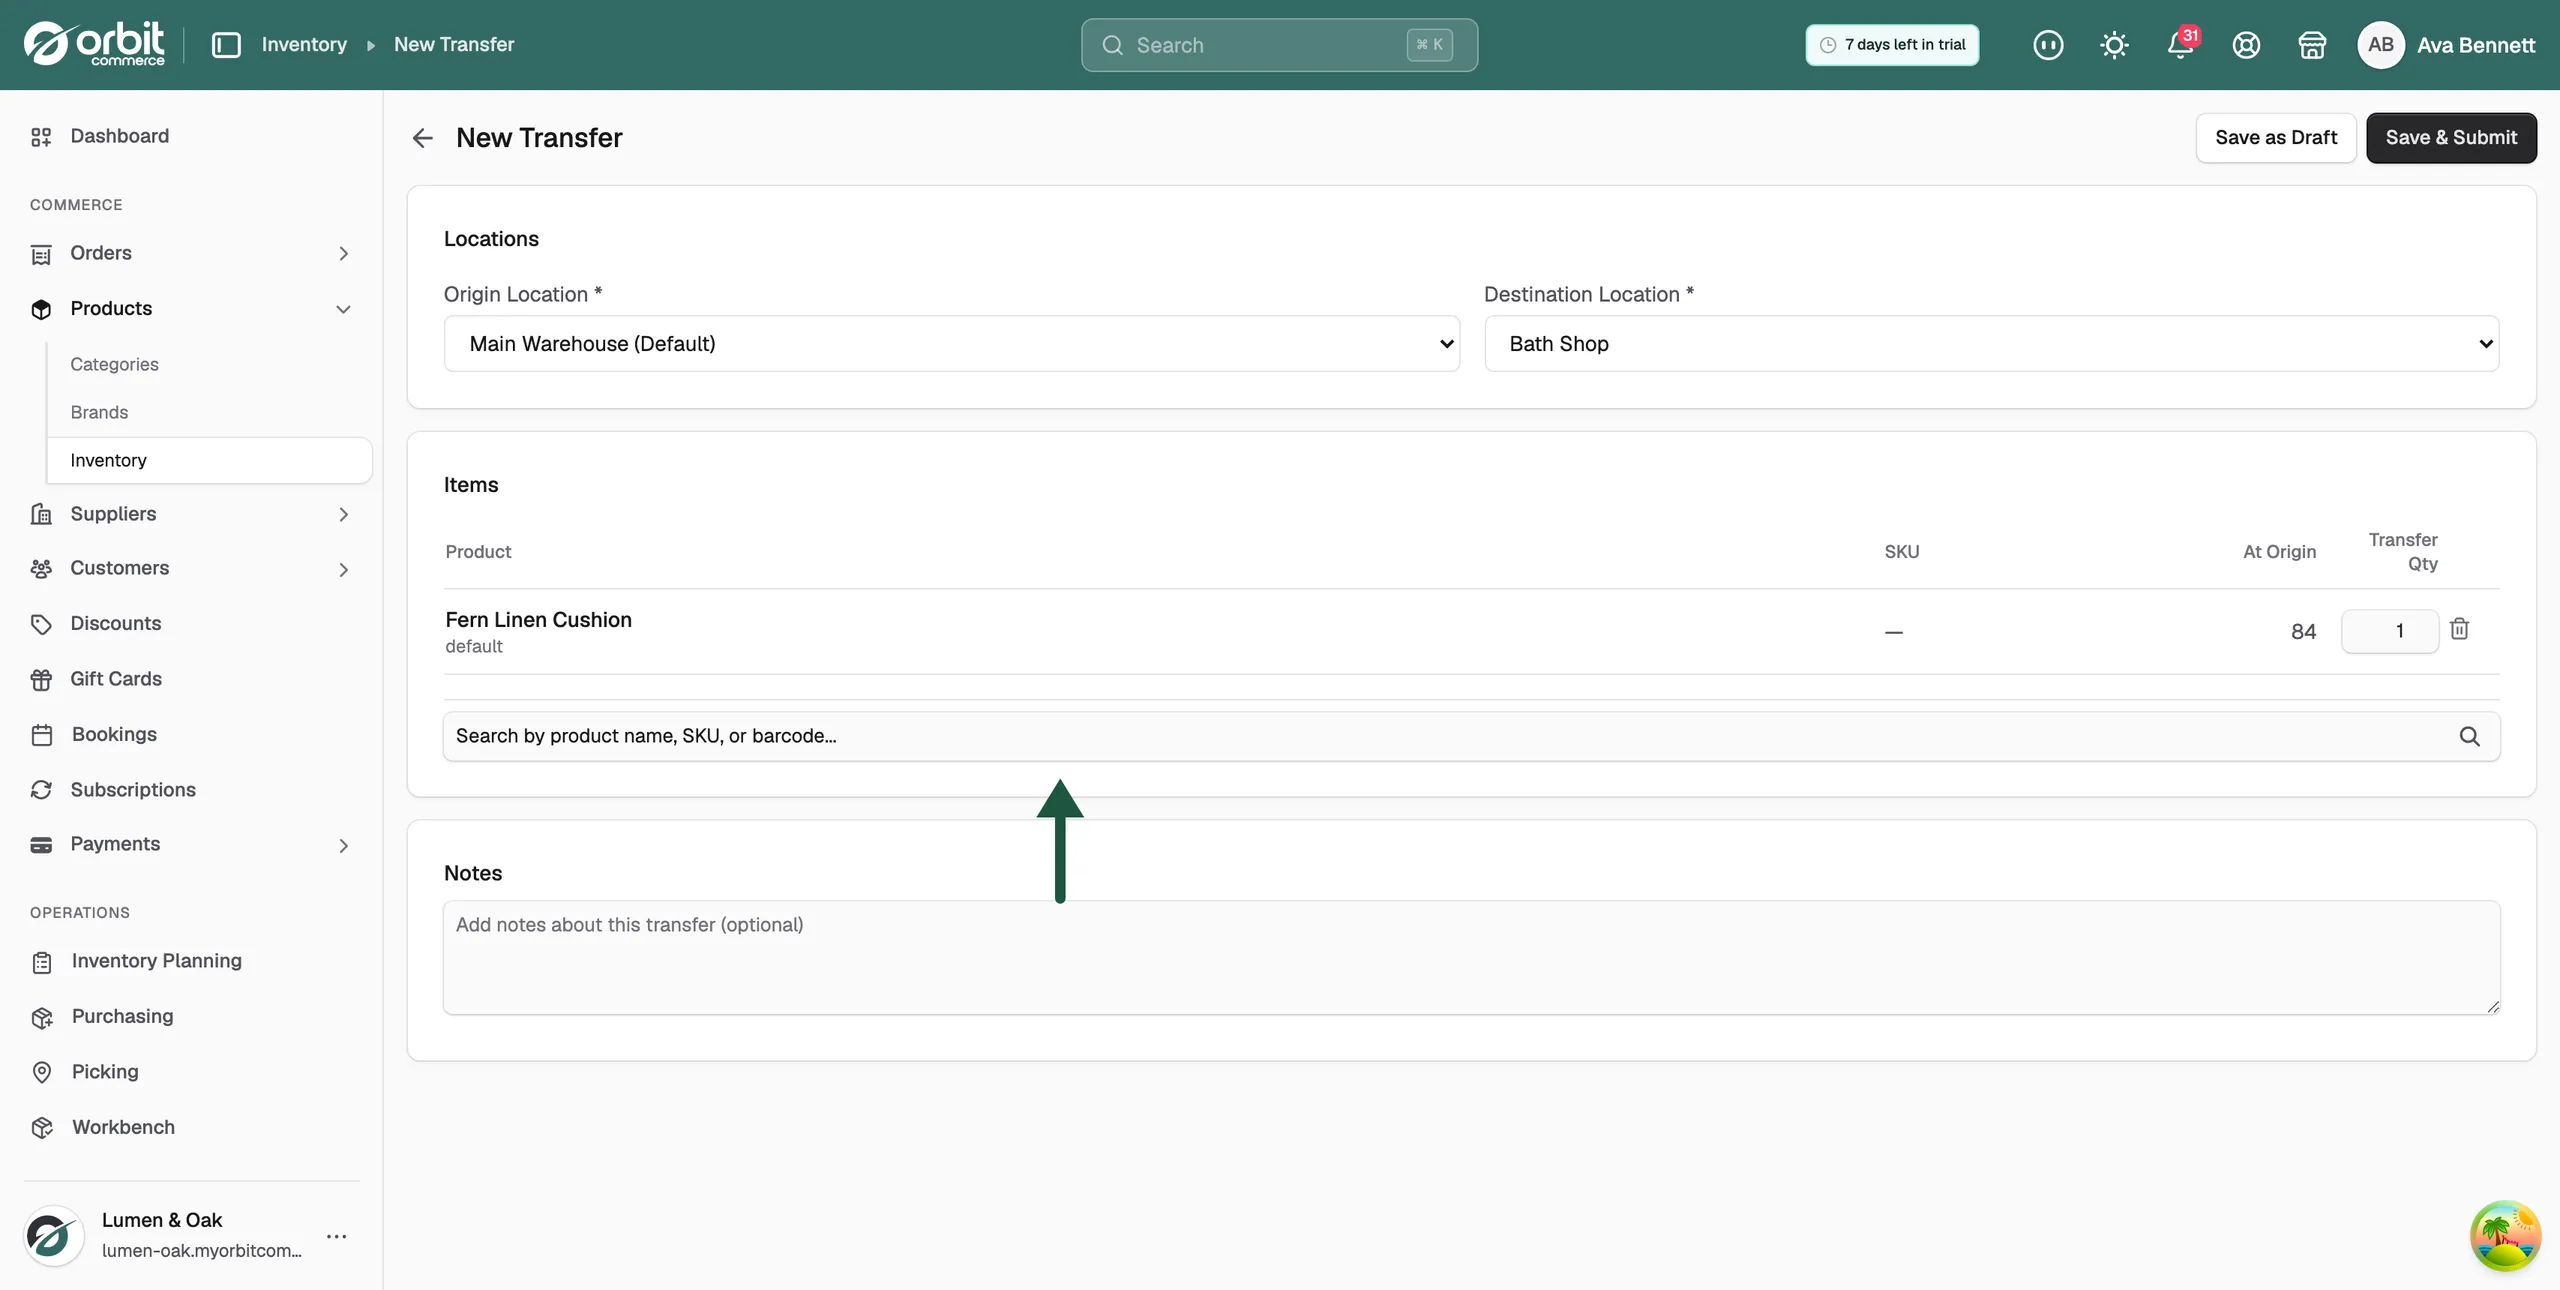
- Change Transfer Qty to the number you are moving. Search again to add more products.
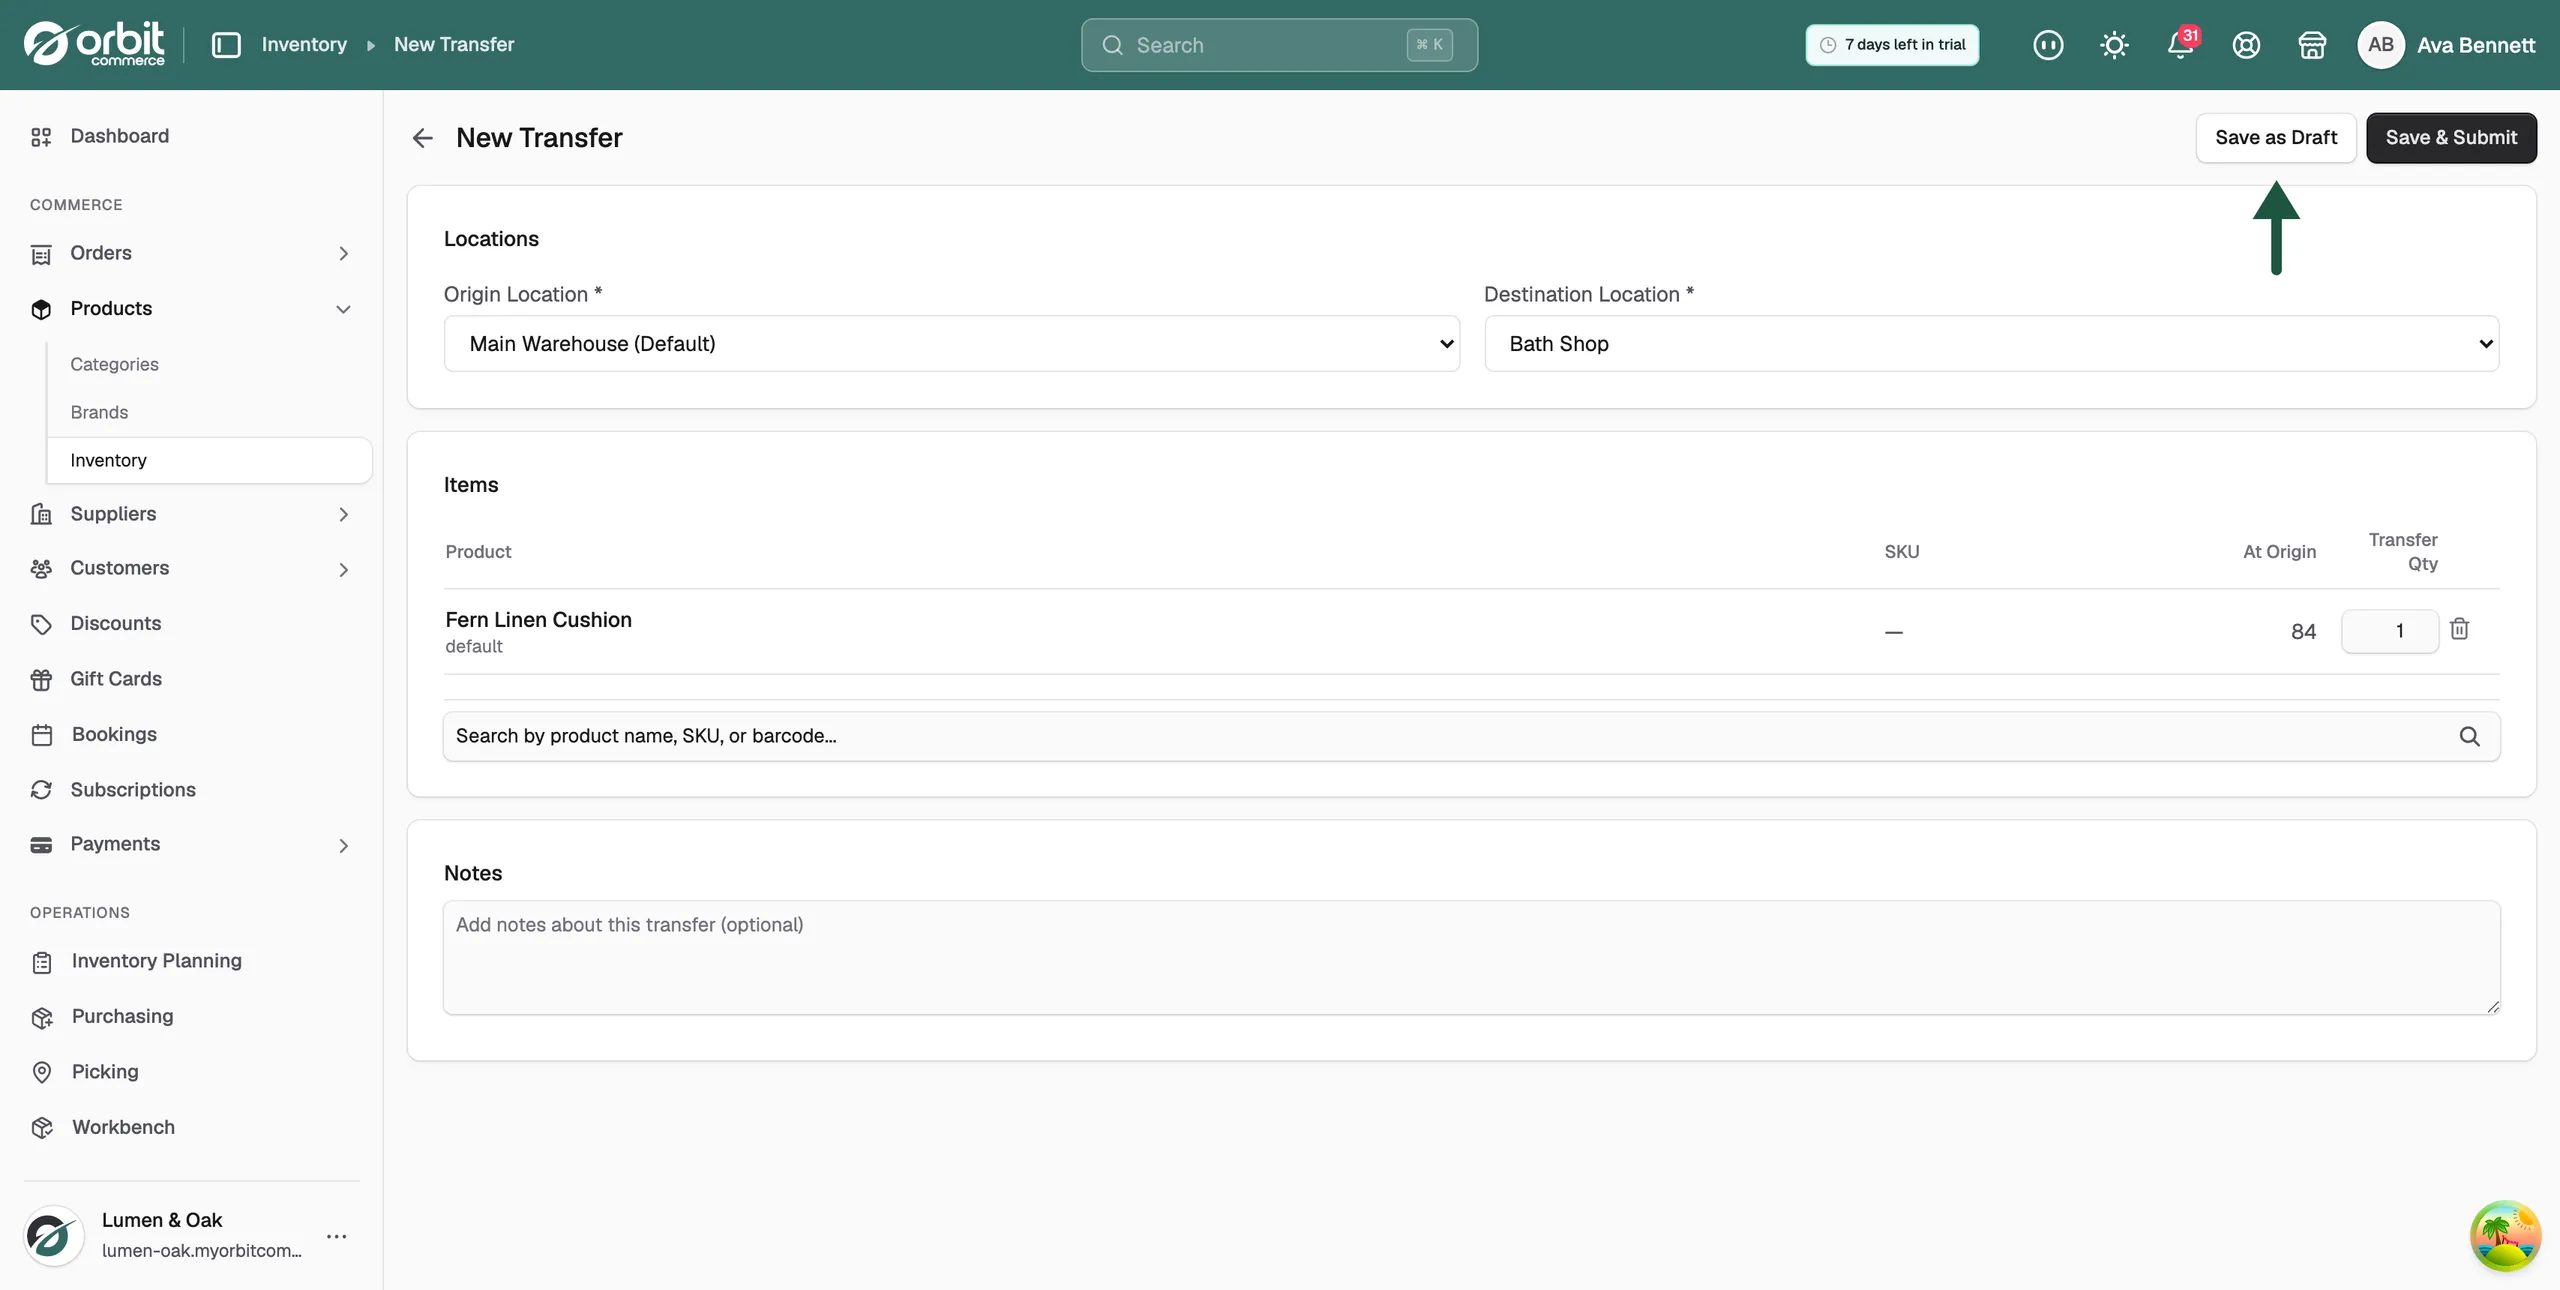
- Add a note under Notes if the person receiving the stock needs to know why.
- Click Save as Draft to keep it for later, or Save & Submit to send it.
The origin must hold enough stock to cover the quantity. On the Inventory Transfers page you can search your transfers, or filter them by Status, Origin and Destination.
Import or export stock in bulk
- From your Orbit dashboard, go to Products > Inventory.
- Click Import to upload stock quantities from a file. Use this after a stocktake, or to set up stock for the first time.
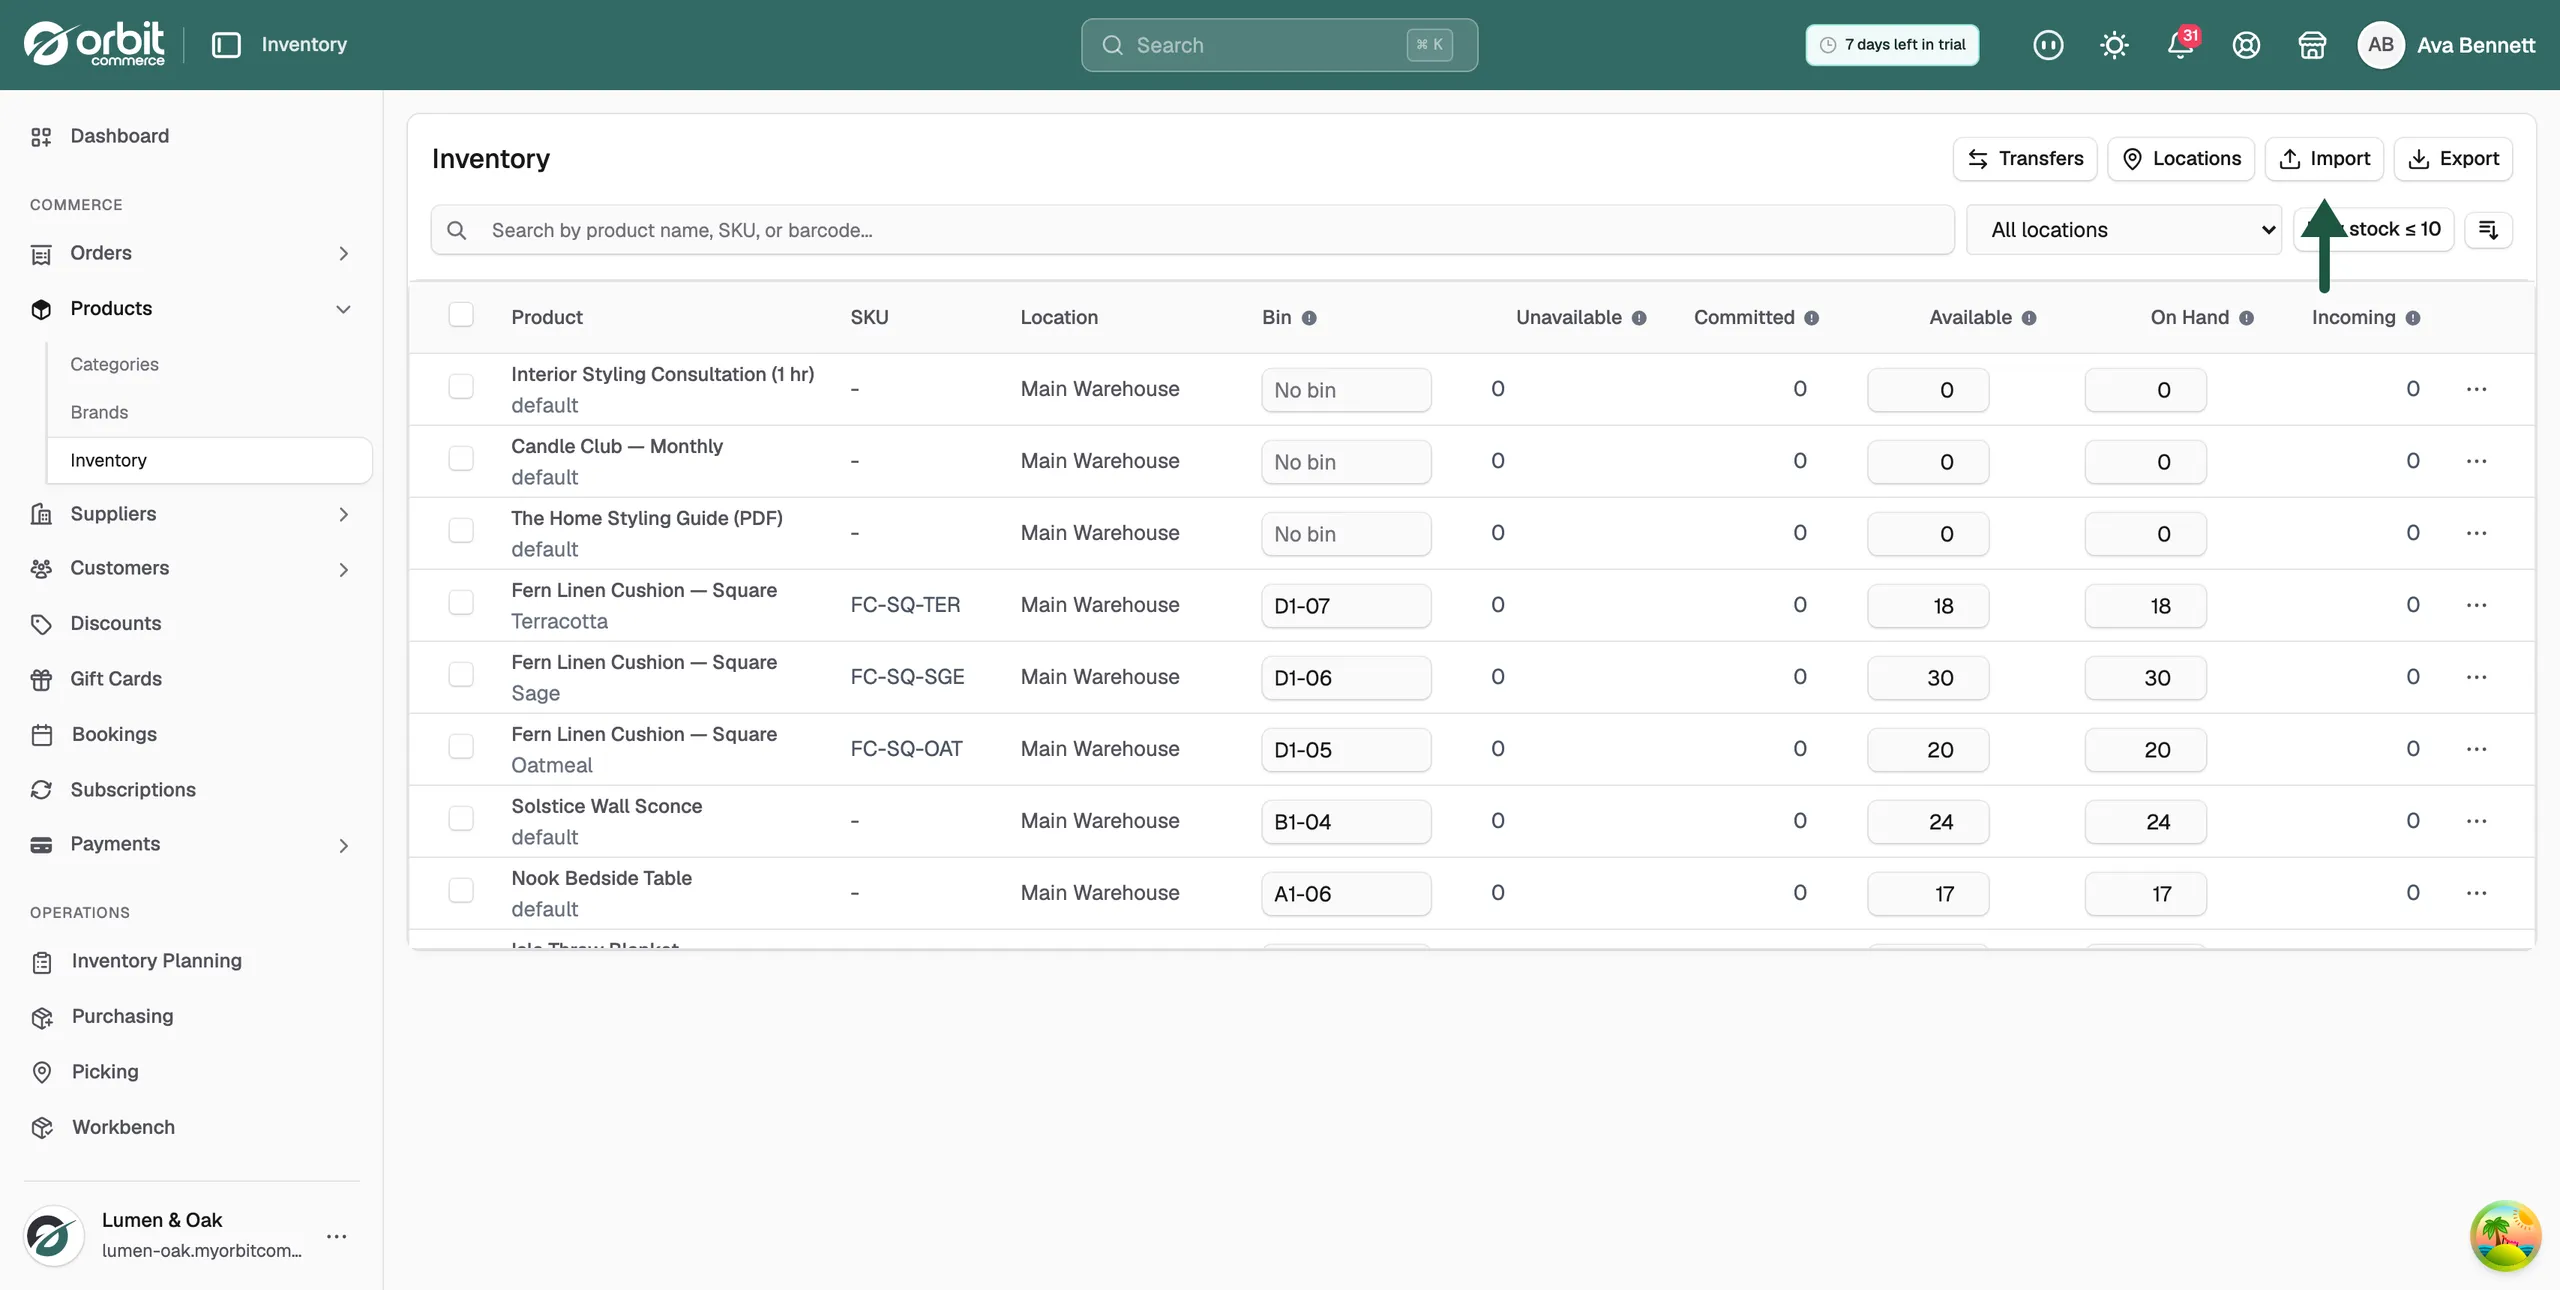
- Click Export to download your stock as a file. Use it for reports, or to edit quantities and import them again.
Related guides
Was this helpful?
0 people found this helpful