Creating your account
Sign up for Orbit and create your first store in one flow. No credit card needed, and your store currency is set here for good.
2 min read10viewsUpdated 10 October 2026Orbit Commerce
You create your Orbit account and your first store in one sign-up flow. It takes a few minutes and you do not need a credit card. Every new store starts on a 14-day free trial.
Considerations
- Use an email address you check every day. Order notifications and payout confirmations go to it.
- Your store currency is set during sign-up and cannot be changed afterwards.
- If you already have an Orbit account, sign in and add the new store to it instead of creating a second login.
Enter your email
- Go to the sign-up page.
- Enter your email address.
- Select Continue.
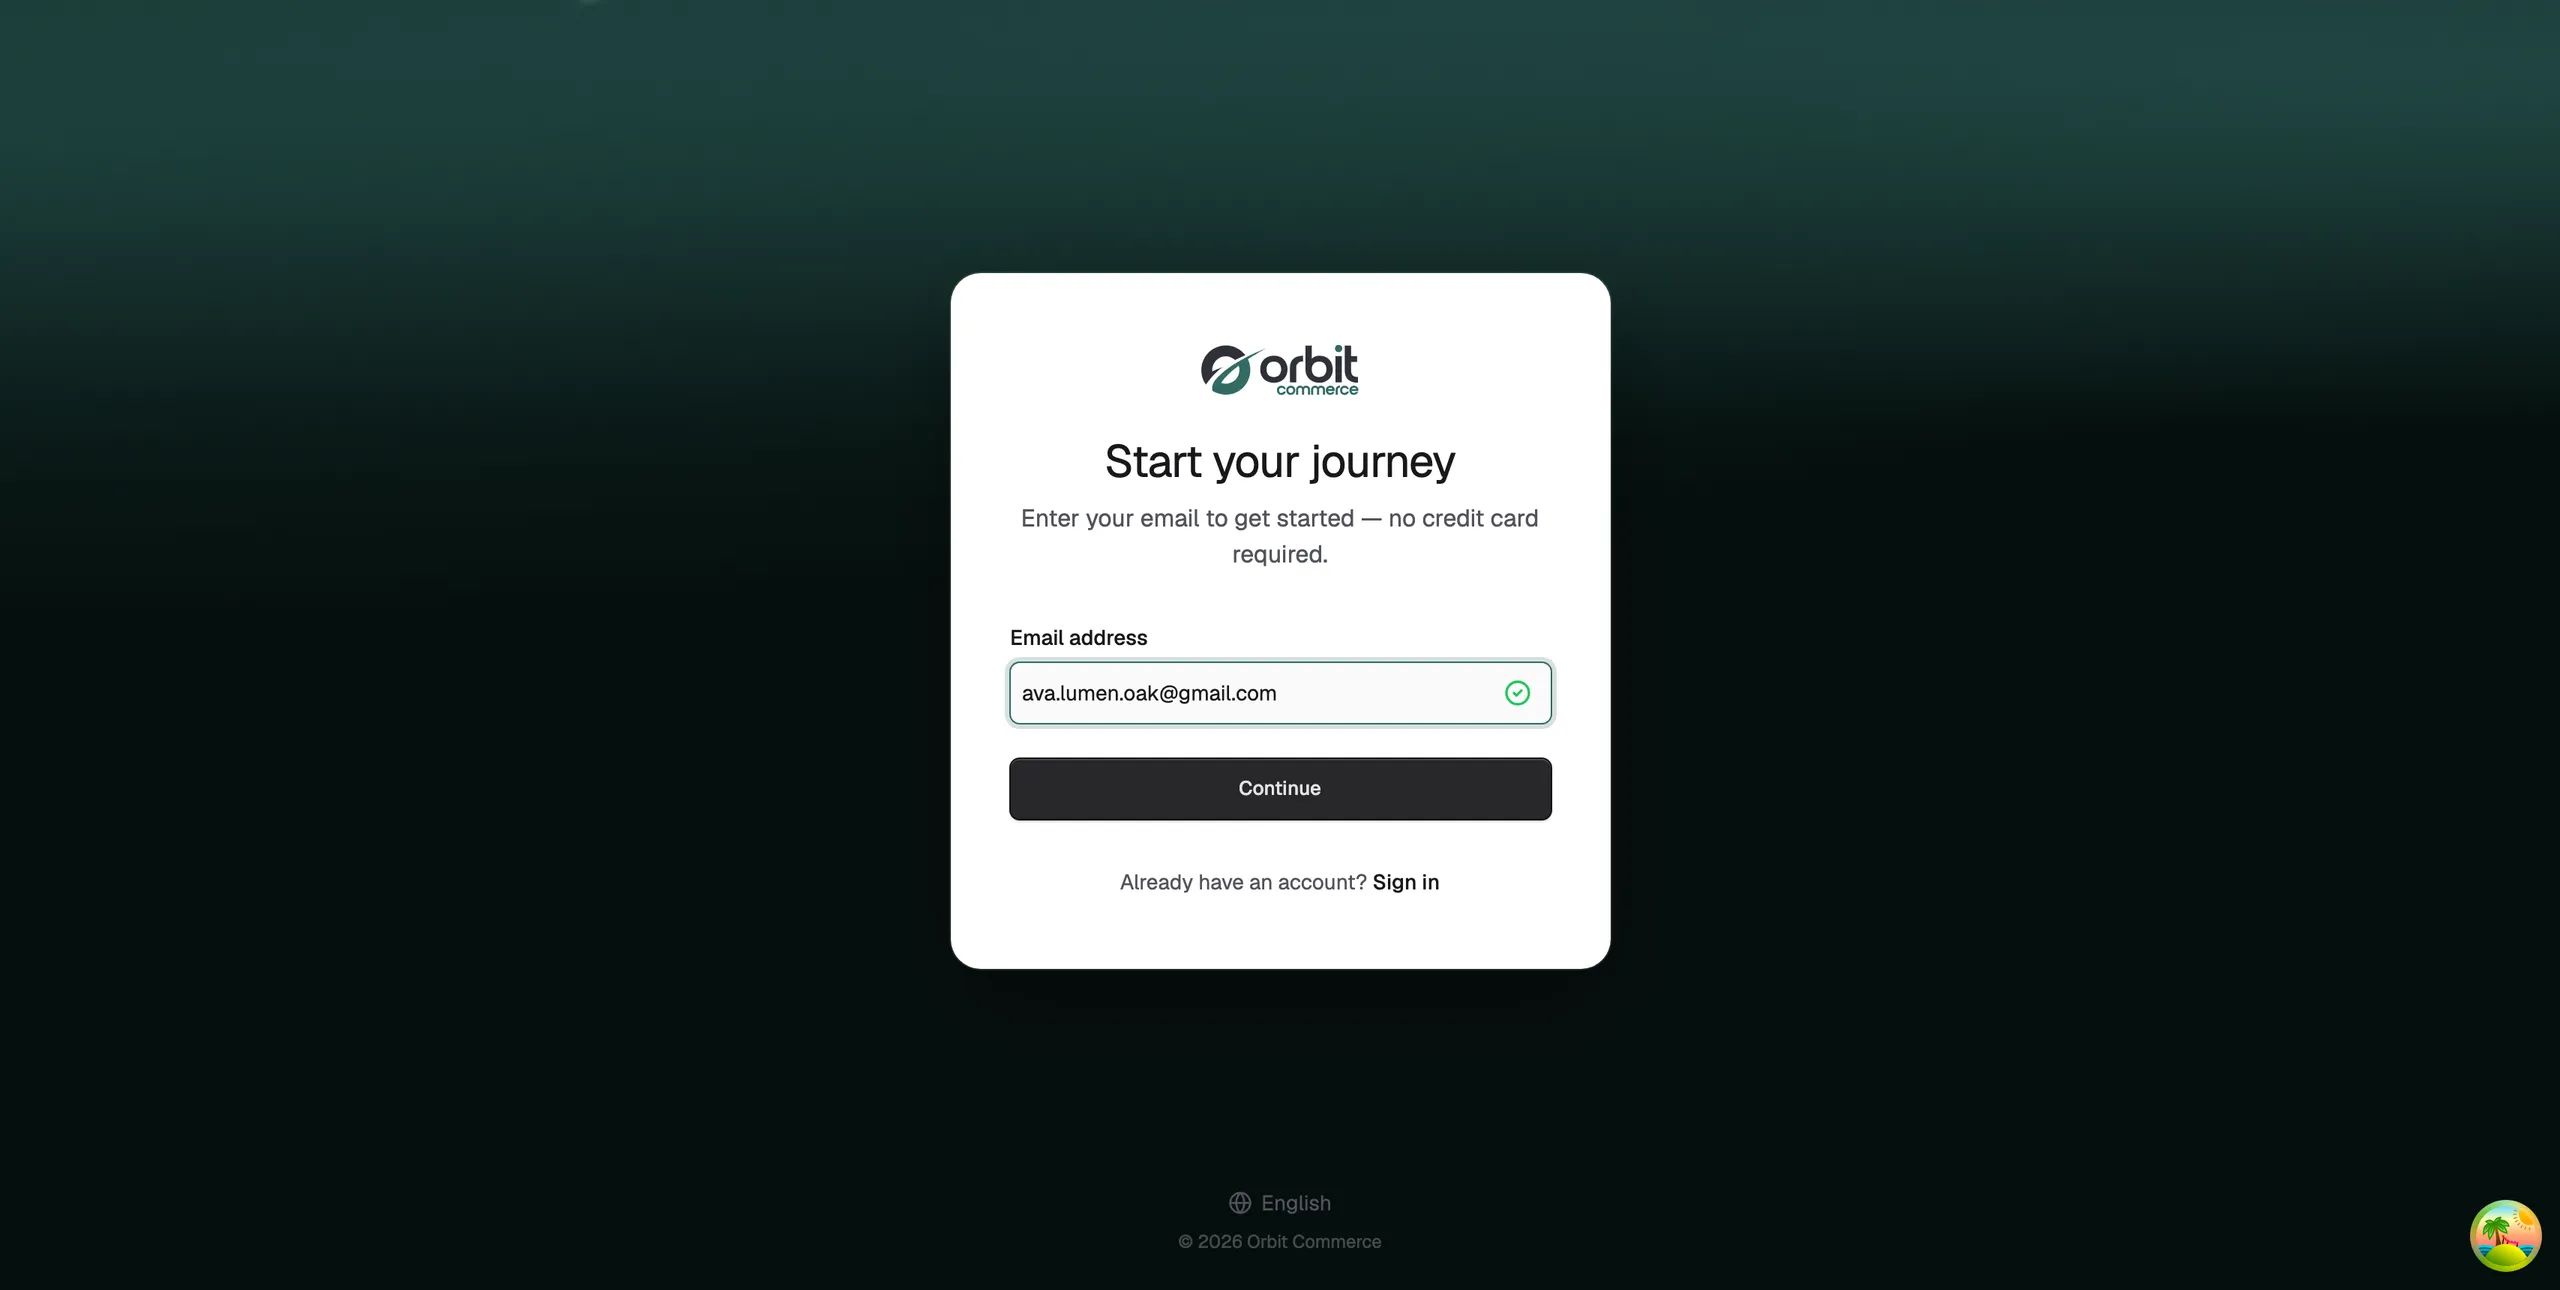
Note: Already registered? The Sign in link takes you to the login page, where you can also reset a forgotten password.
Add your name and password
- Enter your first name and last name.
- Choose a password. Pick a strong one. This account controls your money and your customers' data.
- Select Continue.
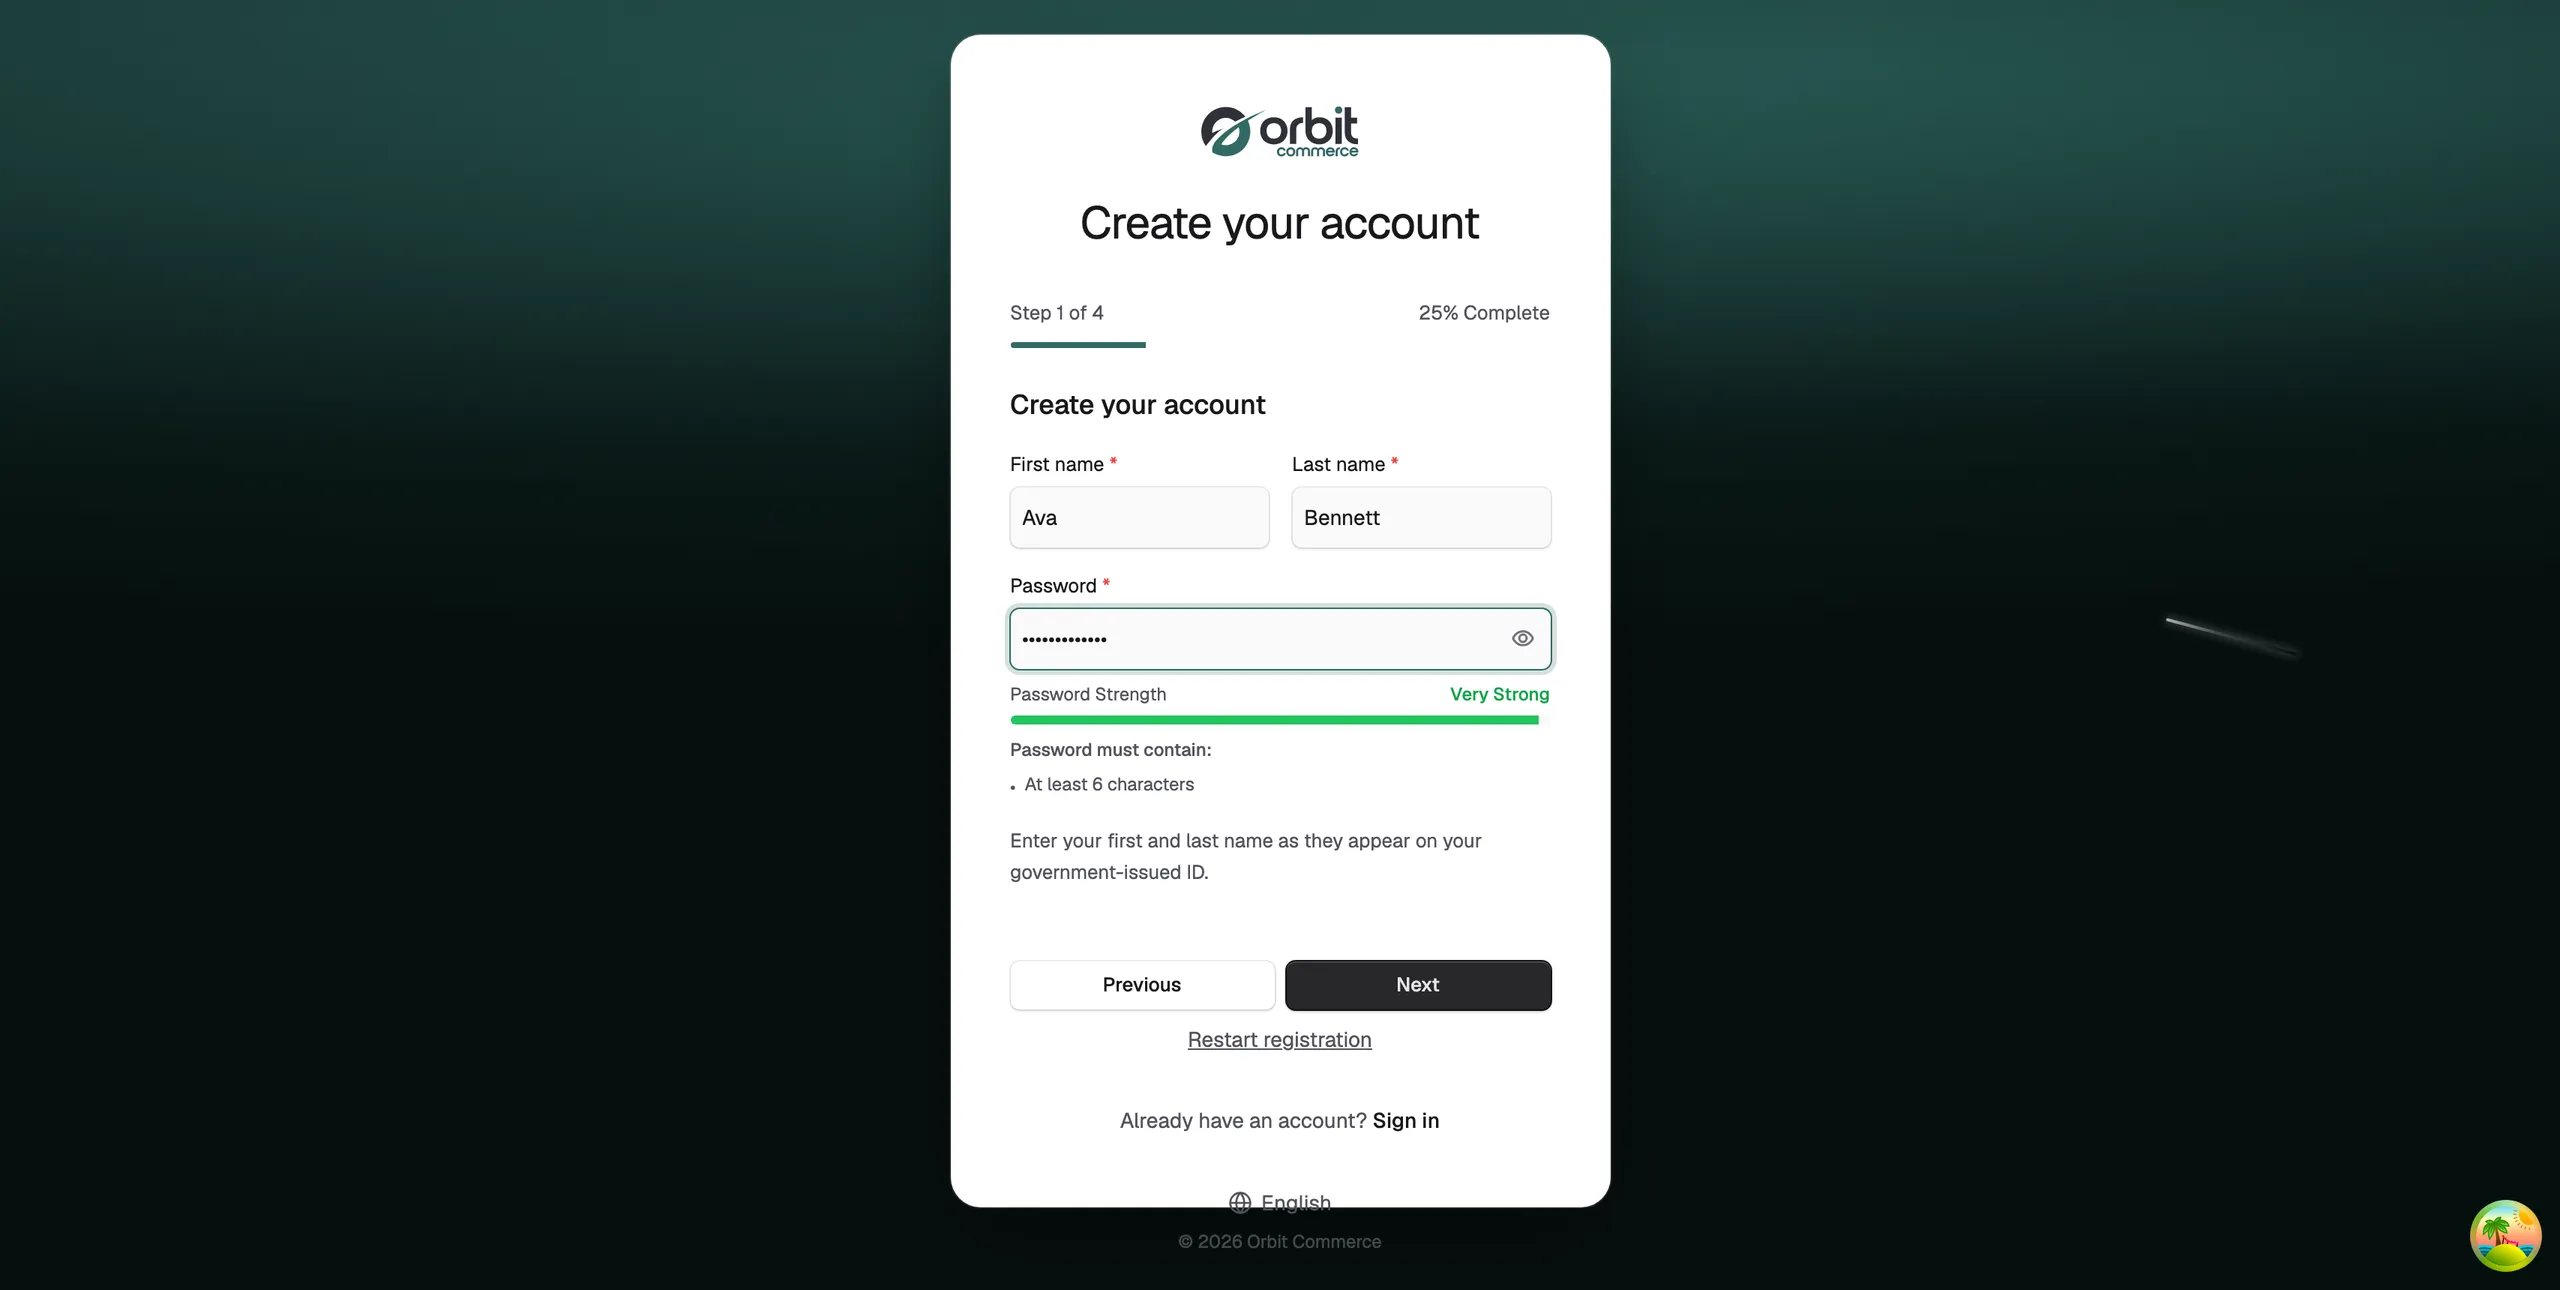
You can add two-factor authentication and passkeys after sign-up, under Settings, then Security.
Add your store details
- Name your store. The name appears on your storefront, your emails and your invoices.
- Describe what you sell.
- Select Continue.
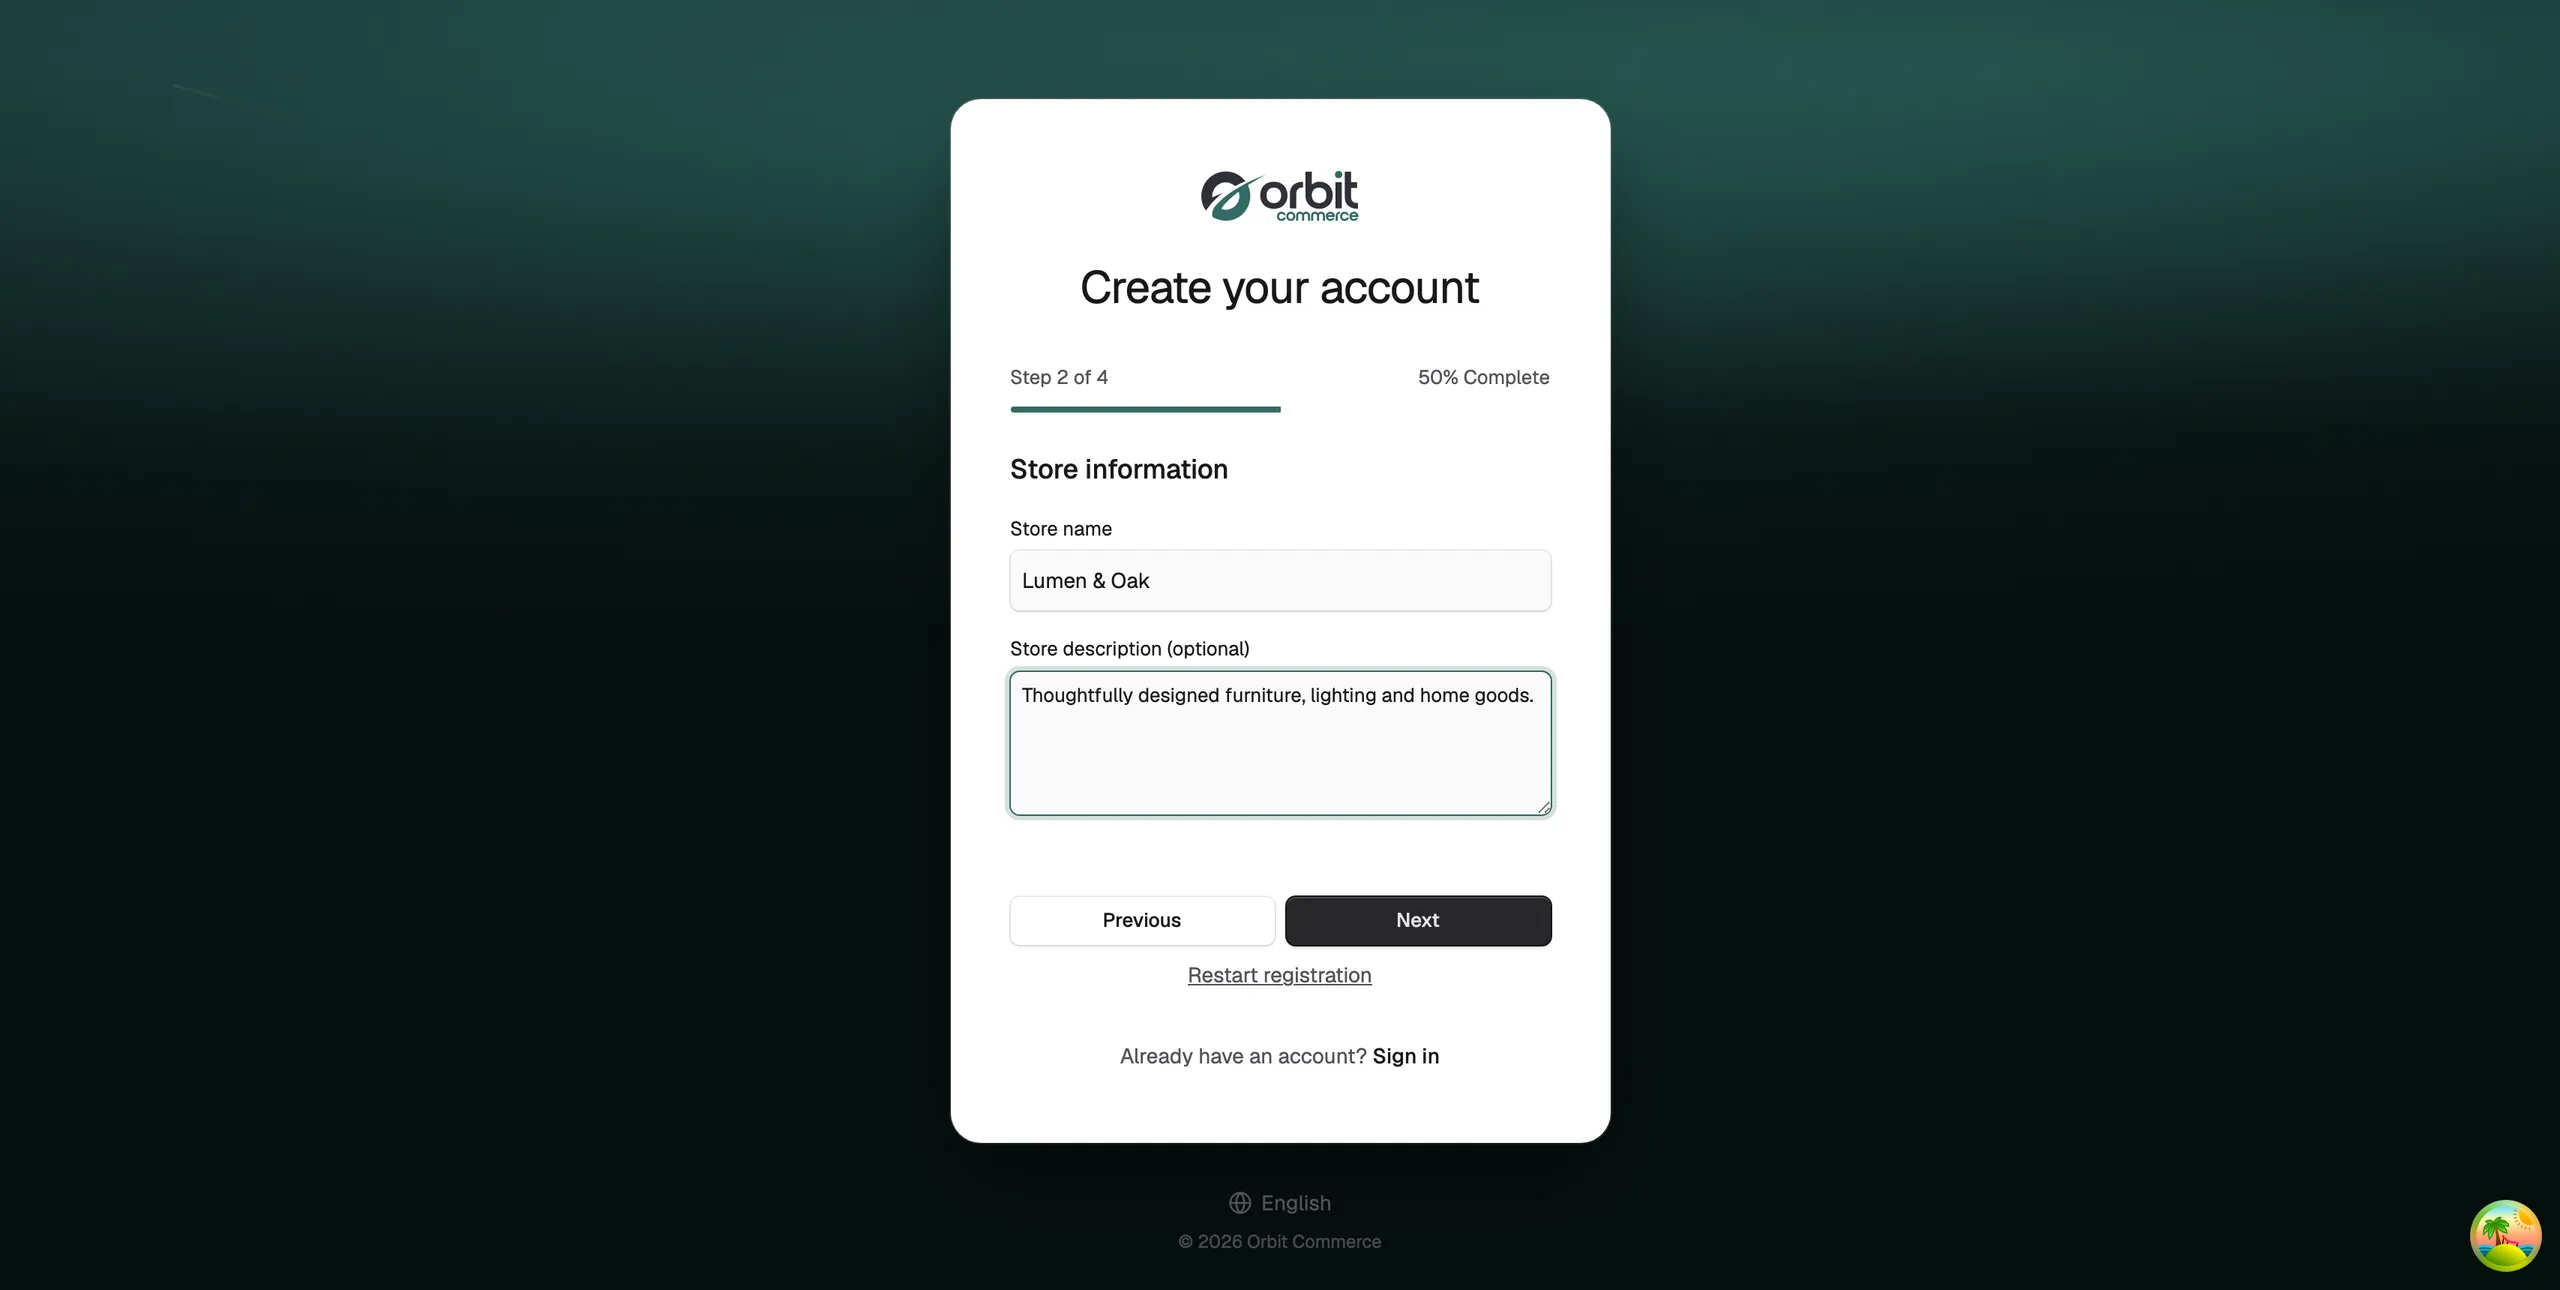
You can change the store name later under Settings, then Store Settings.
Add your store location
- Enter your phone number and address.
- Choose your country, then your state or county, then your city.
- Check your timezone and your currency.
- Select Continue.
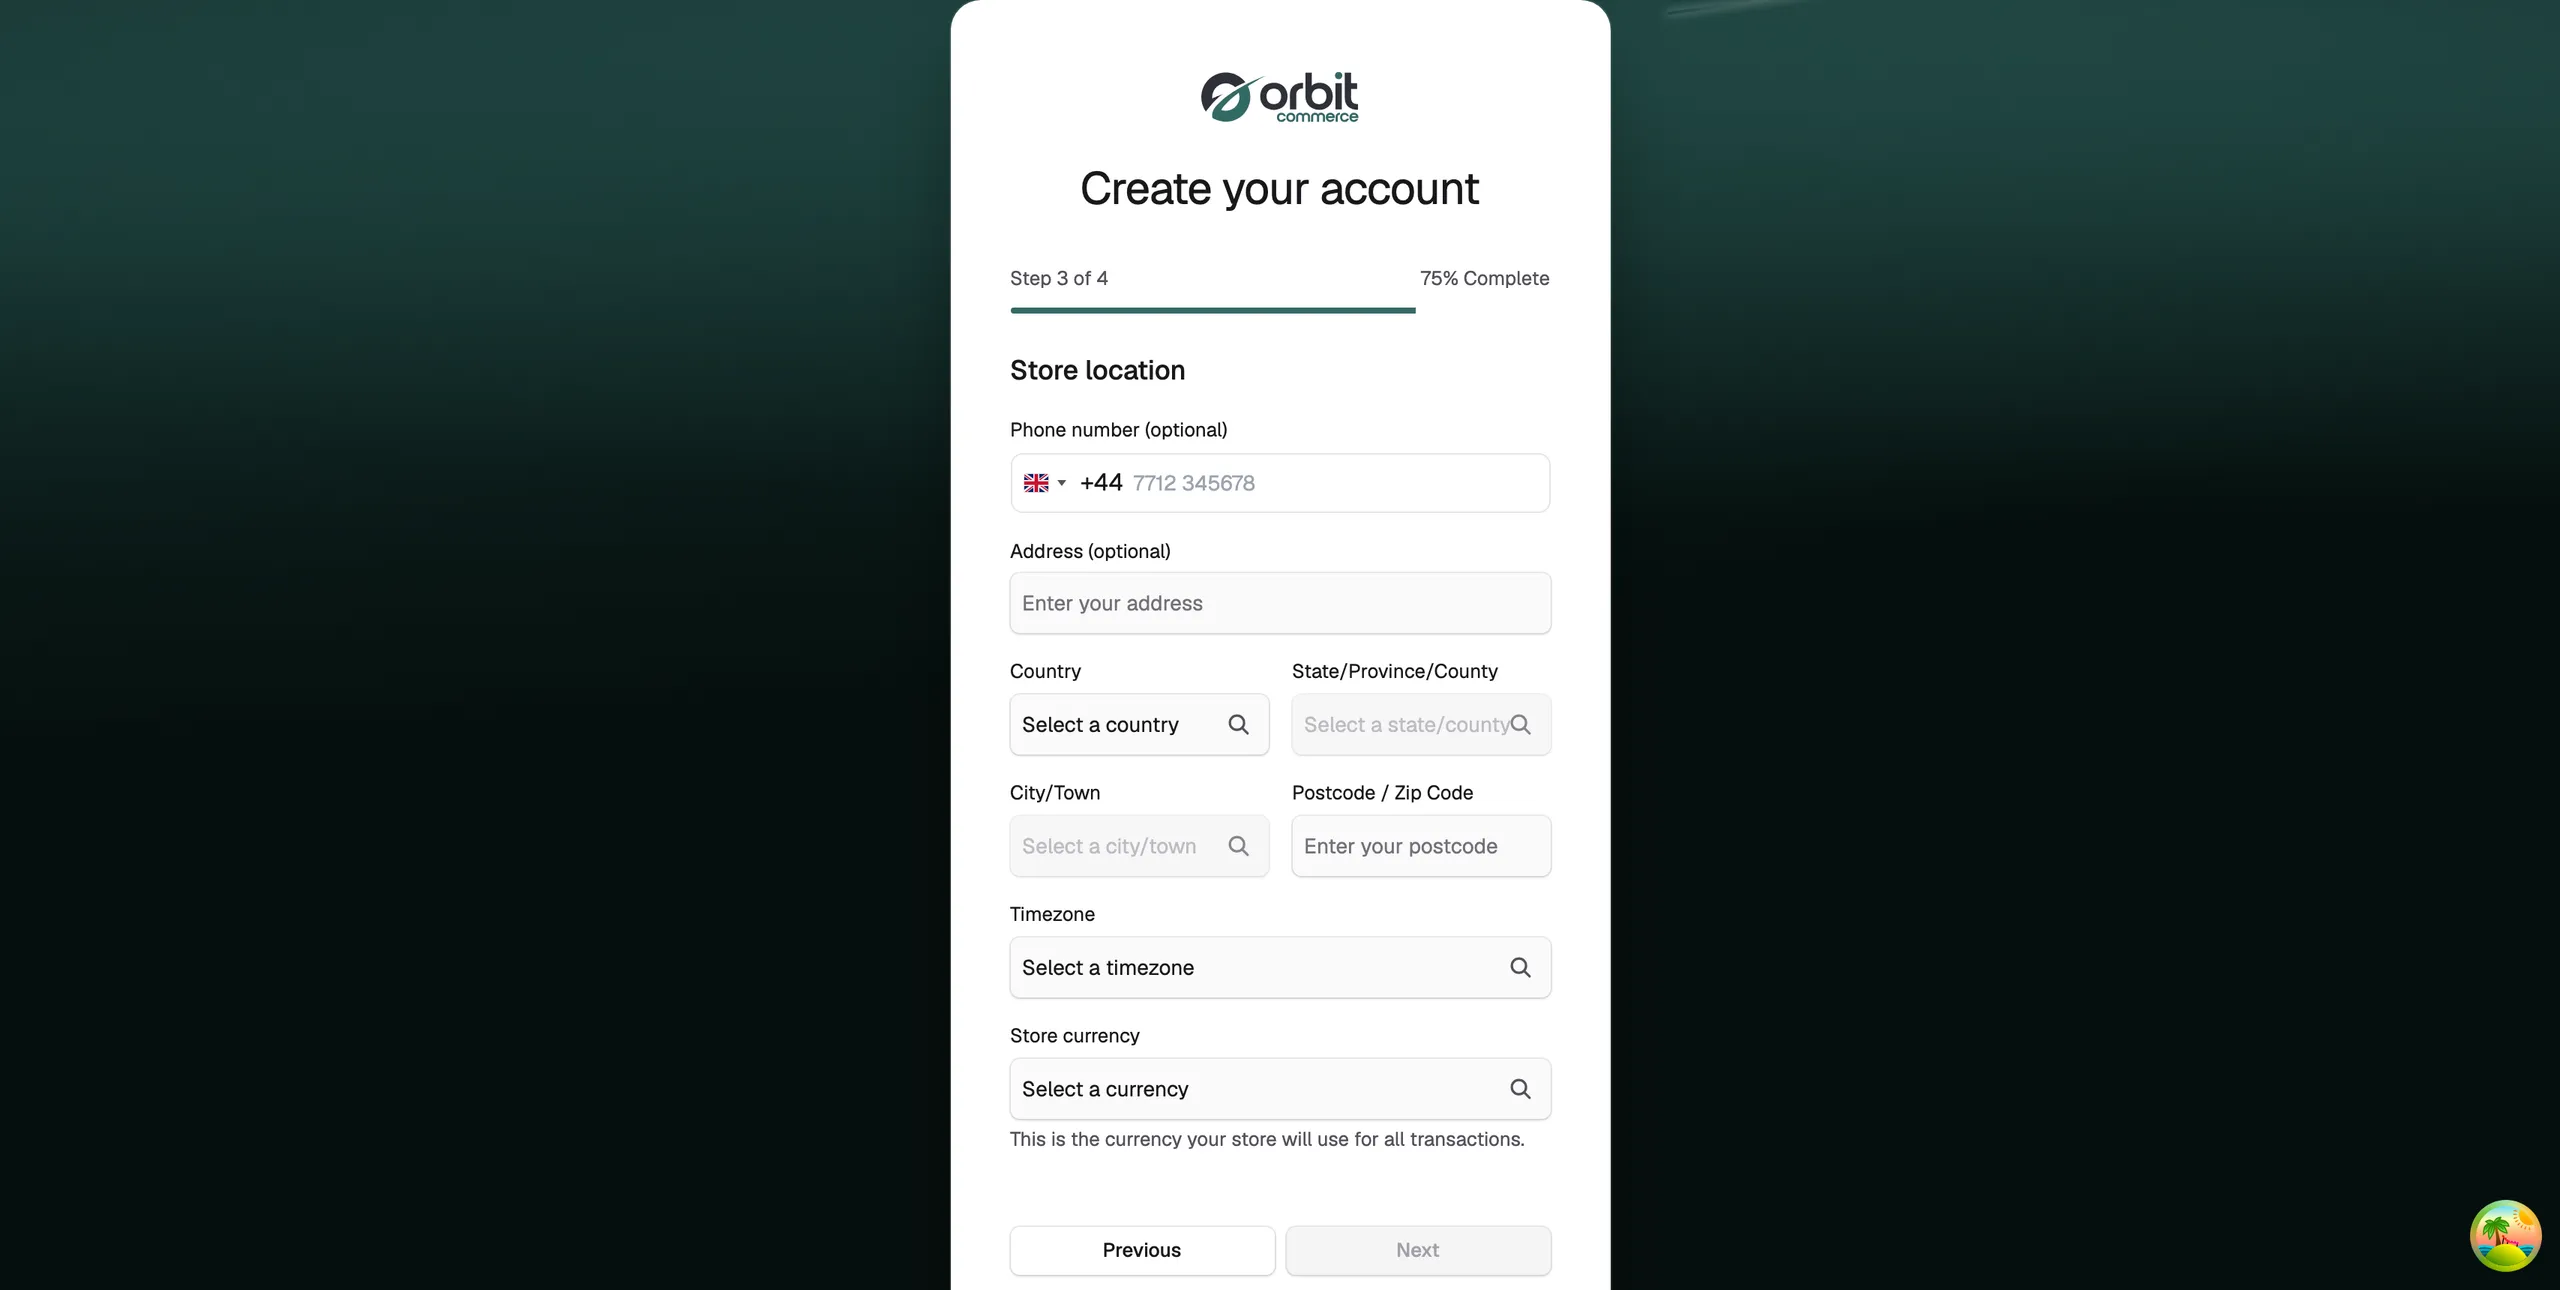
- Currency: you enter all your product prices in this currency. It cannot be changed after the store is created.
- Timezone: sets the times on your orders, your analytics and your scheduled sales.
Warning: Check the currency before you carry on. Changing it later means creating a new store.
Check and confirm
- Read the summary on the Almost there! screen.
- Add a promo code or referral code if you have one.
- Agree to the Terms of Service and the Privacy Policy.
- Choose whether you want marketing emails.
- Create the account. You land in your new dashboard.
What to do next
- Verify your email when the message arrives. A banner at the top of your dashboard reminds you until you do.
- Work through the setup wizard. See Finishing your store setup.
- Your trial covers every feature. Pick a plan when you are ready.
Related guides
Was this helpful?
0 people found this helpful