Adding a B2B company
Create a company record for a business customer, give it a pricing catalogue, and set up the people who buy for it. Needs the Enterprise plan.
A company is a business customer that buys from you on agreed terms. Each company record holds its details, its pricing catalogue, the people who buy for it and its order history. You find companies in your Orbit dashboard, under Customers, then Companies. B2B features need the Enterprise plan.
Considerations
- Name is the only field you have to fill in. The rest can wait.
- Adding a buyer creates a new login for that person. You cannot attach someone who already has a personal account on your store. Use a work email address.
- Every company gets a location named Default when you create it. A pricing catalogue attaches to that location.
- To stop a company buying, suspend it rather than delete it. Suspending keeps the record and its orders.
Create a company
- From your Orbit dashboard, go to Customers, then Companies.
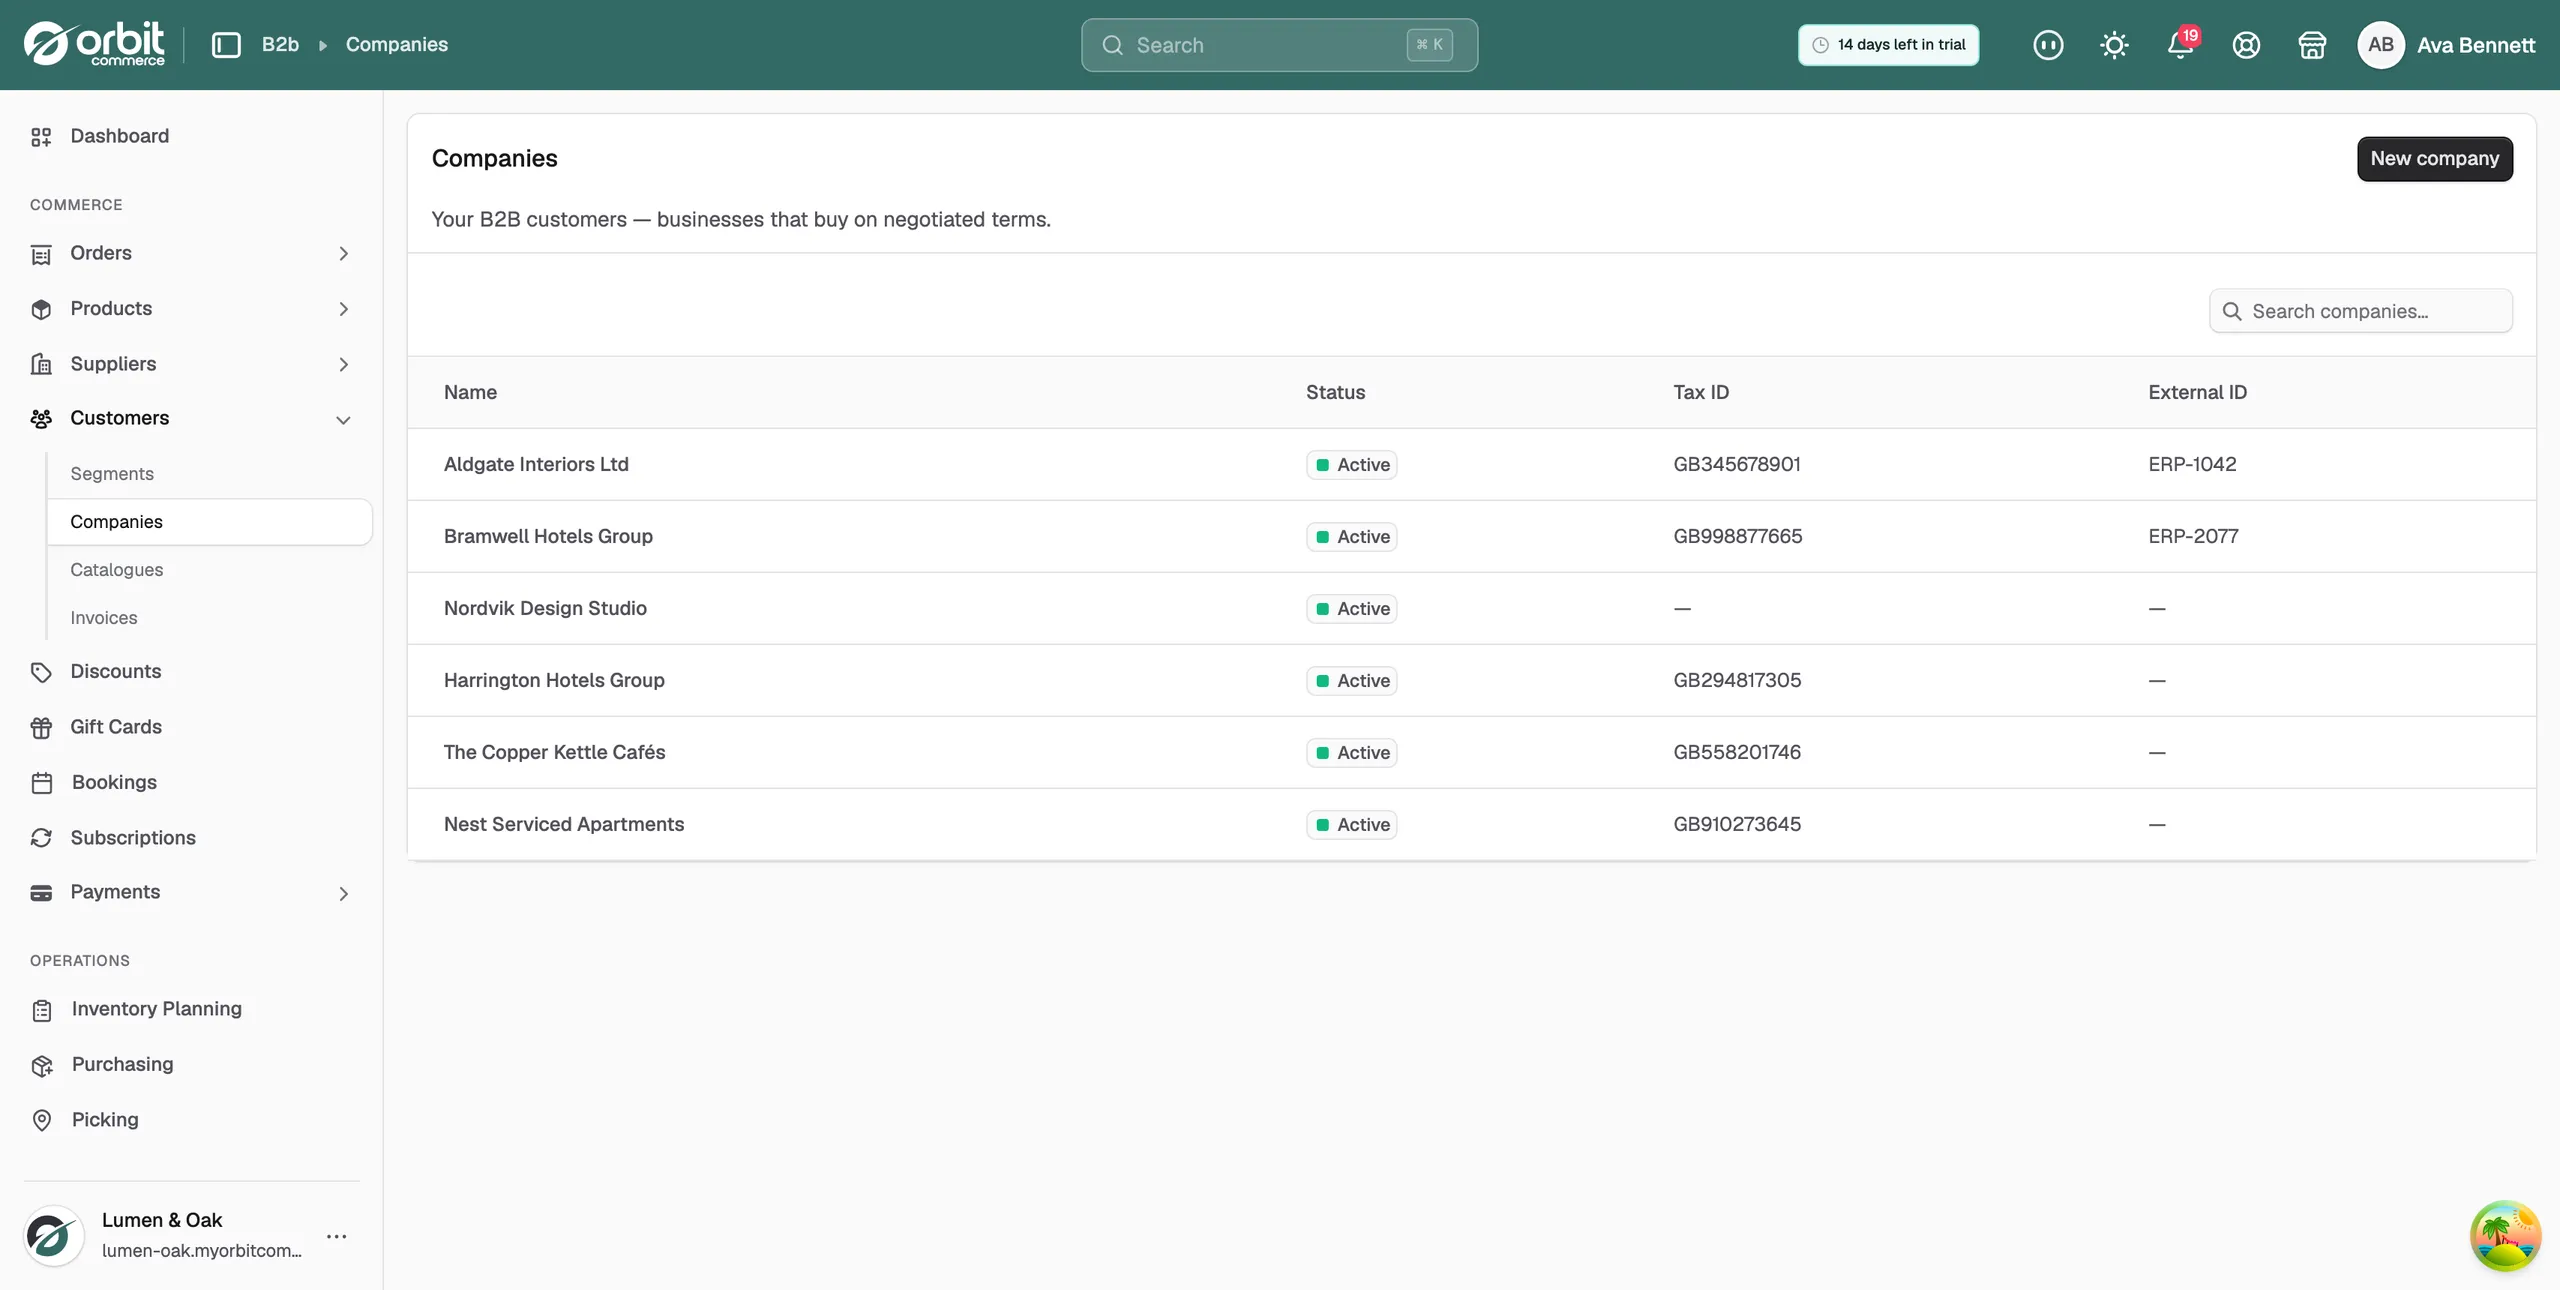
- Click New company.
- Type the Name the business trades under.
- Type their Tax ID (VAT). Orbit accepts any format and prints it on B2B paperwork.
- Type an External ID if you use one. This is your own account number for them, from your ERP or CRM.
- Add a Note if it helps, for example the terms you agreed. Notes stay private to your team.
- Click Create. The company page opens, ready to set up.
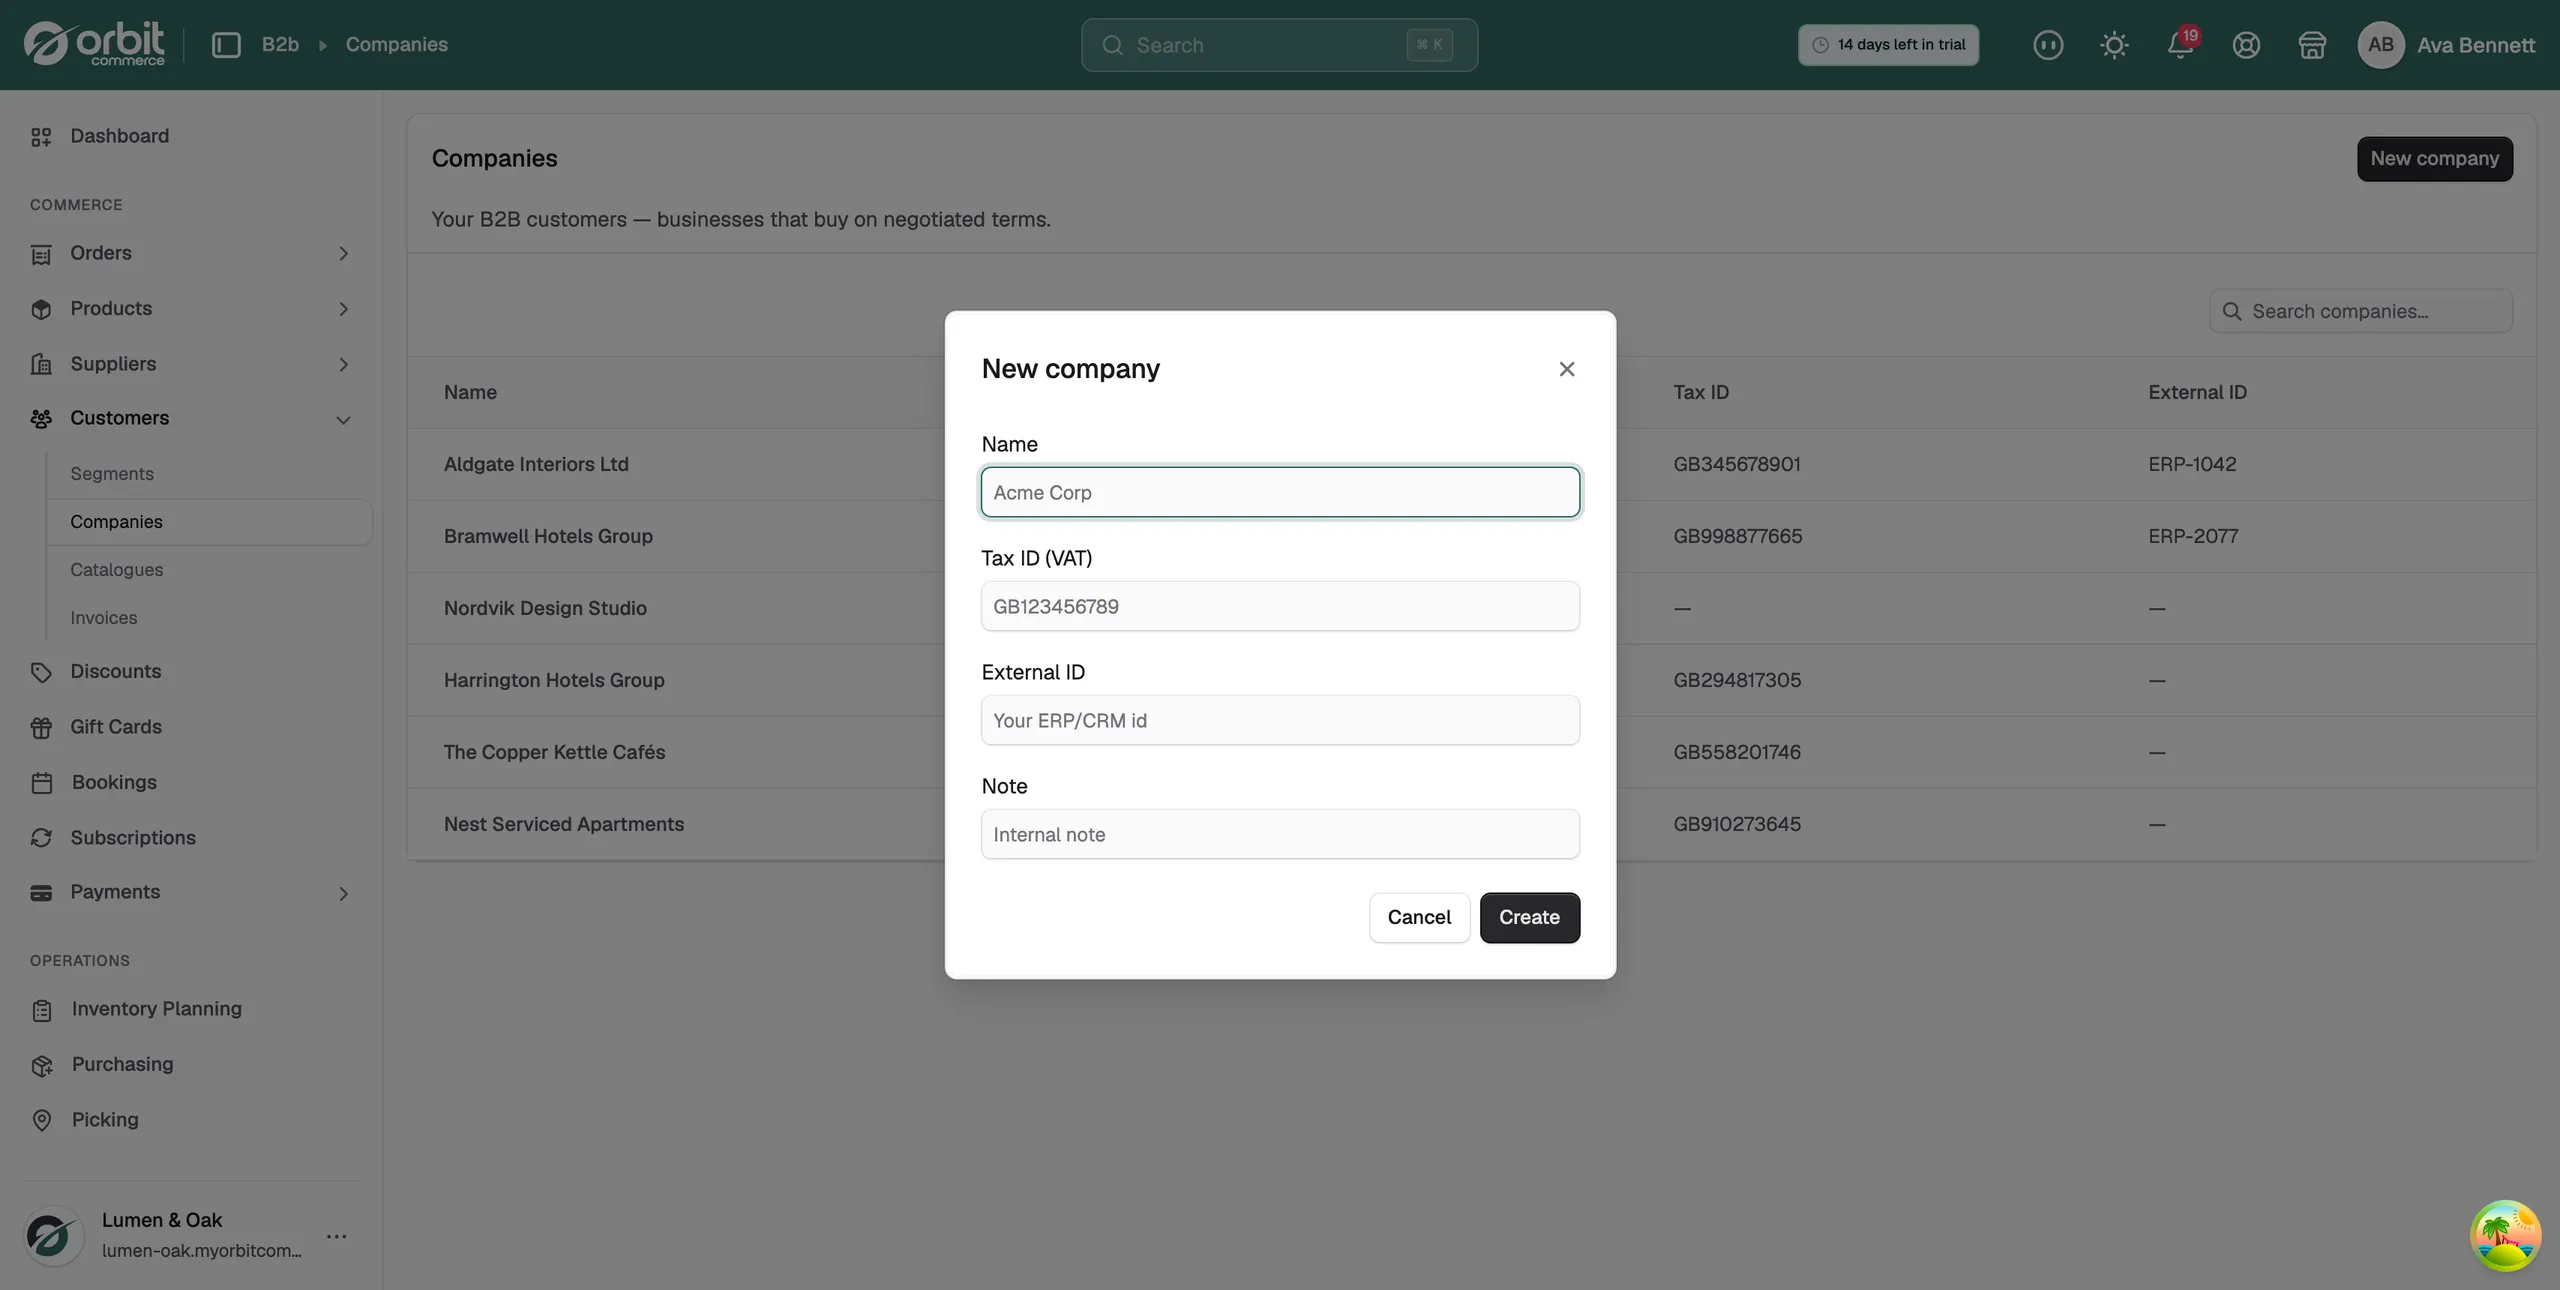
The company page
Use the list on the left to move between the five cards.
- Details: Name, Tax ID (VAT), External ID, Note and the read-only Default location. Click Save in the card header after a change.
- Pricing catalogue: the price book this company buys on.
- Contacts: the people who buy for this company, with their permissions and spending limit.
- Invitations: sign-up links you have sent that nobody has used yet.
- Orders: everything this company's contacts have bought.
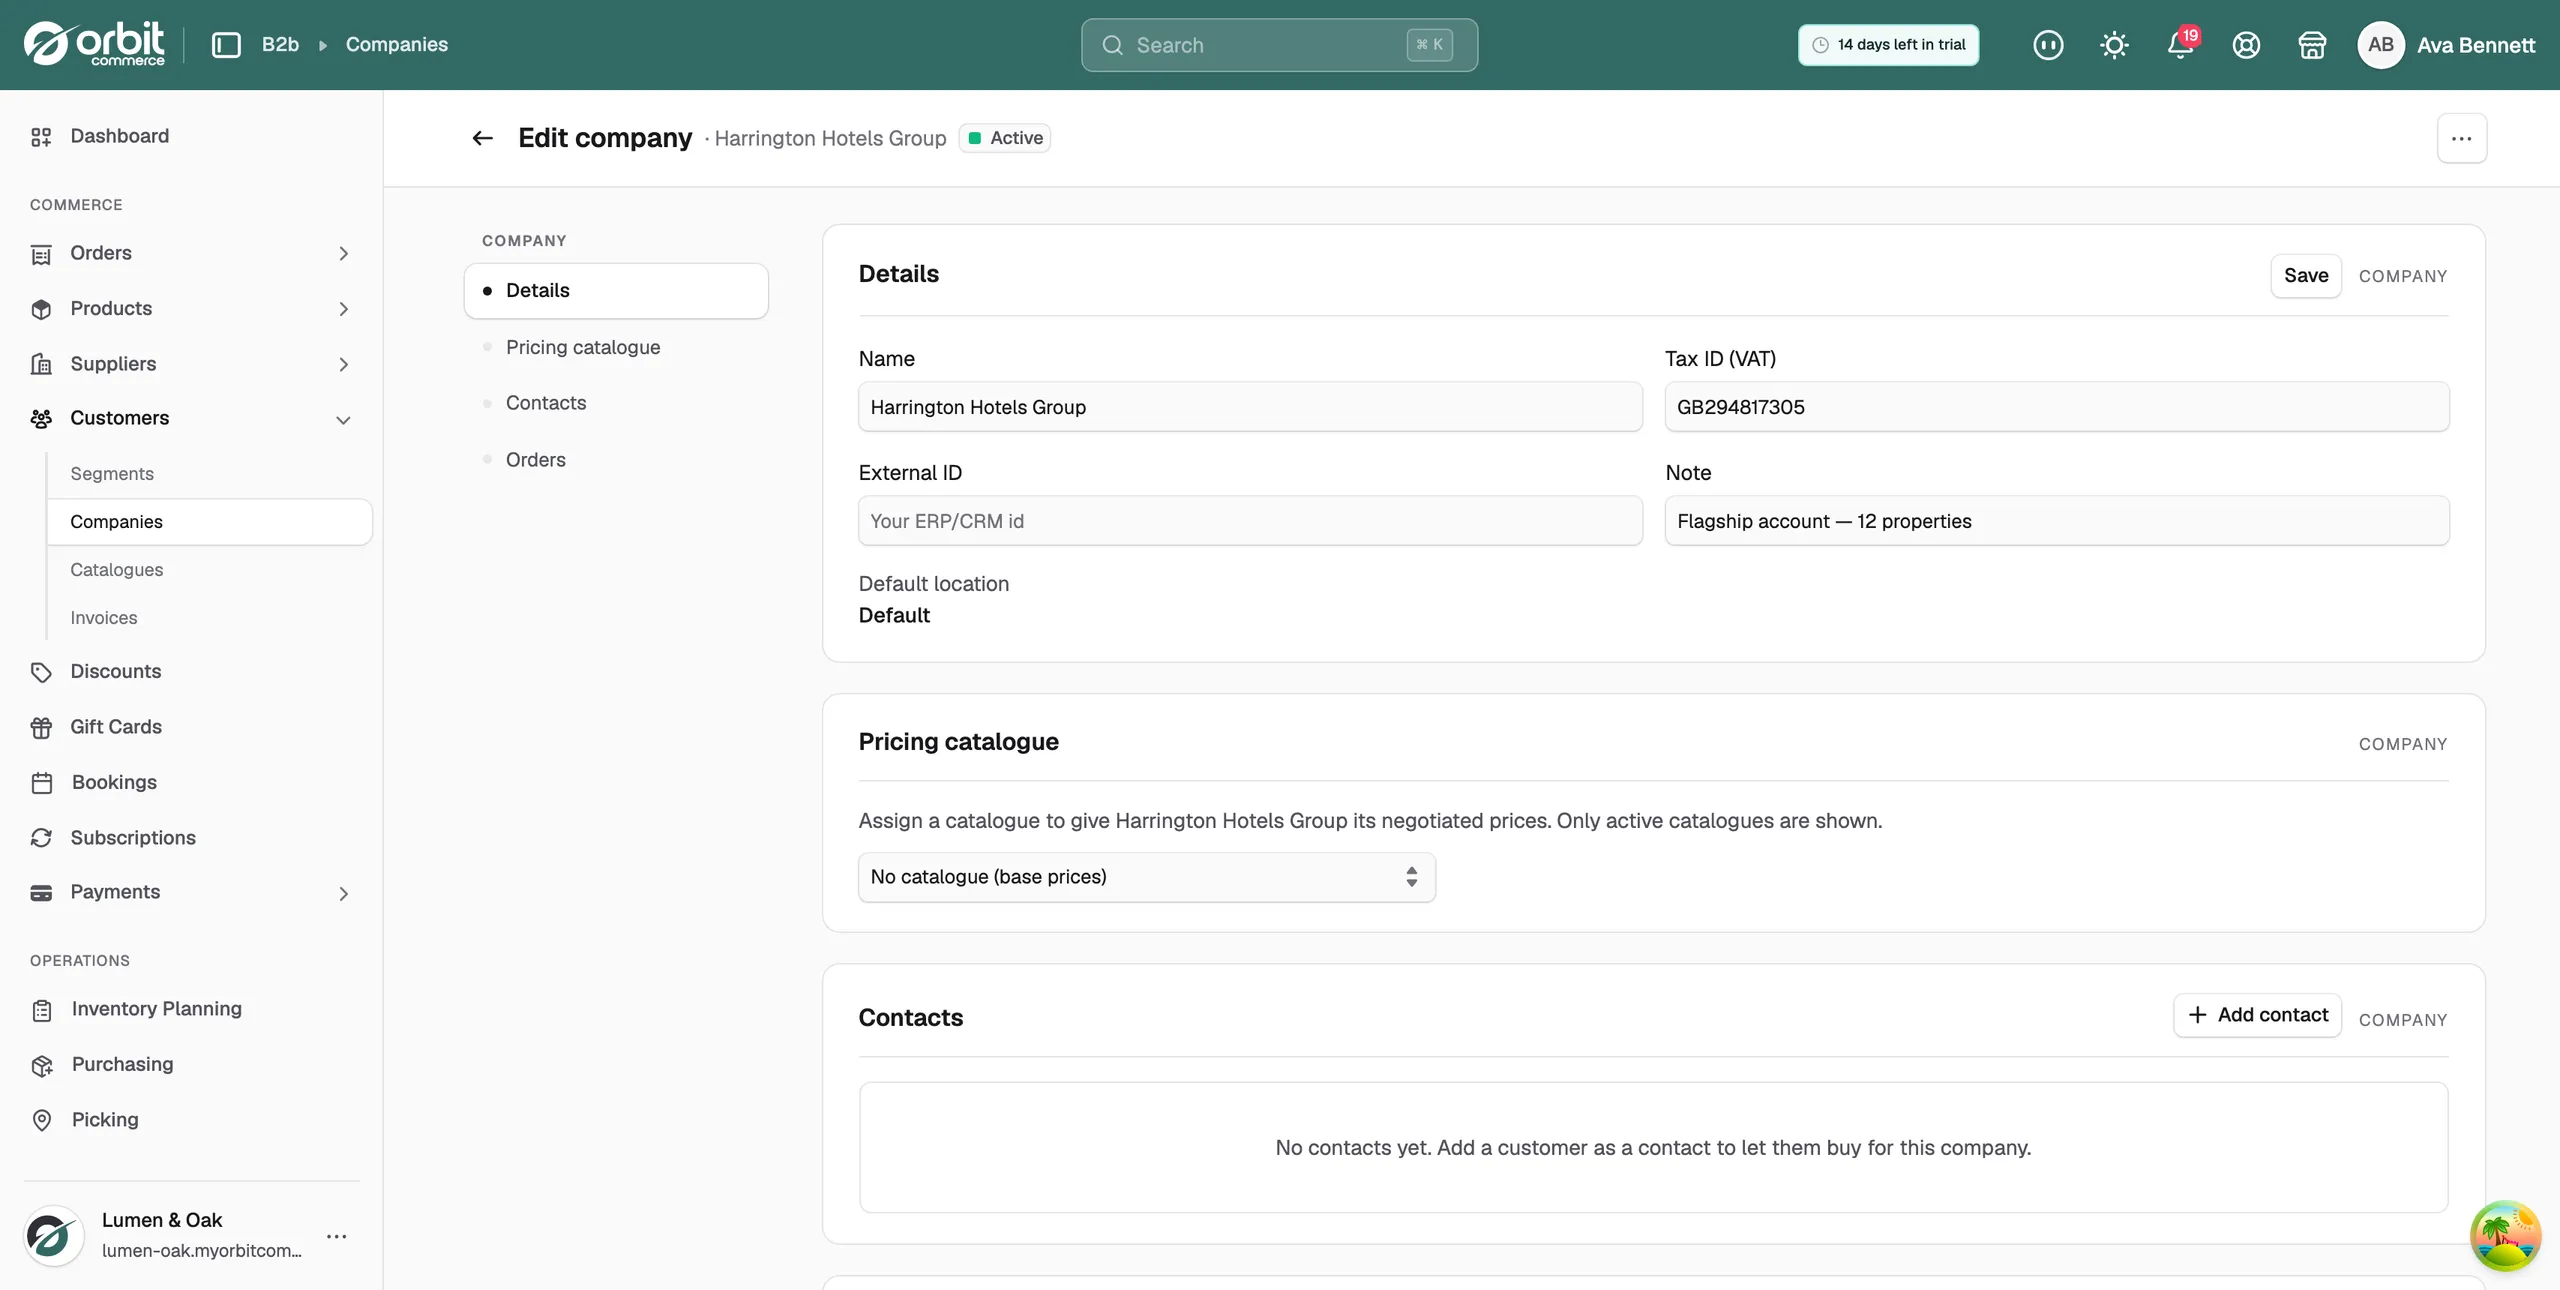
The company name, its status and a … menu sit at the top of the page. The menu holds Suspend and Delete.
Give a company its own prices
- Open the company, then click Pricing catalogue in the list on the left.
- Open the menu. It reads No catalogue (base prices) until you pick one.
- Choose a catalogue. Only active catalogues appear here, so activate yours first.
With no catalogue, this company pays your normal prices. See Building a B2B price catalogue.
Add a buyer
A buyer is a person who orders for the company. Adding one creates their login and emails them a link to set their own password.
- Open the company, then click Contacts in the list on the left.
- Click Create user.
- Type their First name, Last name and Email.
- Leave Send set-password email on so they choose their own password. Turn it off to set a Password for them now.
- Under Permission preset, choose Admin, Buyer or Viewer. Buyer is the usual choice.
- Tick or untick individual permissions below if you need to. The groups are Orders & buying, Users and Company & billing.
- Type a Per-order spending limit if this person should have one. Leave it empty for no limit.
- Scroll down and click Create user. They appear in the Contacts table.
Note: The email address must be new to your store. If that person already shops with you as an individual, ask them for a work address instead.
What each preset can do
- Admin: runs the whole account, including adding other users and paying invoices.
- Buyer: can view company orders, place orders and request quotes.
- Viewer: can look, but cannot buy.
- Custom: shown when the ticks you set match none of the three presets. You cannot pick it from the menu.
Invite someone instead
- Open the company, then click Invitations in the list on the left.
- Click Invite user and send the invitation.
The invitation appears in this card until it is used. You can resend it or revoke it from the row.
Find a company
The Companies list shows Name, Status, Tax ID and External ID. Type in the search box to find one by name, then click the row to open it. Import and Export at the top of the page handle companies in bulk.
Related guides
Was this helpful?
0 people found this helpful