Customising checkout and adding tracking
Pick your checkout layout and brand colours, connect analytics pixels such as Google Analytics, and add your own tracking scripts.
Two settings pages control the last part of a shopper's visit. Checkout sets the layout and colours of your checkout. Customer Tracking adds analytics pixels and your own scripts to your storefront, so you can see where orders come from.
Considerations
- The checkout layout and colours are part of the Enterprise plan. Tracking pixels and custom scripts are on every plan.
- These are two separate pages. Neither has a sidebar entry, so open both from the Settings page.
- Colour fields take hex values only, such as #336a65.
- To go back to your storefront's built-in colours, click Reset to defaults. A blank colour field is not accepted.
- Custom scripts run on your live storefront. Only add code from a source you trust.
Choose the checkout layout
- From your Orbit dashboard, go to Settings.
- Under Selling, click Checkout.
- Under Layout, open Checkout flow and pick one:
- 3-step (default): shoppers move through Shipping, Payment and Review on separate pages.
- Single page: every step sits on one scrolling page, with the order summary alongside.
- Click Save changes.
Set the checkout colours
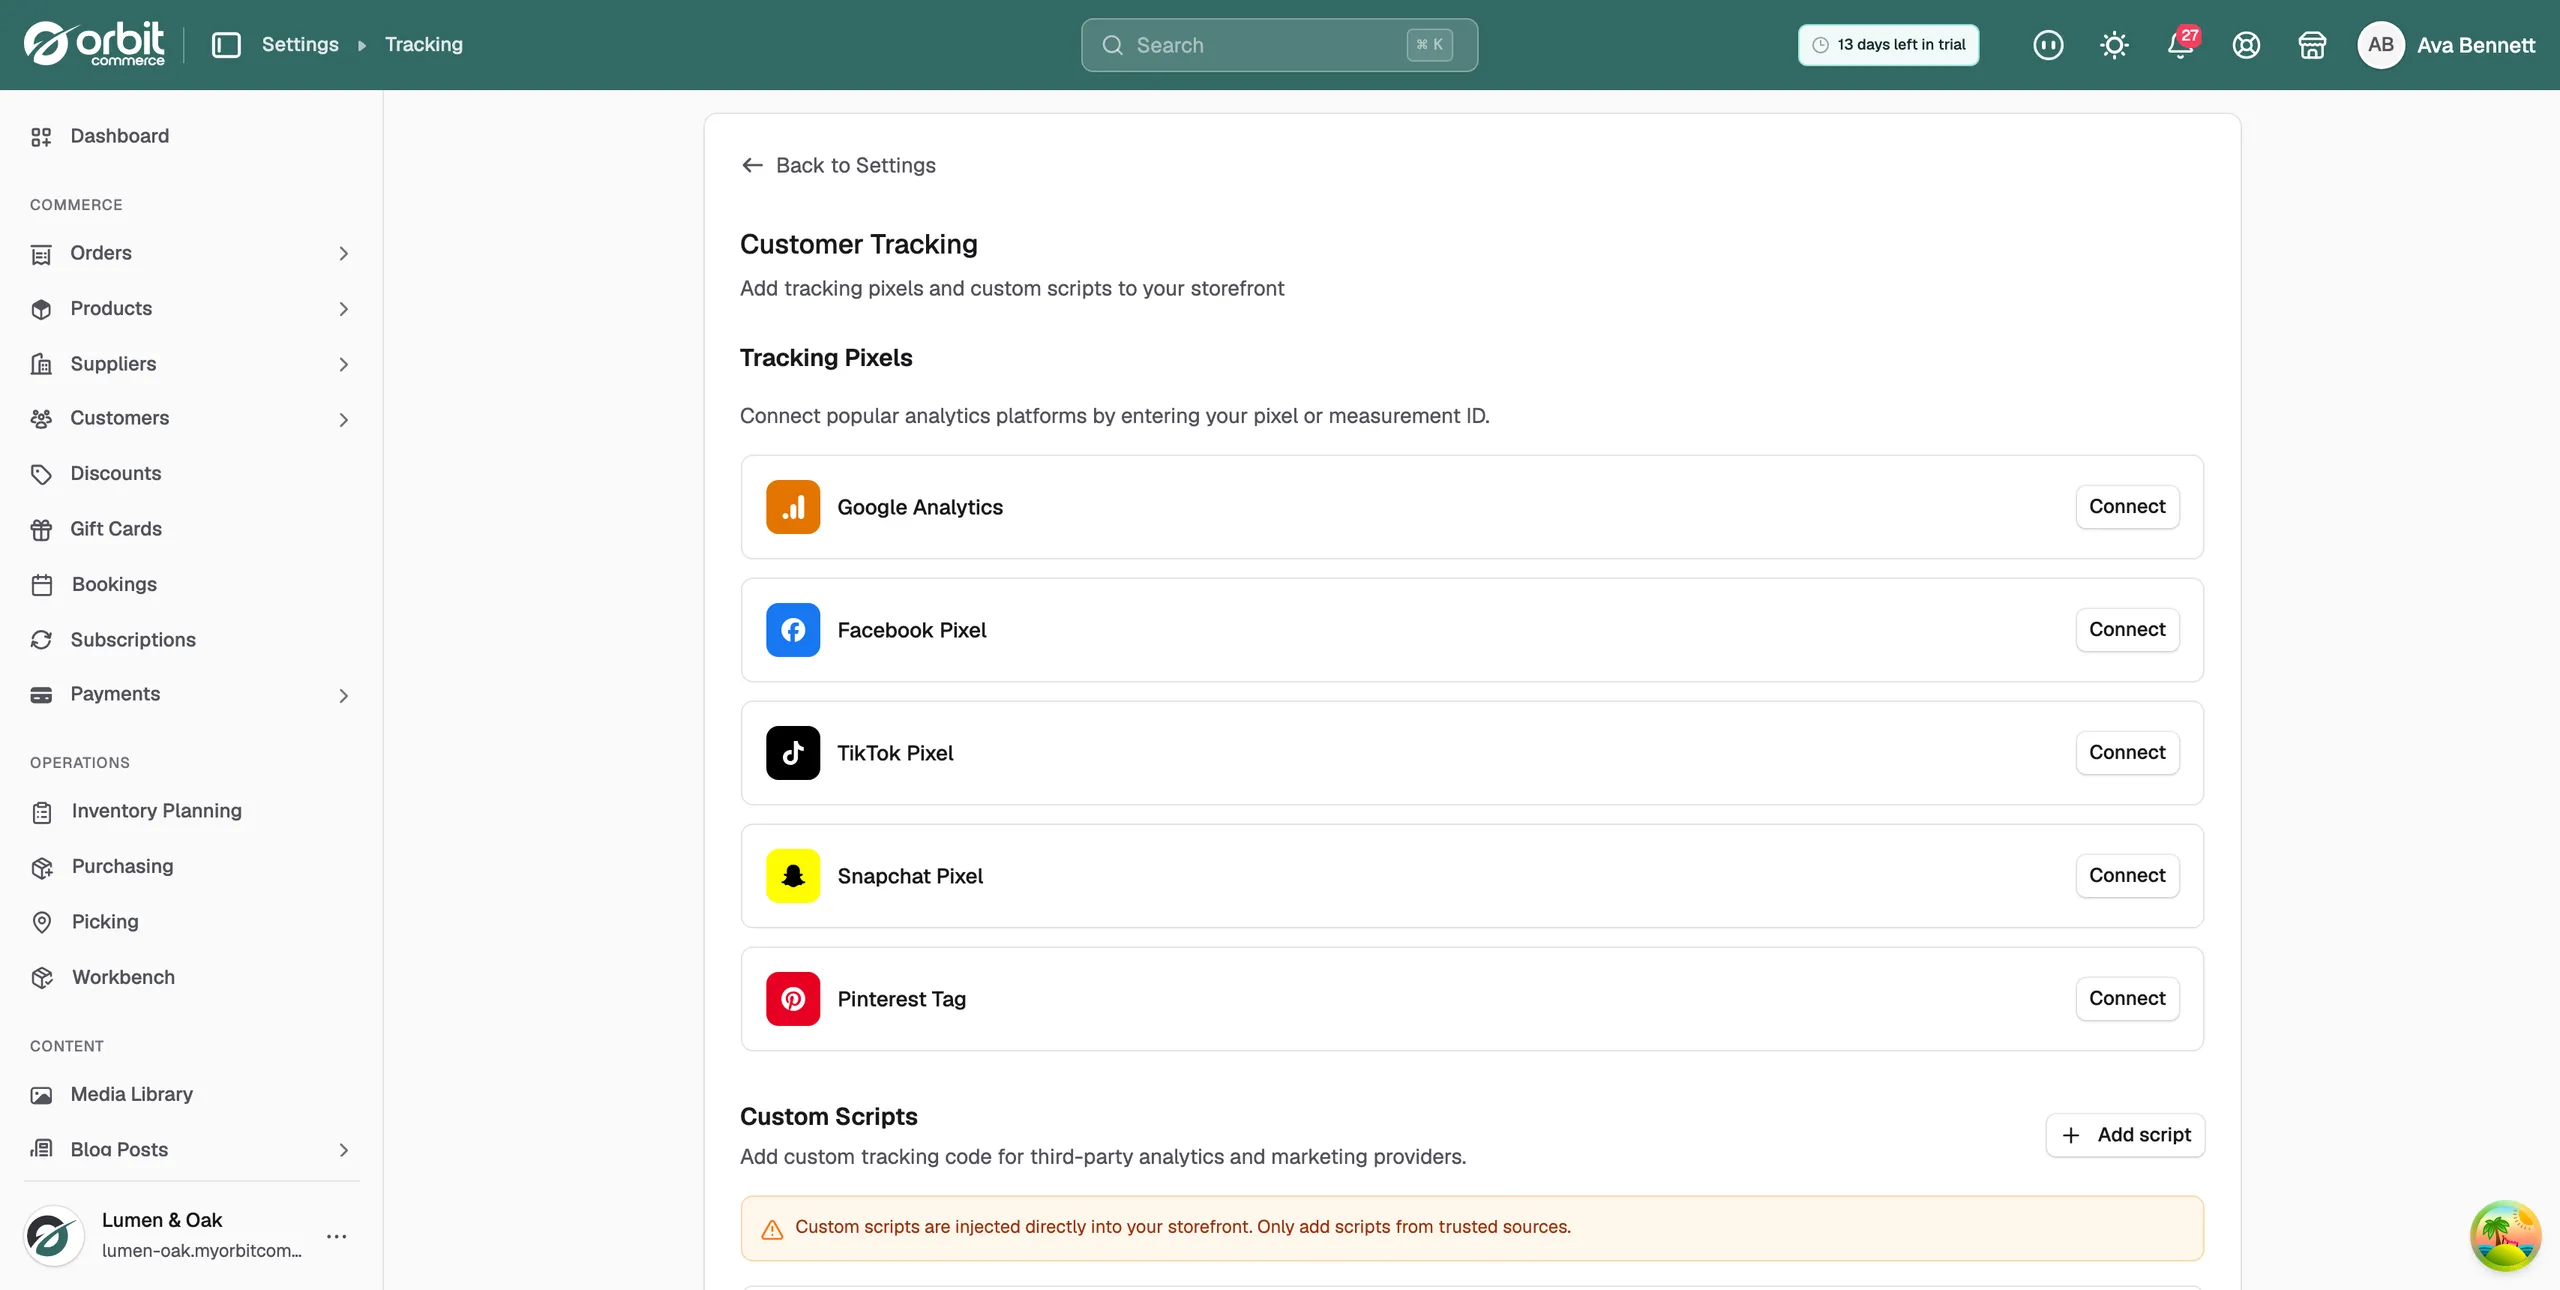
The Colour palette card holds four colours. Each takes a hex value.
- Brand colour: buttons, the step indicator and focus rings.
- Accent colour: links and secondary calls to action.
- Background colour: the page background behind the form and the summary.
- Text colour: the main body text.
Click Save changes when you are done, or Reset to defaults to go back to the built-in colours. If a value is not a hex colour, the page asks you to fix it before it saves.
Connect a tracking pixel
- From your Orbit dashboard, go to Settings.
- Under Insights & Tracking, click Customer Tracking.
- Under Tracking Pixels, find the row for the tool you use and click Connect.
- A box and a help line appear. Paste your ID into the box.
- Click Save. The row now shows an Active badge, and your ID sits under the name of the tool.
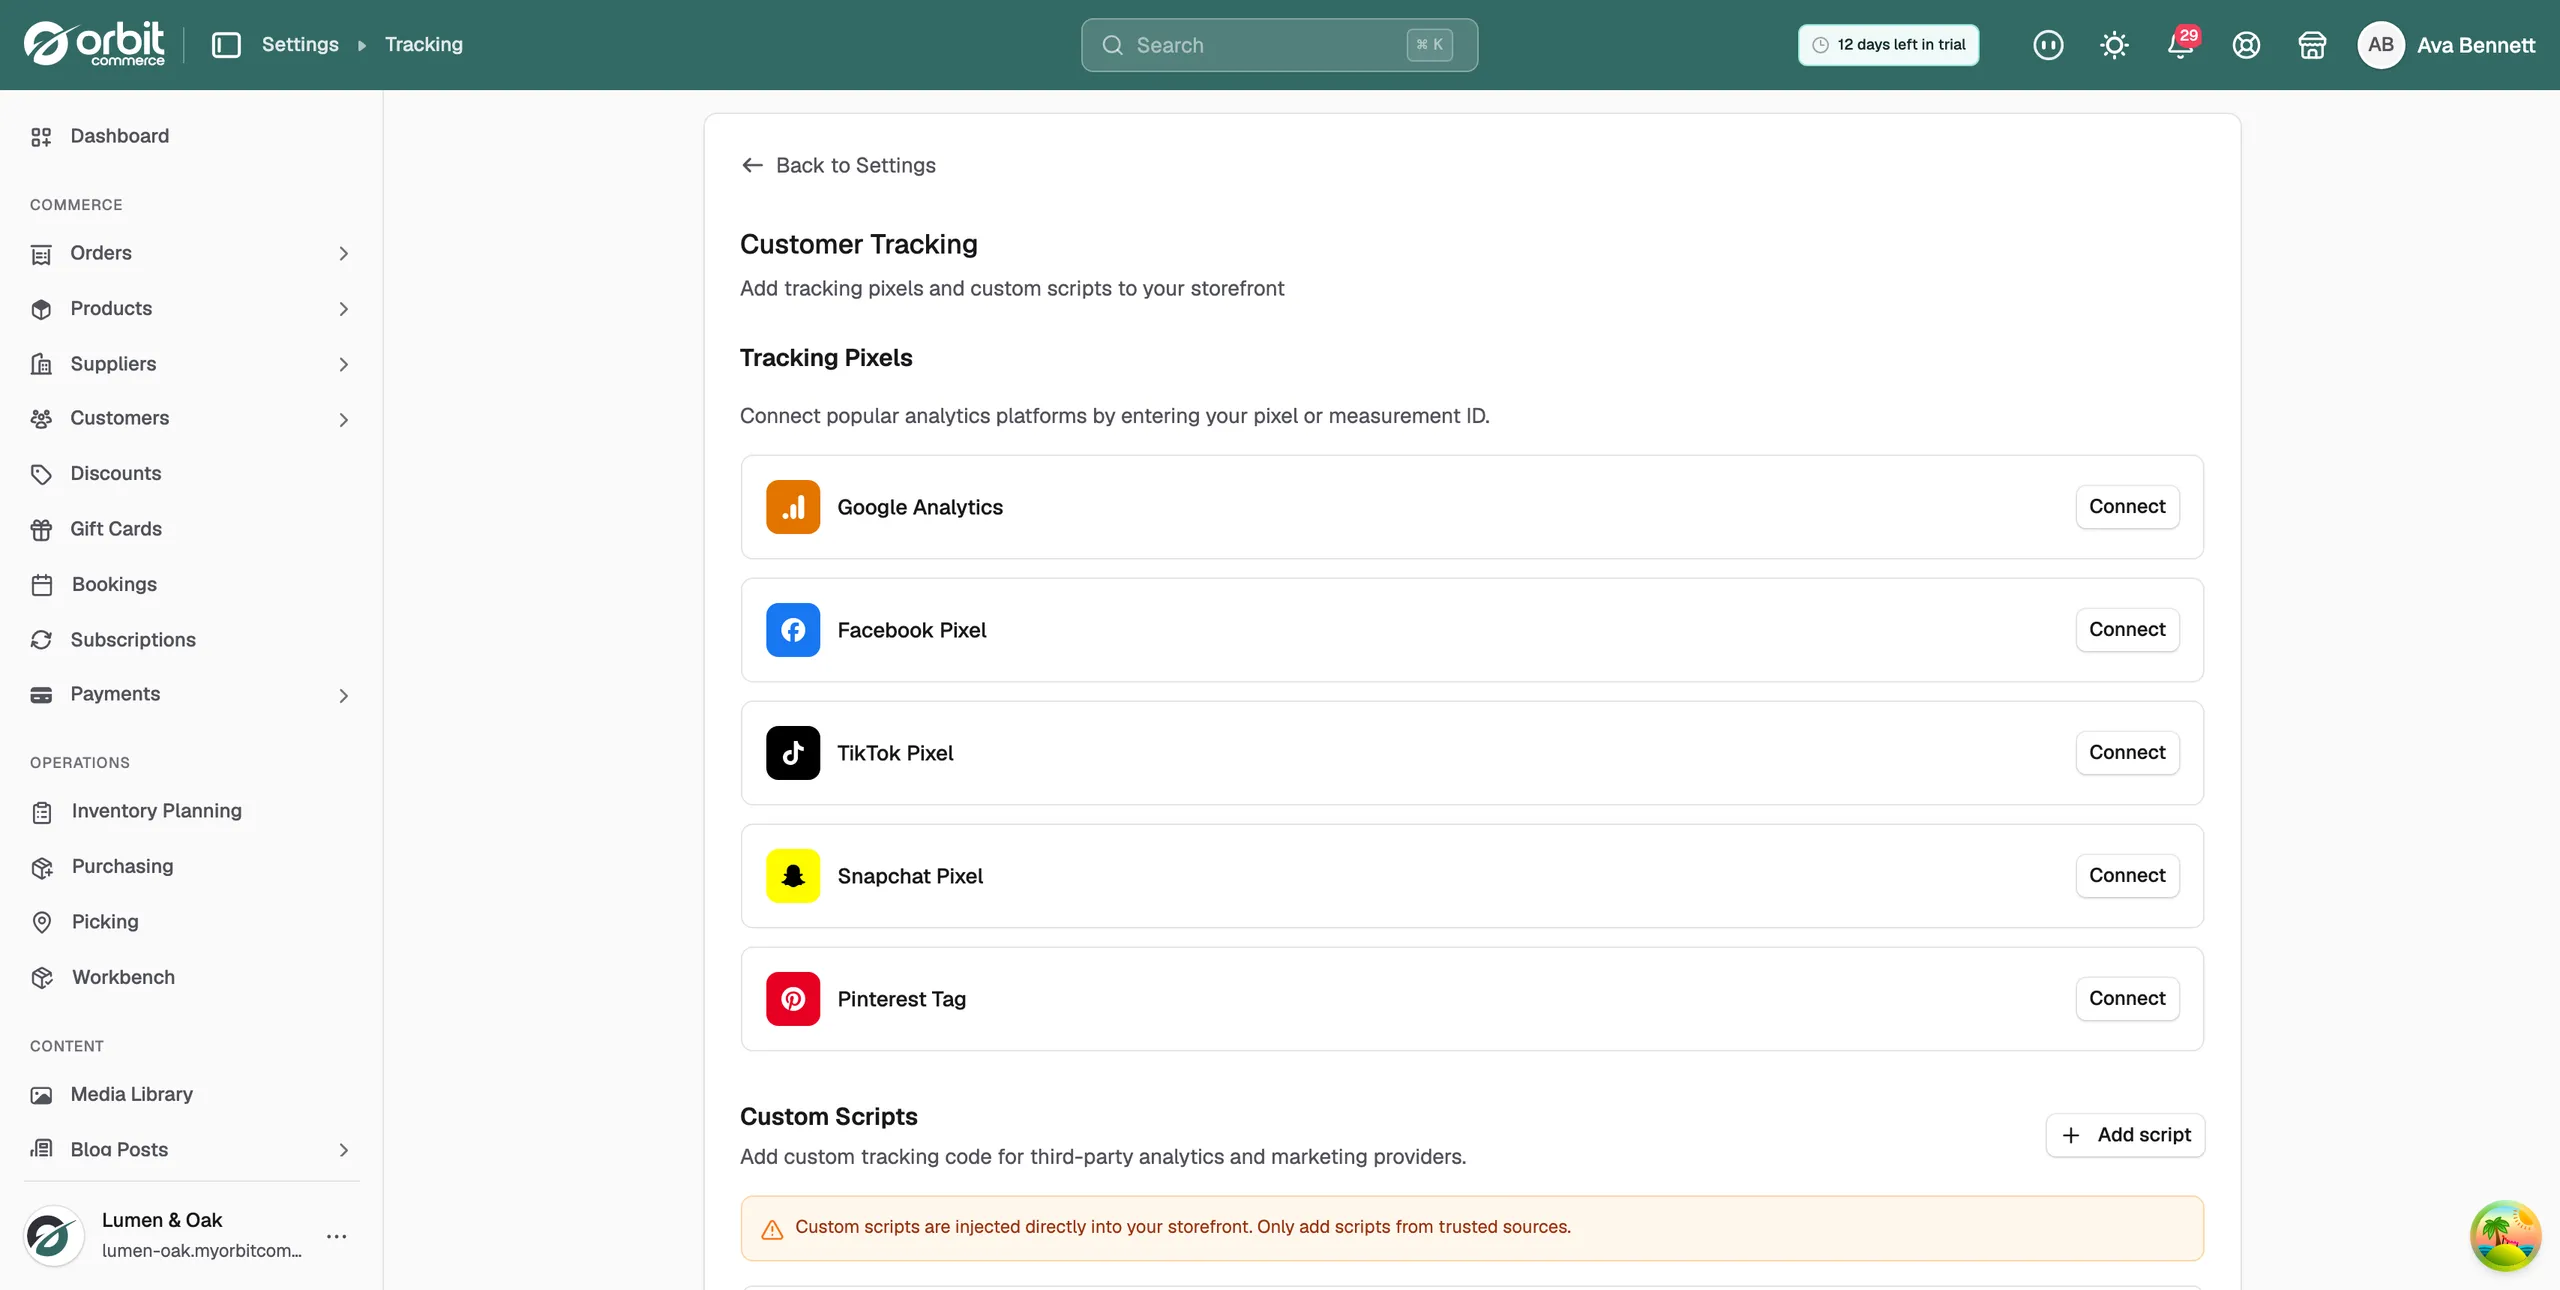
You can connect one pixel for each of the six tools. The ID each one asks for, and where to find it:
- Google Analytics: Measurement ID, from Google Analytics, Admin, then Data Streams.
- Google Ads: Conversion ID and conversion labels. See the Google Ads section below.
- Facebook Pixel: Pixel ID, from Meta Events Manager.
- TikTok Pixel: Pixel ID, from TikTok Ads Manager, then Events.
- Snapchat Pixel: Pixel ID, from Snapchat Ads Manager, then Events Manager.
- Pinterest Tag: Tag ID, from Pinterest Ads Manager, then Conversions.
Connect Google Ads conversion tracking
- From your Orbit dashboard, go to Settings.
- Under Insights & Tracking, click Customer Tracking.
- Under Tracking Pixels, find the Google Ads row and click Connect.
- Paste your conversion ID into the box. It starts with AW-.
- Fill in Purchase conversion label and Add-to-cart conversion label.
- Click Save. The row shows an Active badge, with your Conversion ID under the name.
All three values sit on one screen in Google Ads. Open Goals, then Conversions, then your conversion action, then Tag setup. A conversion label is the part after the slash in send_to.
- Conversion ID: your Google Ads conversion ID, in the form AW-XXXXXXXXX.
- Purchase conversion label: the conversion counted when a customer places an order.
- Add-to-cart conversion label: the conversion counted when a customer adds a product to their basket.
Orbit reports both events once the row is active. To change the ID or a label later, click the pencil icon on the Google Ads row, then click Save.
Note: Leave a label empty to skip reporting that event.
Pause or remove a pixel
- To stop a pixel without losing the ID, click its toggle. The badge changes to Inactive and the ID stays saved. Click the toggle again to switch it back on.
- To remove it, click the bin icon, then click Confirm. Click Cancel if you change your mind.
Add a custom script
Use a custom script for a tool that is not one of the six above, such as Google Tag Manager.
- On the Customer Tracking page, go to Custom Scripts.
- Click Add script. A form opens on the page.
- In Script Name, type a name you will recognise later.
- For Placement, choose where the code runs: <head>, <body> start or <body> end. Most providers say which one they need. Tag Manager code goes in <head>.
- Paste the code into Script Code, exactly as your provider gave it to you.
- Click Add Script. The script is now live on your storefront.
Warning: Custom scripts are added straight into your storefront. Only add scripts from trusted sources. A broken script can stop your pages loading.
Manage your custom scripts
Each script sits in its own row, oldest first. The row shows the name, a grey badge with its placement, and a second badge reading Active or Inactive.
- Click the toggle to switch the script on or off.
- Click the pencil icon to reopen the form and change the name, placement or code, then click Update.
- Click the bin icon, then Confirm, to delete it.
If you have not added any, the section reads No custom scripts added yet.
Related guides
Was this helpful?
0 people found this helpful